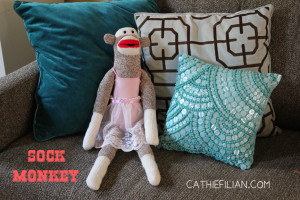
This classic American sock monkey is affordable, easy to make, and a ton of fun for crafters of all ages. We made ours with the Red Heel sock – but of course you can make them with any sock! This sweetie was featured on Creative Juice in the Monkey Business episode.
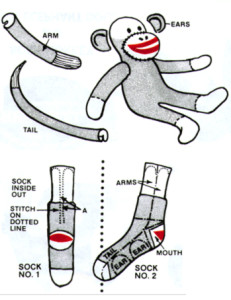
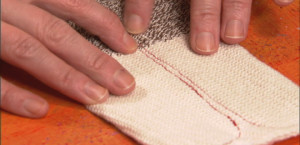
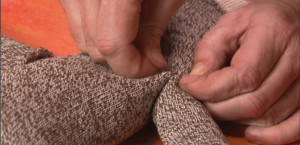
Turn the sock inside out. Working on sock #1 – Sew a seam 1/2 inch on both sides of the center of sock starting three inches from the white heel and across the end of the top. Cut the sock between the seams and to within 1-1/2 inches of white heel. This leaves an opening in the crotch. Then turn the sock so the seams are on the inside and use the crotch opening to stuff the head, body and legs.
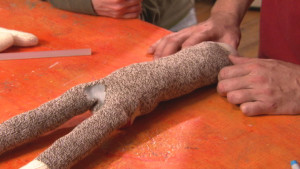
Turn the monkey body right side out. Break off small clumps of stuffing and begin stuffing the body and legs of the monkey. Add stuffing until the monkey body and legs are firm.
The rest of the steps are working with sock #2. The Rockford Red Heel sock monkey diagram is included here.
ARMS: Cut the upper part of the sock into two pieces. Seam, rounding the ends and stuff the arms. Hand-stitch to the body.
TAIL: Cut a one-inch strip, taper to end of cuff on length of front of sock. Seam and stuff. Hand-stitch to the body.
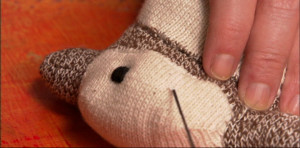
MOUTH: Cut the heel from the sock, leaving a brown edge around the white. Fasten on lower part of the face, whip-stitching around the bottom; stuff and finish sewing around the top. The mouth can be improved by a running stitch of either black or white across the middle of the lips.
EARS: Cut the ears from the remaining brown part of the sole of the sock. Hand-stitch to the head.
The monkey is finished at this point, but you can continue to sew costumes for her or him!
Resources:
Rockford Red Heel sock








how nice idea 🙂