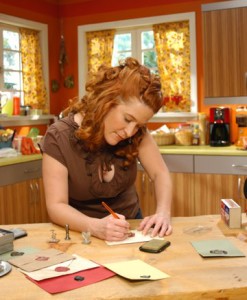
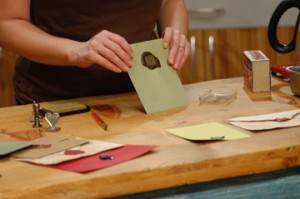
 With wedding season just around the corner, I started thinking about wax seals again. I have two techniques that work great for wax sealing. The first technique uses traditional wax sticks that are melted with a flame. The second, uses wax “hot glue” sticks. The sticks are not hot glue, they are a wax that melts in a glue gun.
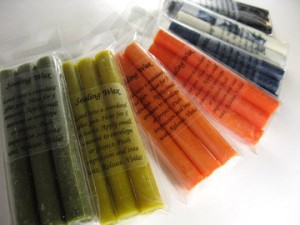
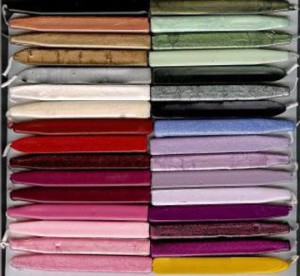 These sticks are from Scribes Delight.
Materials:
coffee – cooled
sealing wax stick
metal seal
envelopes
paper
matches
optional: metallic stamp pad
Steps:
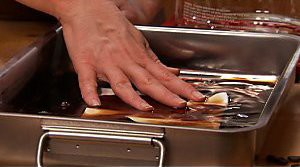 1. To create an antique look, wrinkle up an envelope and soak it in a coffee bath for a few seconds. Blot to remove excess moisture and set aside to dry.
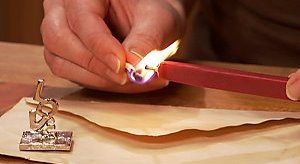
2. Light the wax stick’s wick and tilt the stick at a slight angle over the envelope, lit end facing down.
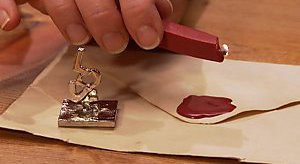 3. Holding the stick over the area for the seal, let the wax flow onto the envelope until there is enough wax for a seal (10 to 15 seconds of melting wax should produce enough wax for an average 1/4″-diameter seal). Be careful not to get soot in the wax.
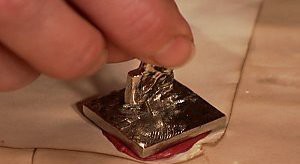
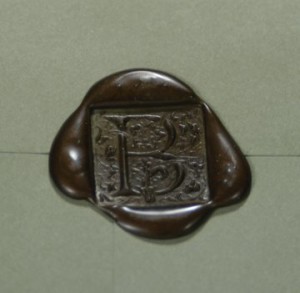
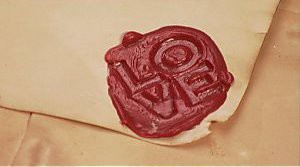 4. Press the seal into the wax; remove by lifting straight up. If the wax won’t let go of the seal, rest the seal on the wax until it’s completely cool, then lift the seal off.
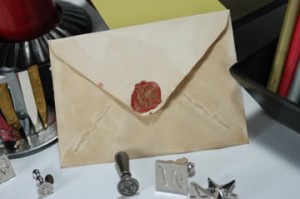 5. Highlight ink (from a metallic stamp pad) can be used on the seal before embossing to help the wax release the seal, as well as to create a dimensional look. Or you can add a little ink to a paintbrush and brush it into the seal.
wax glue sticks
metal seal
low-temp glue gun (dedicated for this type of project)
paper
optional: metallic stamp pad
Steps:
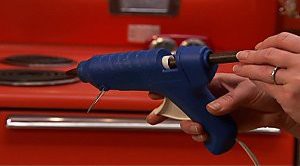 1. Insert a wax stick into a standard-size low-temp glue gun (use a second wax stick in the gun to help advance the first stick). Bring the gun to the desired temperature and rest it on a piece of foil to help reduce drips or wax strings on the work area.
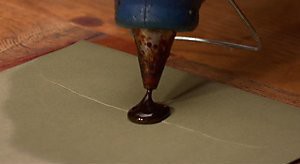 2. Use a few test pulls to get a feel for the quantity of wax to use with the seal. Two firm pulls of the trigger will produce a full seal for larger sealing coins. Waiting for 10-15 seconds before embossing the wax with a seal will create a better definition in the wax. Experiment to find the correct waiting period based on temperature conditions.
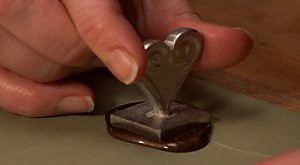 3. Emboss with a seal; remove by lifting straight up out of the wax. If the wax won’t let go of the seal, rest the seal on the wax until it’s completely cool, then lift the seal off. Highlighting ink (from a metallic stamp pad) can be used on the seal before embossing to help the wax release the seal, as well as creating a dimensional look on the seal.
Tips and Tricks: Alternating 1″ plugs of different colors of glue-gun wax sticks can create a unique marbling effect. Glue plugs can be created by cutting the glue sticks into sections with craft scissors.
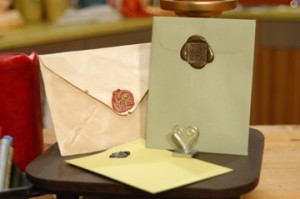




I love to use my wax seals on all my personal letters! It adds so much to the look and feel of my letters! Great post!
Michelle-