Mod Podge photo transfer will allow you to transfer LASER copies of photos, scrapbook papers, images or any paper graphic. This works on wood, canvas, fabric, leather, tin… and much more.
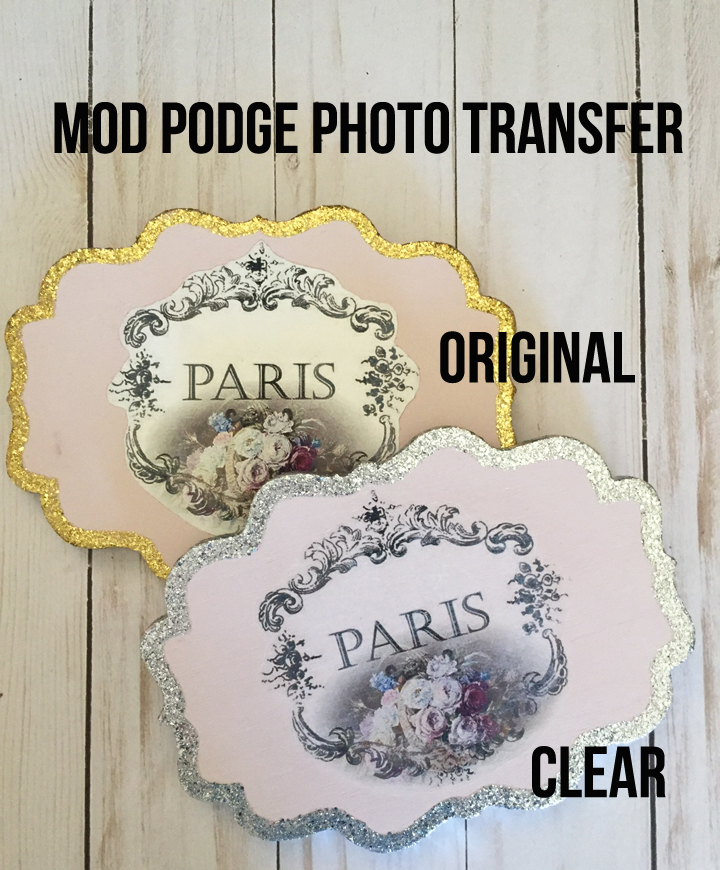
There is two different Photo Transfer formulas on the market…. Clear and Original. The original is the ONLY formula that works on fabric. The clear creates a transparent background and the original creates a halo/white background.
LASER COPIES ONLY! Ink Jet can smear because it water-based.
NOTE! The last step where you remove the paper should be done in baby steps and at least 3 times.
VIDEO HOW TO!
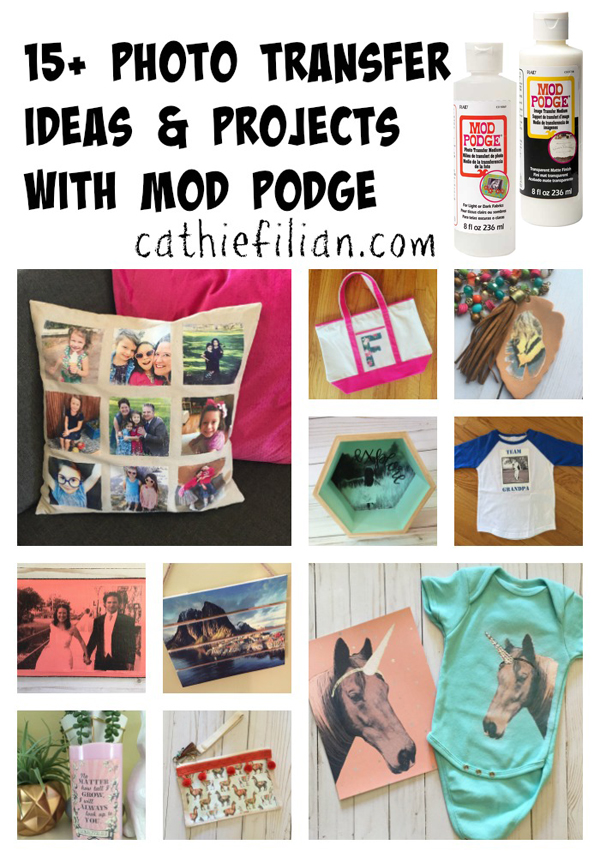
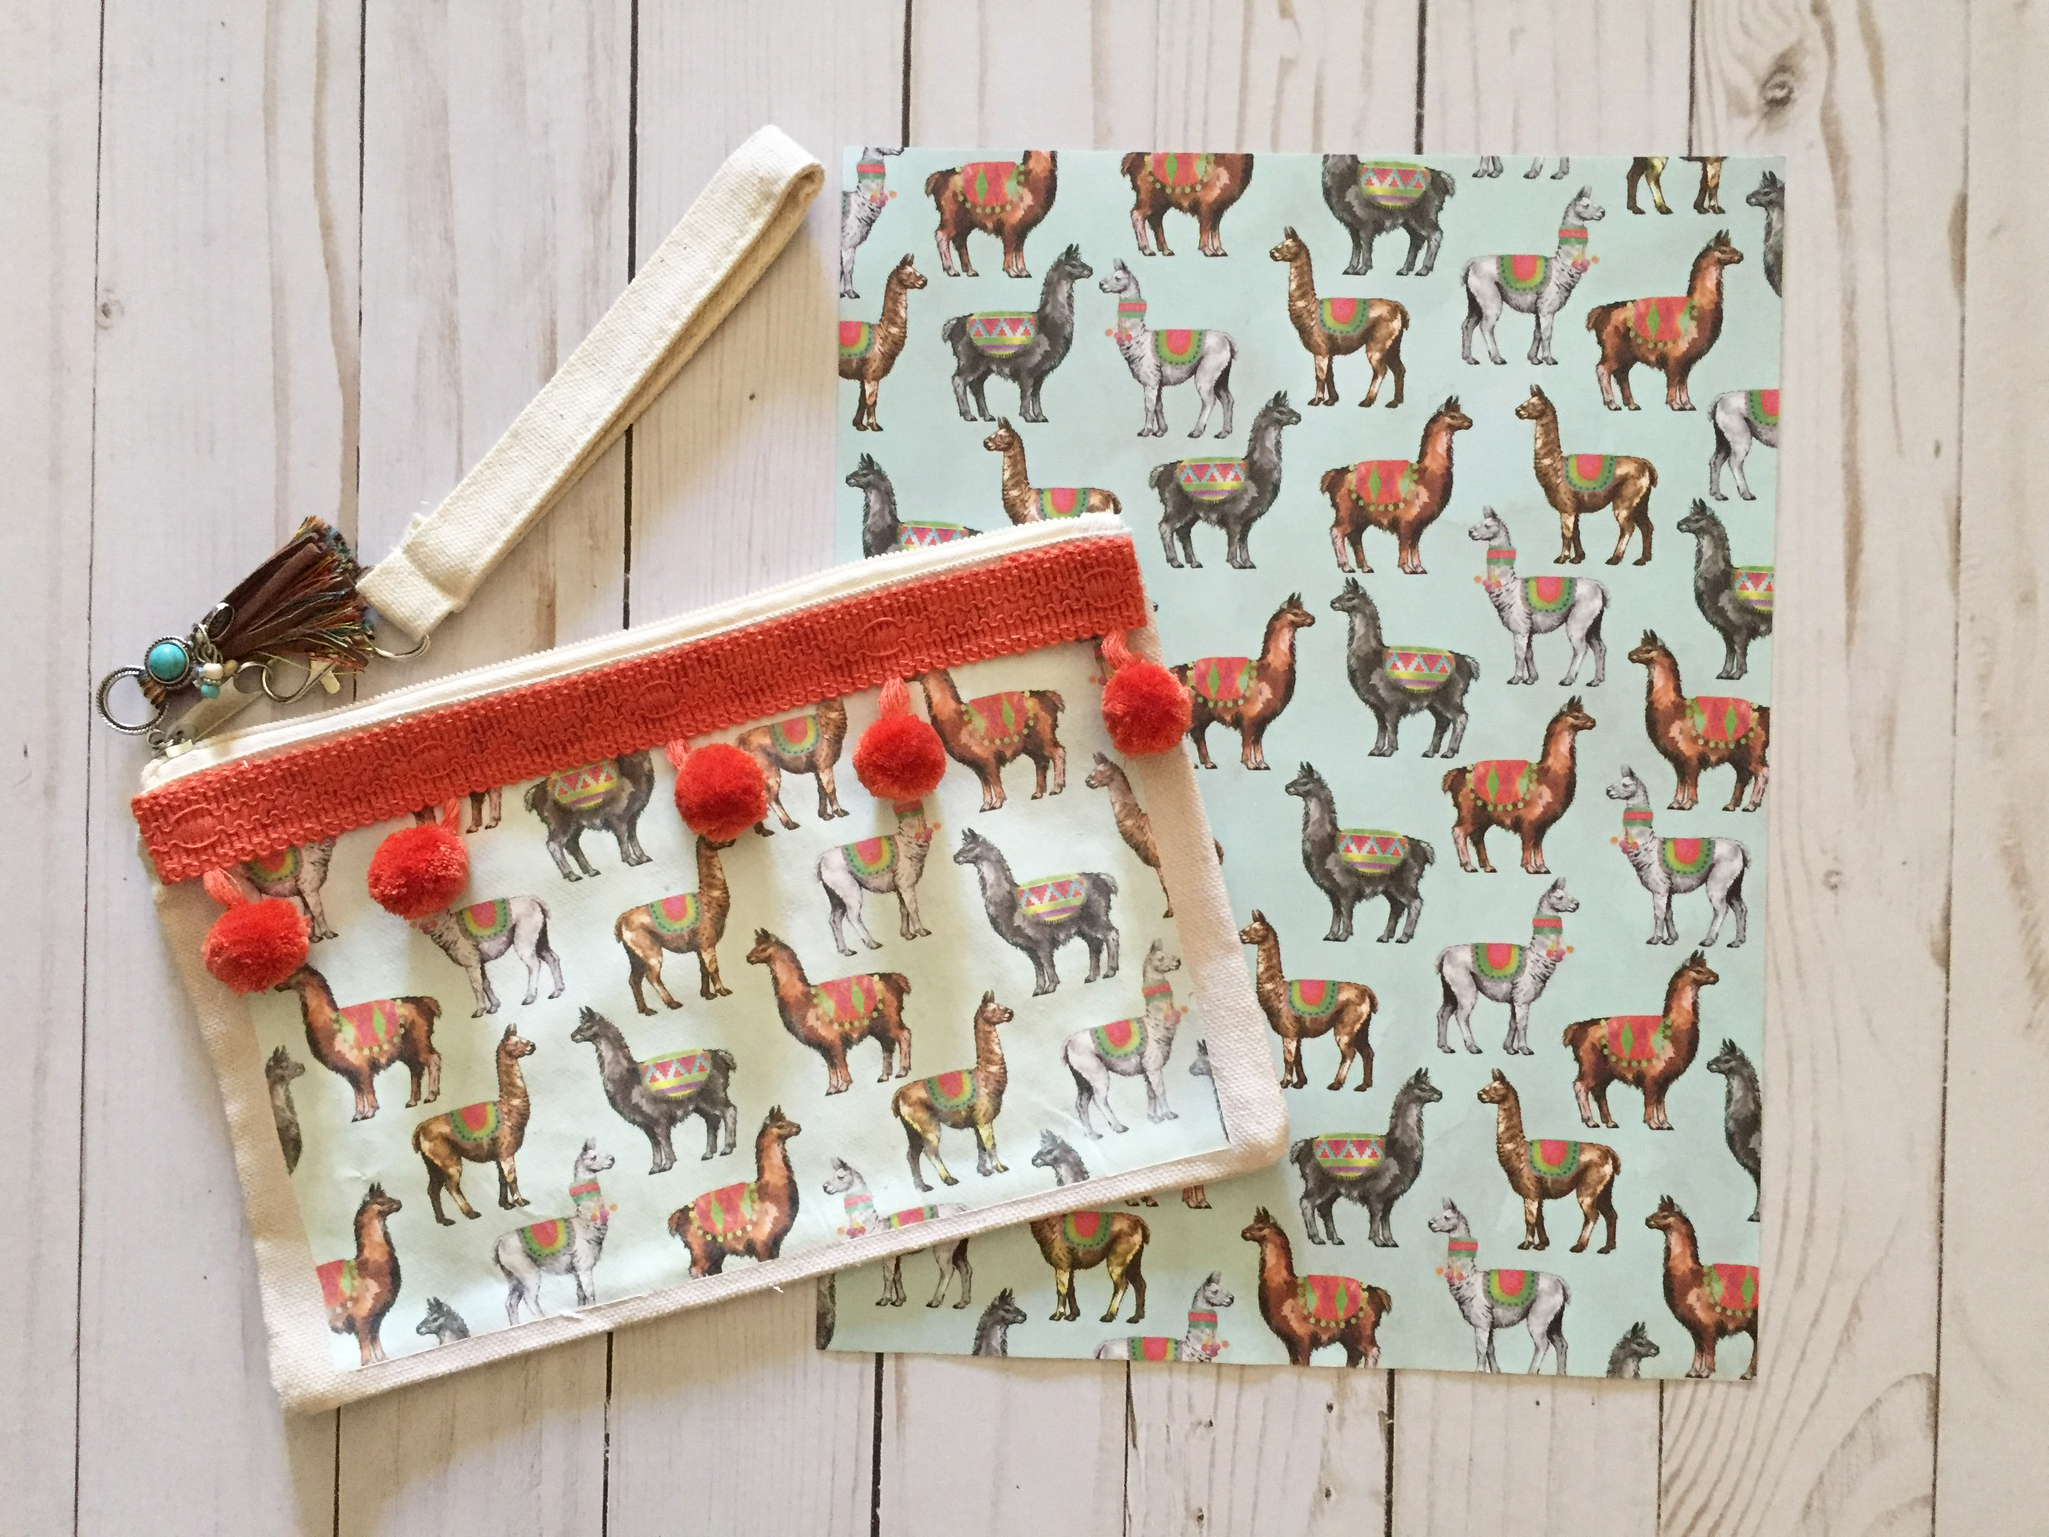
No Drama Llama Wrist Purse – Full Instructions here.
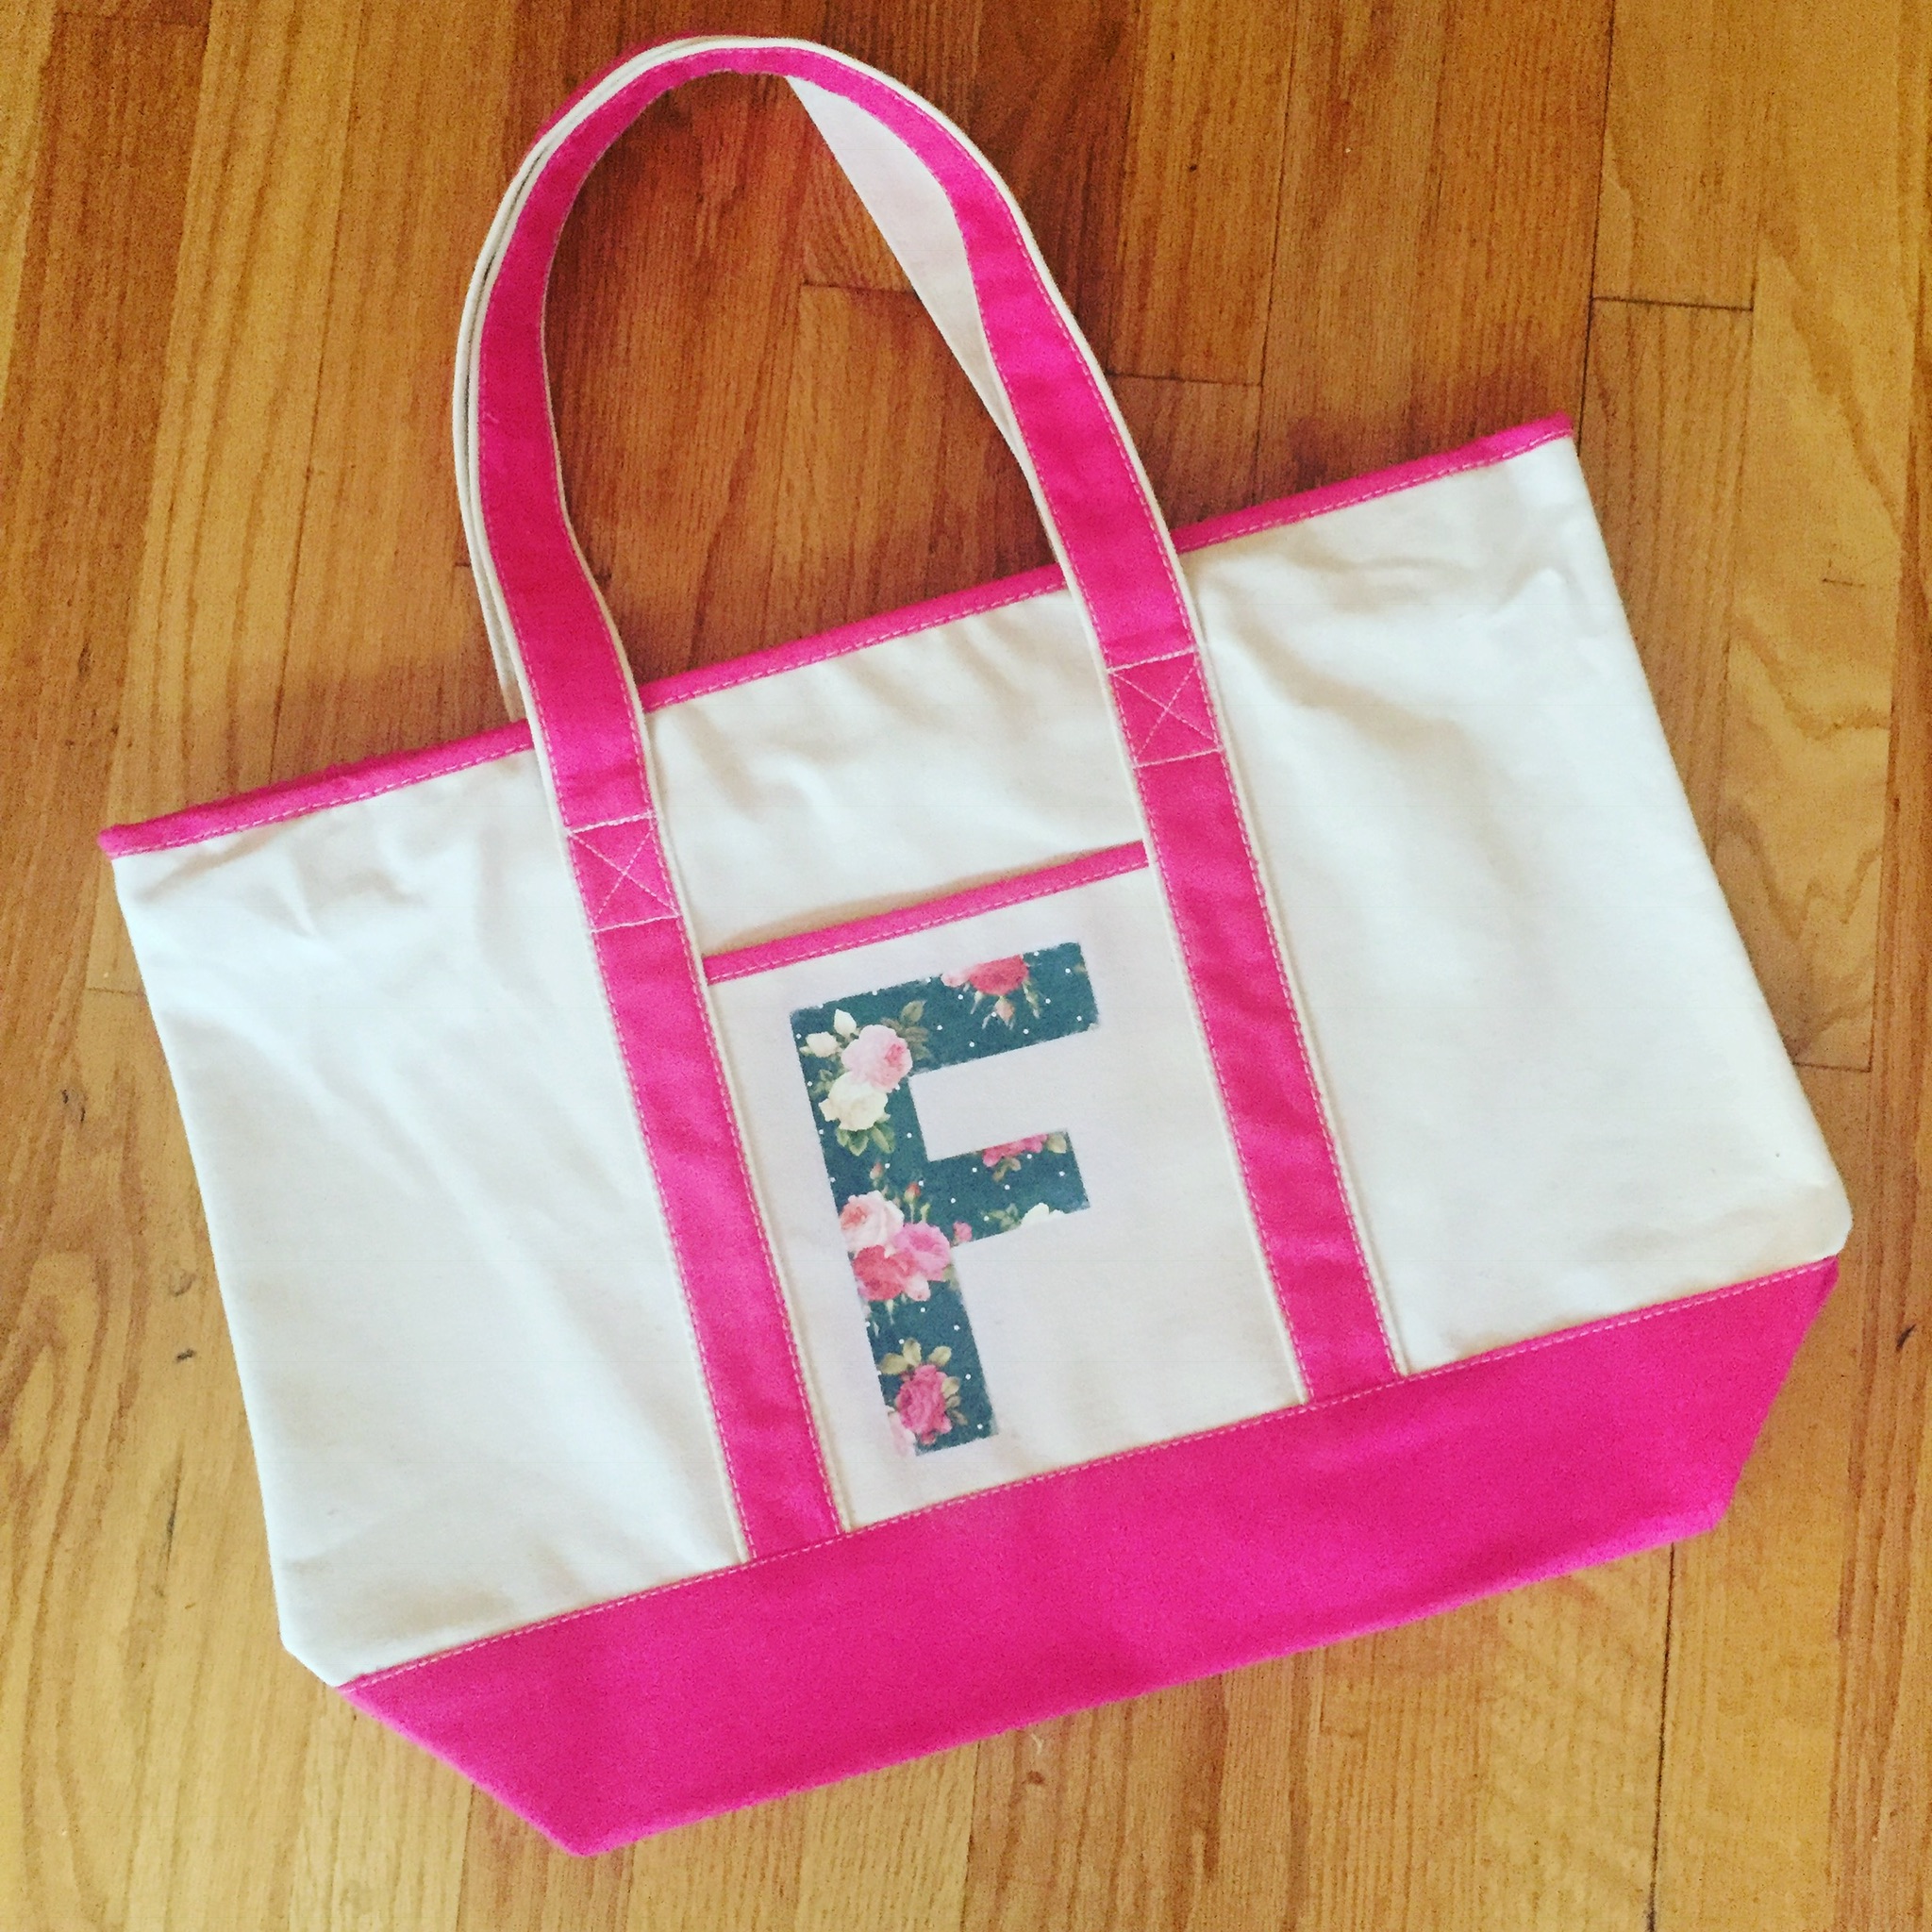
Monogram Tote Bag – Full Instruction Here.
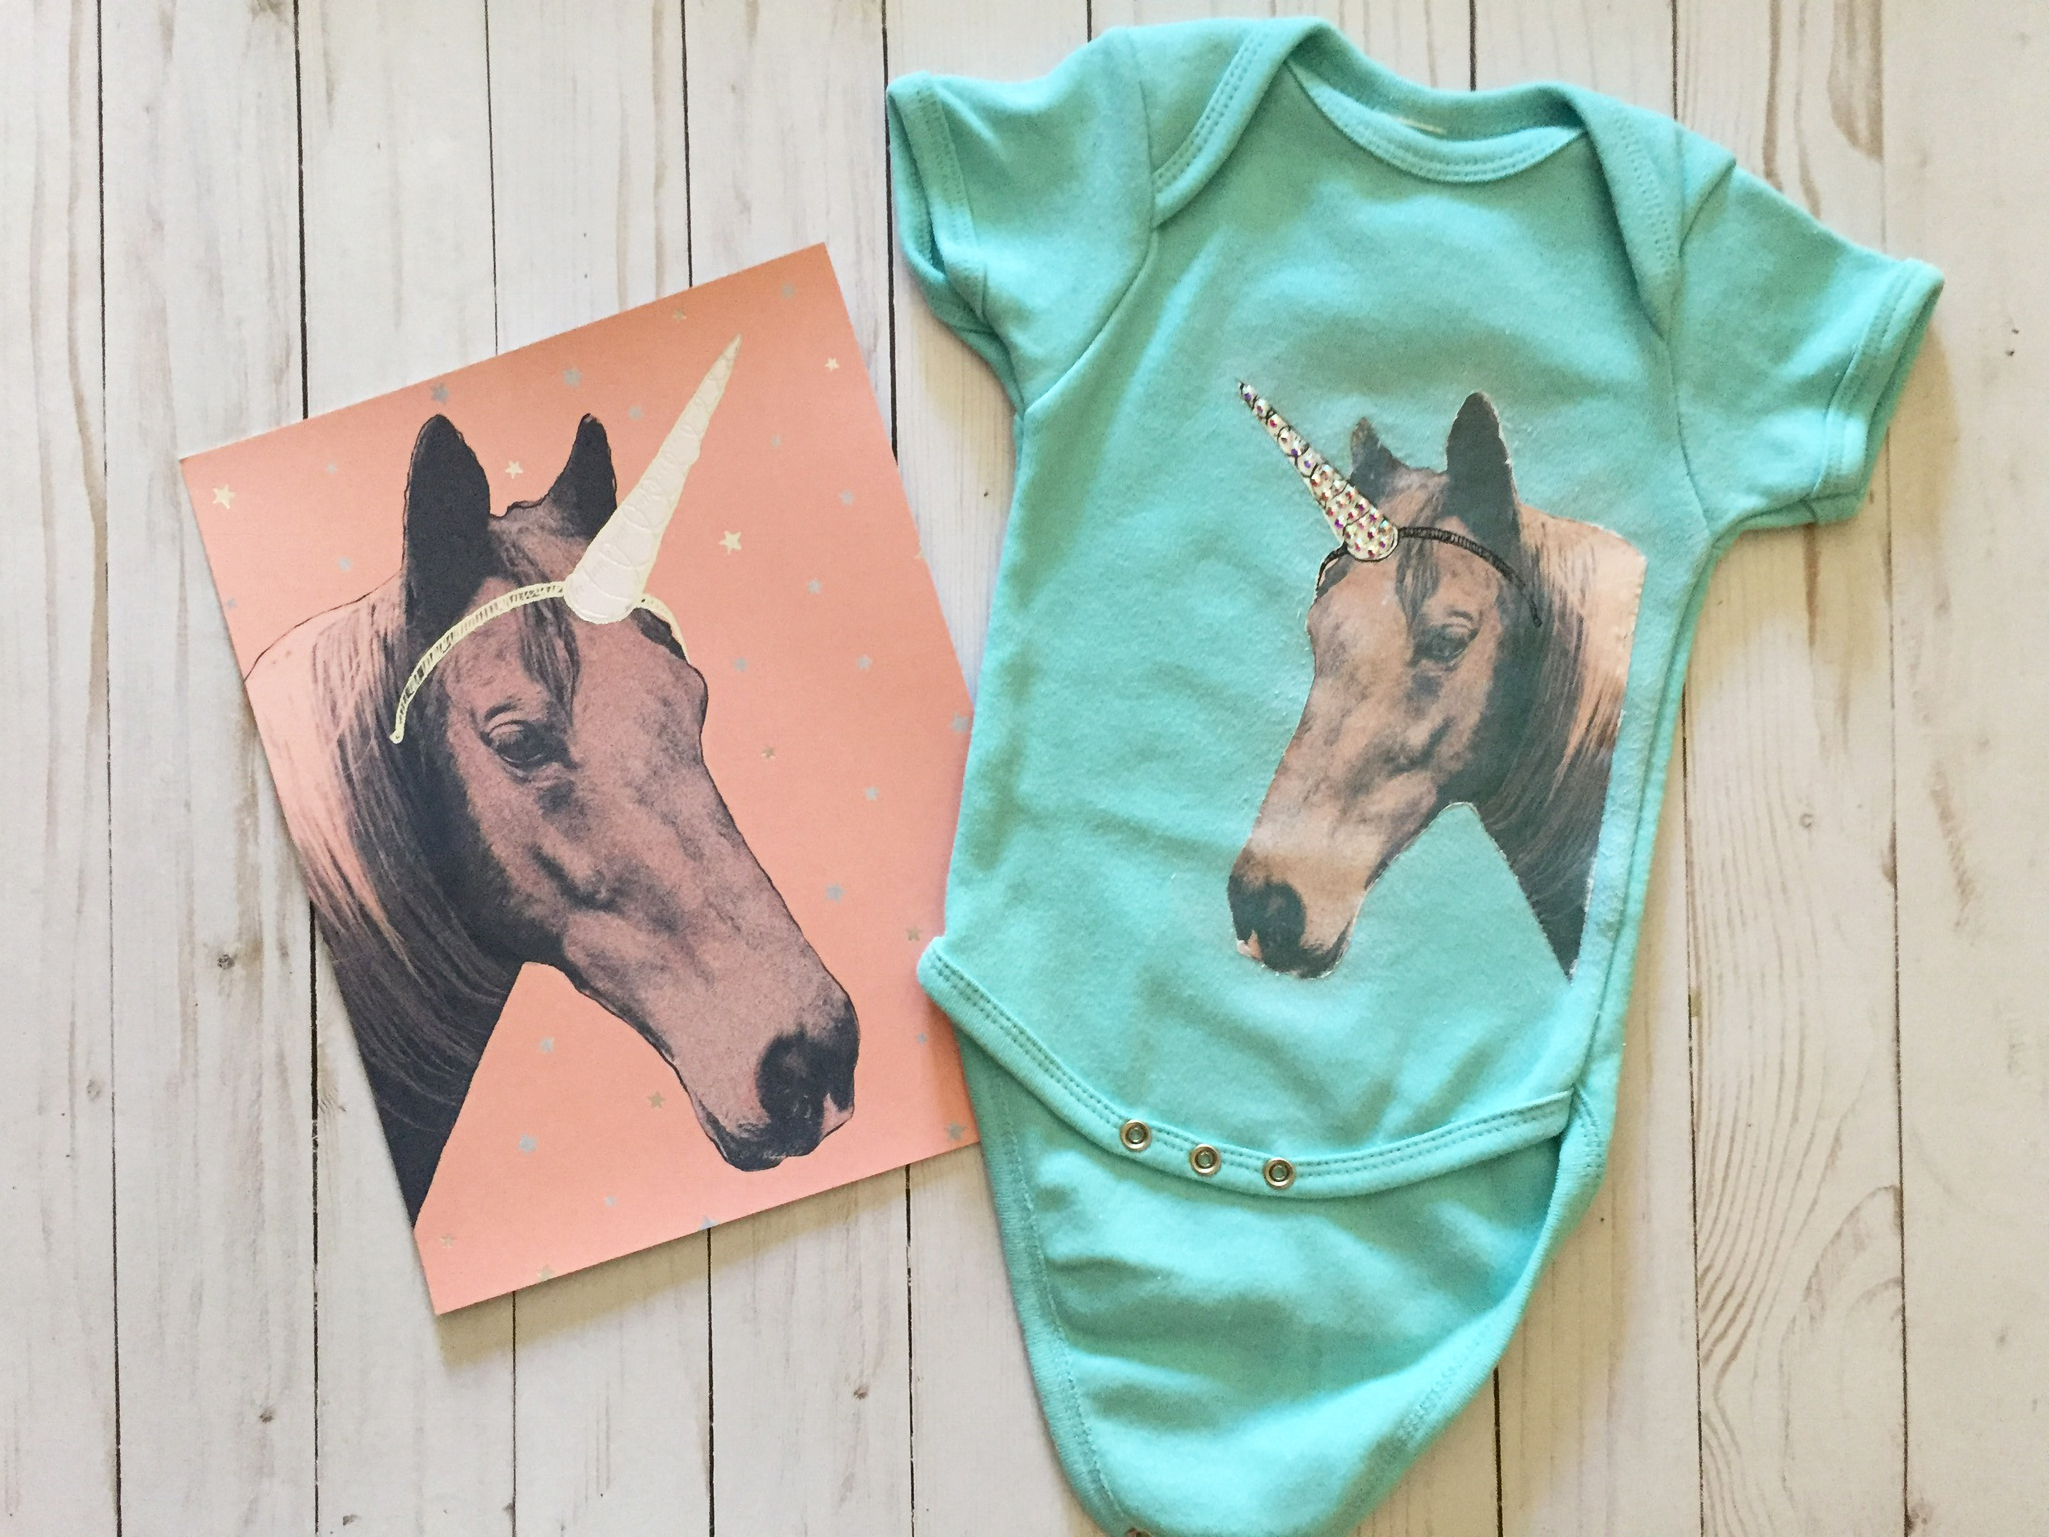
Scrapbook Paper onto a Baby Onesie
FABRIC Photo Transfer INSTRUCTIONS
1. Start by creating a photocopy of your picture using a dry toner powdered copier and cut the image to size.
2. Next, apply a thick layer of Mod Podge Photo Transfer Medium to image side of copy. Place a piece of cardboard covered with wax paper between fabric layers.
3. Then, place the image face-down on to the fabric, smoothing it out with your fingers or a squeegee.
4. Finally, after allowing it to dry for 24 hours, place a most sponge on top of the paper and slowly rub away the paper. Allow to dry and repeat this step until all the paper is removed. The image should then be transferred to fabric.
5. Air-dry for 72 hours. Wash in cool water or the gentle cycle and hang to dry.
6. Attach trim along the top edge with fabric glue. Add a tassel to the zipper.
7. Notes: Never use actual photographs; always use photocopies made with a dry toner copier. If your image has words on it, create a reversed photocopy so that the text will read correctly on your final project. Protect your work surface by laying down craft paper or wax paper. Apply the medium to your project evenly and with medium thickness. When using a sponge to remove the backing paper, use a light touch so as not to disrupt your transferred image. Clean-up is easy while wet with mild soap and warm water.
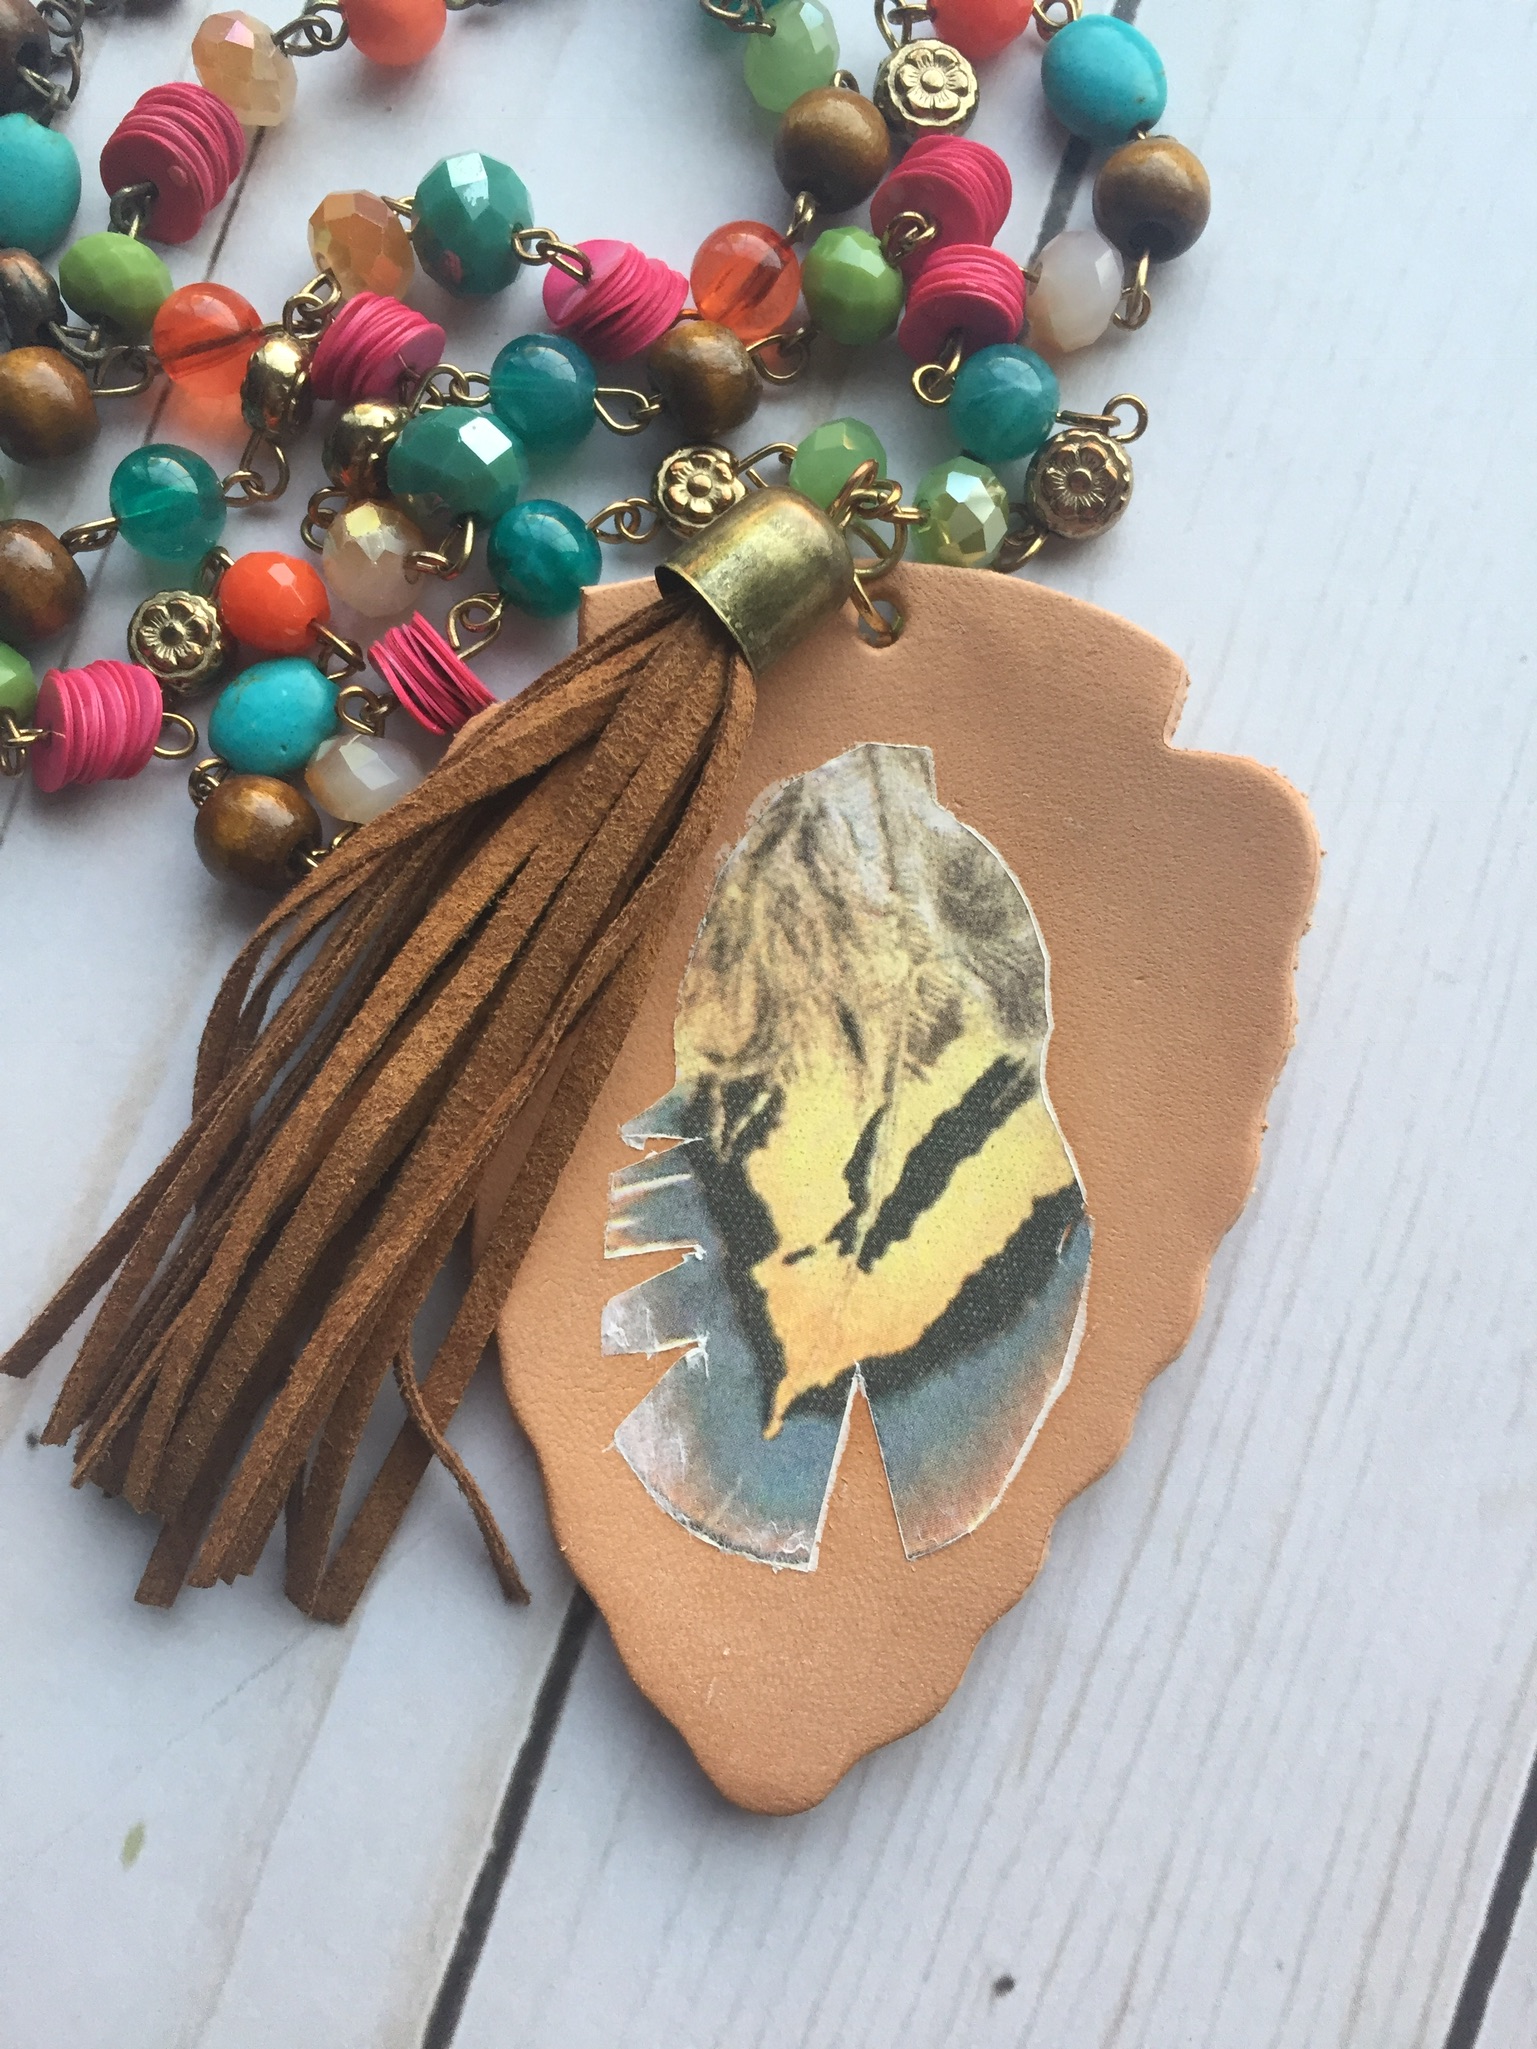
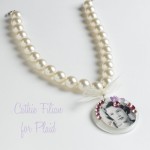
Photo Transfer Paper Feather onto a Leather Pendant
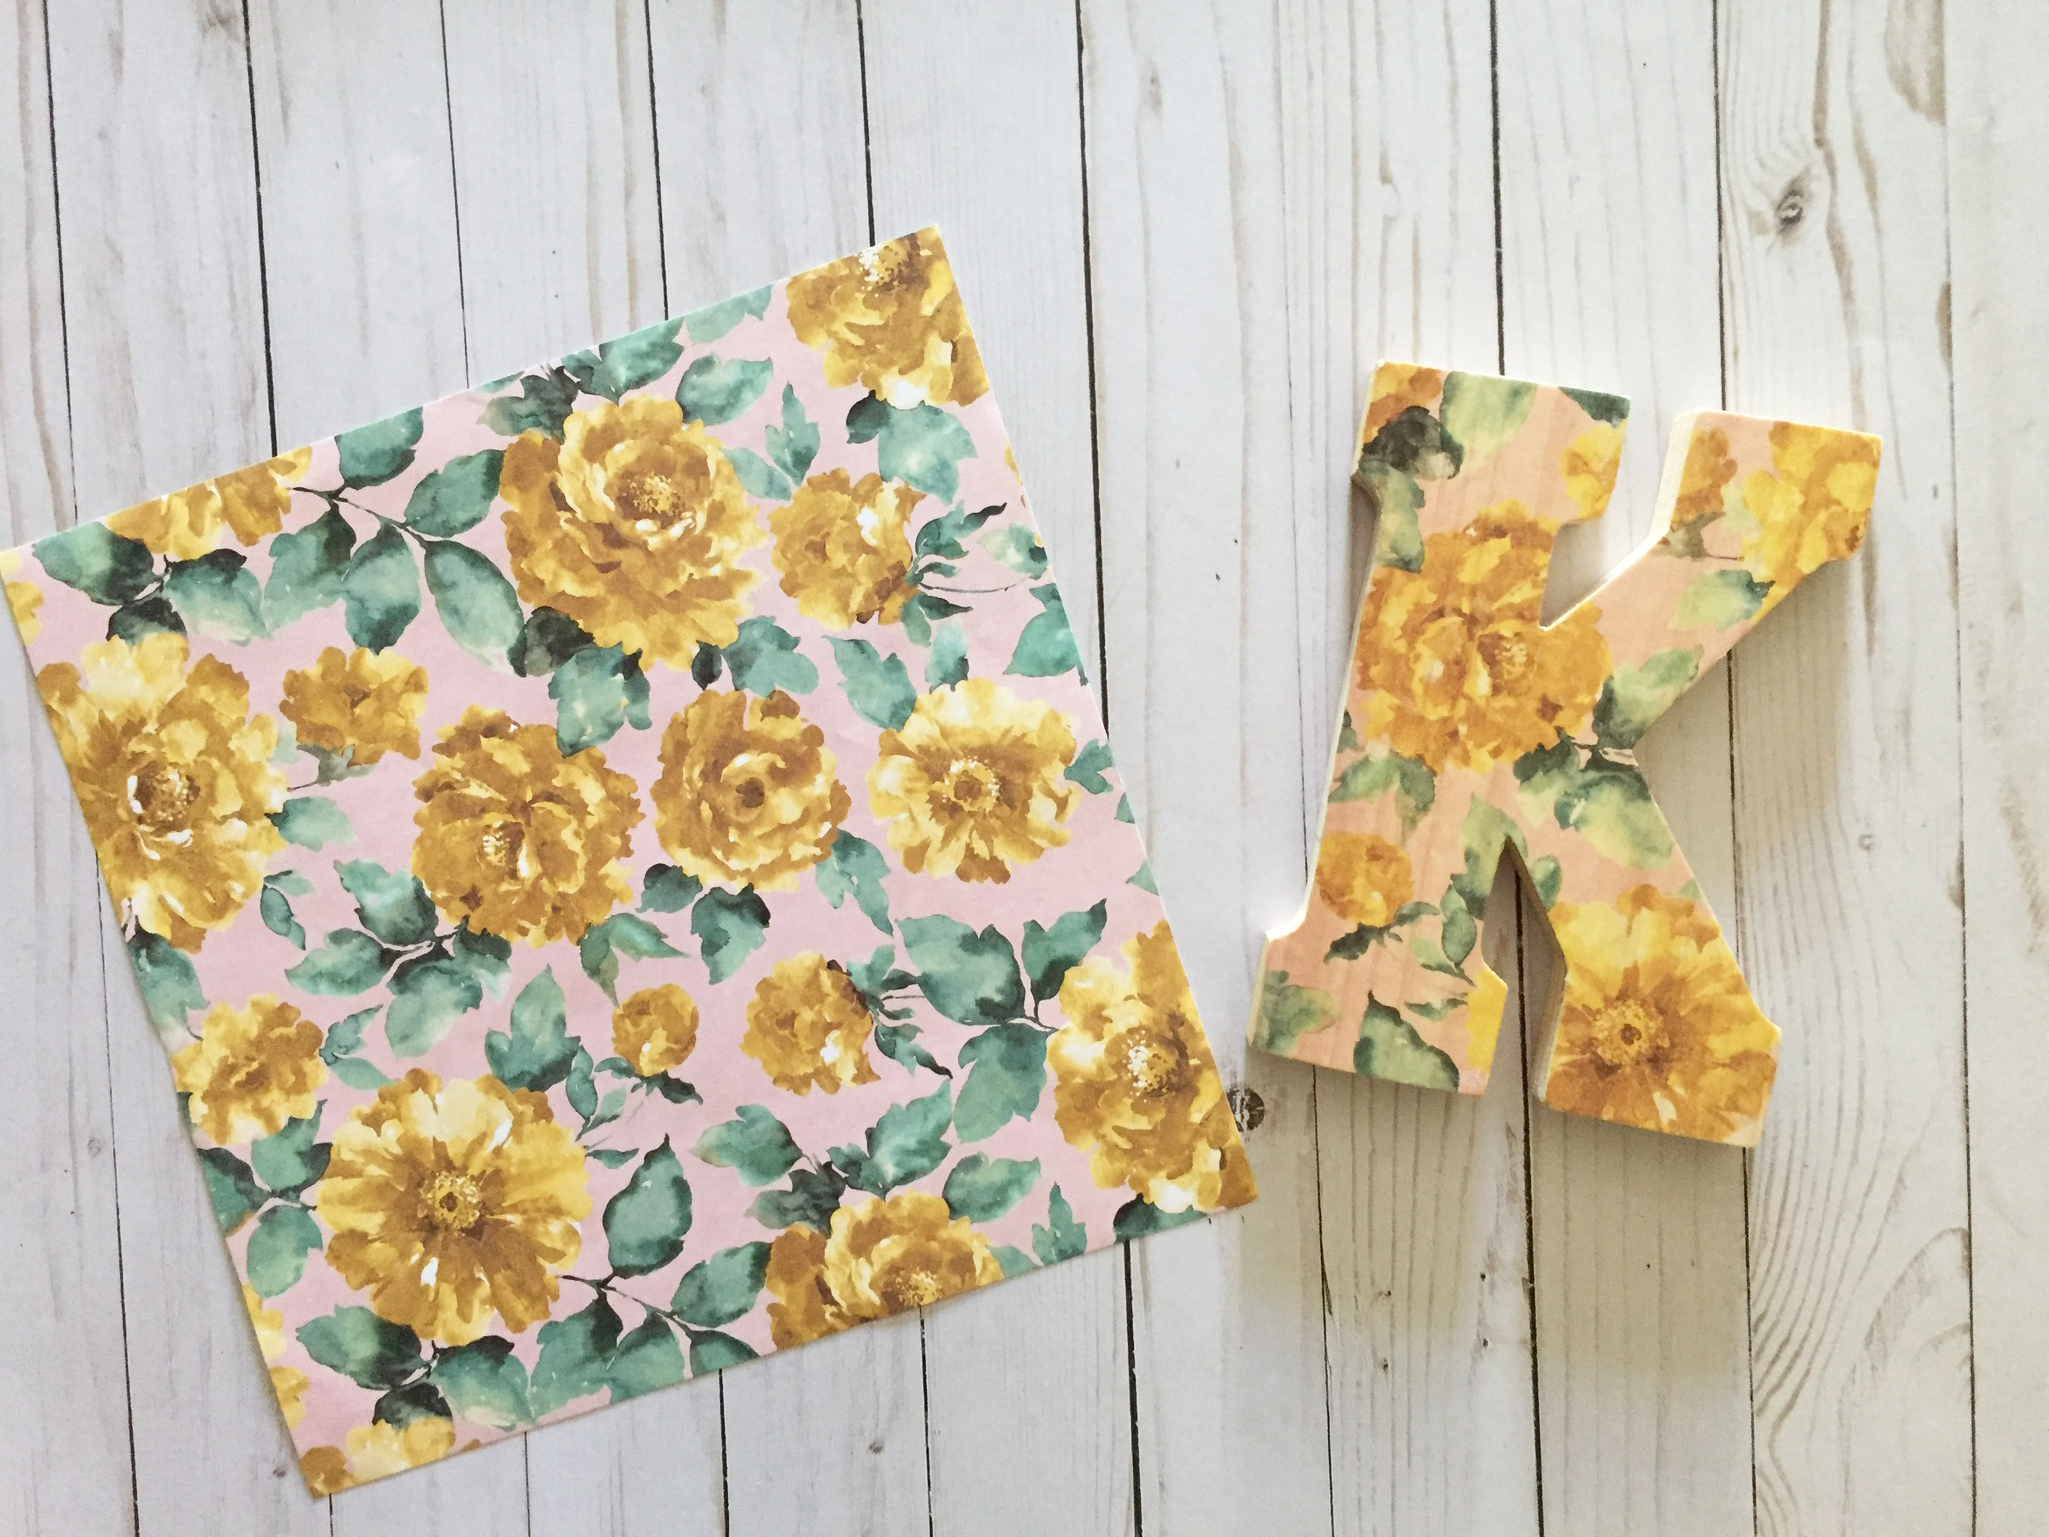
Scrapbook Paper onto a Wood Letter
WOOD Photo Transfer INSTRUCTIONS
1. Paint the wood surface with a light color of FolkArt Multi-Surface paint.
2. Create a photocopy of your picture using a dry toner powdered copier and cut the image to size.
3. Next, apply an even layer of Mod Podge Photo Transfer Medium to image side of copy.
4. Then, place the image face-down on to the wood surface smoothing it out with your fingers or a squeegee.
5. Finally, after allowing it to dry for 24 hours, place a most sponge on top of the paper and slowly rub away the paper. Allow to dry and repeat this step until all the paper is removed. The image should then be transferred to the wood.
6. Attach trim along the outer edge of the wood plaque.
7. Notes: Never use actual photographs; always use photocopies made with a dry toner copier. If your image has words on it, create a reversed photocopy so that the text will read correctly on your final project. Protect your work surface by laying down craft paper or wax paper. Apply the medium to your project evenly and with medium thickness. When using a sponge to remove the backing paper, use a light touch so as not to disrupt your transferred image. Clean-up is easy while wet with mild soap and warm water.
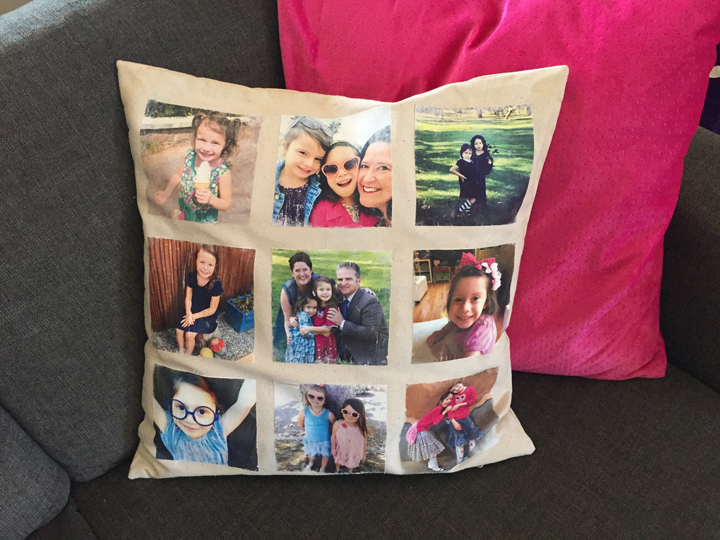
Instagram Photos onto a Pillow – Full Instructions Here
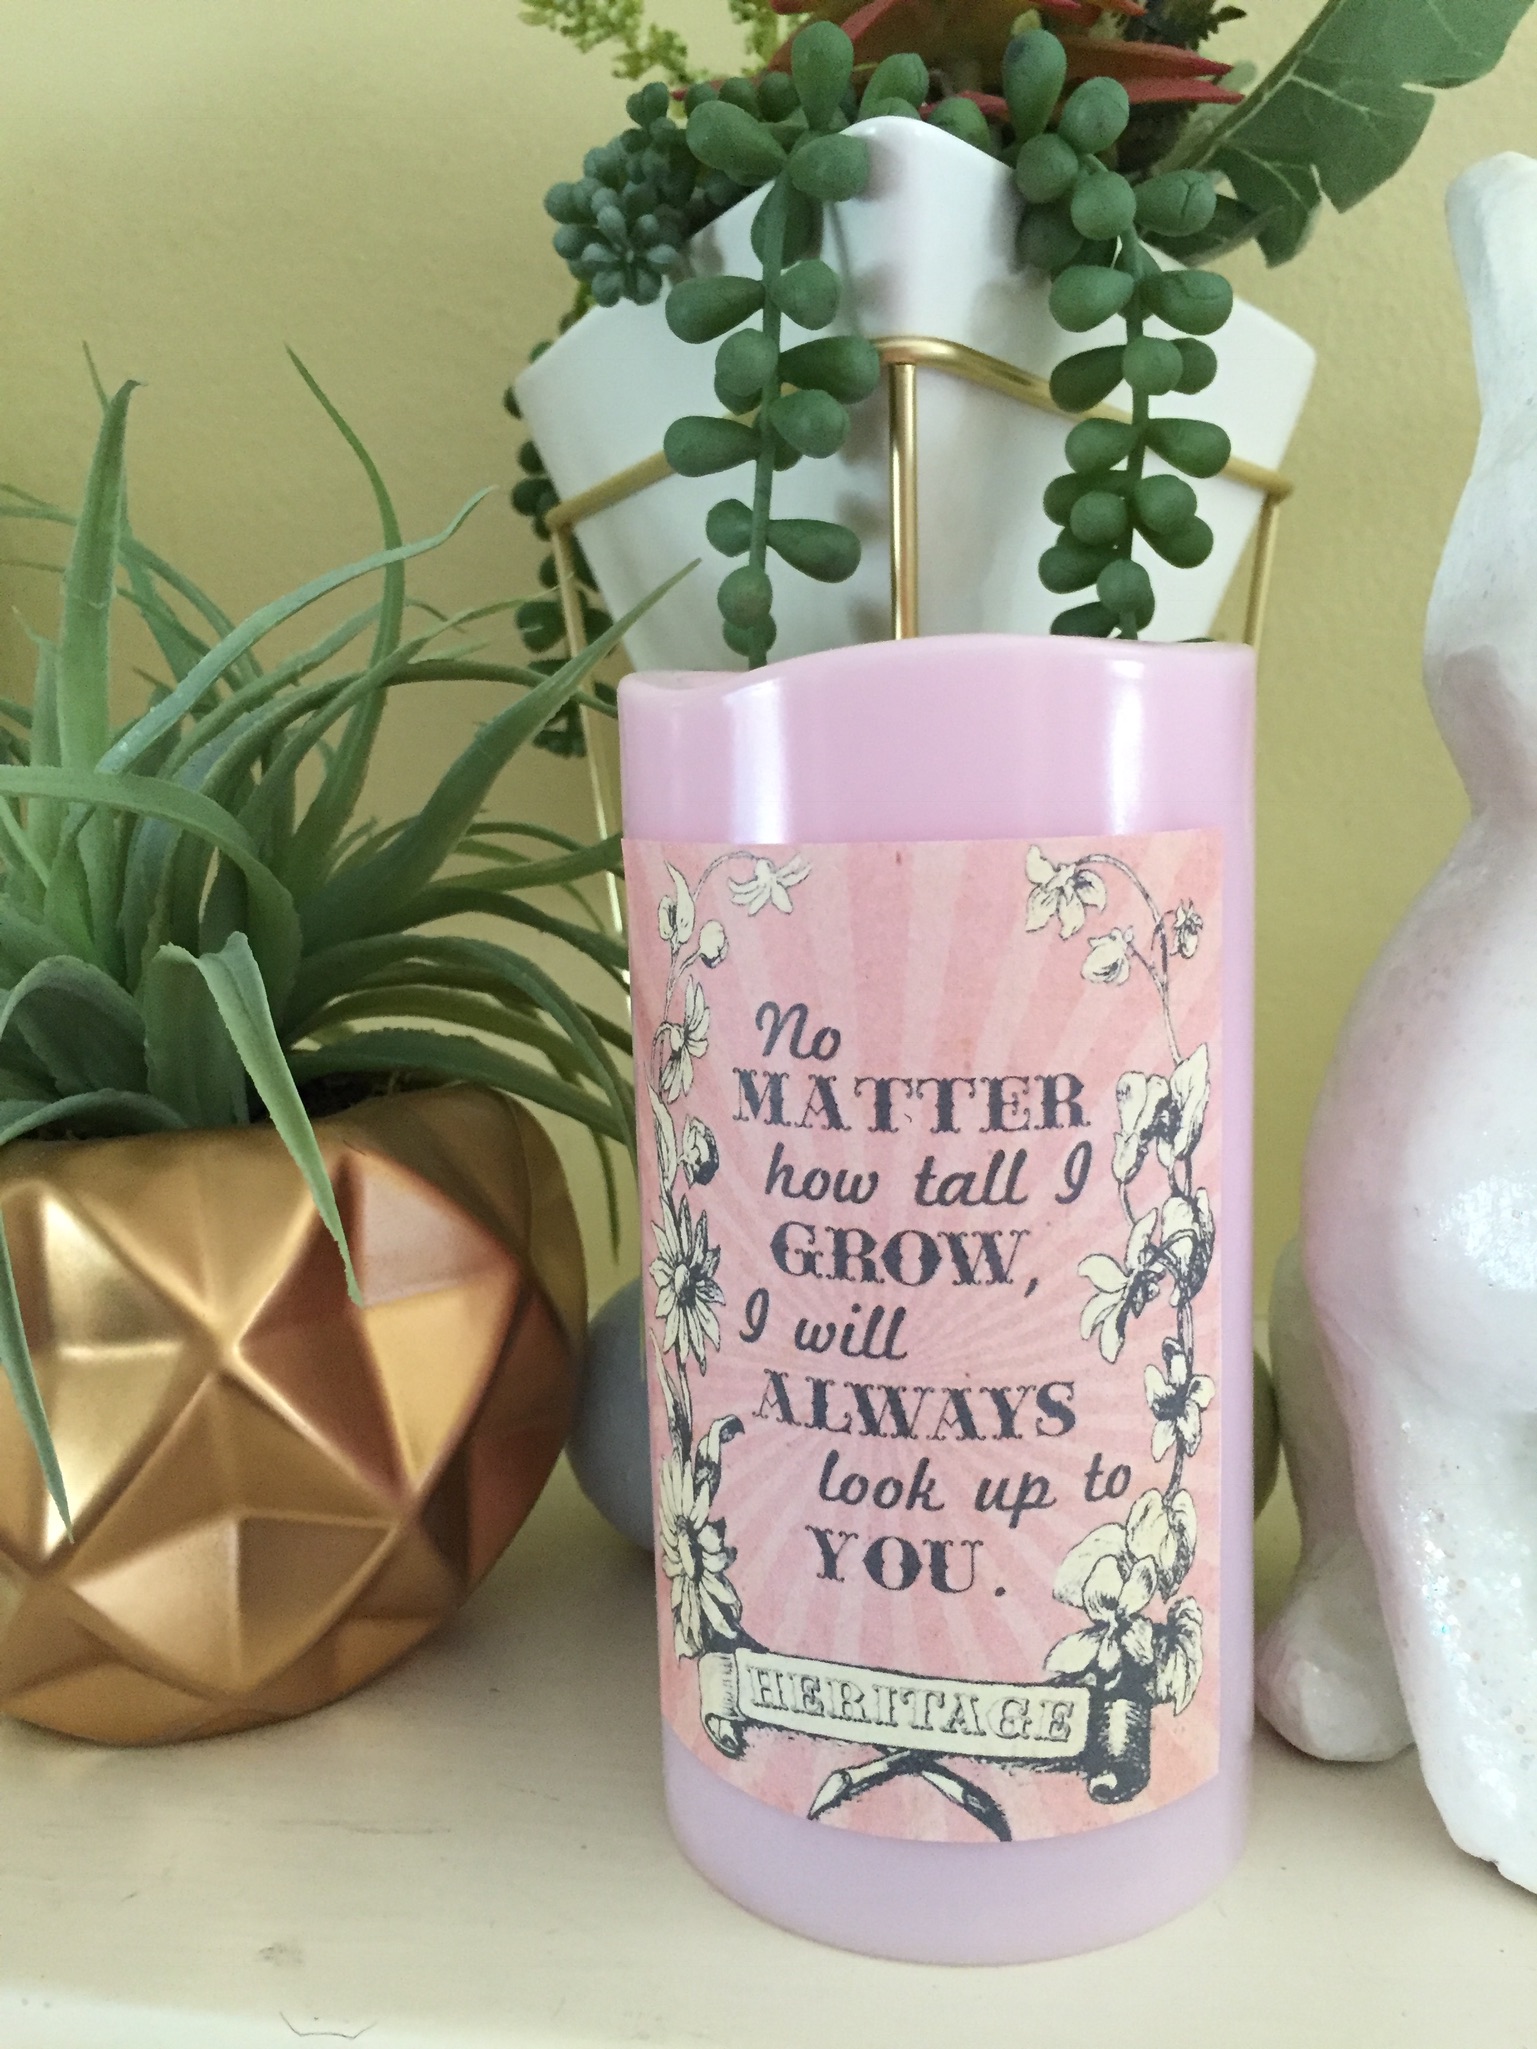
Battery Candles are perfect for Mod Podge Photo Transfer
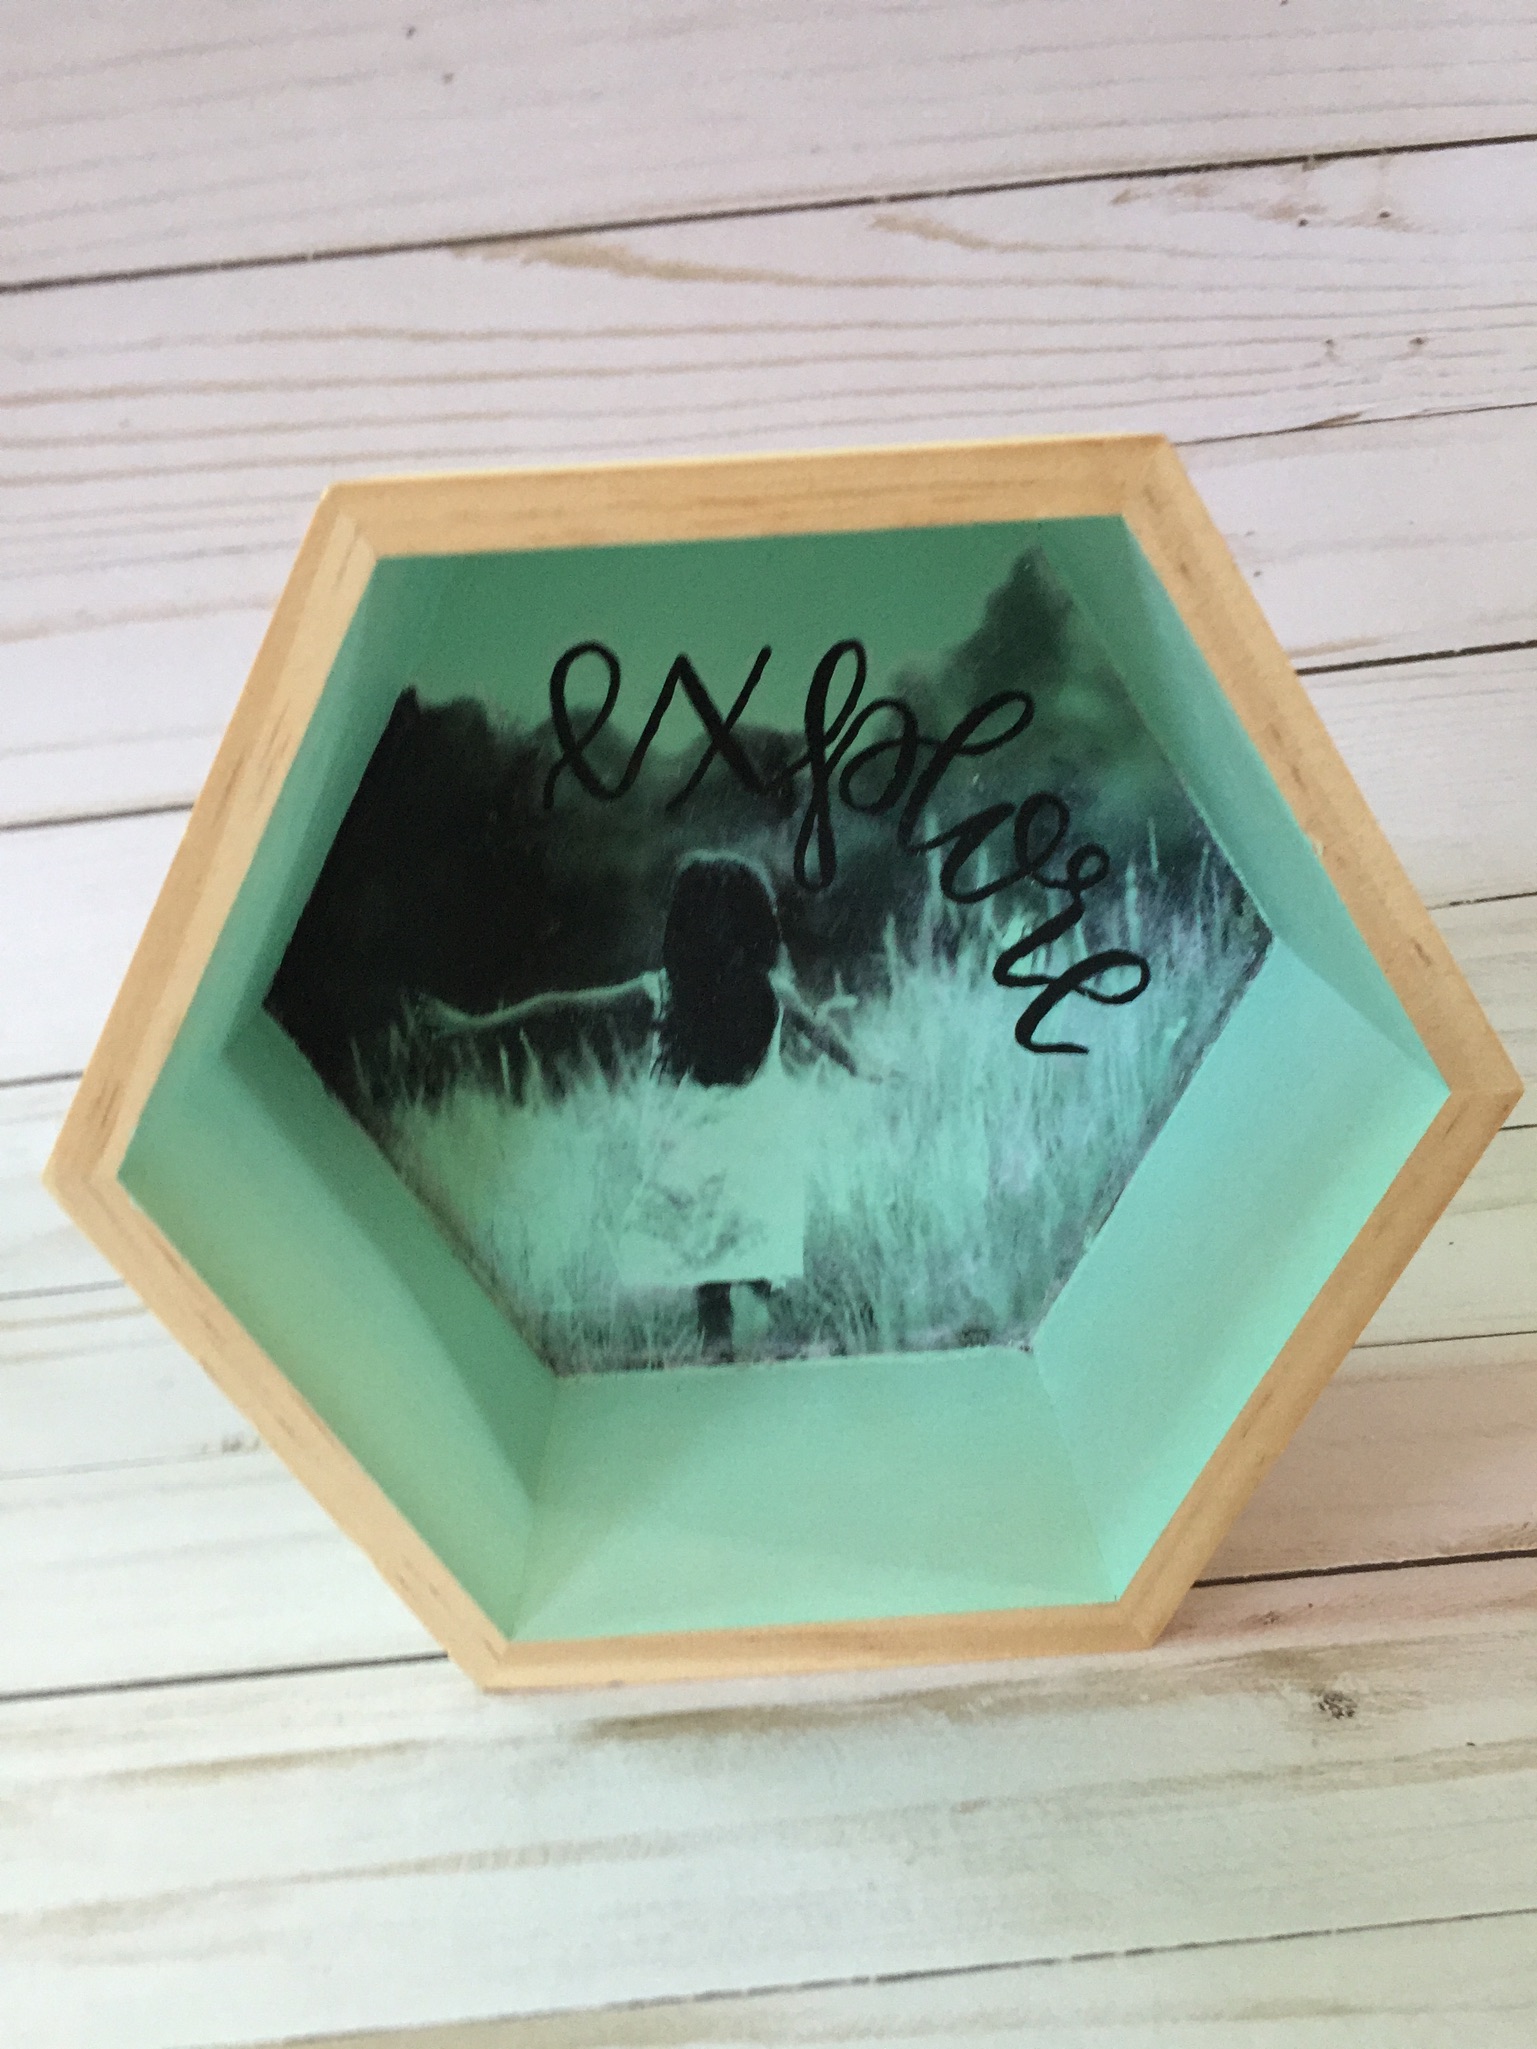
Modern Photo Art onto Wood Geometric Blocks
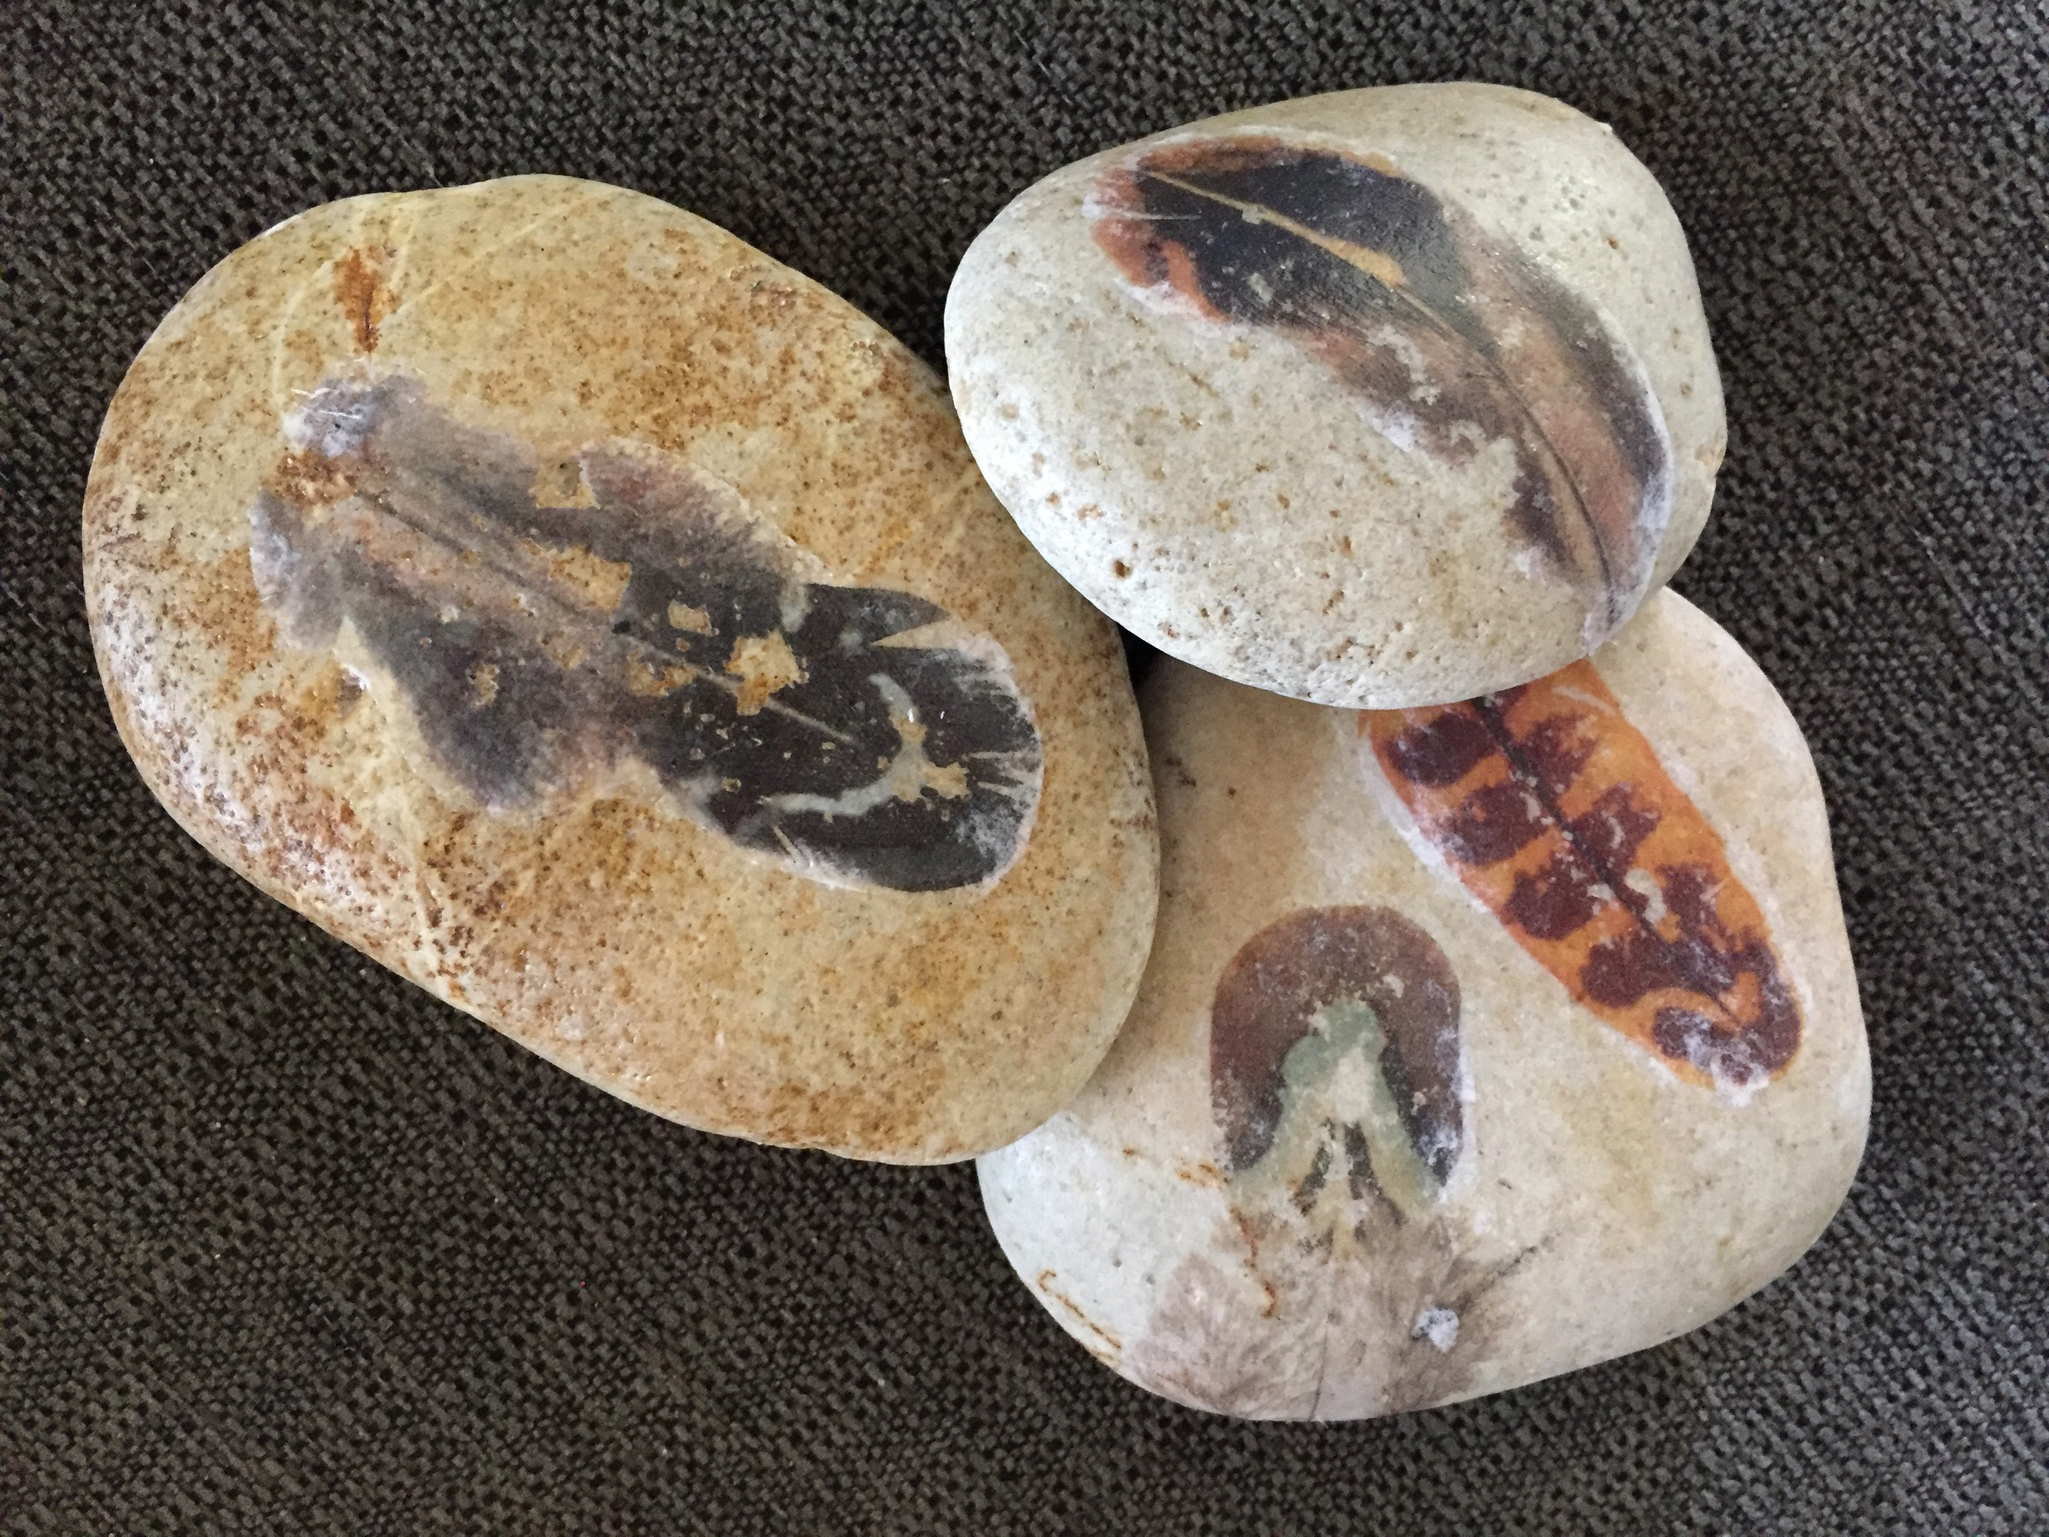
Distressed Paper Feathers onto River Rock
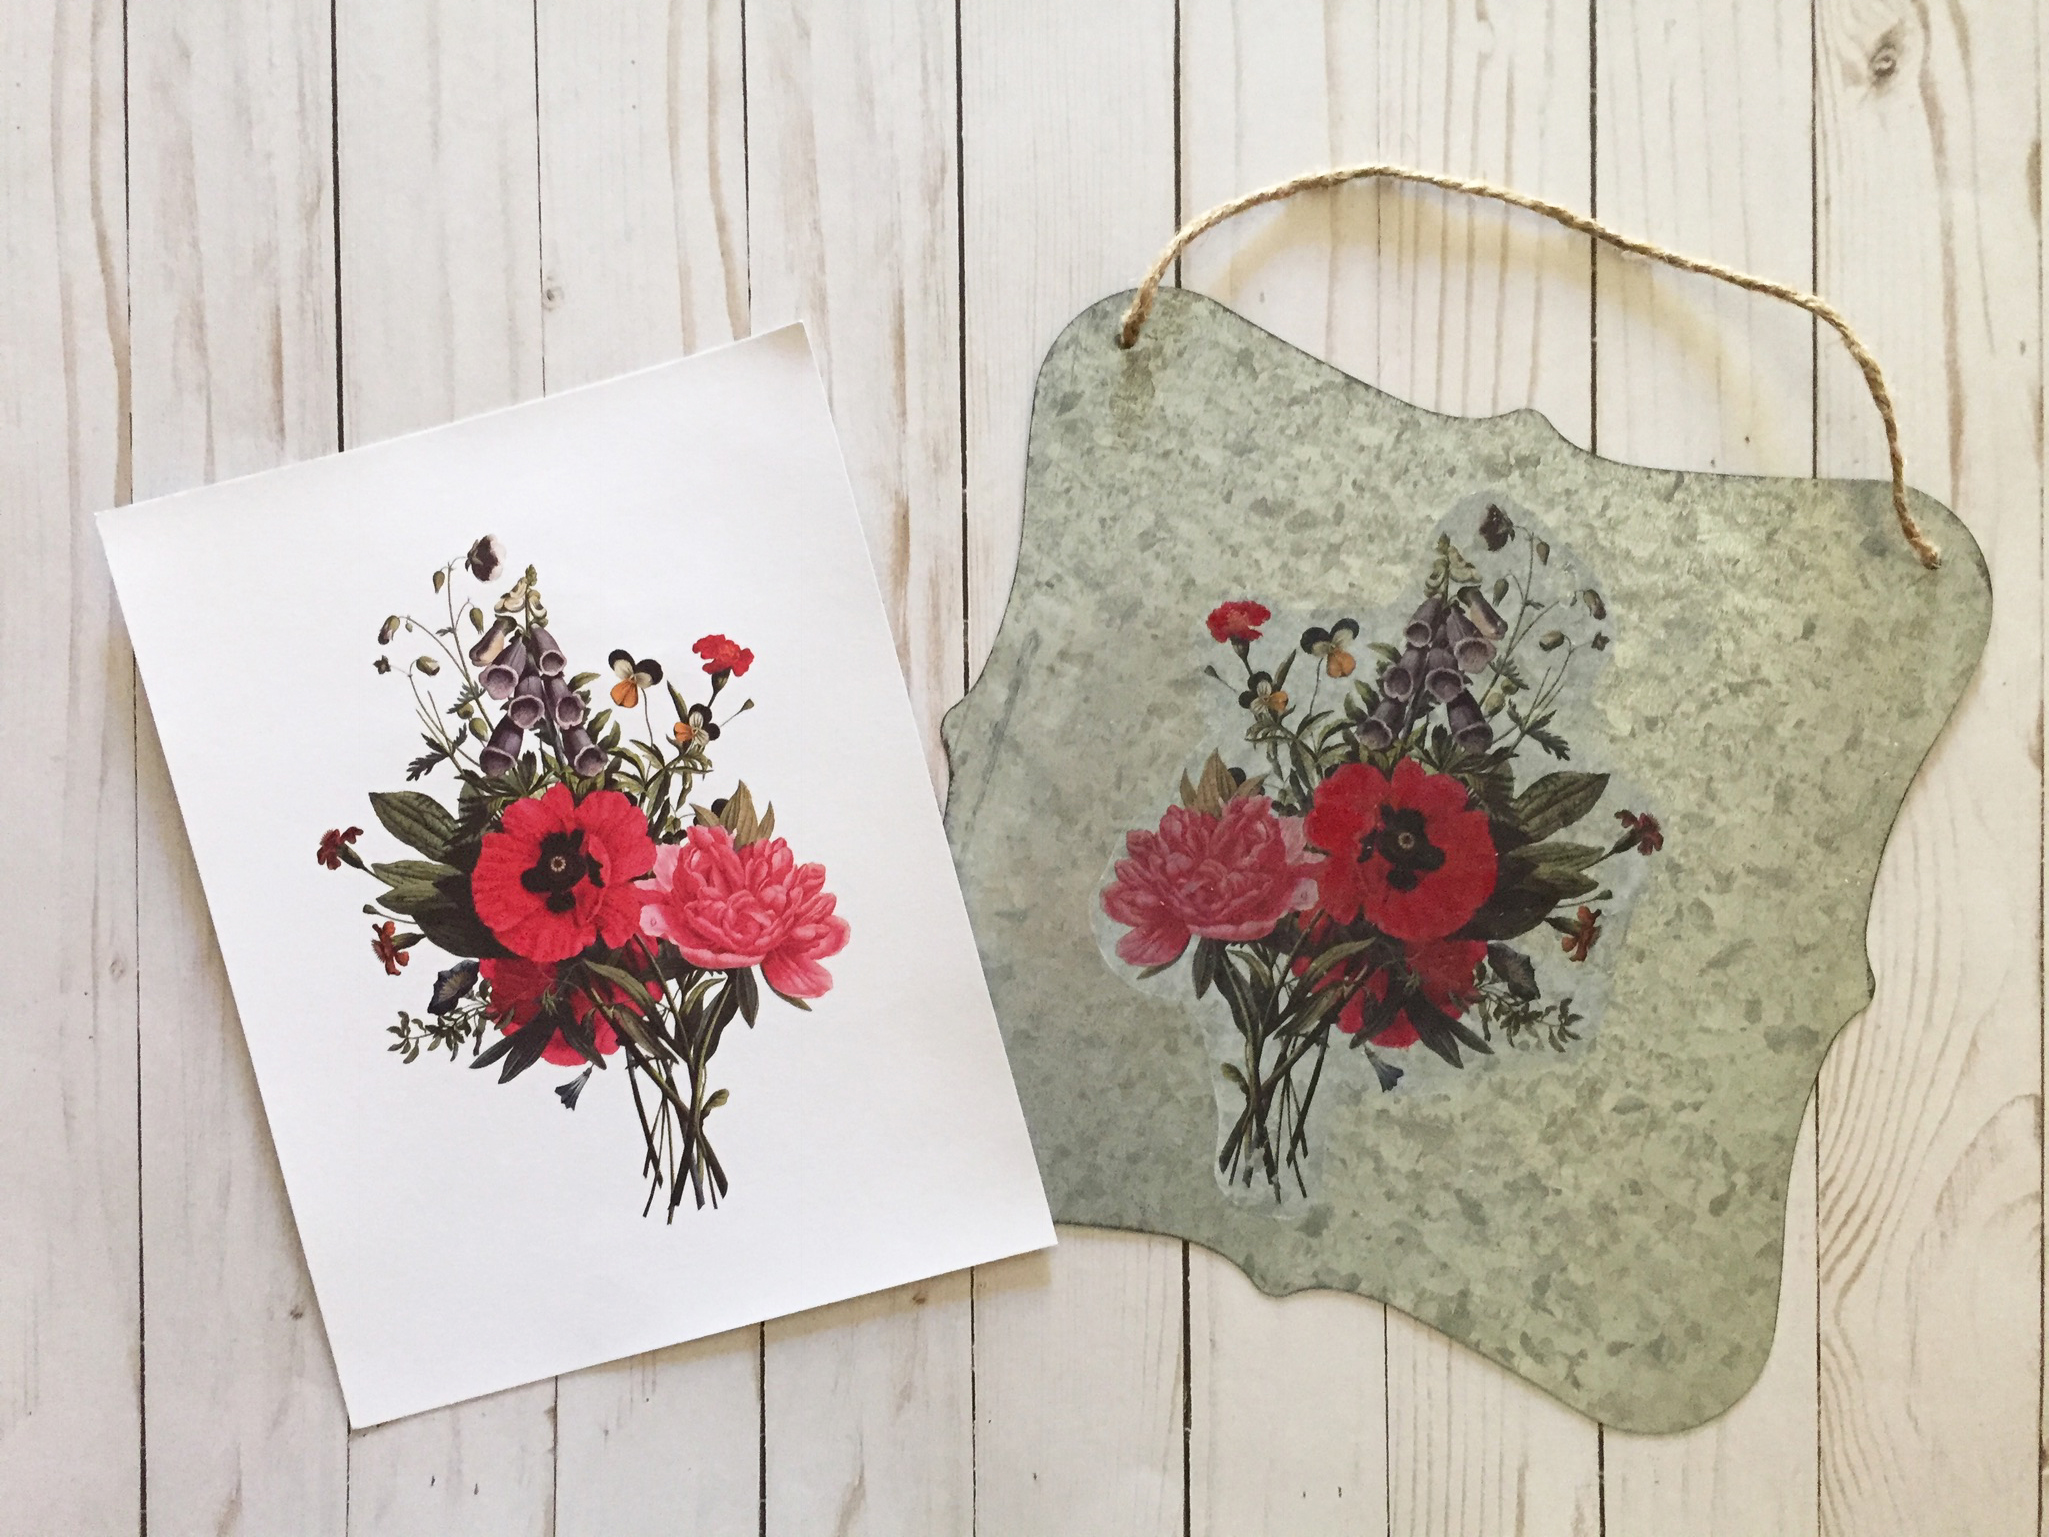
Floral Images onto Vintage Tin
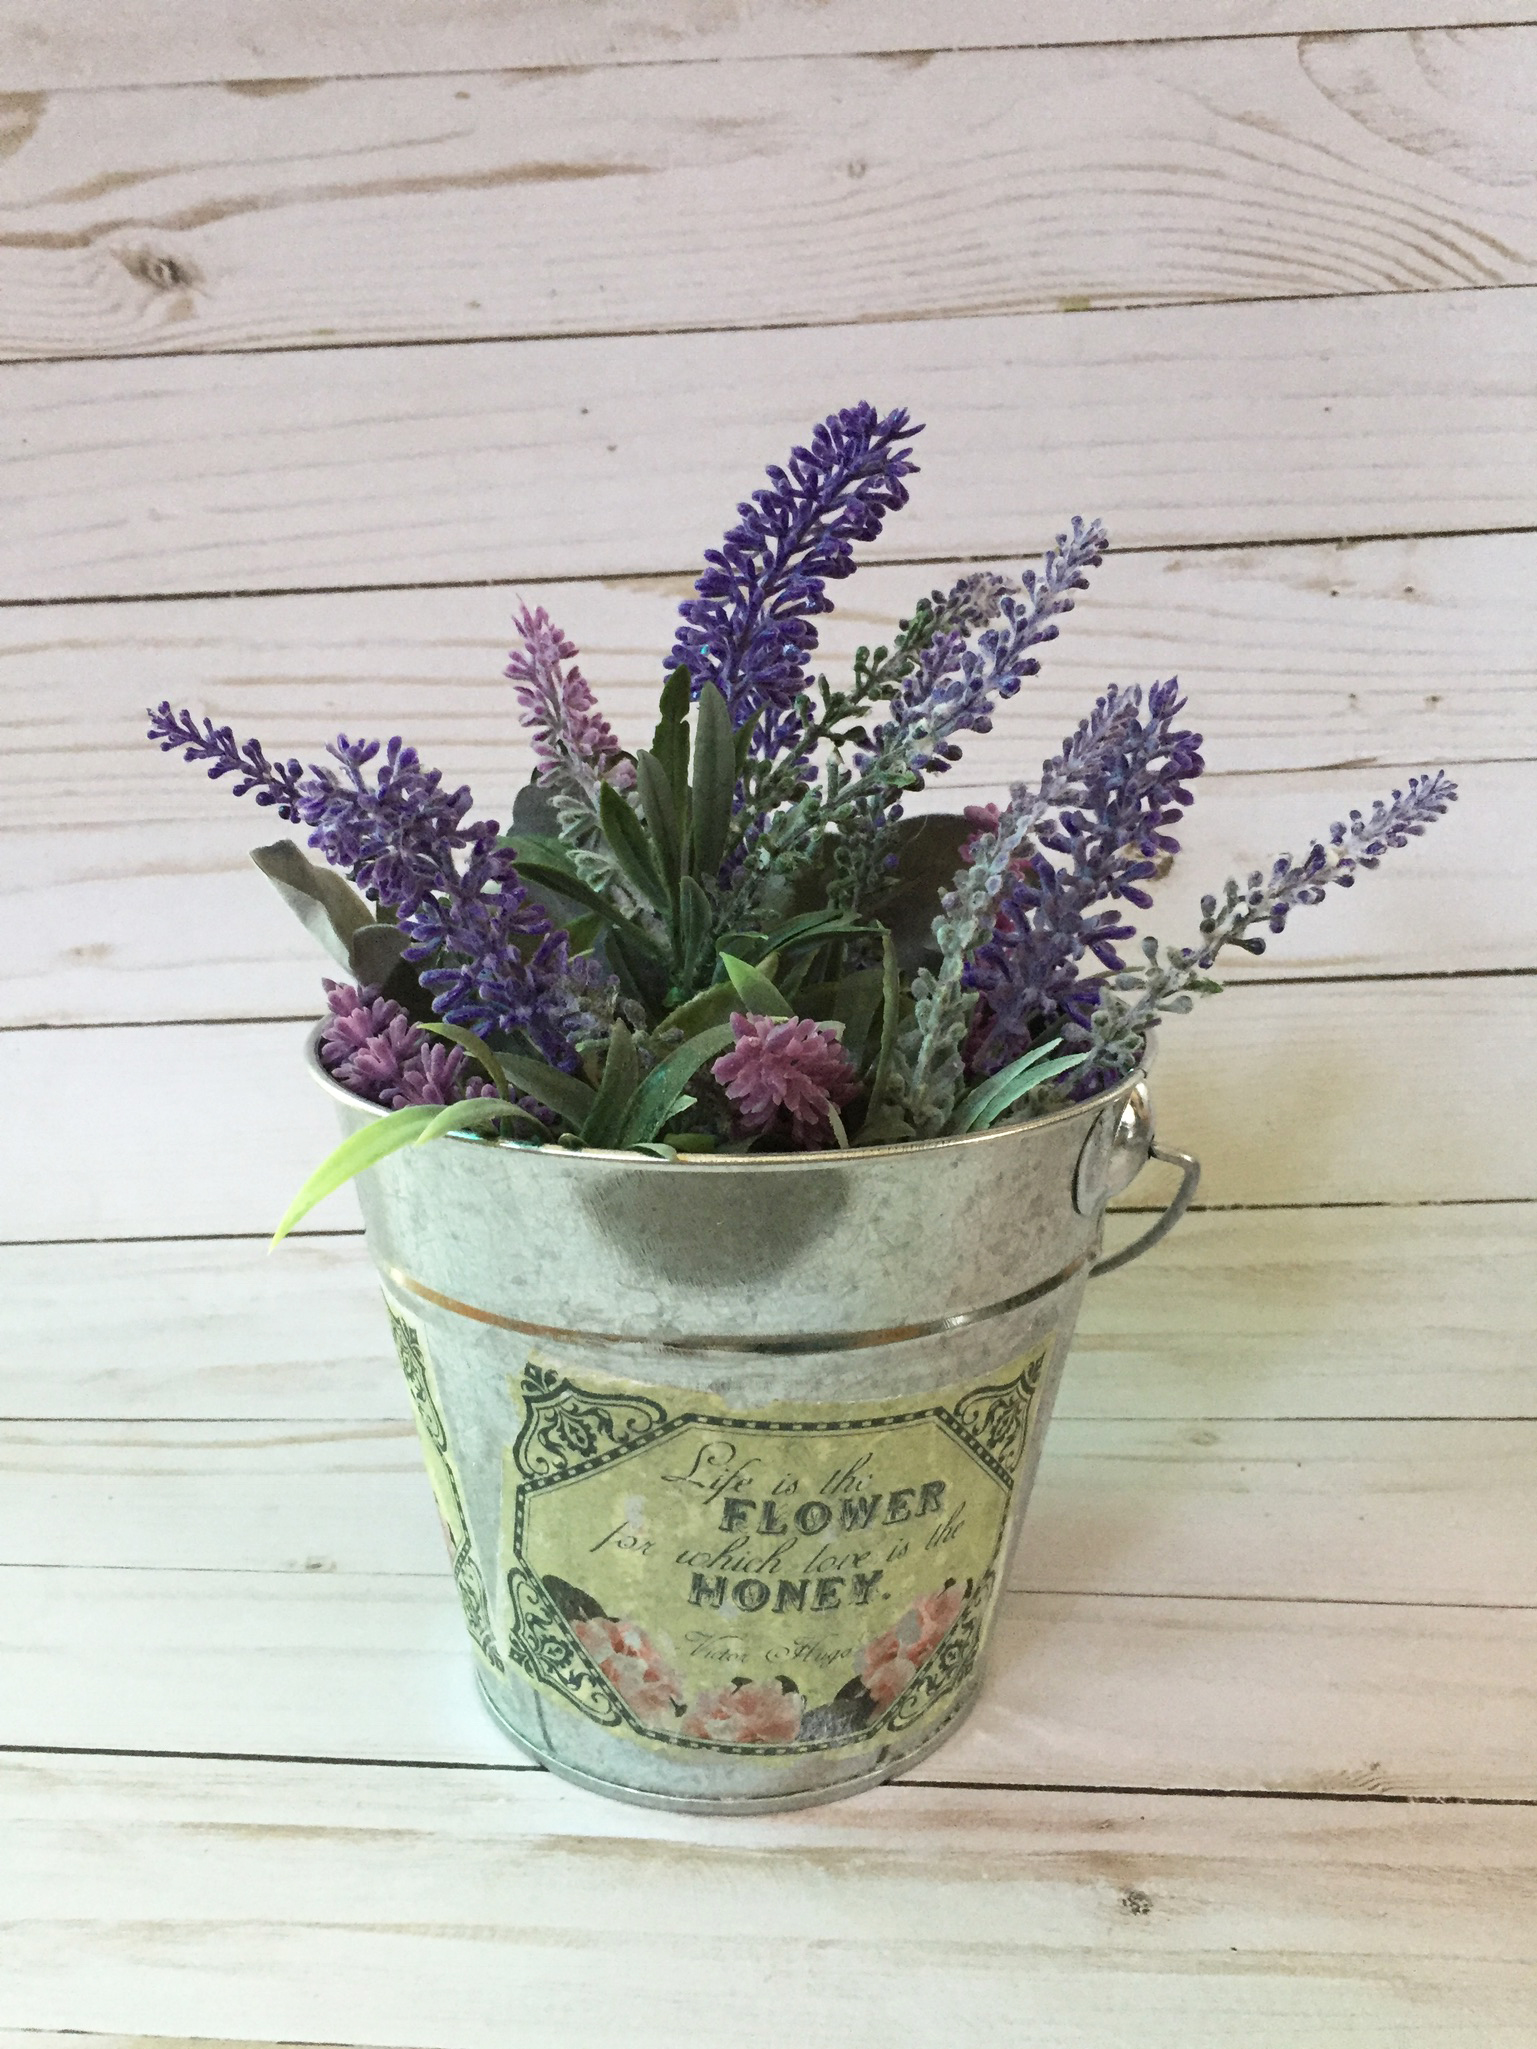
Distressed Label onto a Tin Bucket
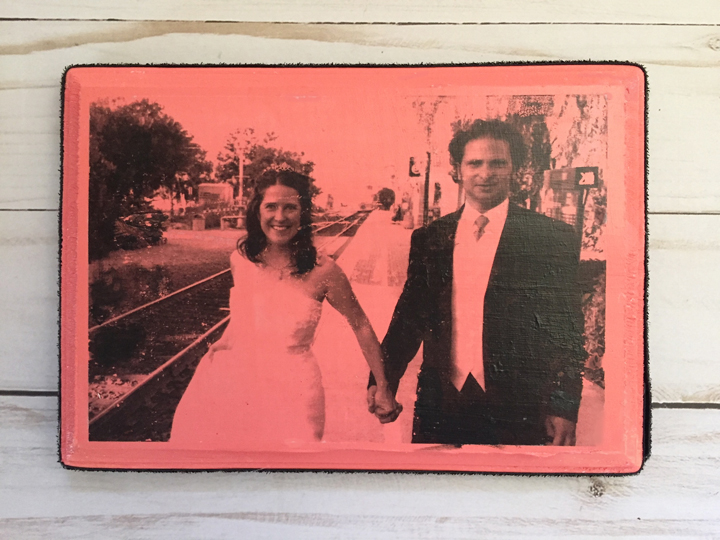
Wedding photo onto a painted wood plaque
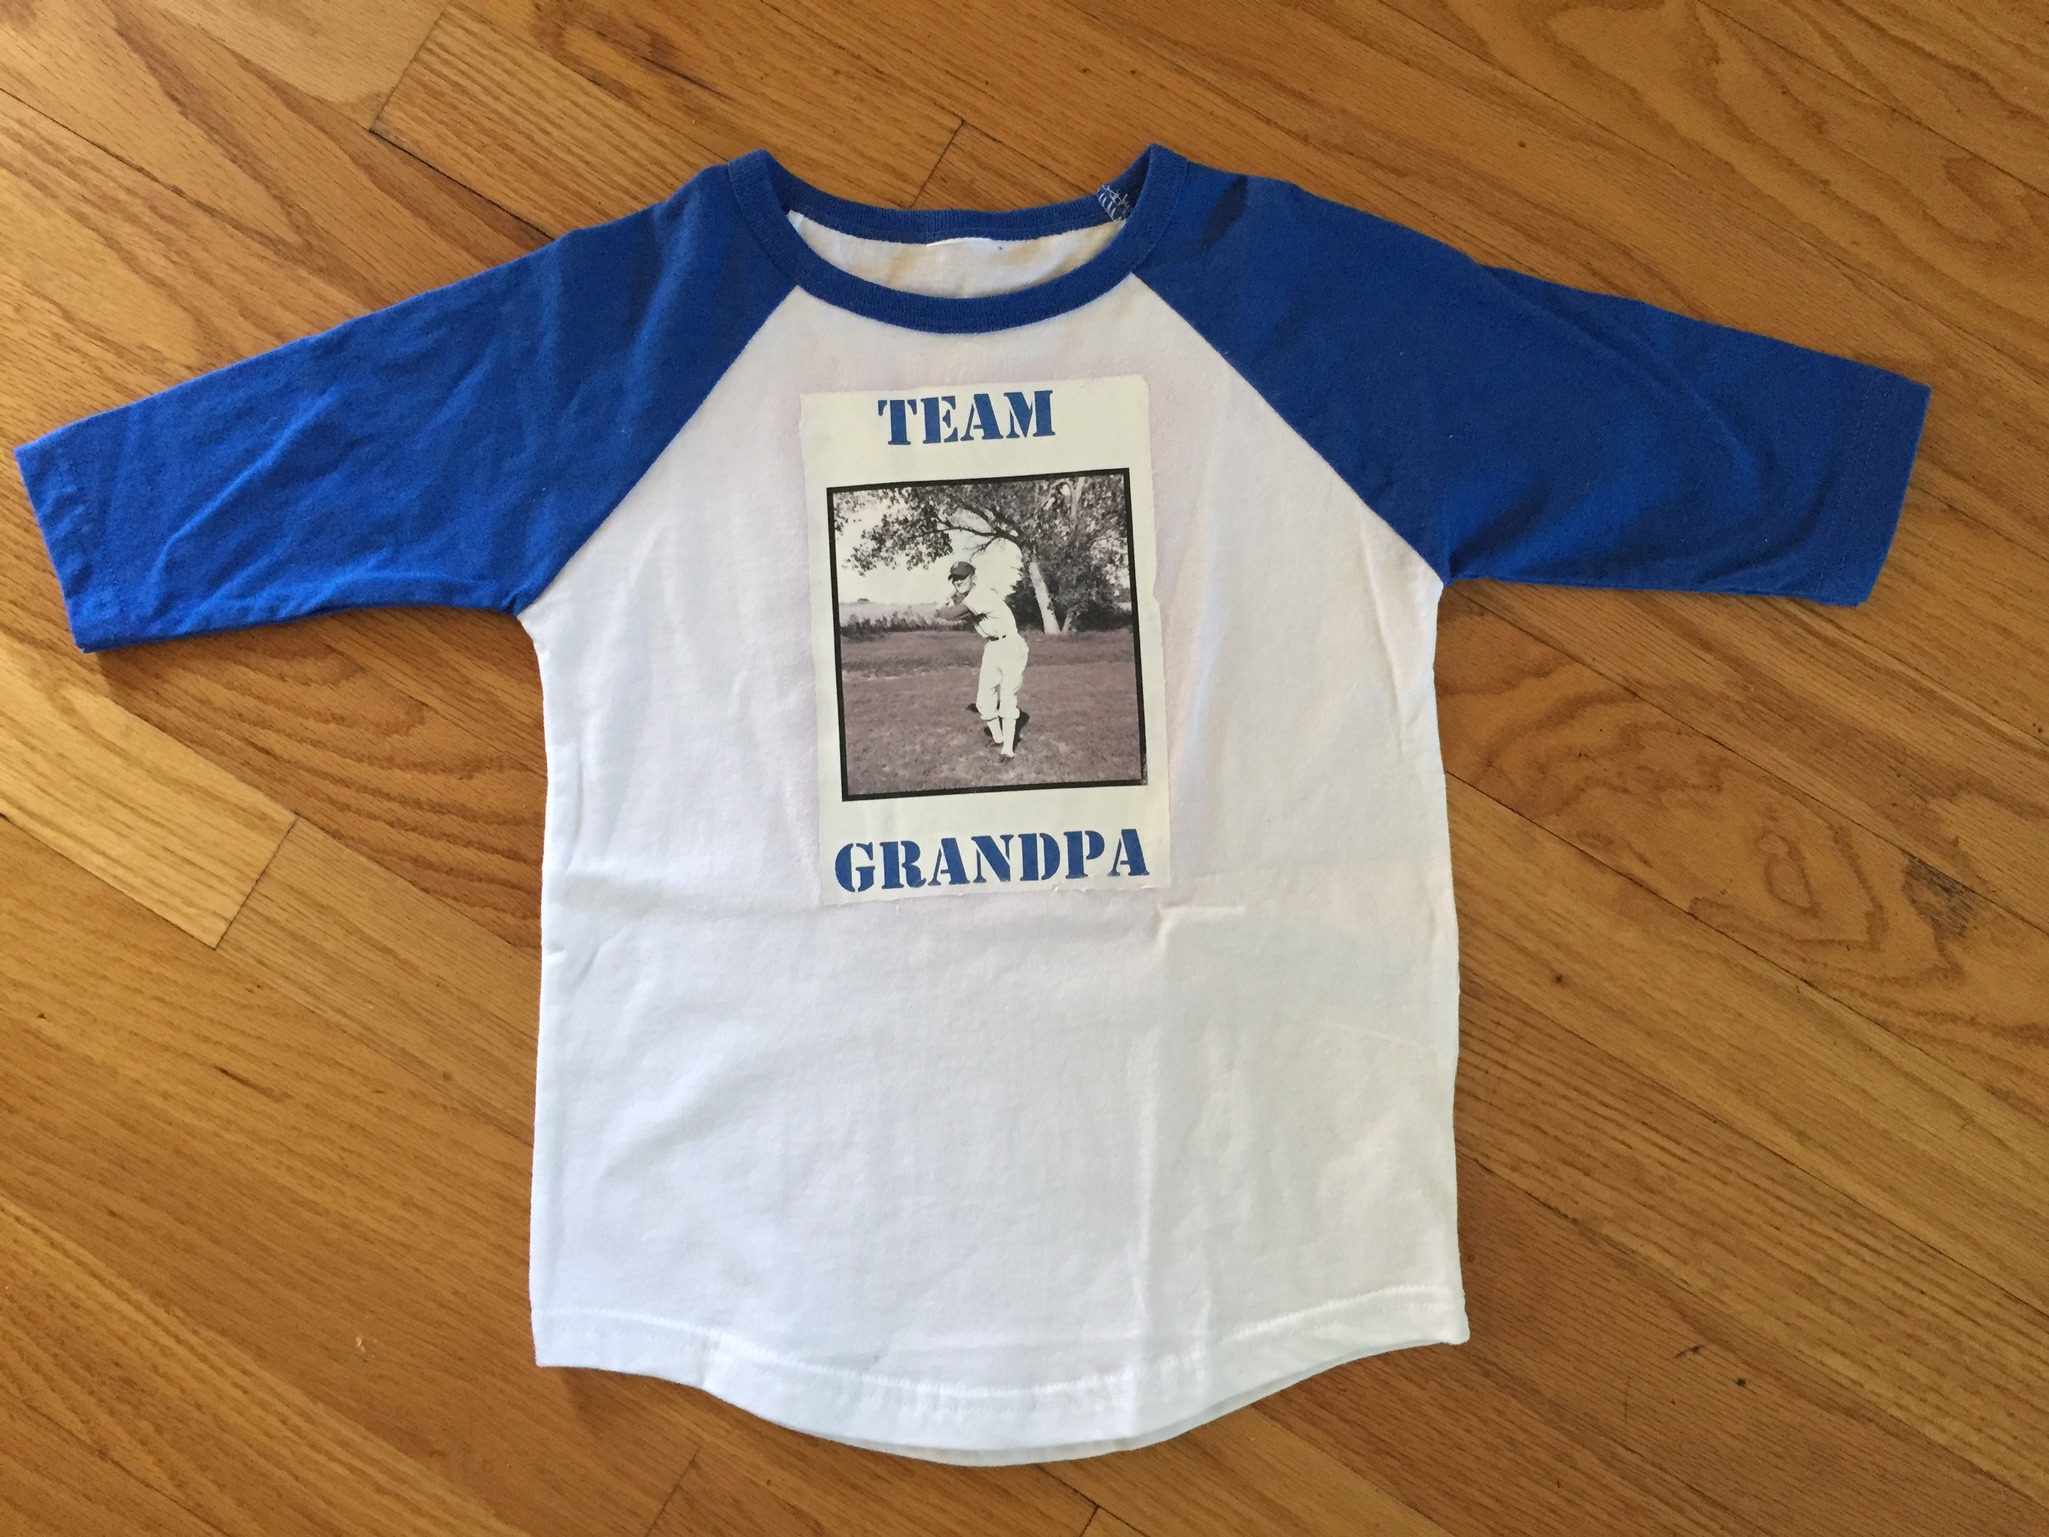
Personalize family tees for holidays, birthdays and reunions.
Transfer images onto jewelry boxes, furniture and home decor.
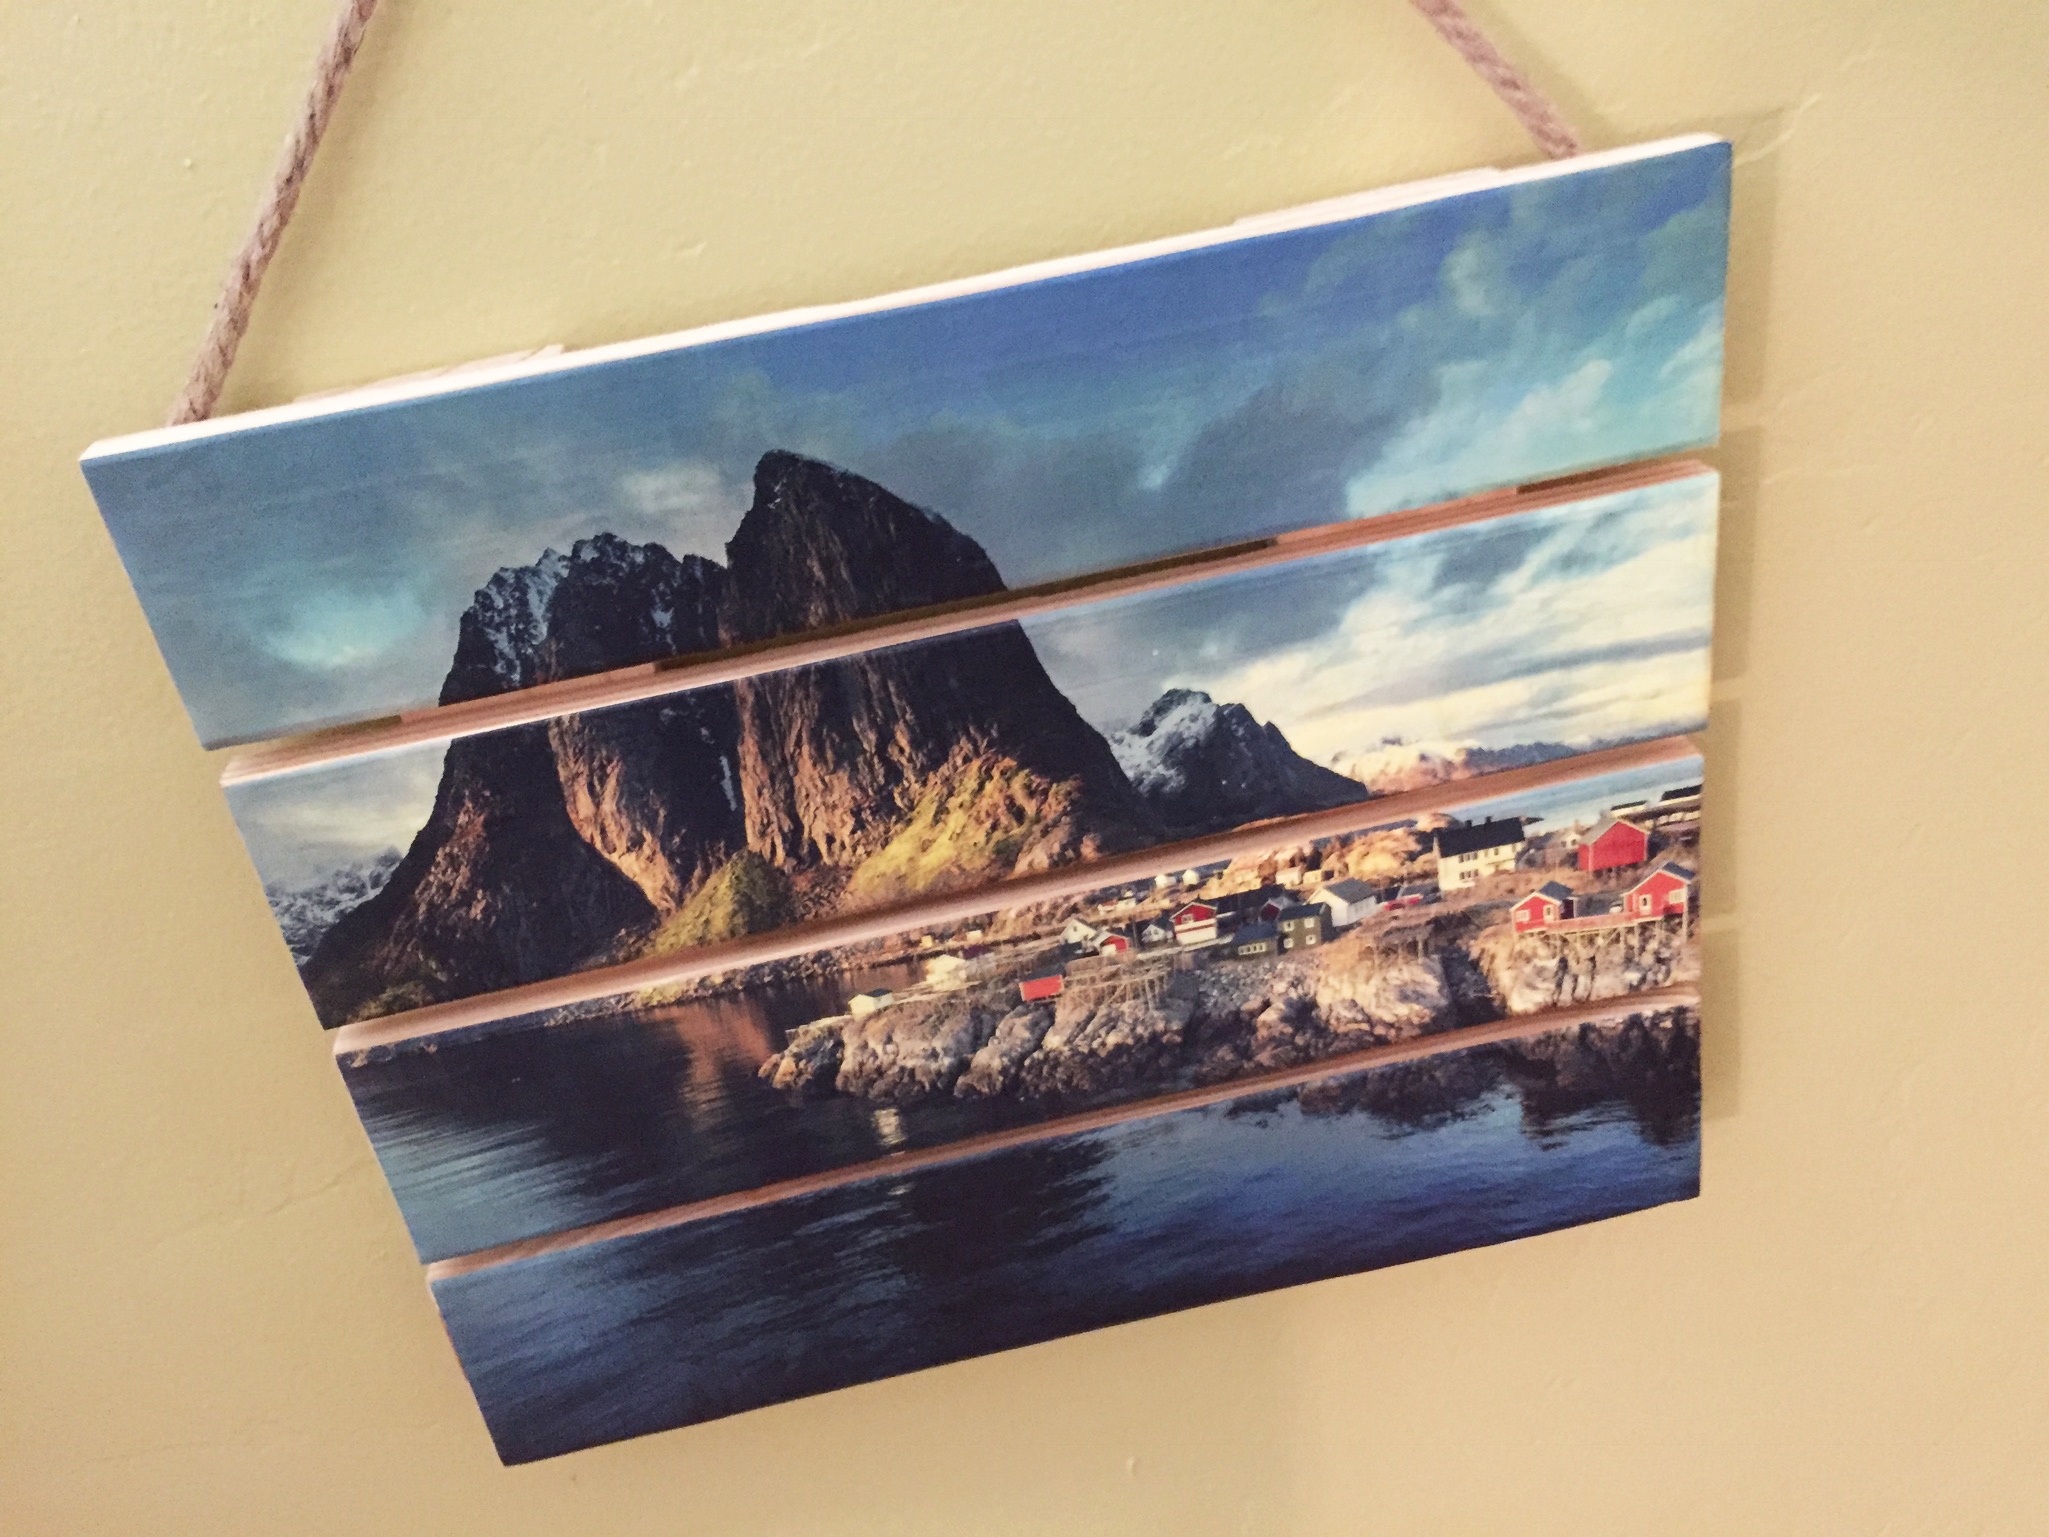
Photo transfer travel photos onto wood pallets.
Facebook Live
Thanks for stopping by…. please leave a comment if you have any questions.
