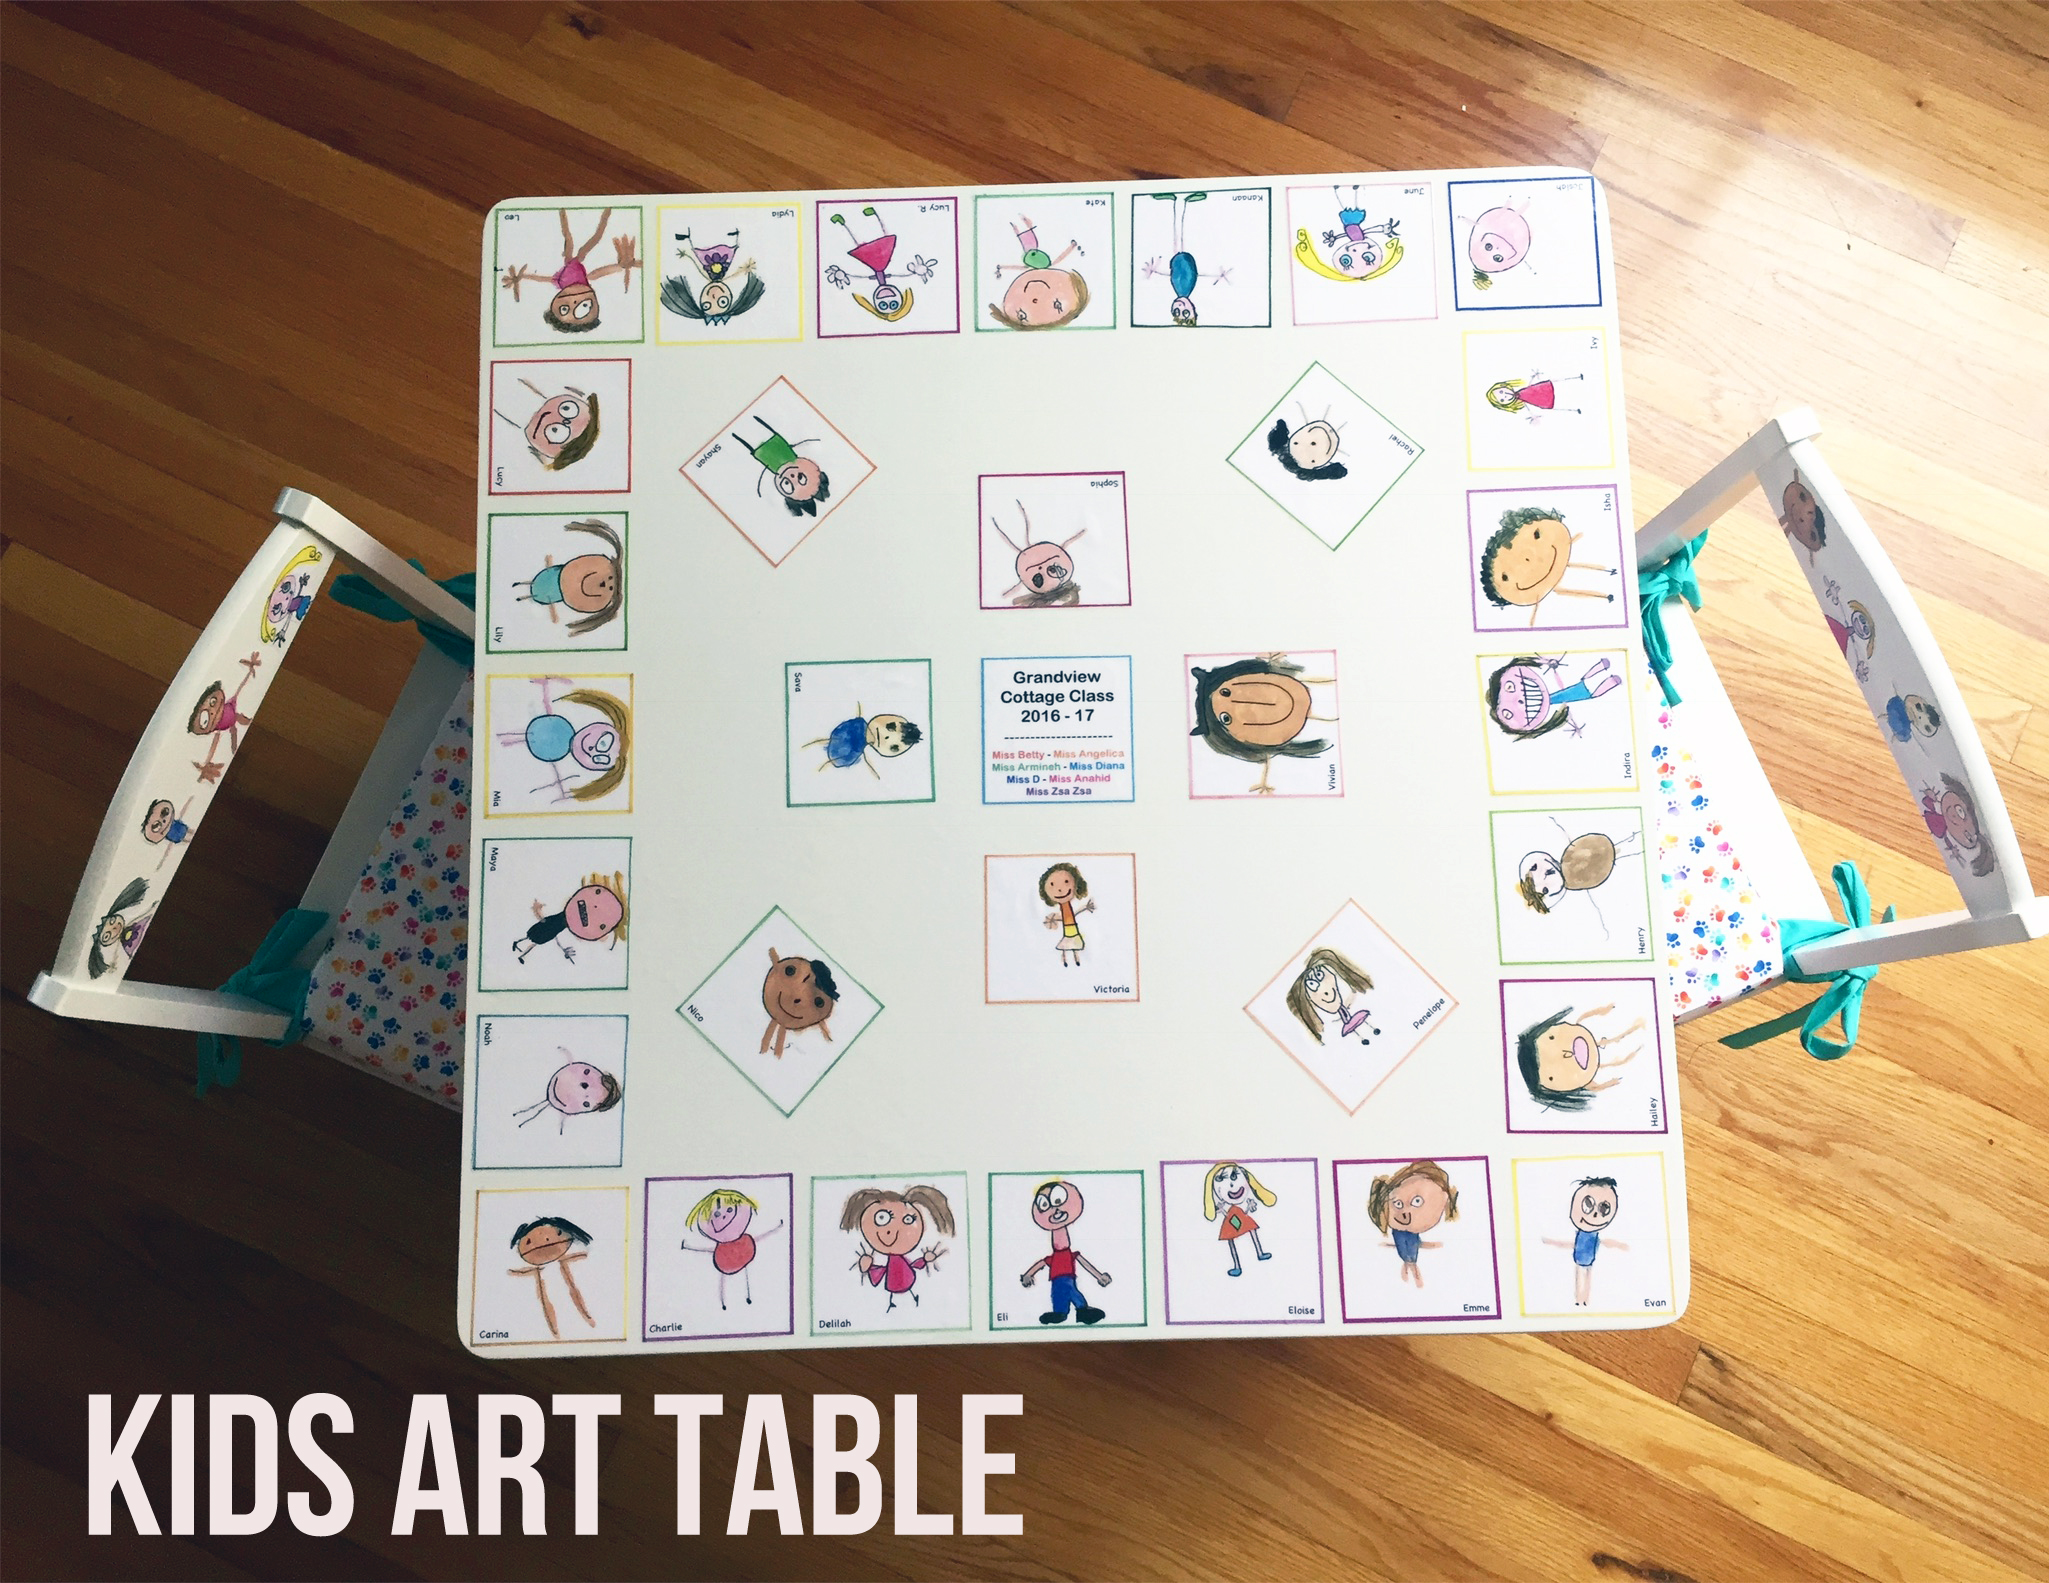
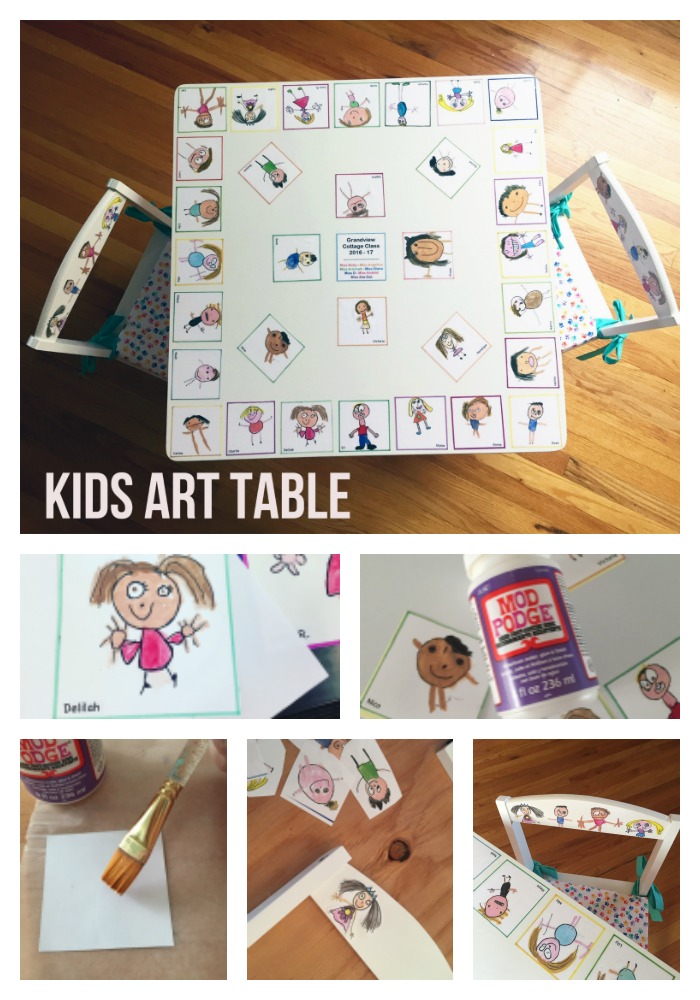
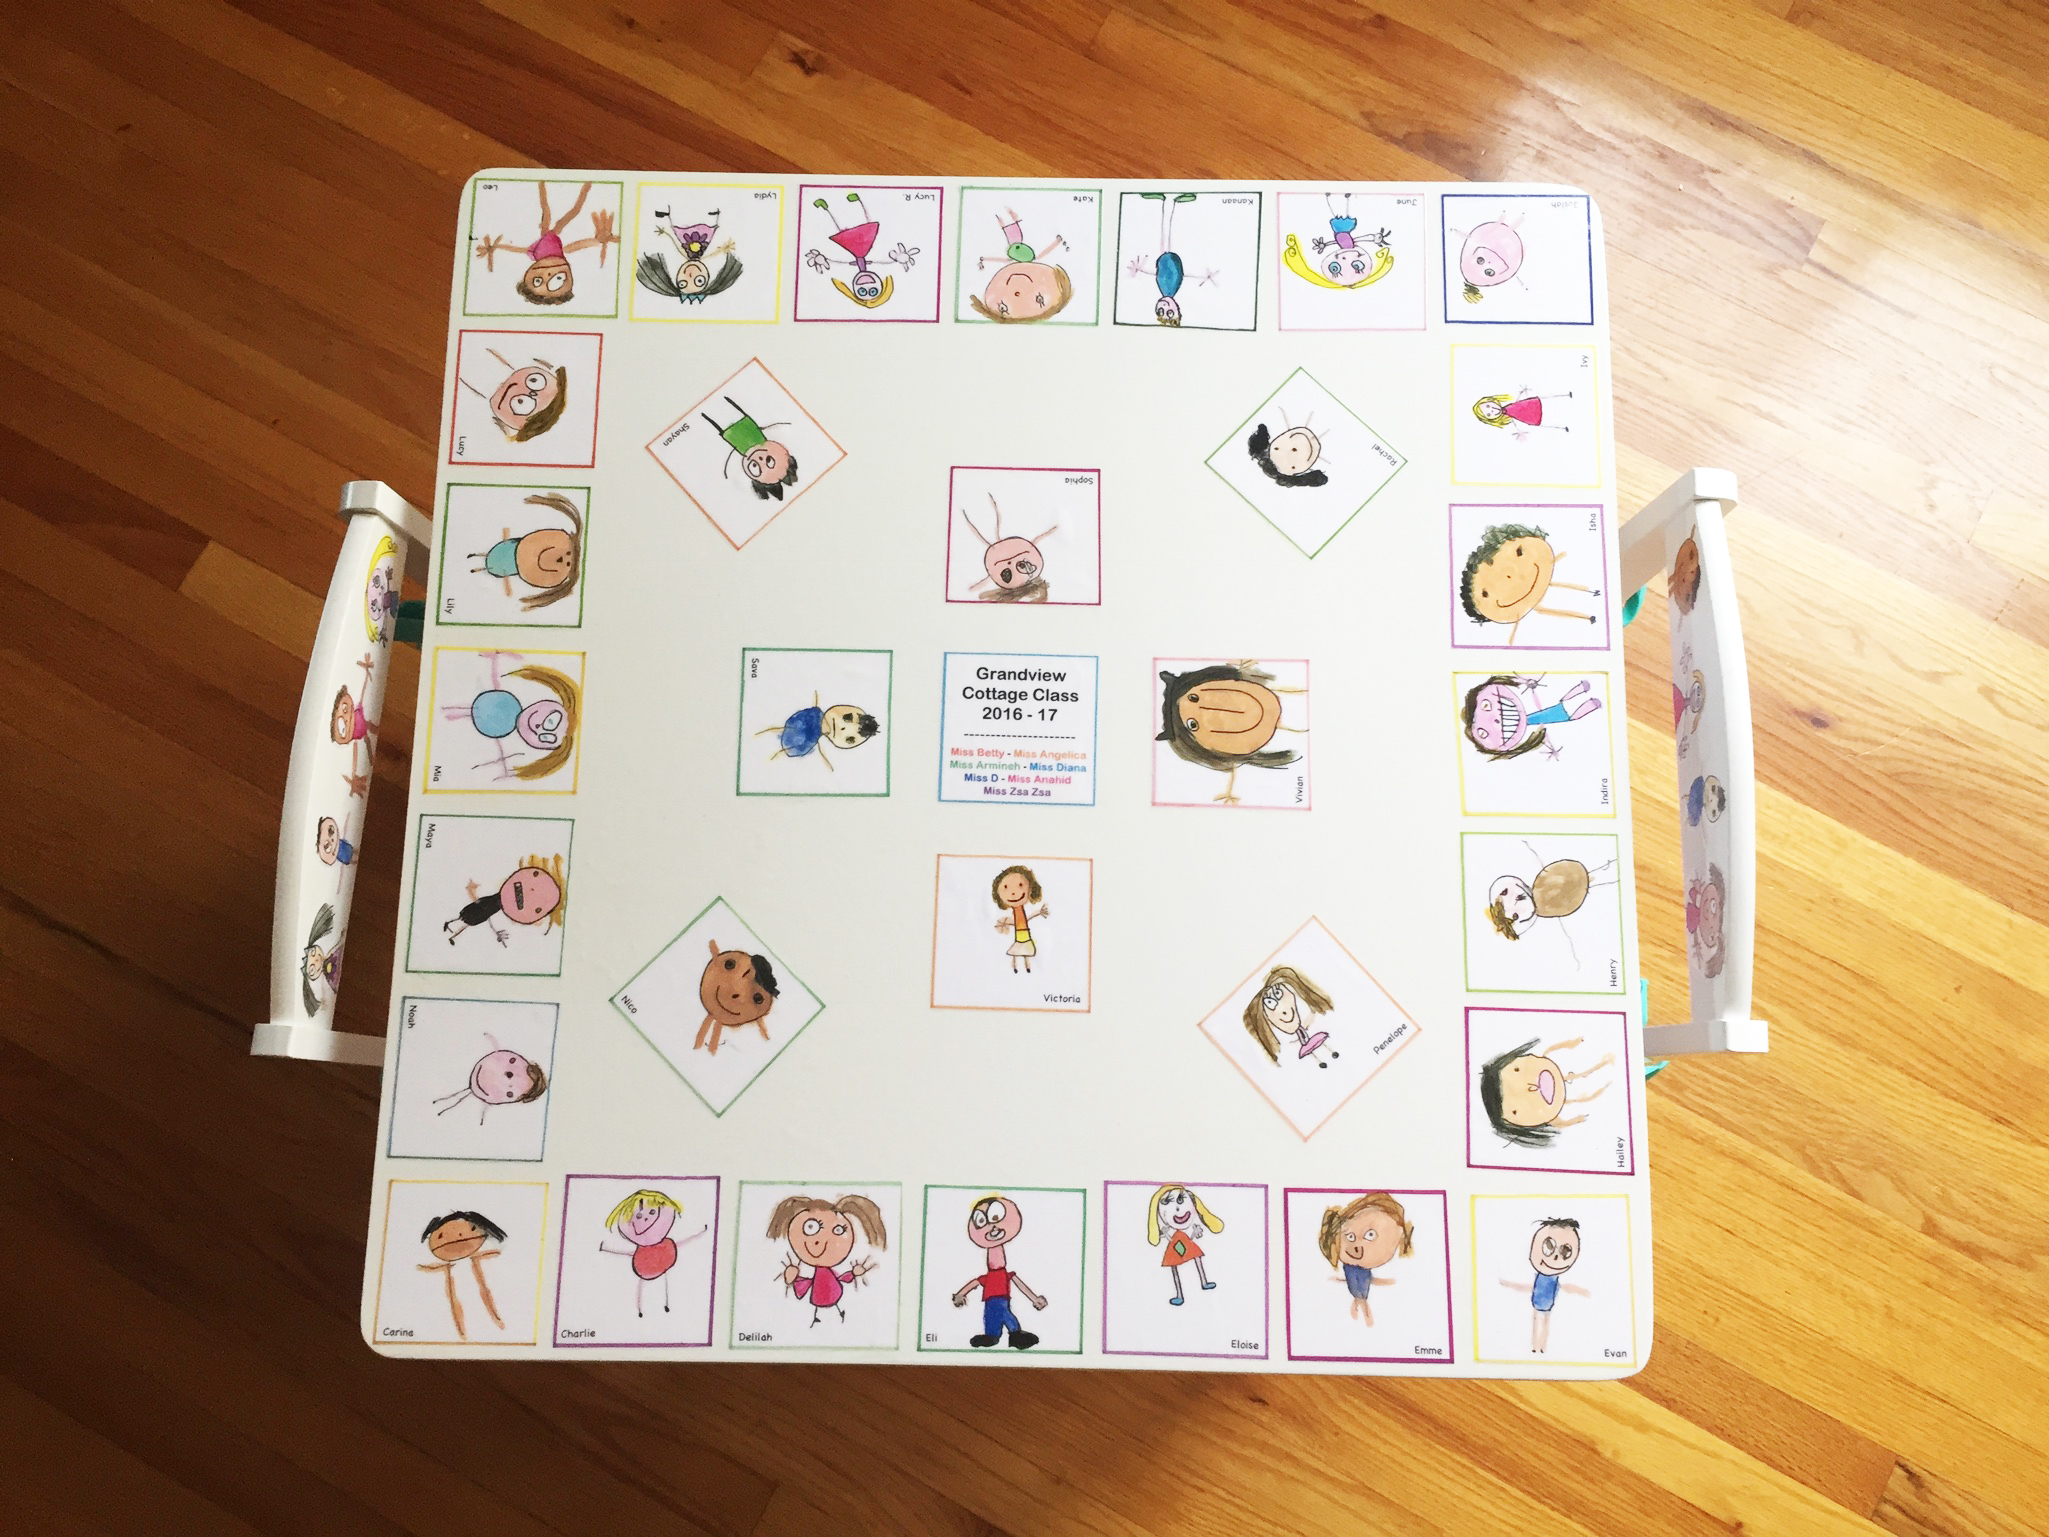
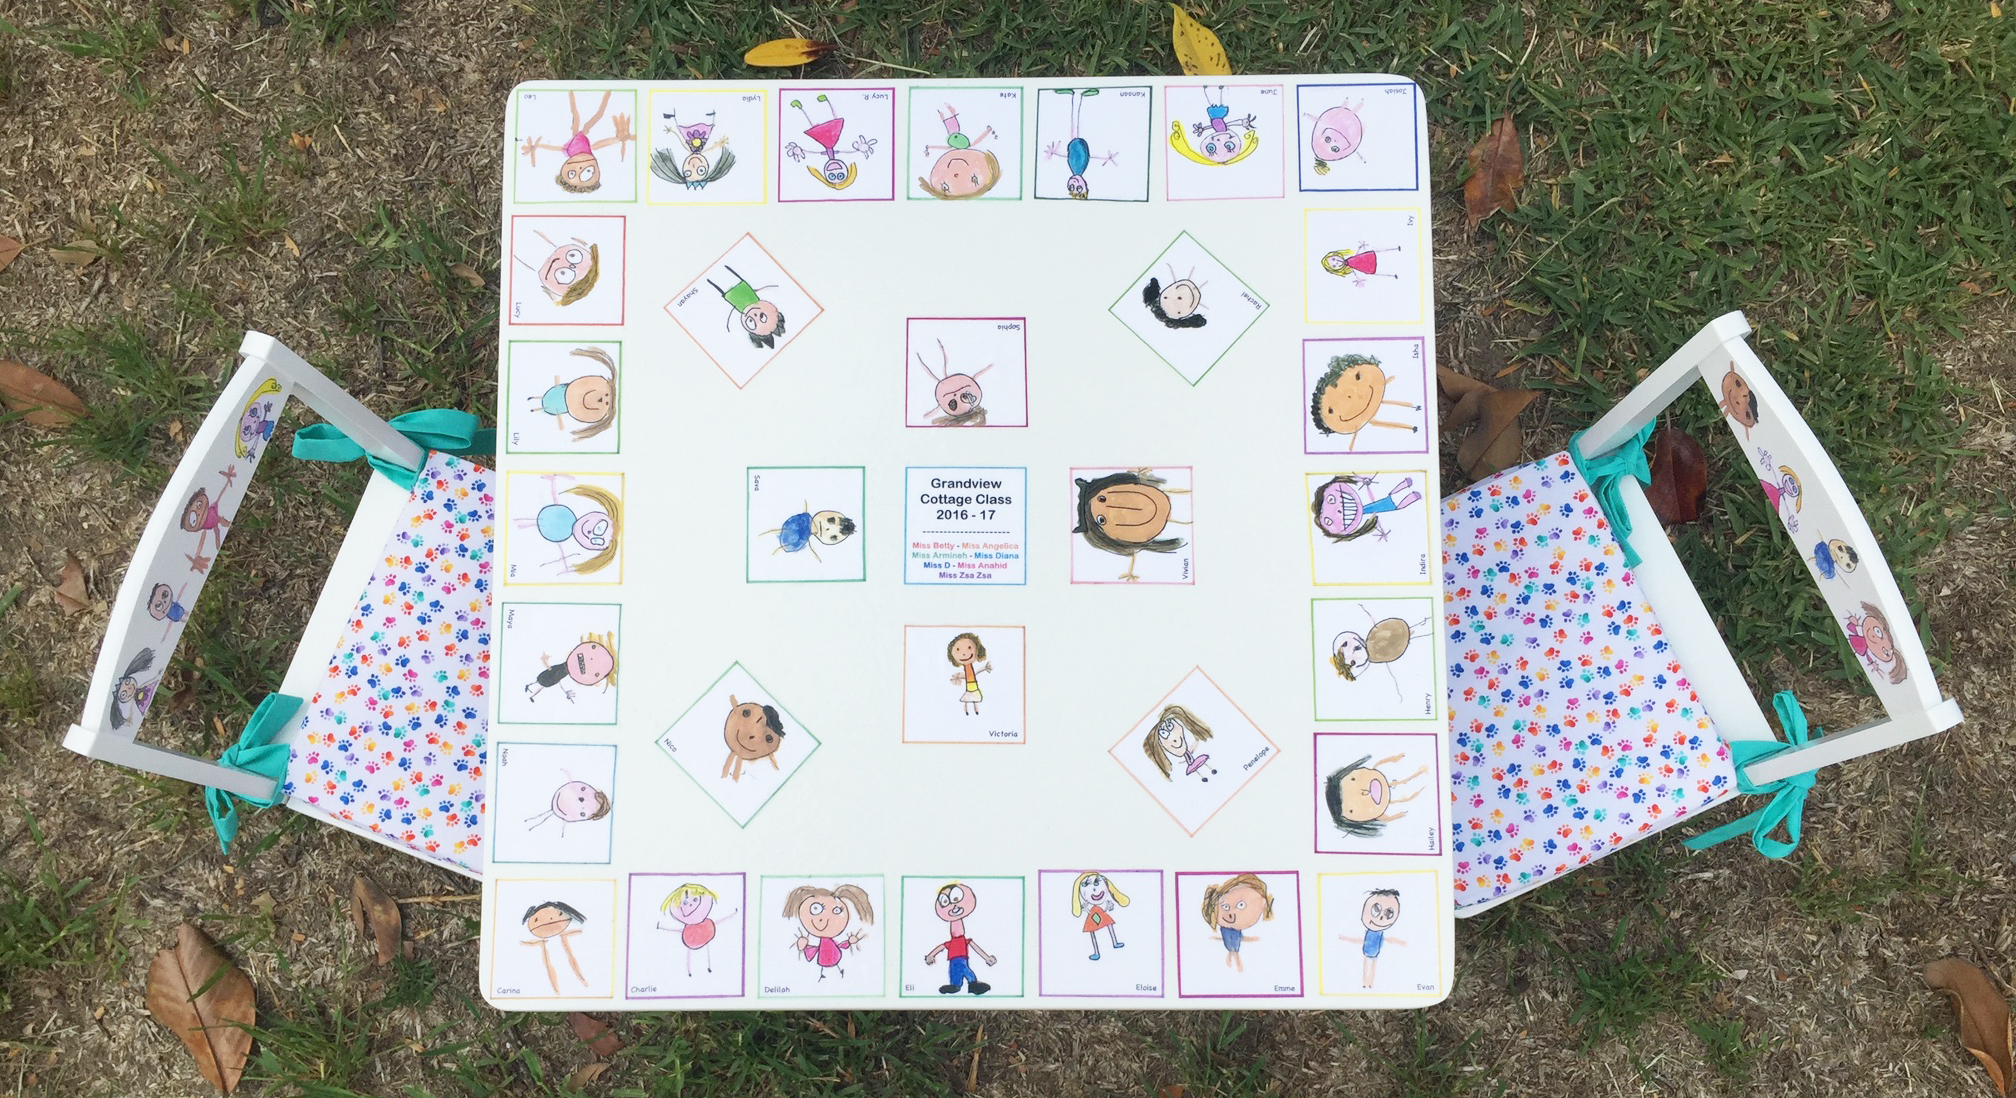
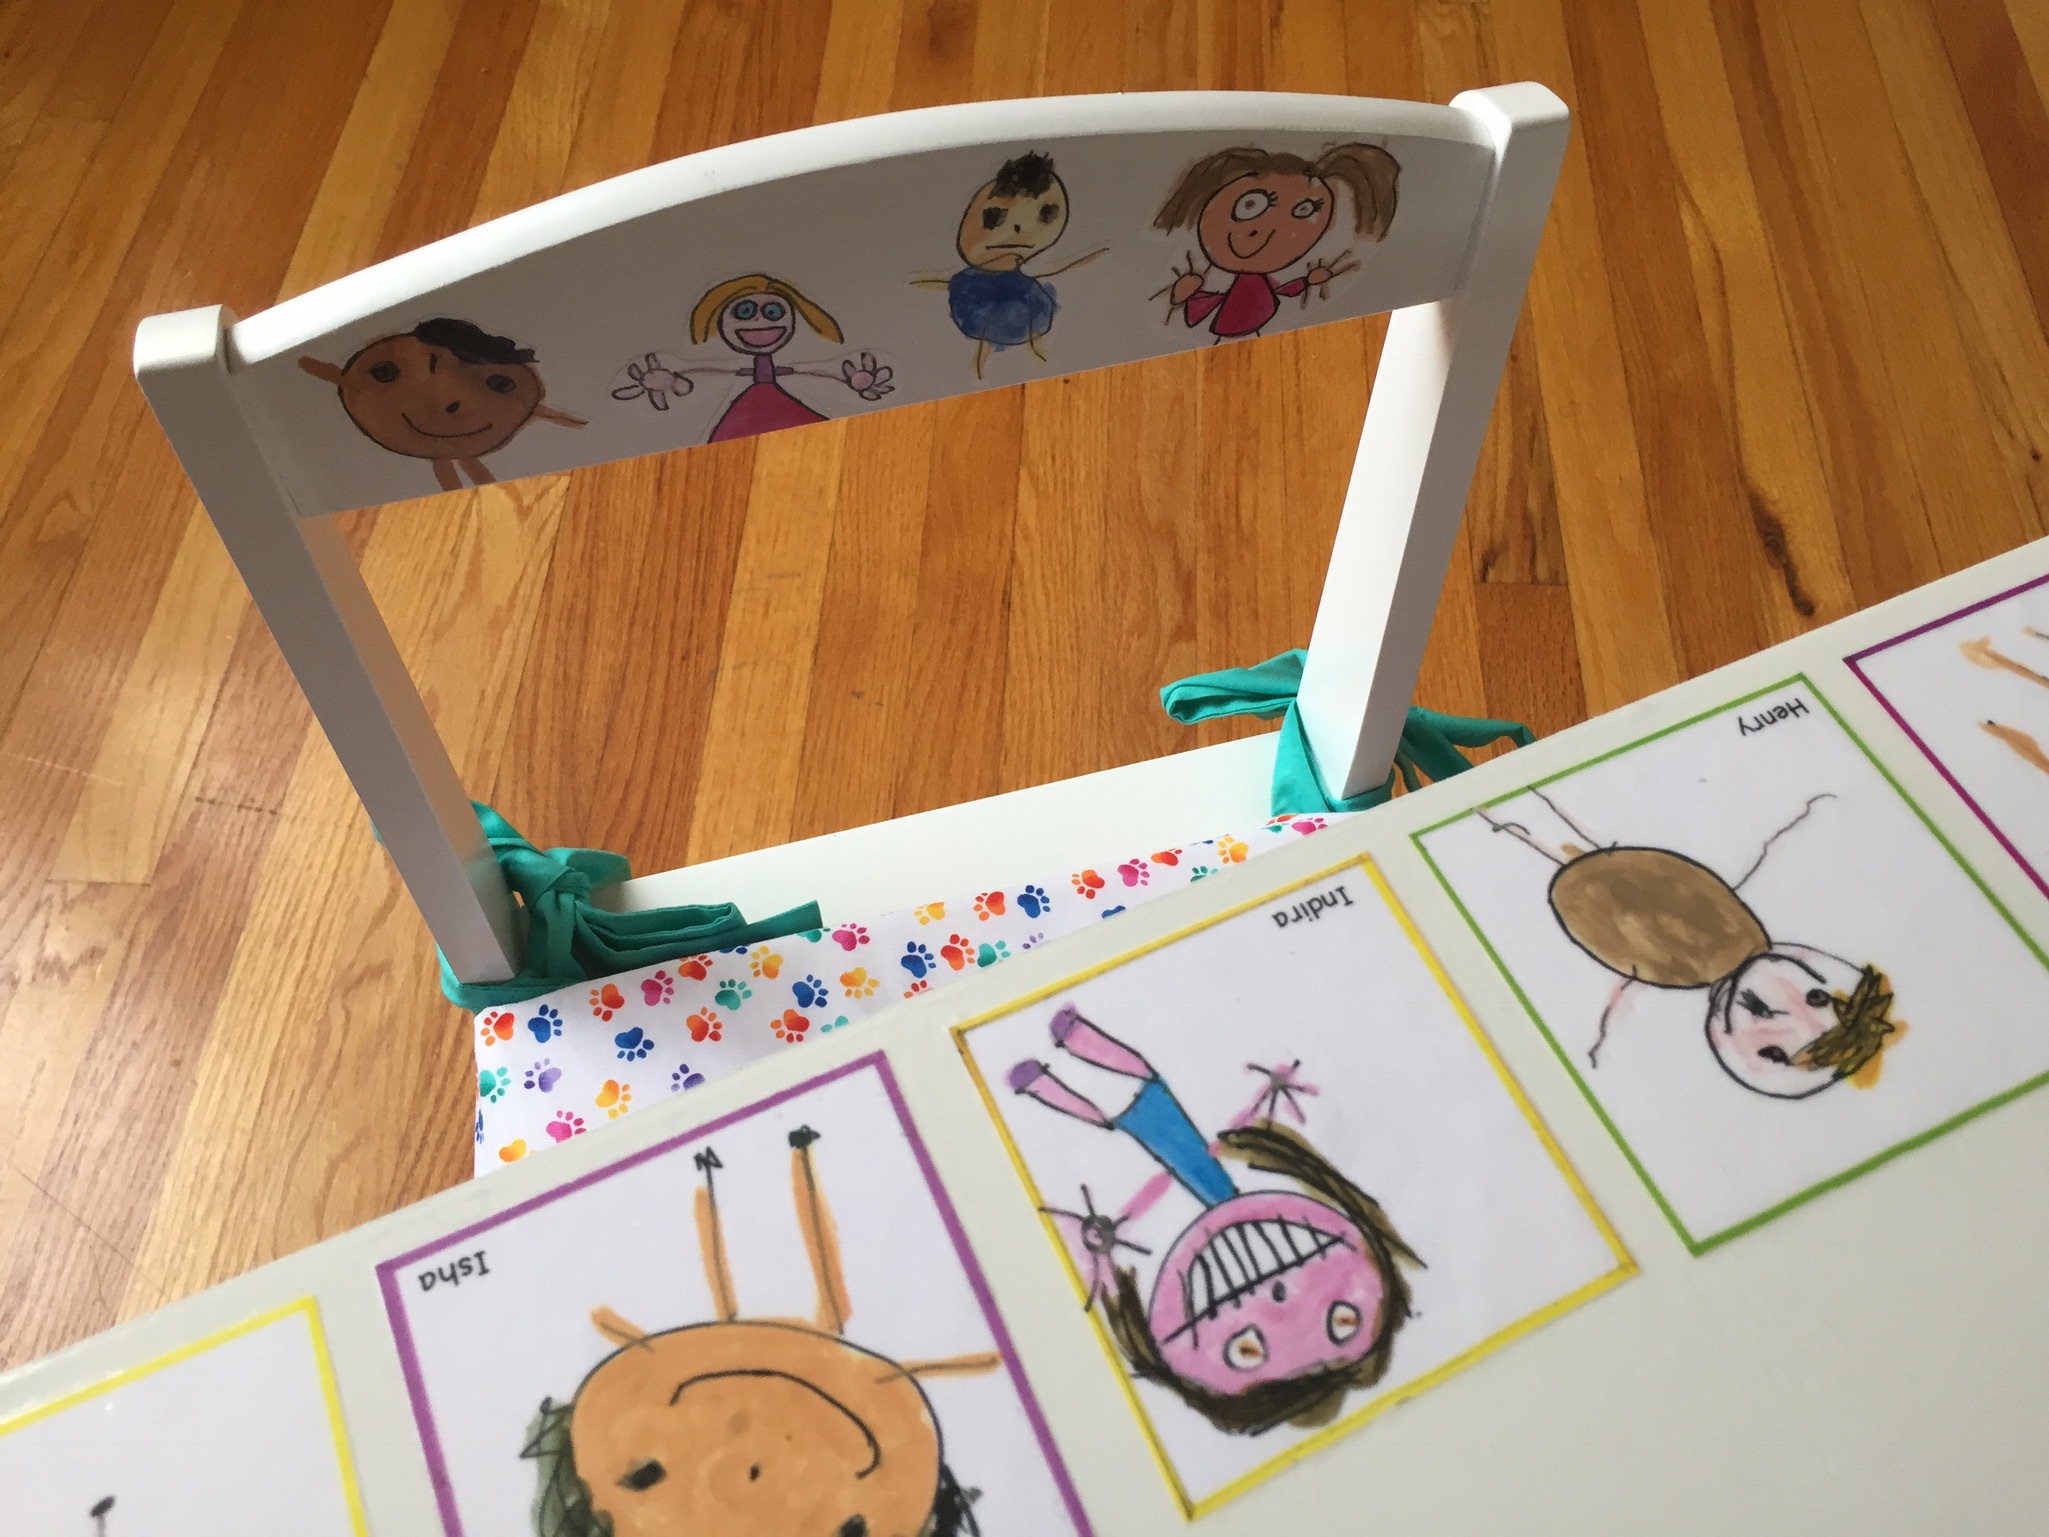
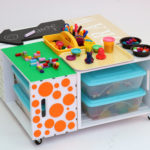
This was such a fun project to make and fingers crossed it will bring in a few “big” bucks to support our pre-school. You see, this table was created for a fundraiser. The fundraiser is for art supplies and activities for the class. We used self-portraits from all the classmates and Mod Podge. Each kid drawing had me smiling. I just adore how 3-4-5 year olds see themselves. The table was from a big box store and it was super easy to put together. The art was all created by the kids and Miss A. The cushions were stitched by a different mom…. I’m thinking her and I must meet. Let’s dive in and see how it was all done.
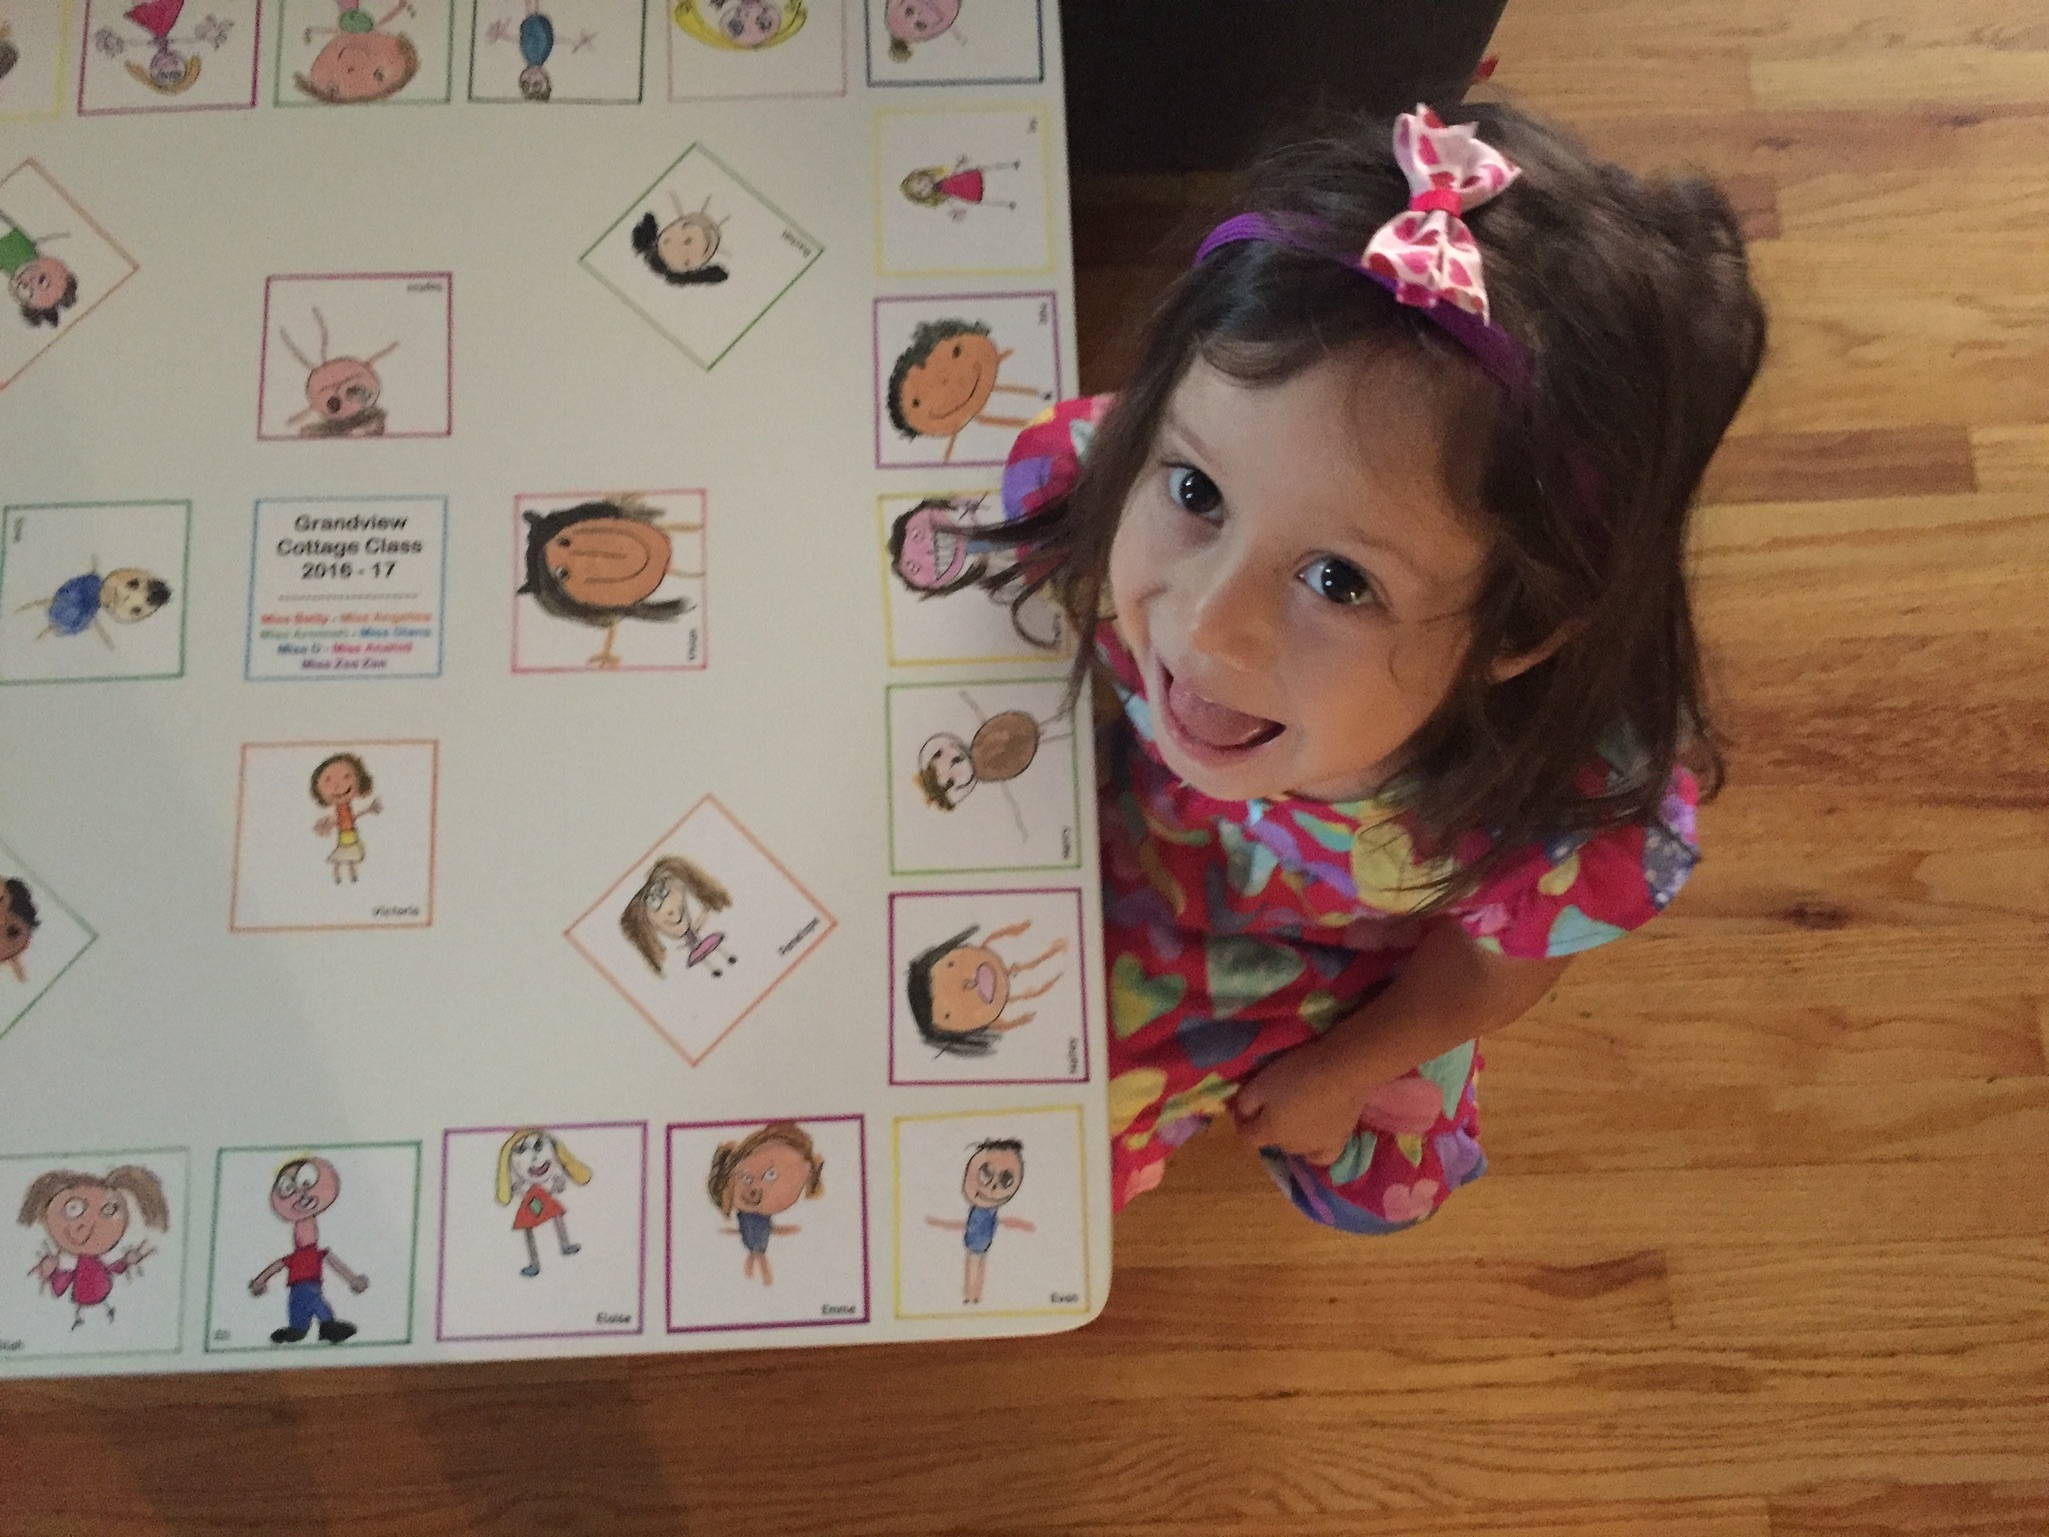
Sophia was smitten with the table!
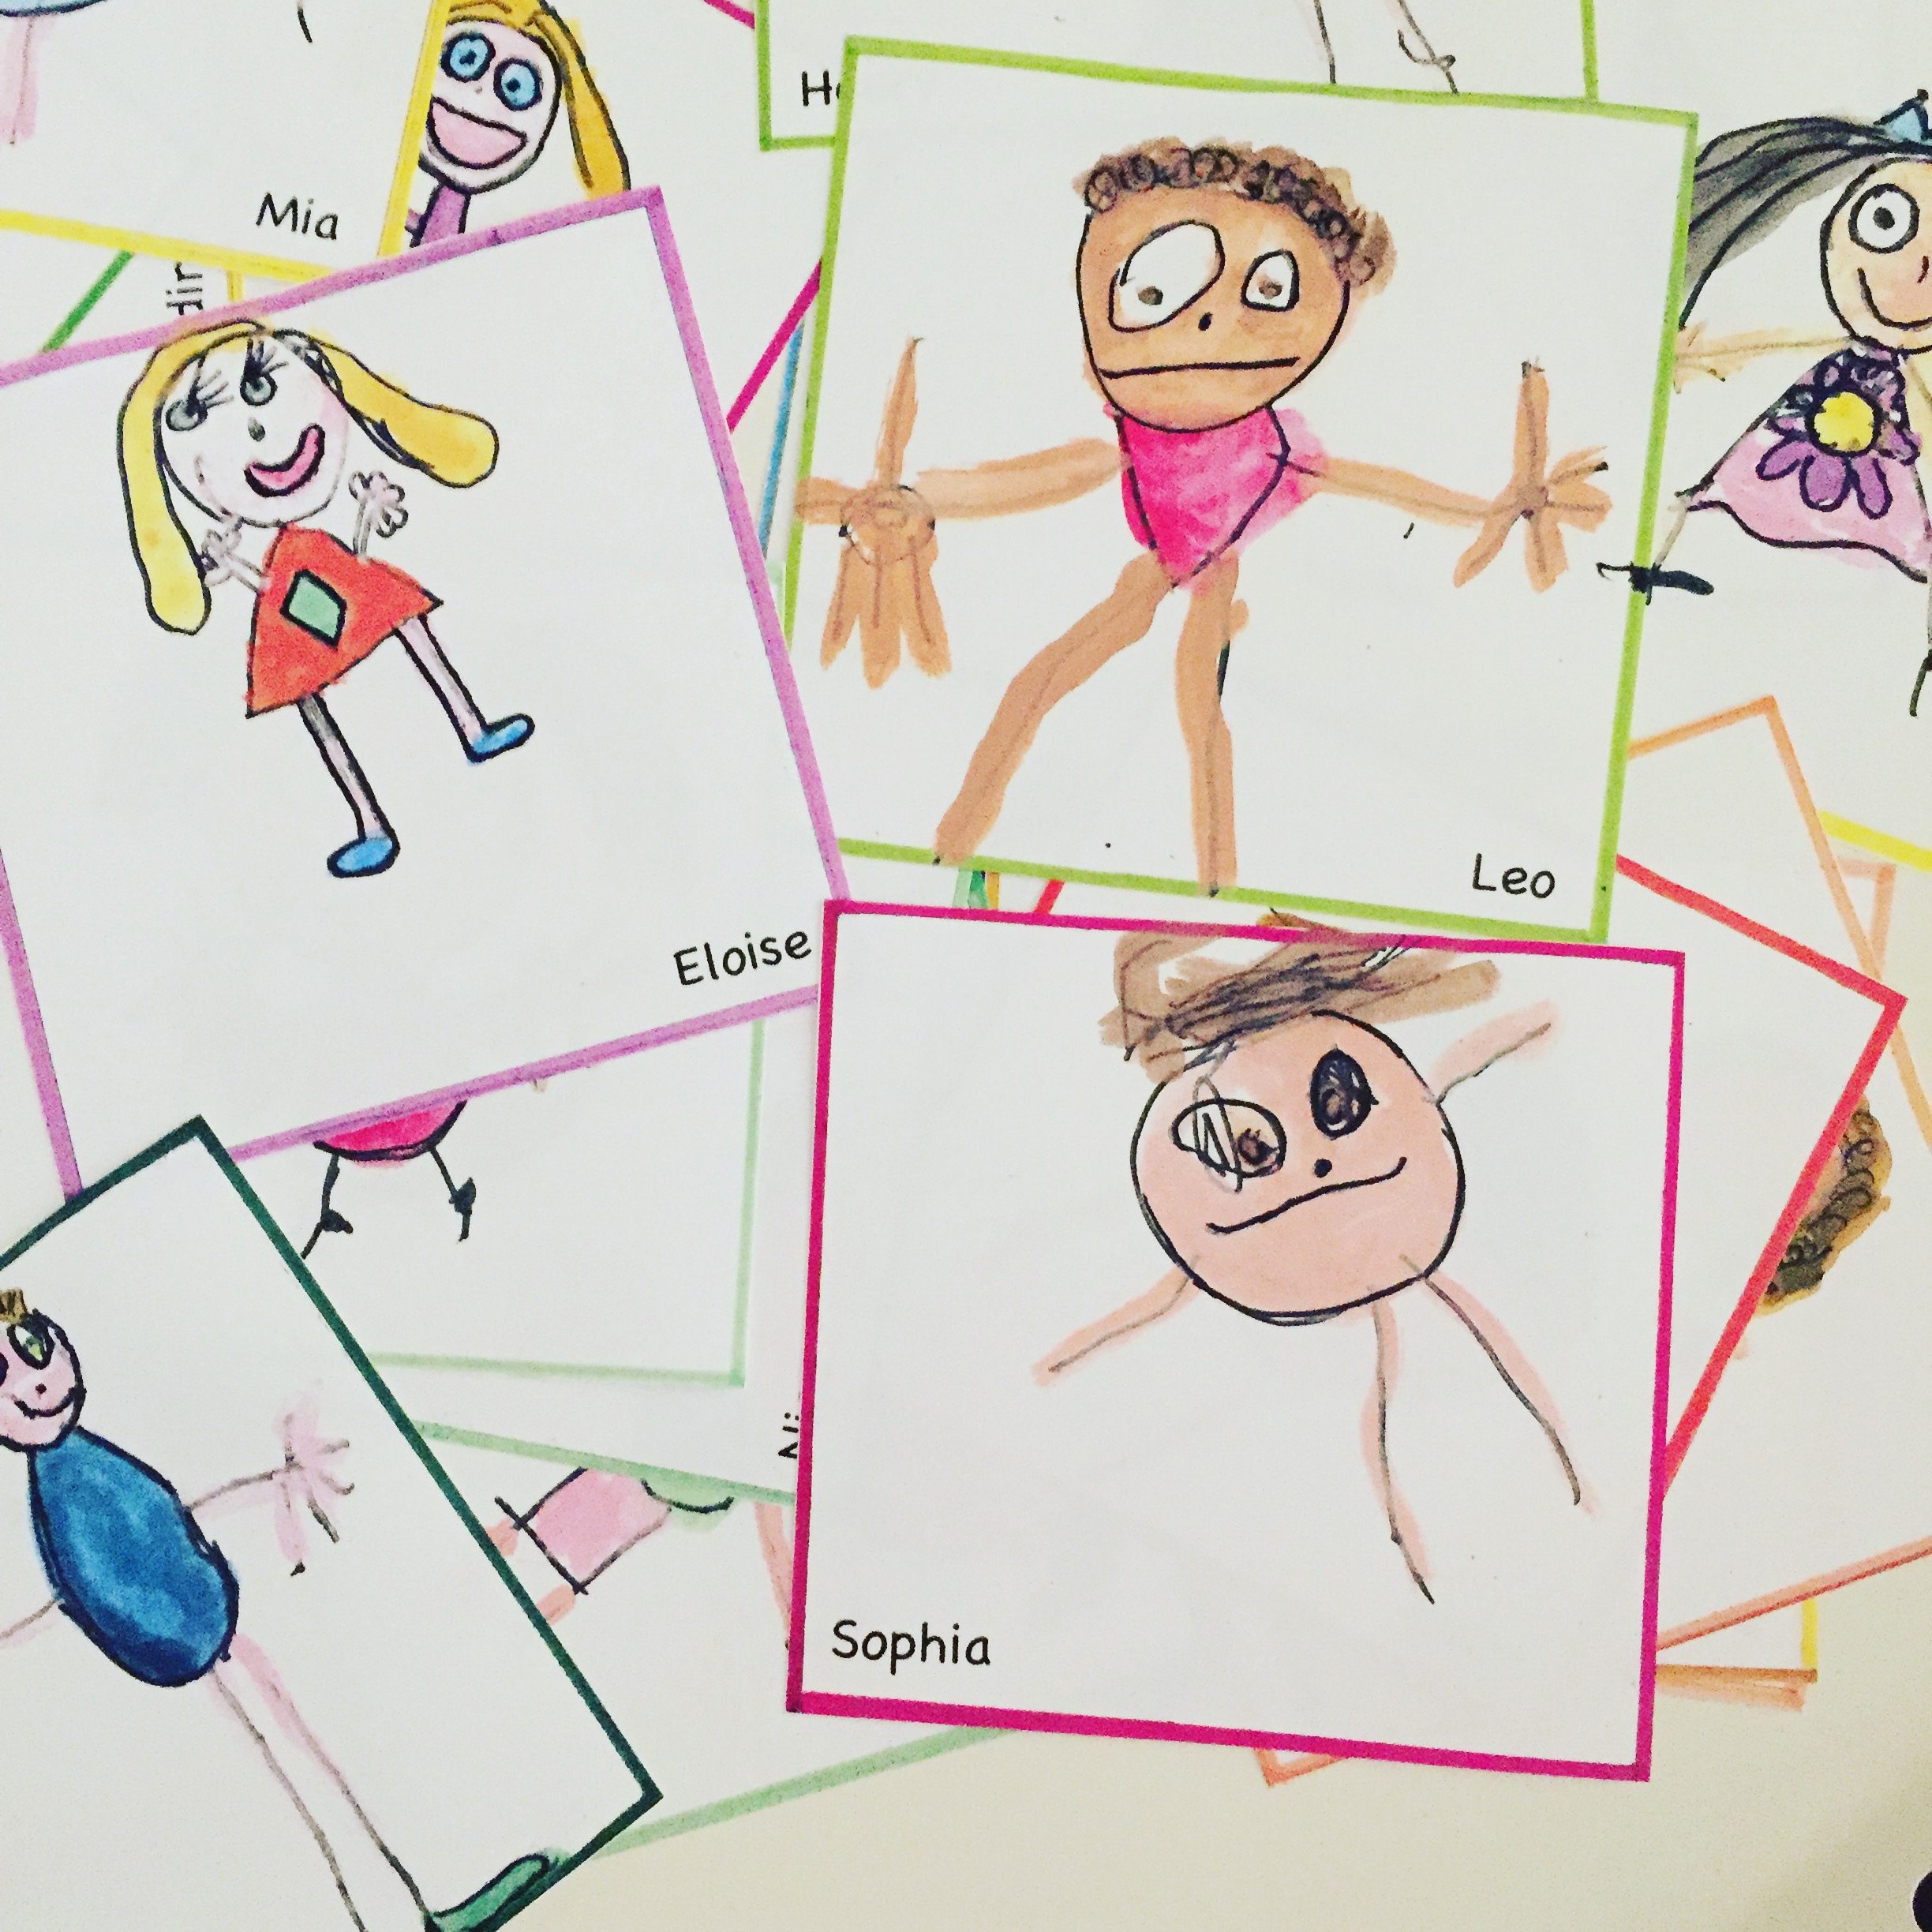
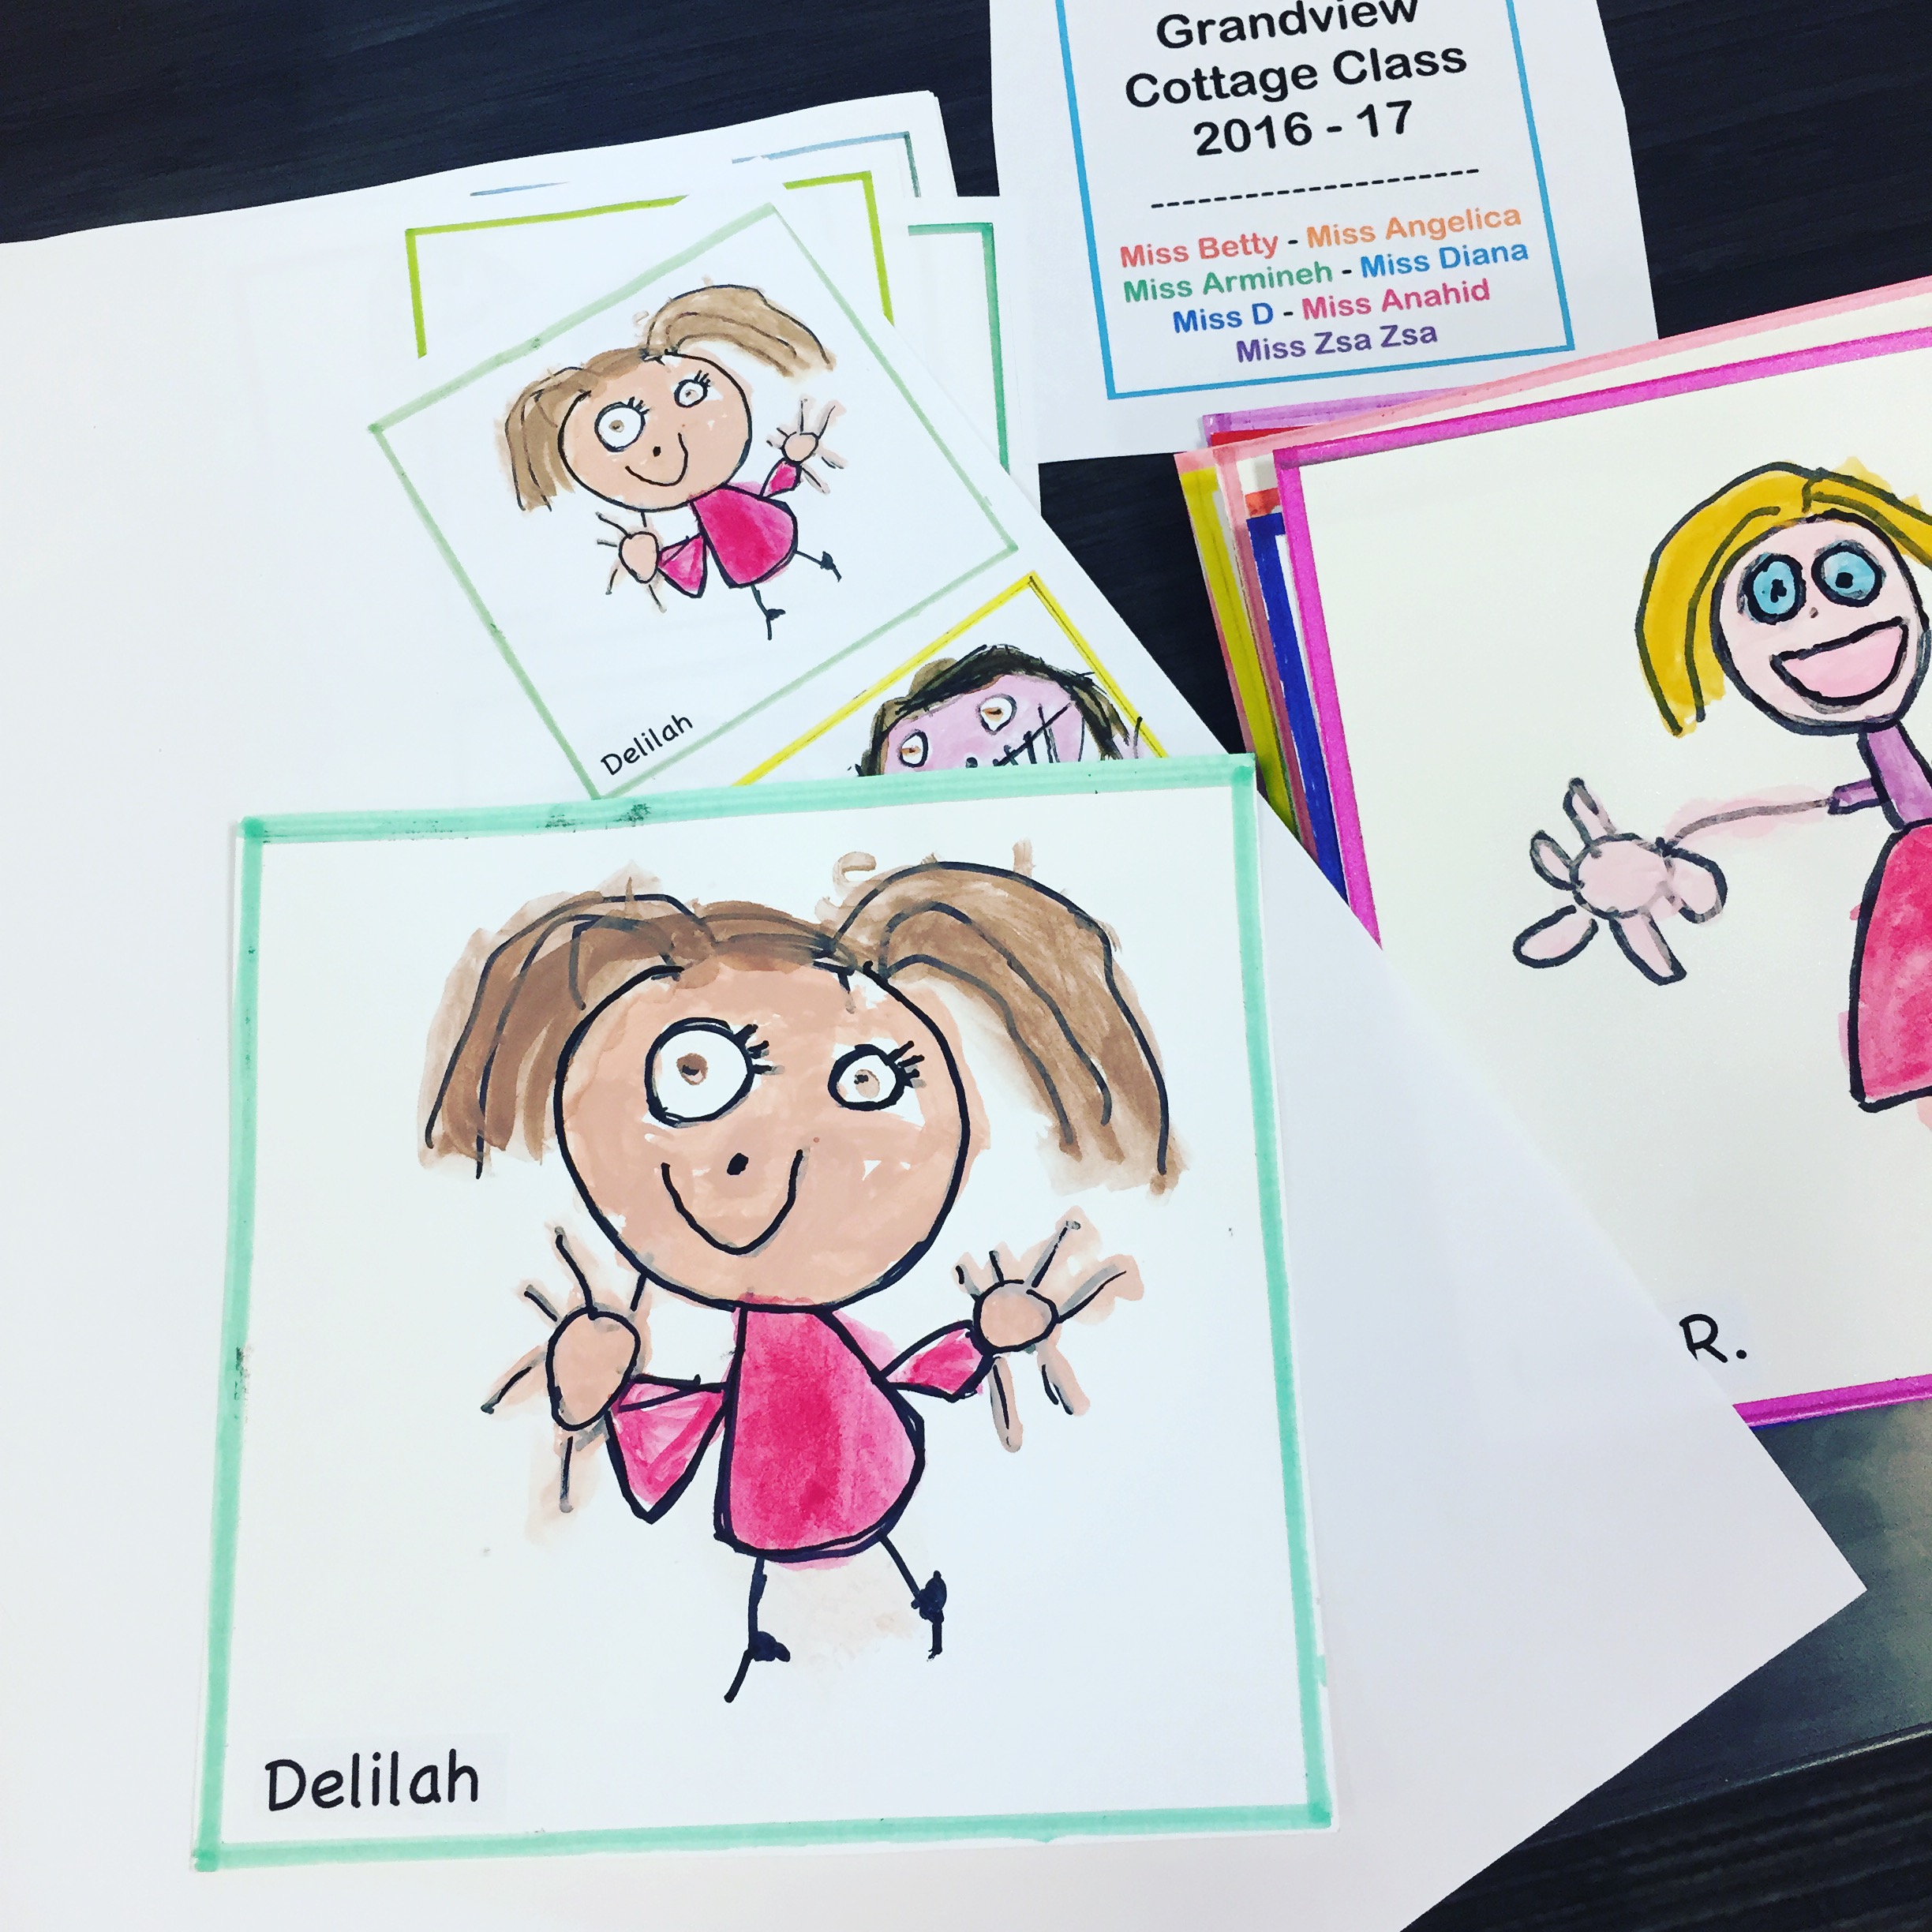
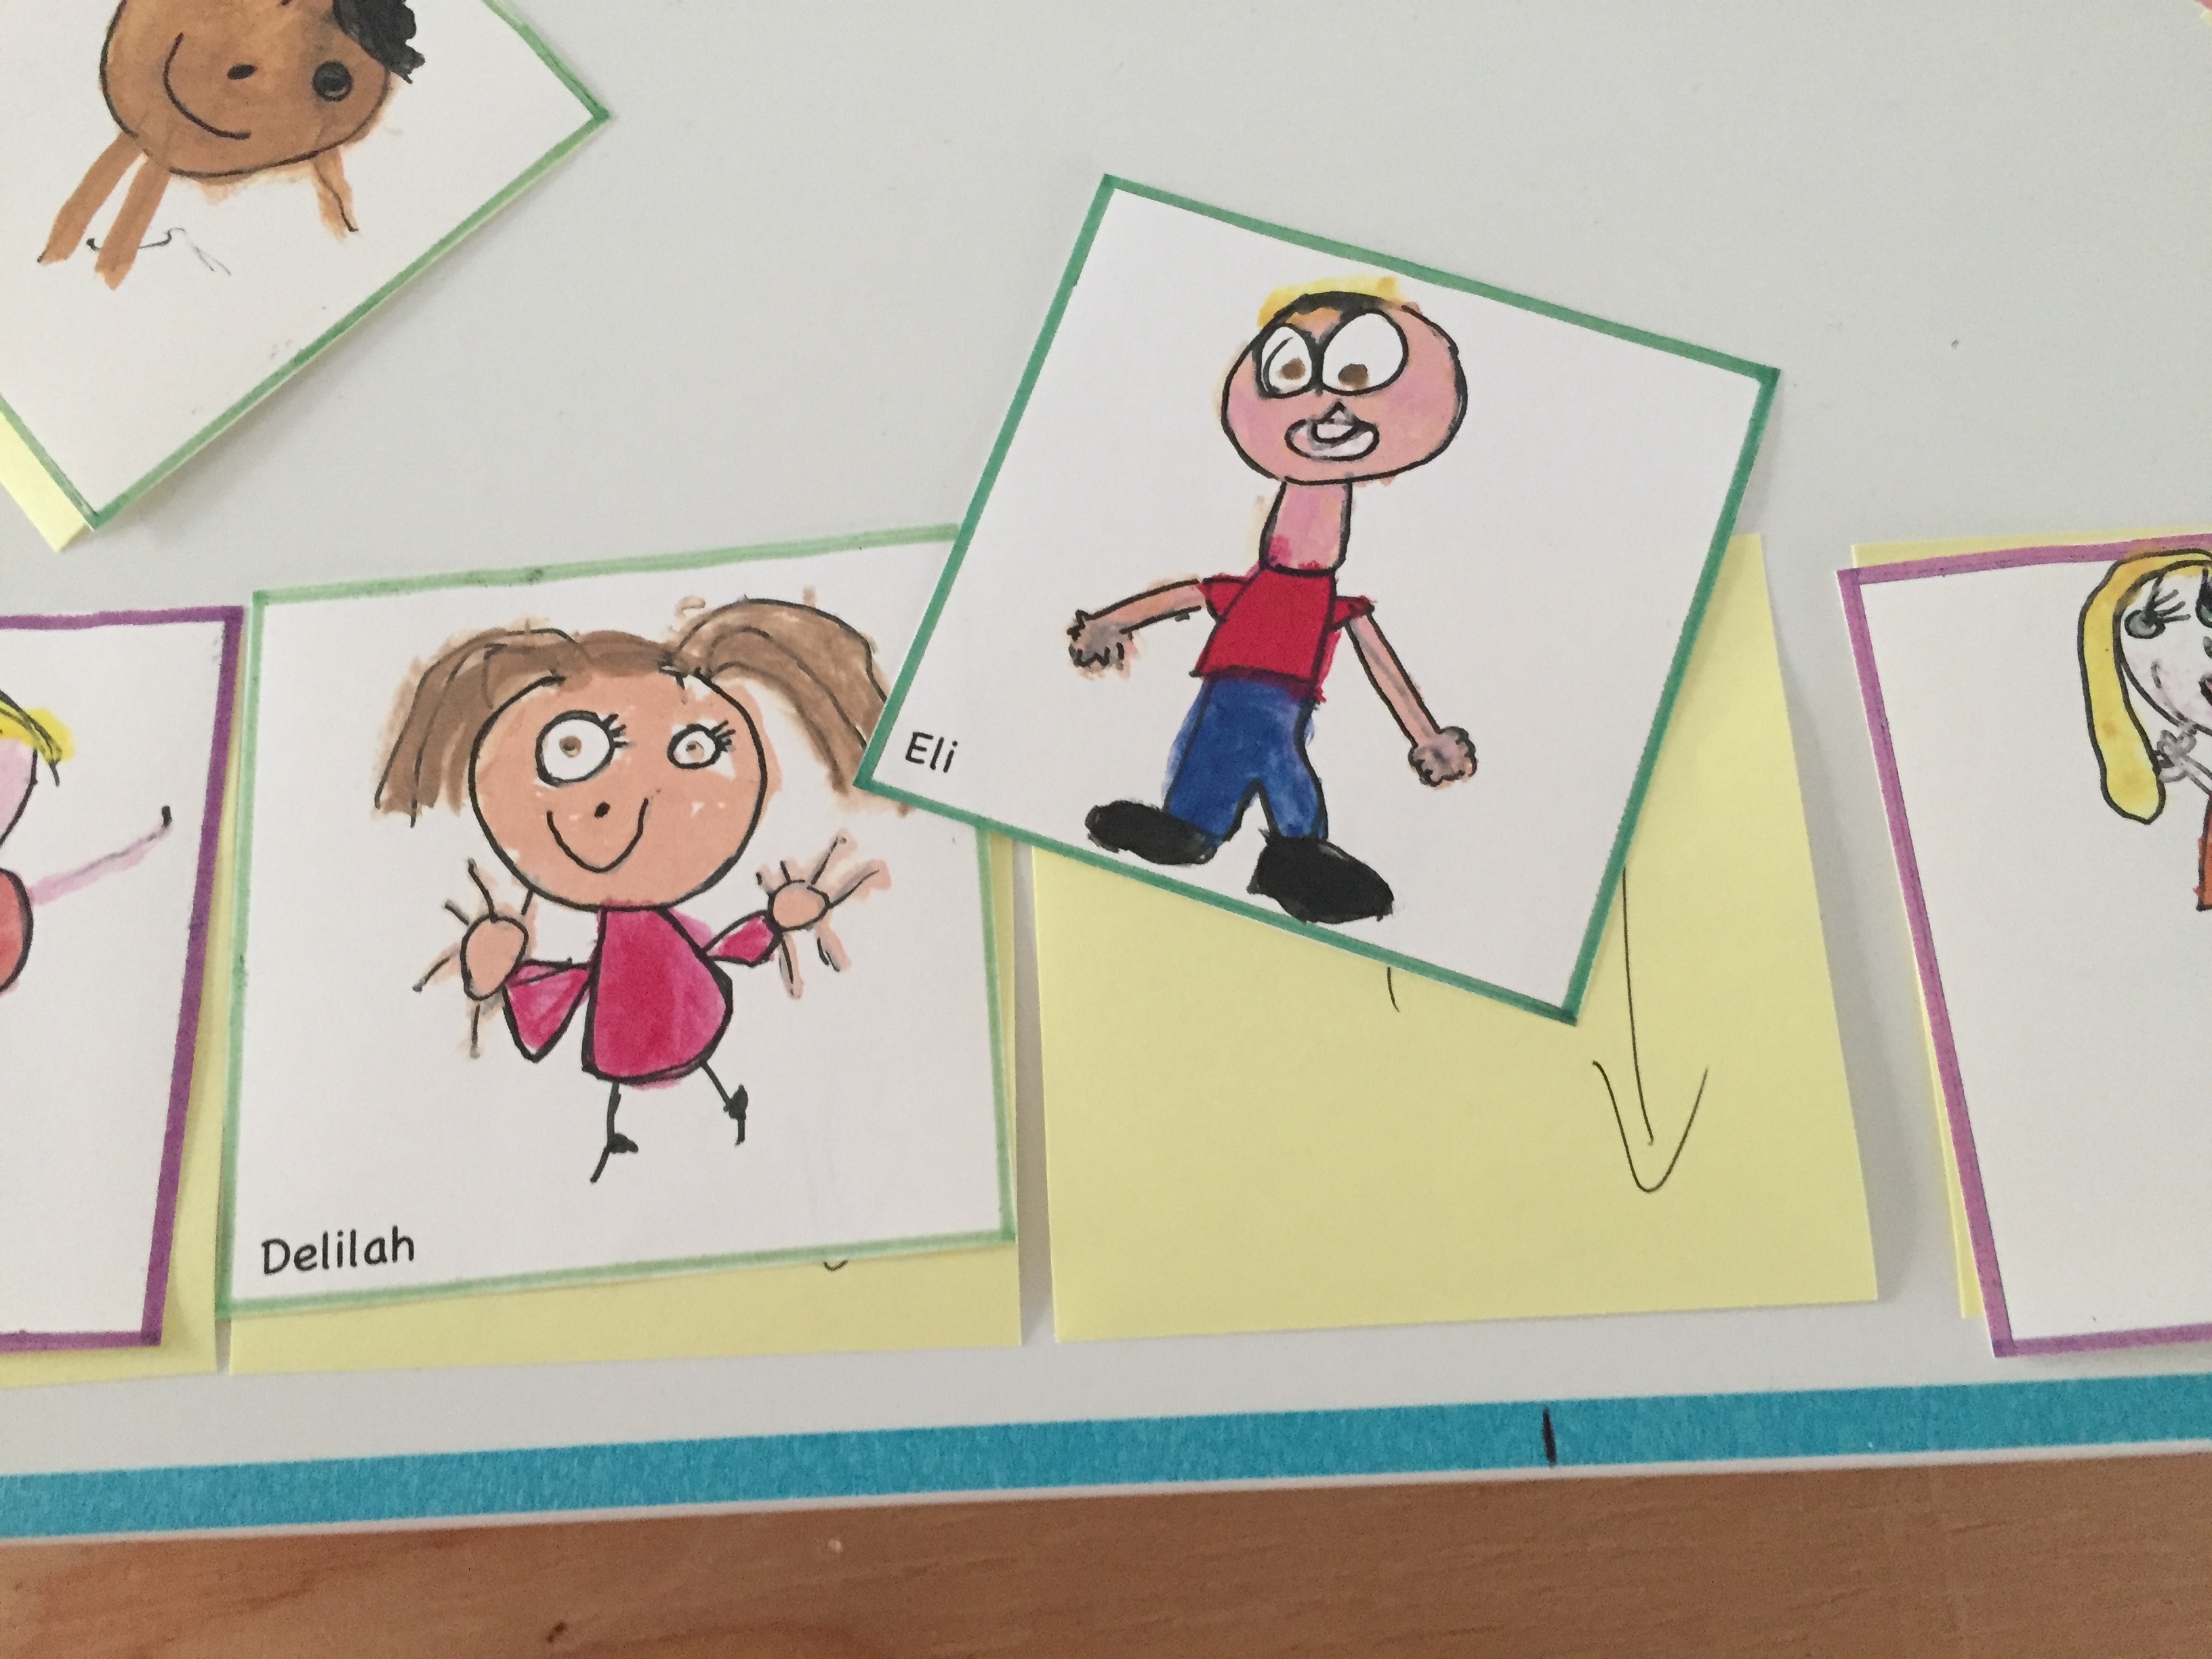
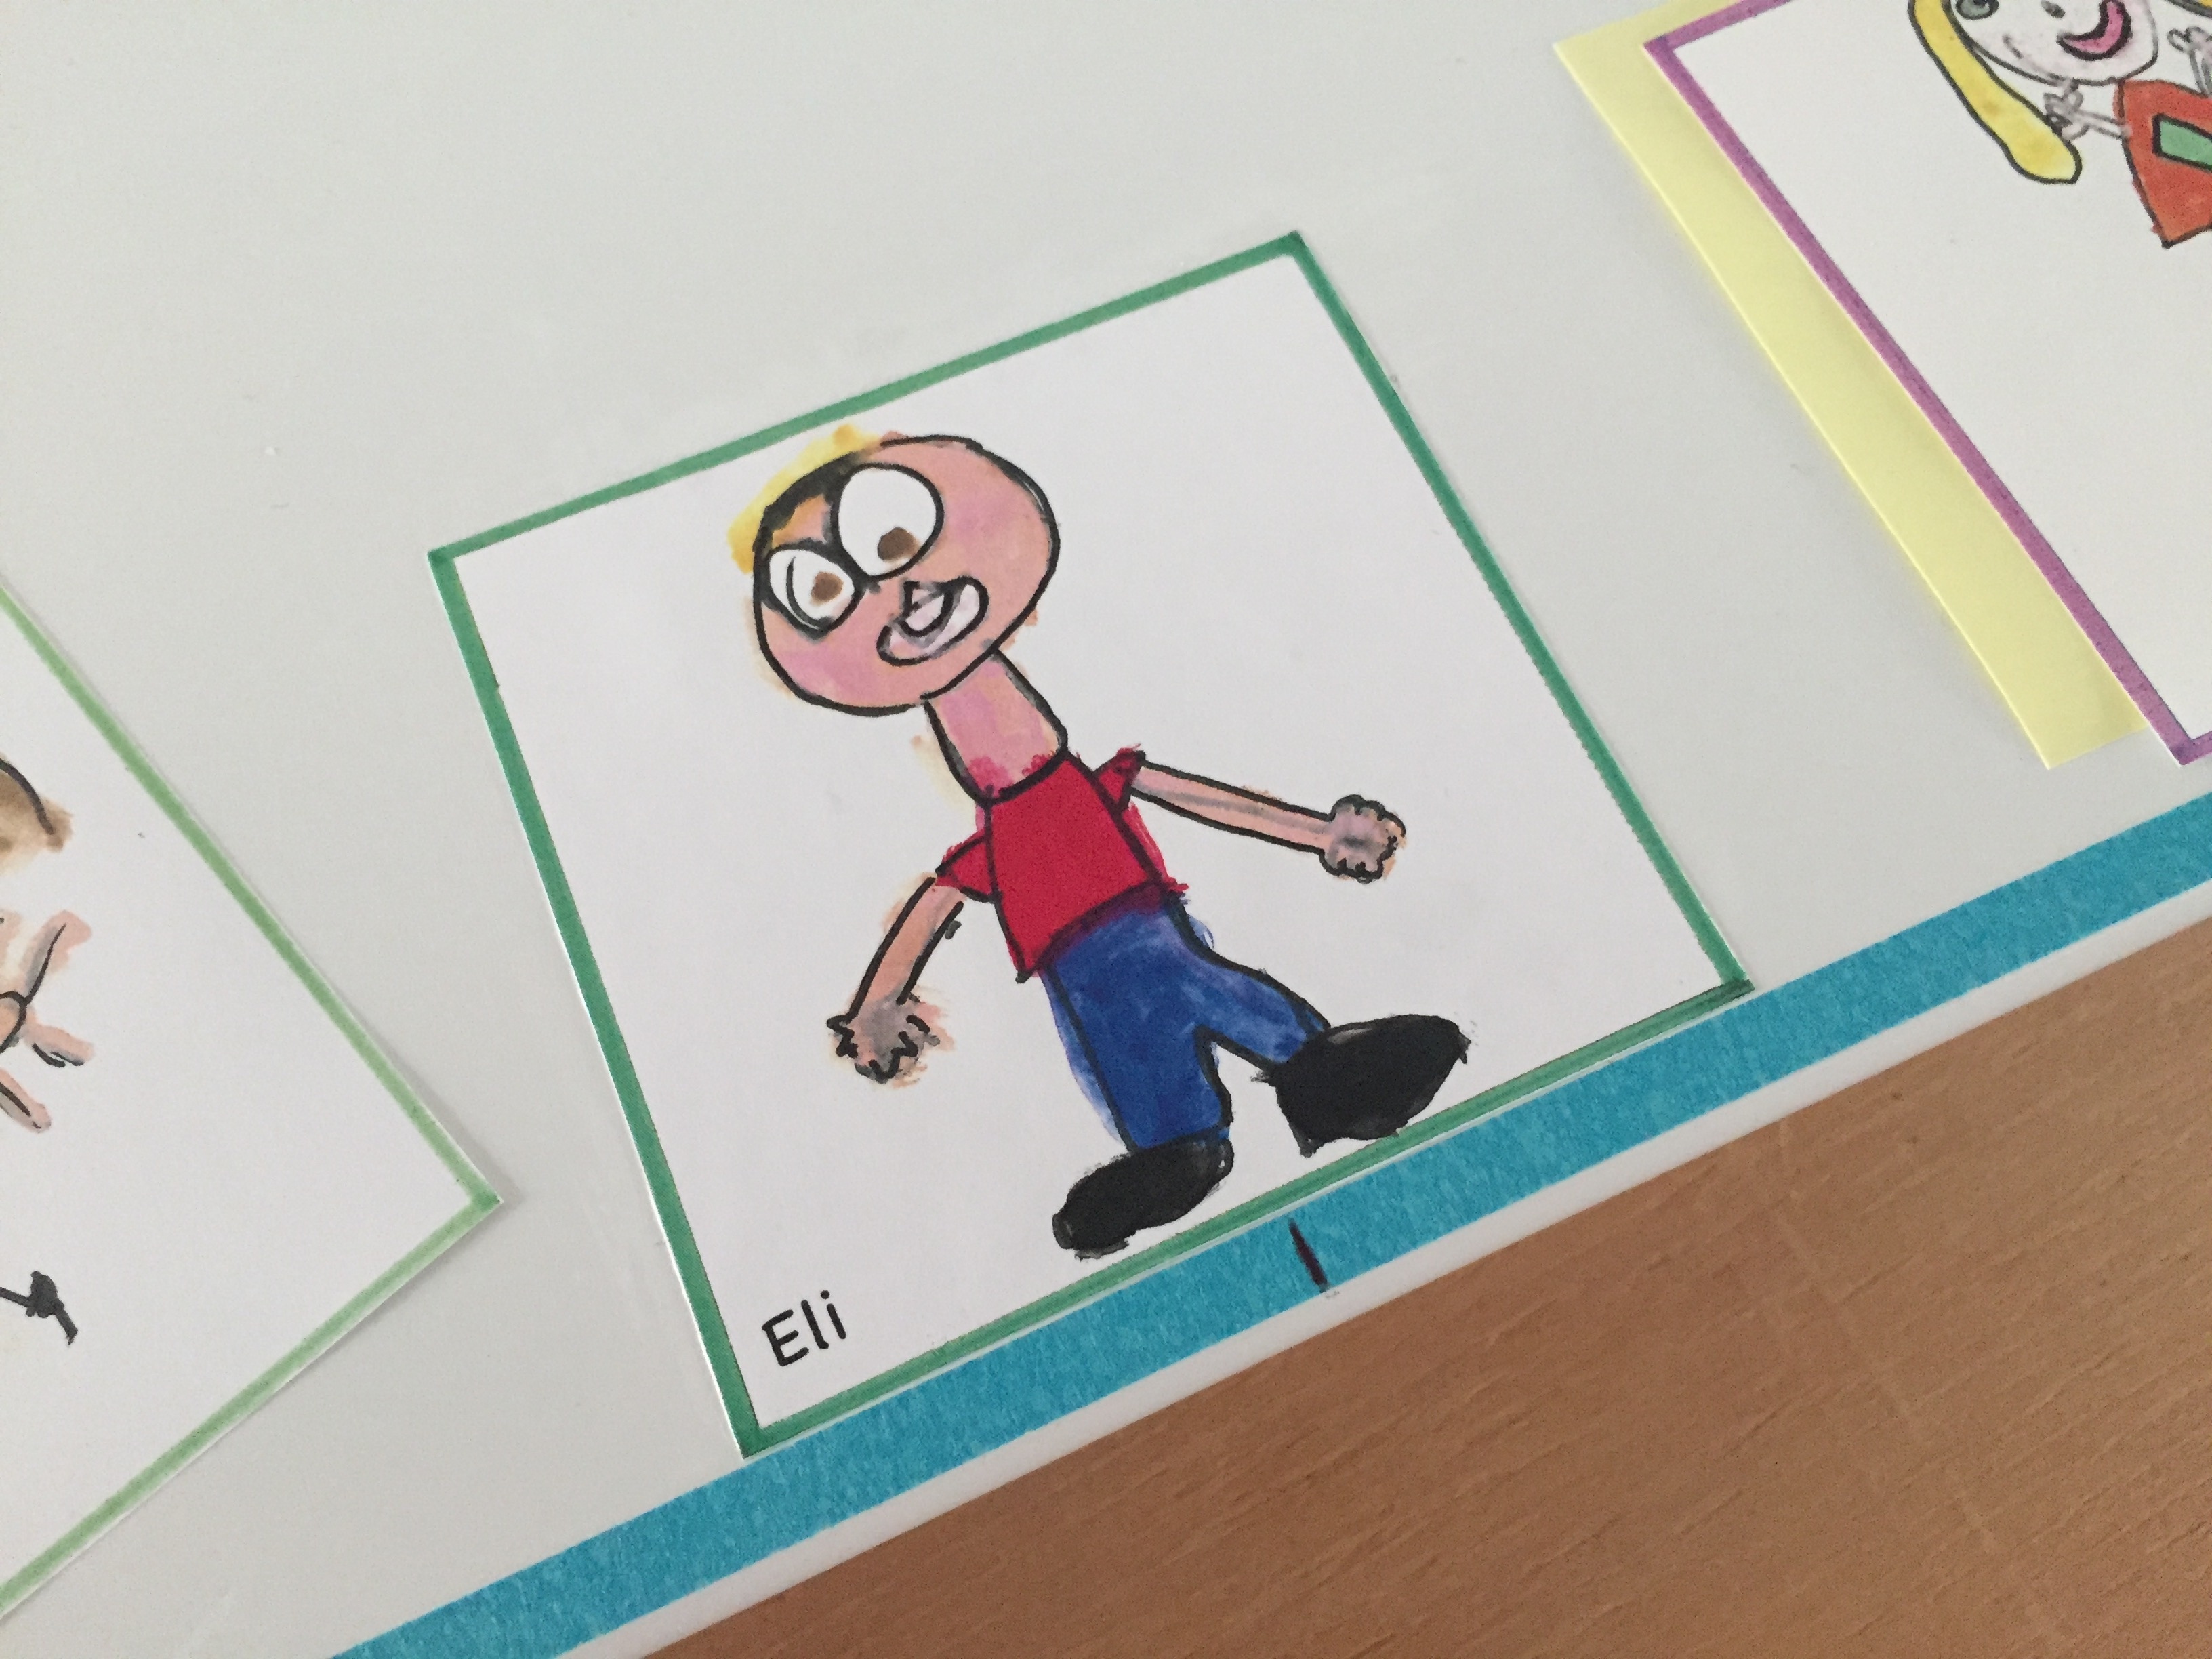
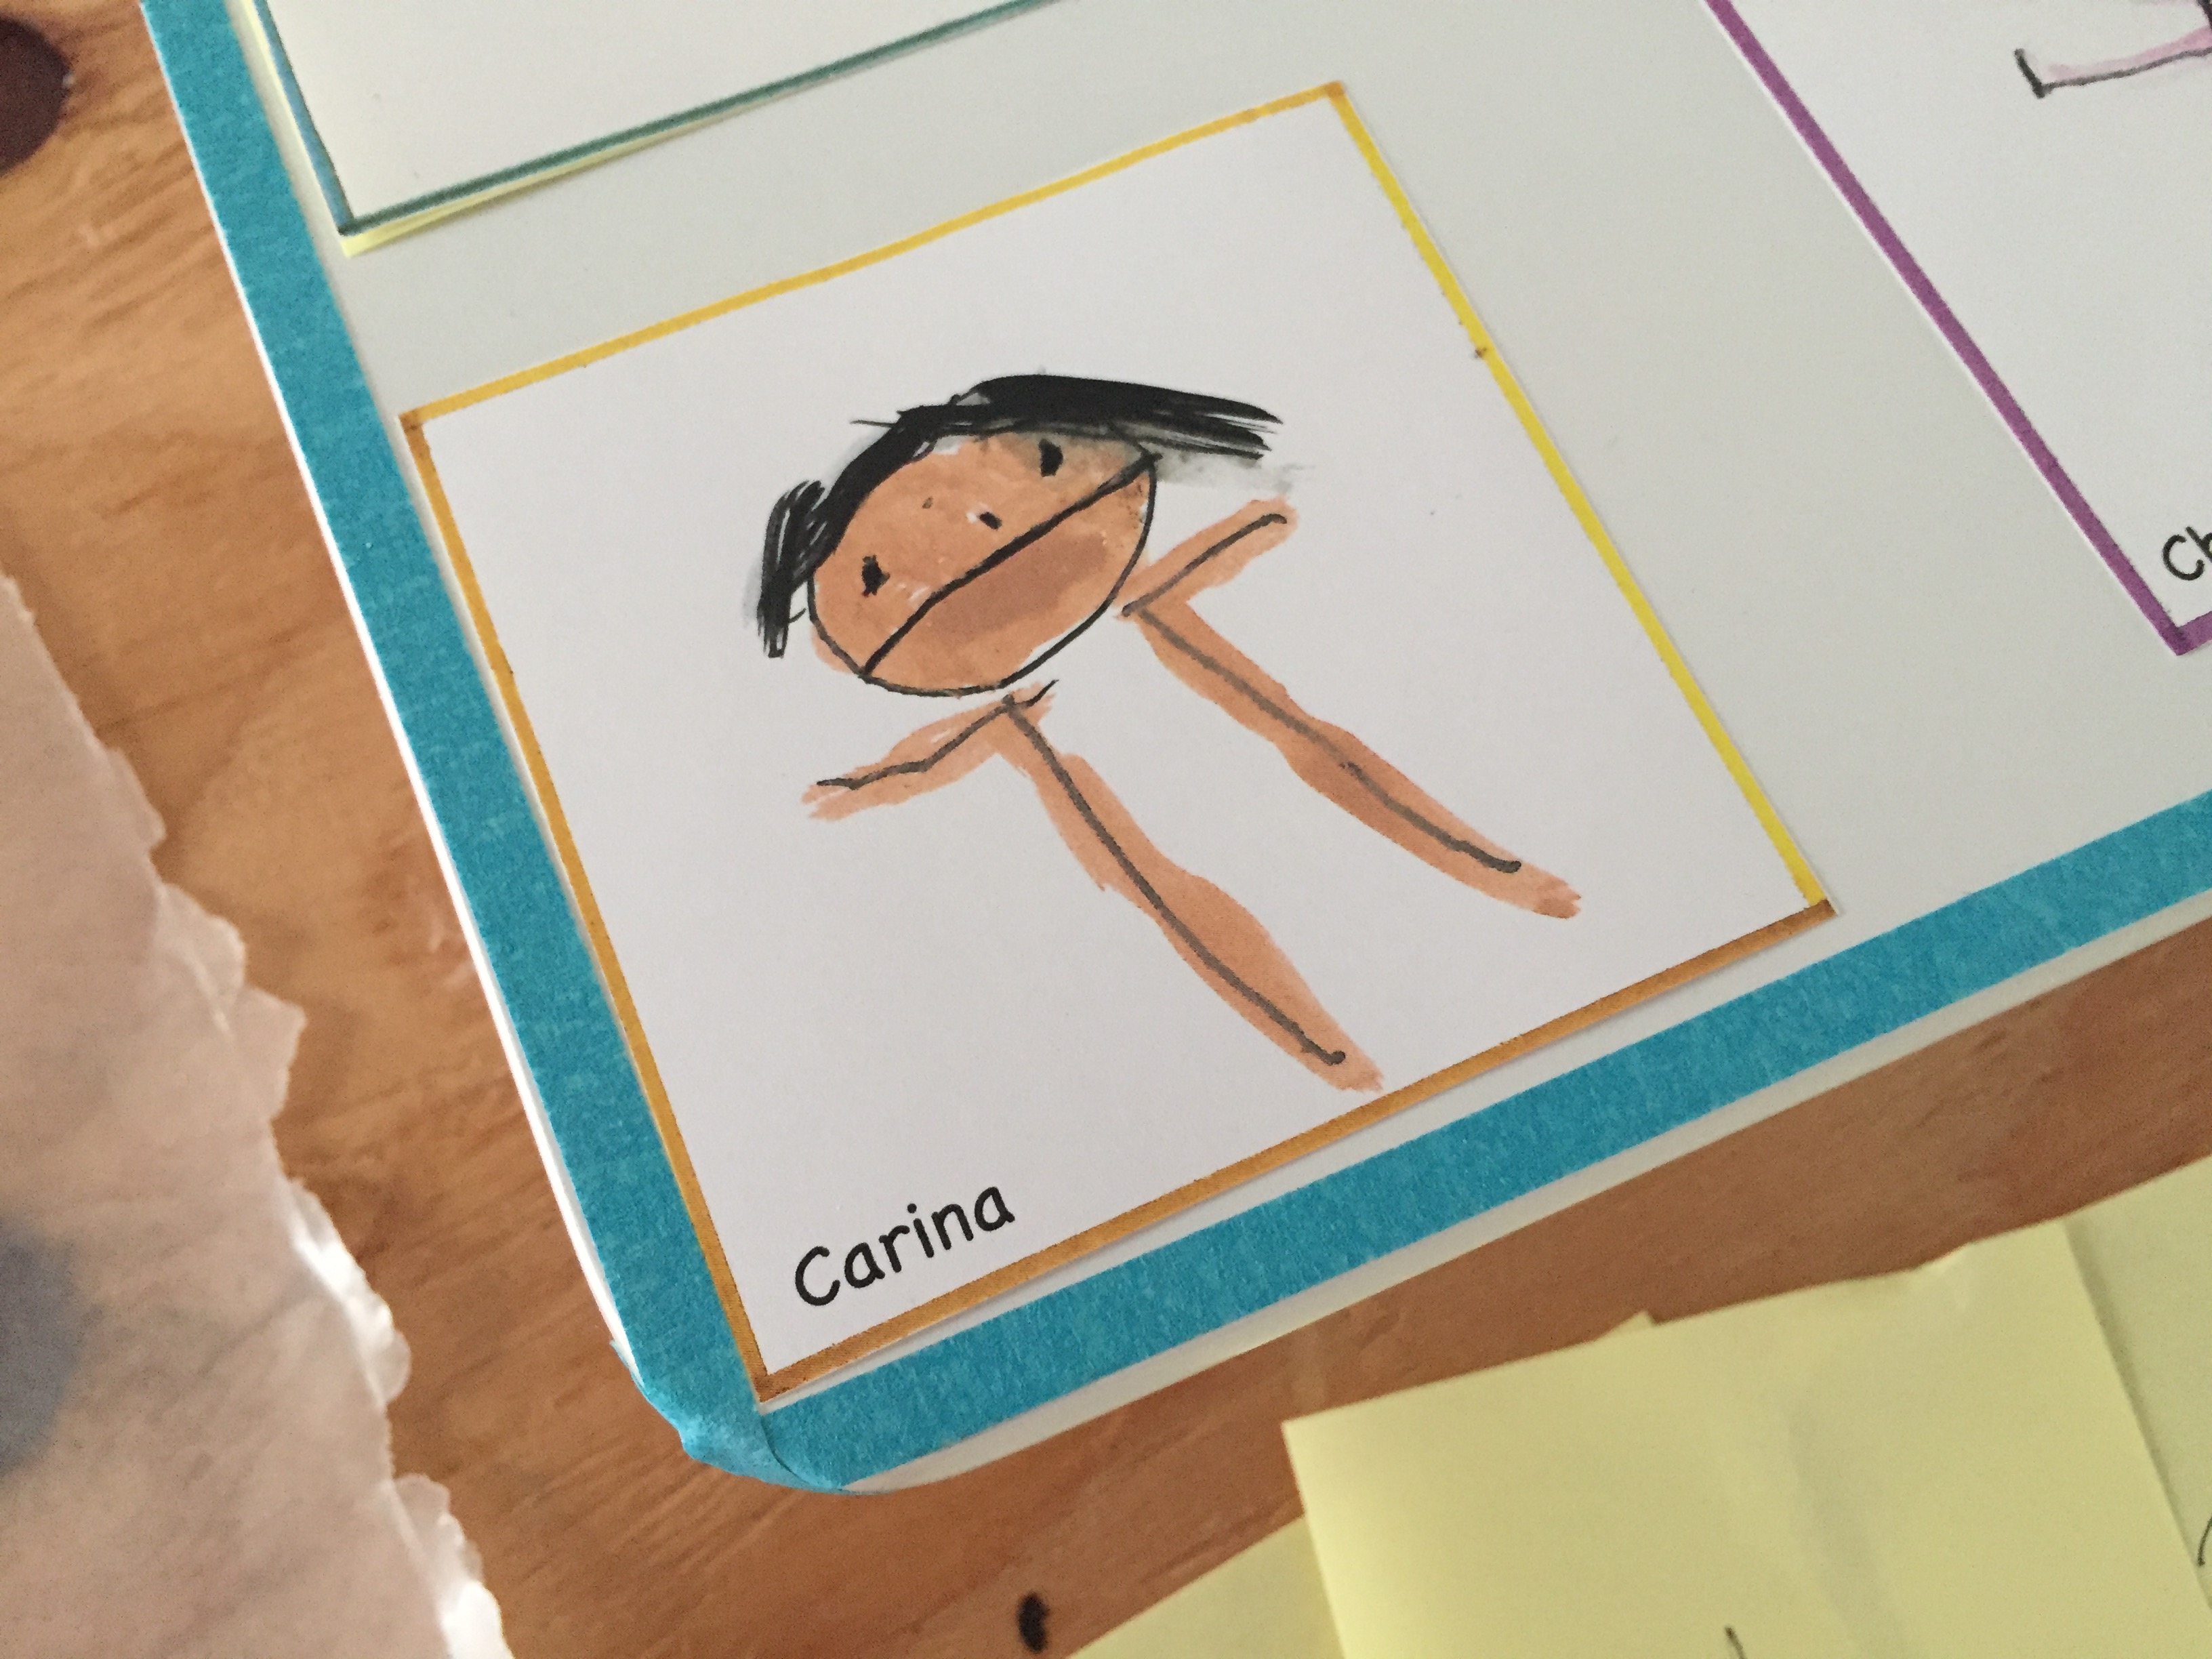
The first step is have the kids do their self-portrait. We bordered a 6″x 6″ square piece of paper with a marker outline. This line will help with our “tile” look. The kids can draw themselves with any medium. If the paper wrinkles from paint or such it is no big deal because we will be color-copying each one. For the names (this is important so the parents know which drawing is their kido) I used a glue stick to attach a small printout of the name. This kept the design consistent.
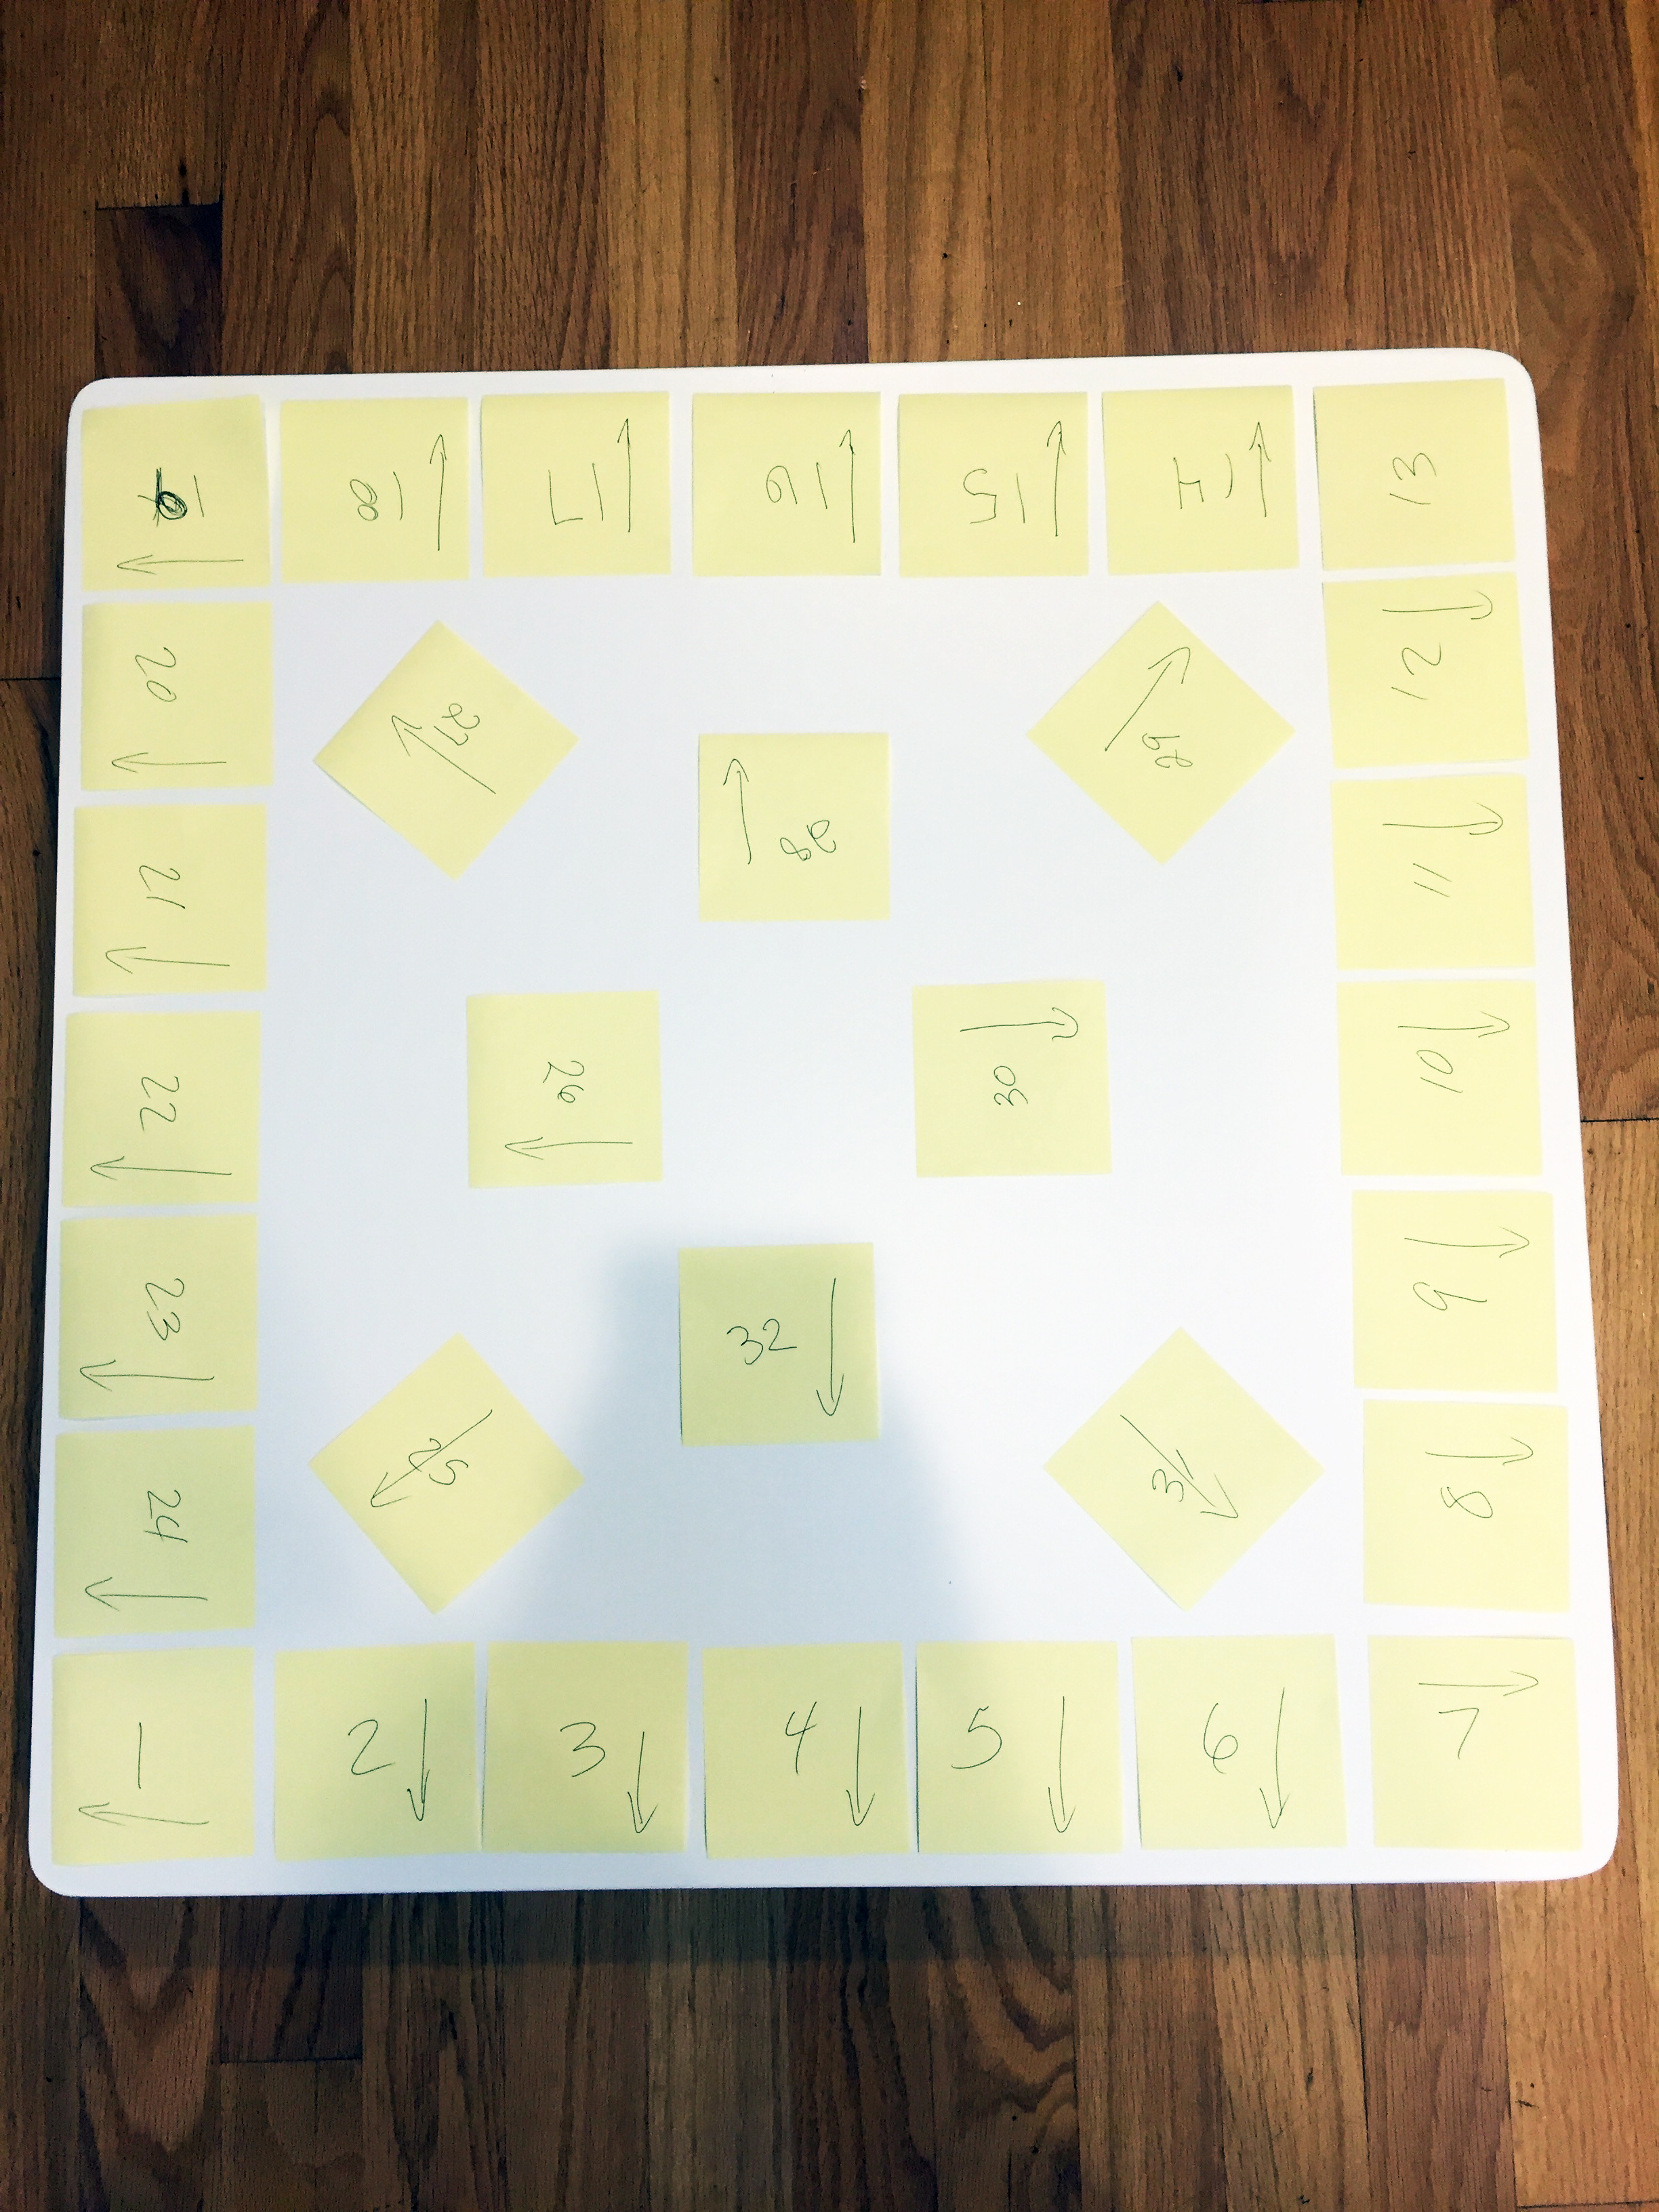
This is possibly the worst blog photo I have ever taken…… but you get the idea. Make a post it note for each student and decide on a design plan.
So here goes:
- Make 6″x6″ squares of paper. One for each kid + a few extra.
- Use different colors of markers to draw a border around the edge.
- Have the kids do self-portraits on the square.
- Create a 3″x 3″ printout with the school or organization name. Color Copy at 100%. See step 6 for notes. You could also use a family name or logo here.
- Create a paper tag with the name of the child and glue stick to the square. (or write the names)
- Shrink and color copy the squares to fit the table. 50% makes a 3″X3″ square (post it note size). DON’T USE INK JET! Please use a color copier at Kinkos or Staples. This will yield the best results.
- Trim each square just on the outside of the border line.
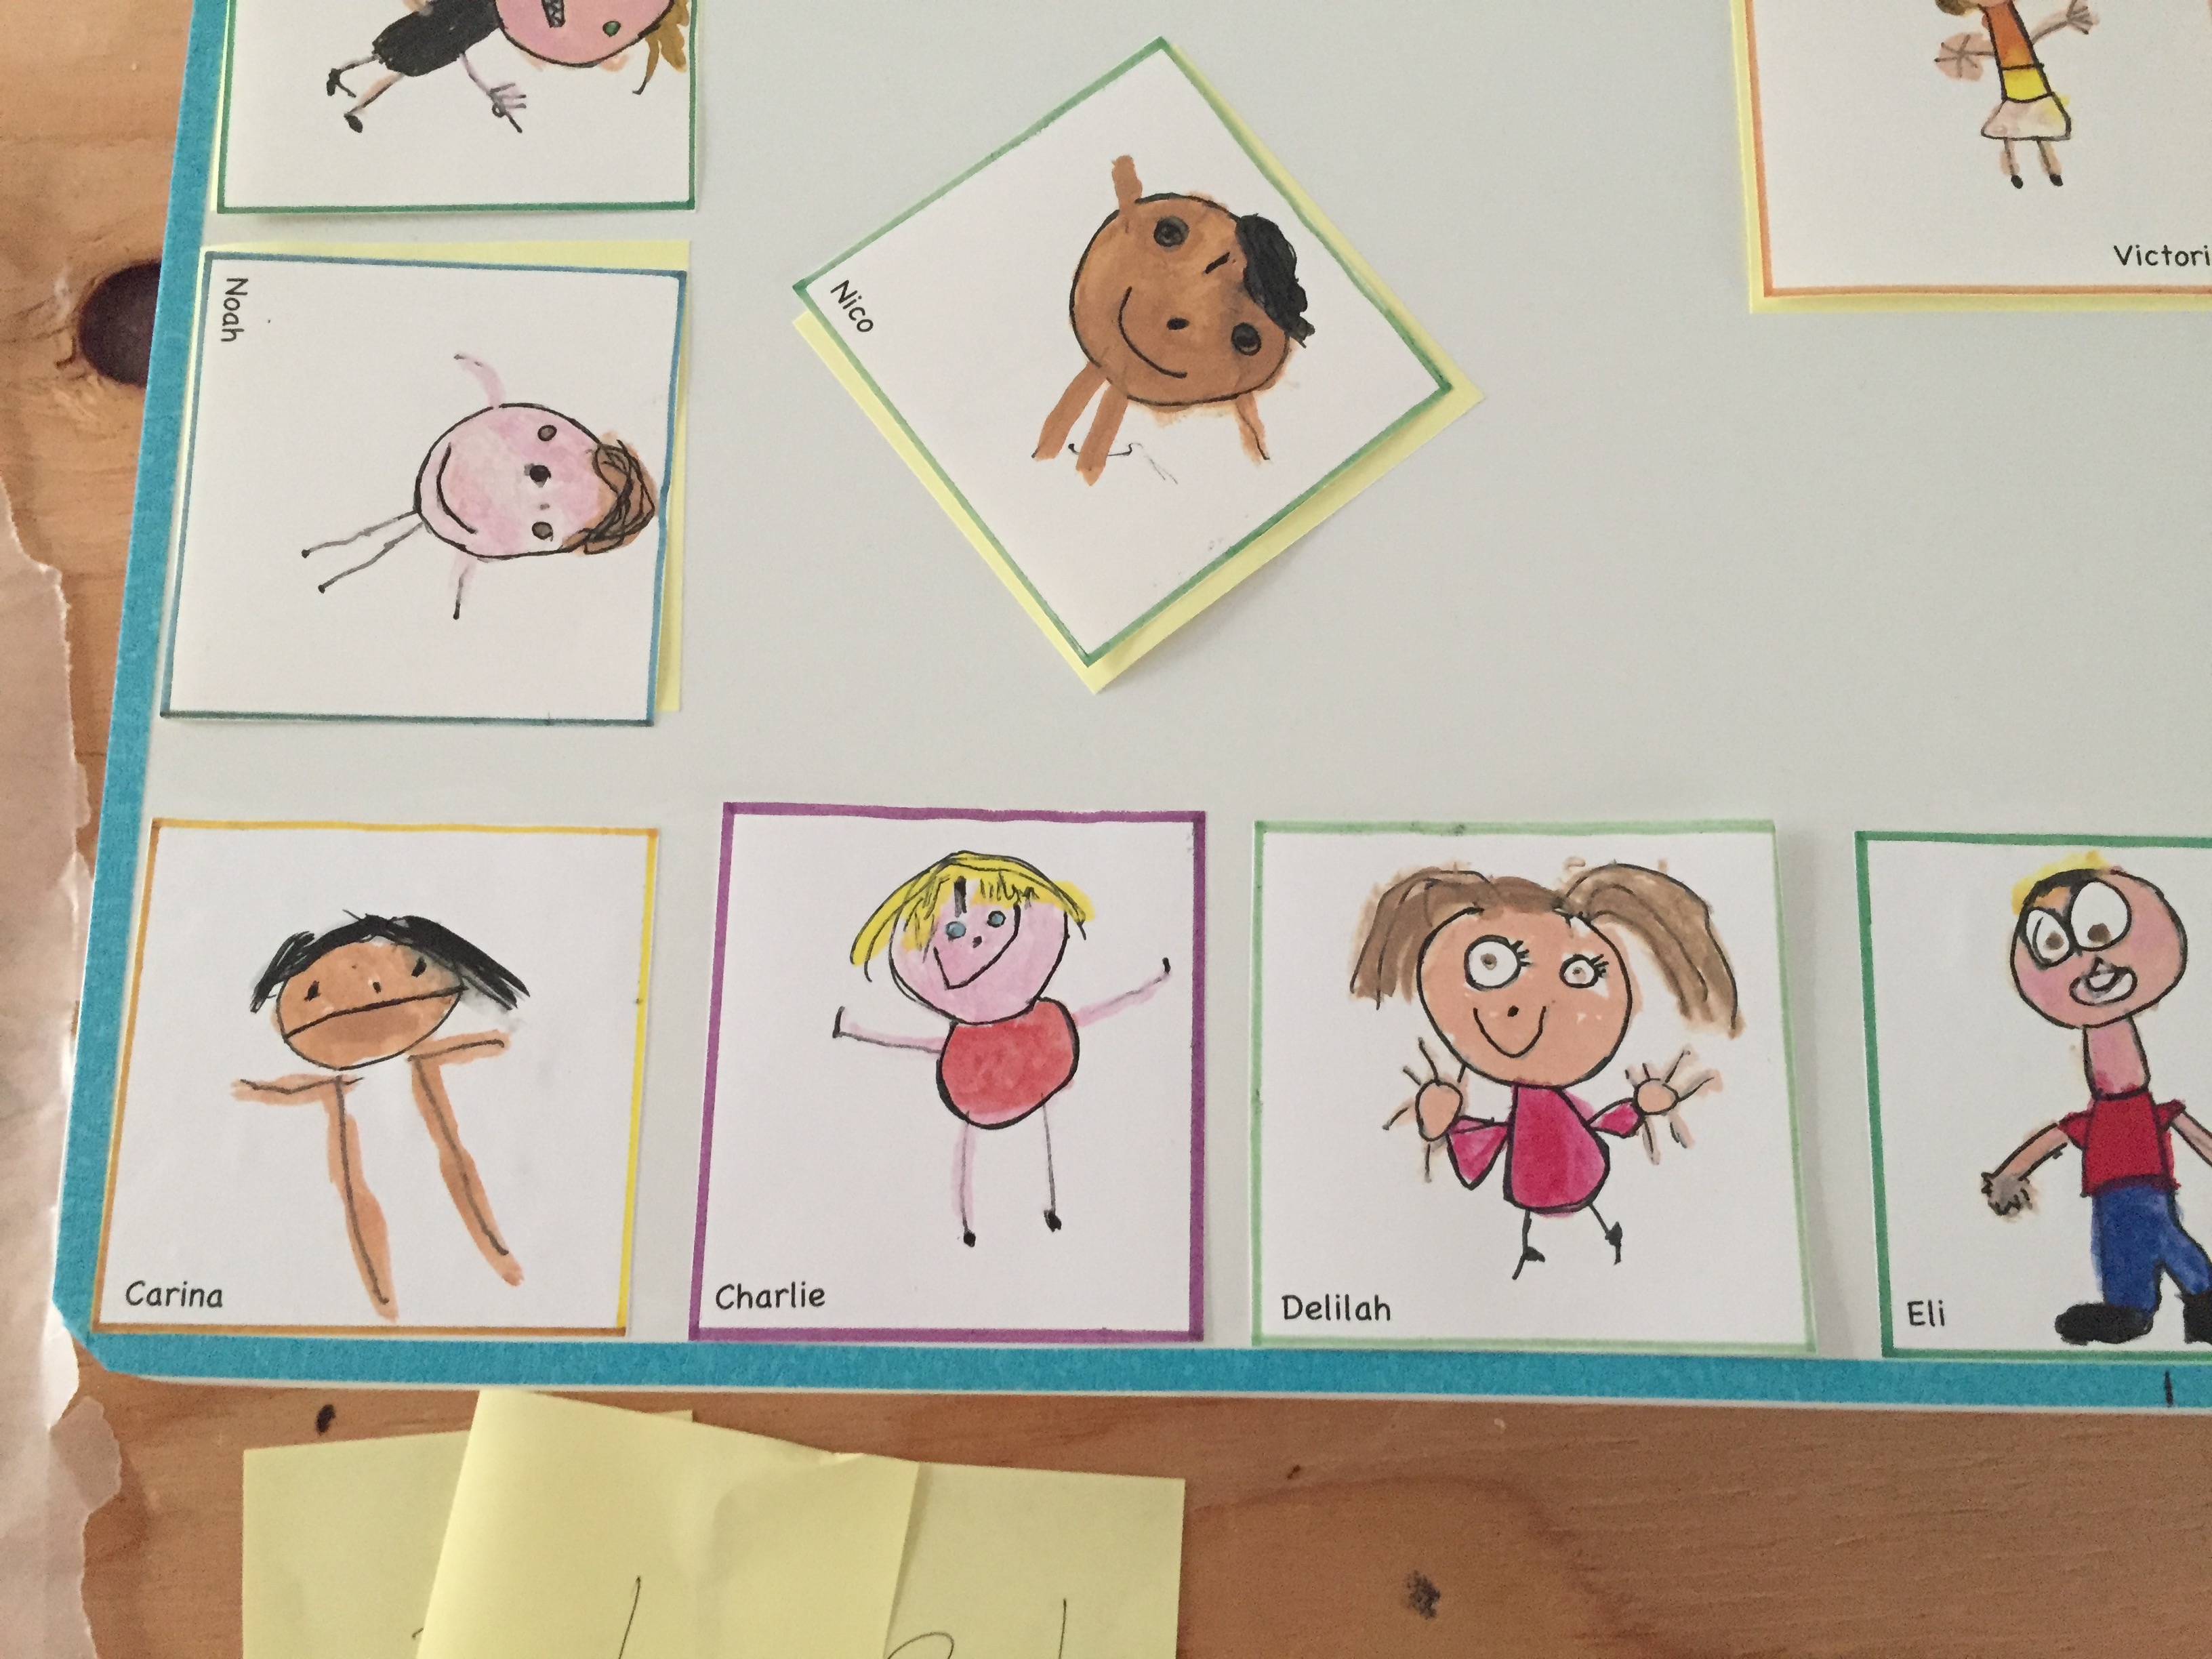
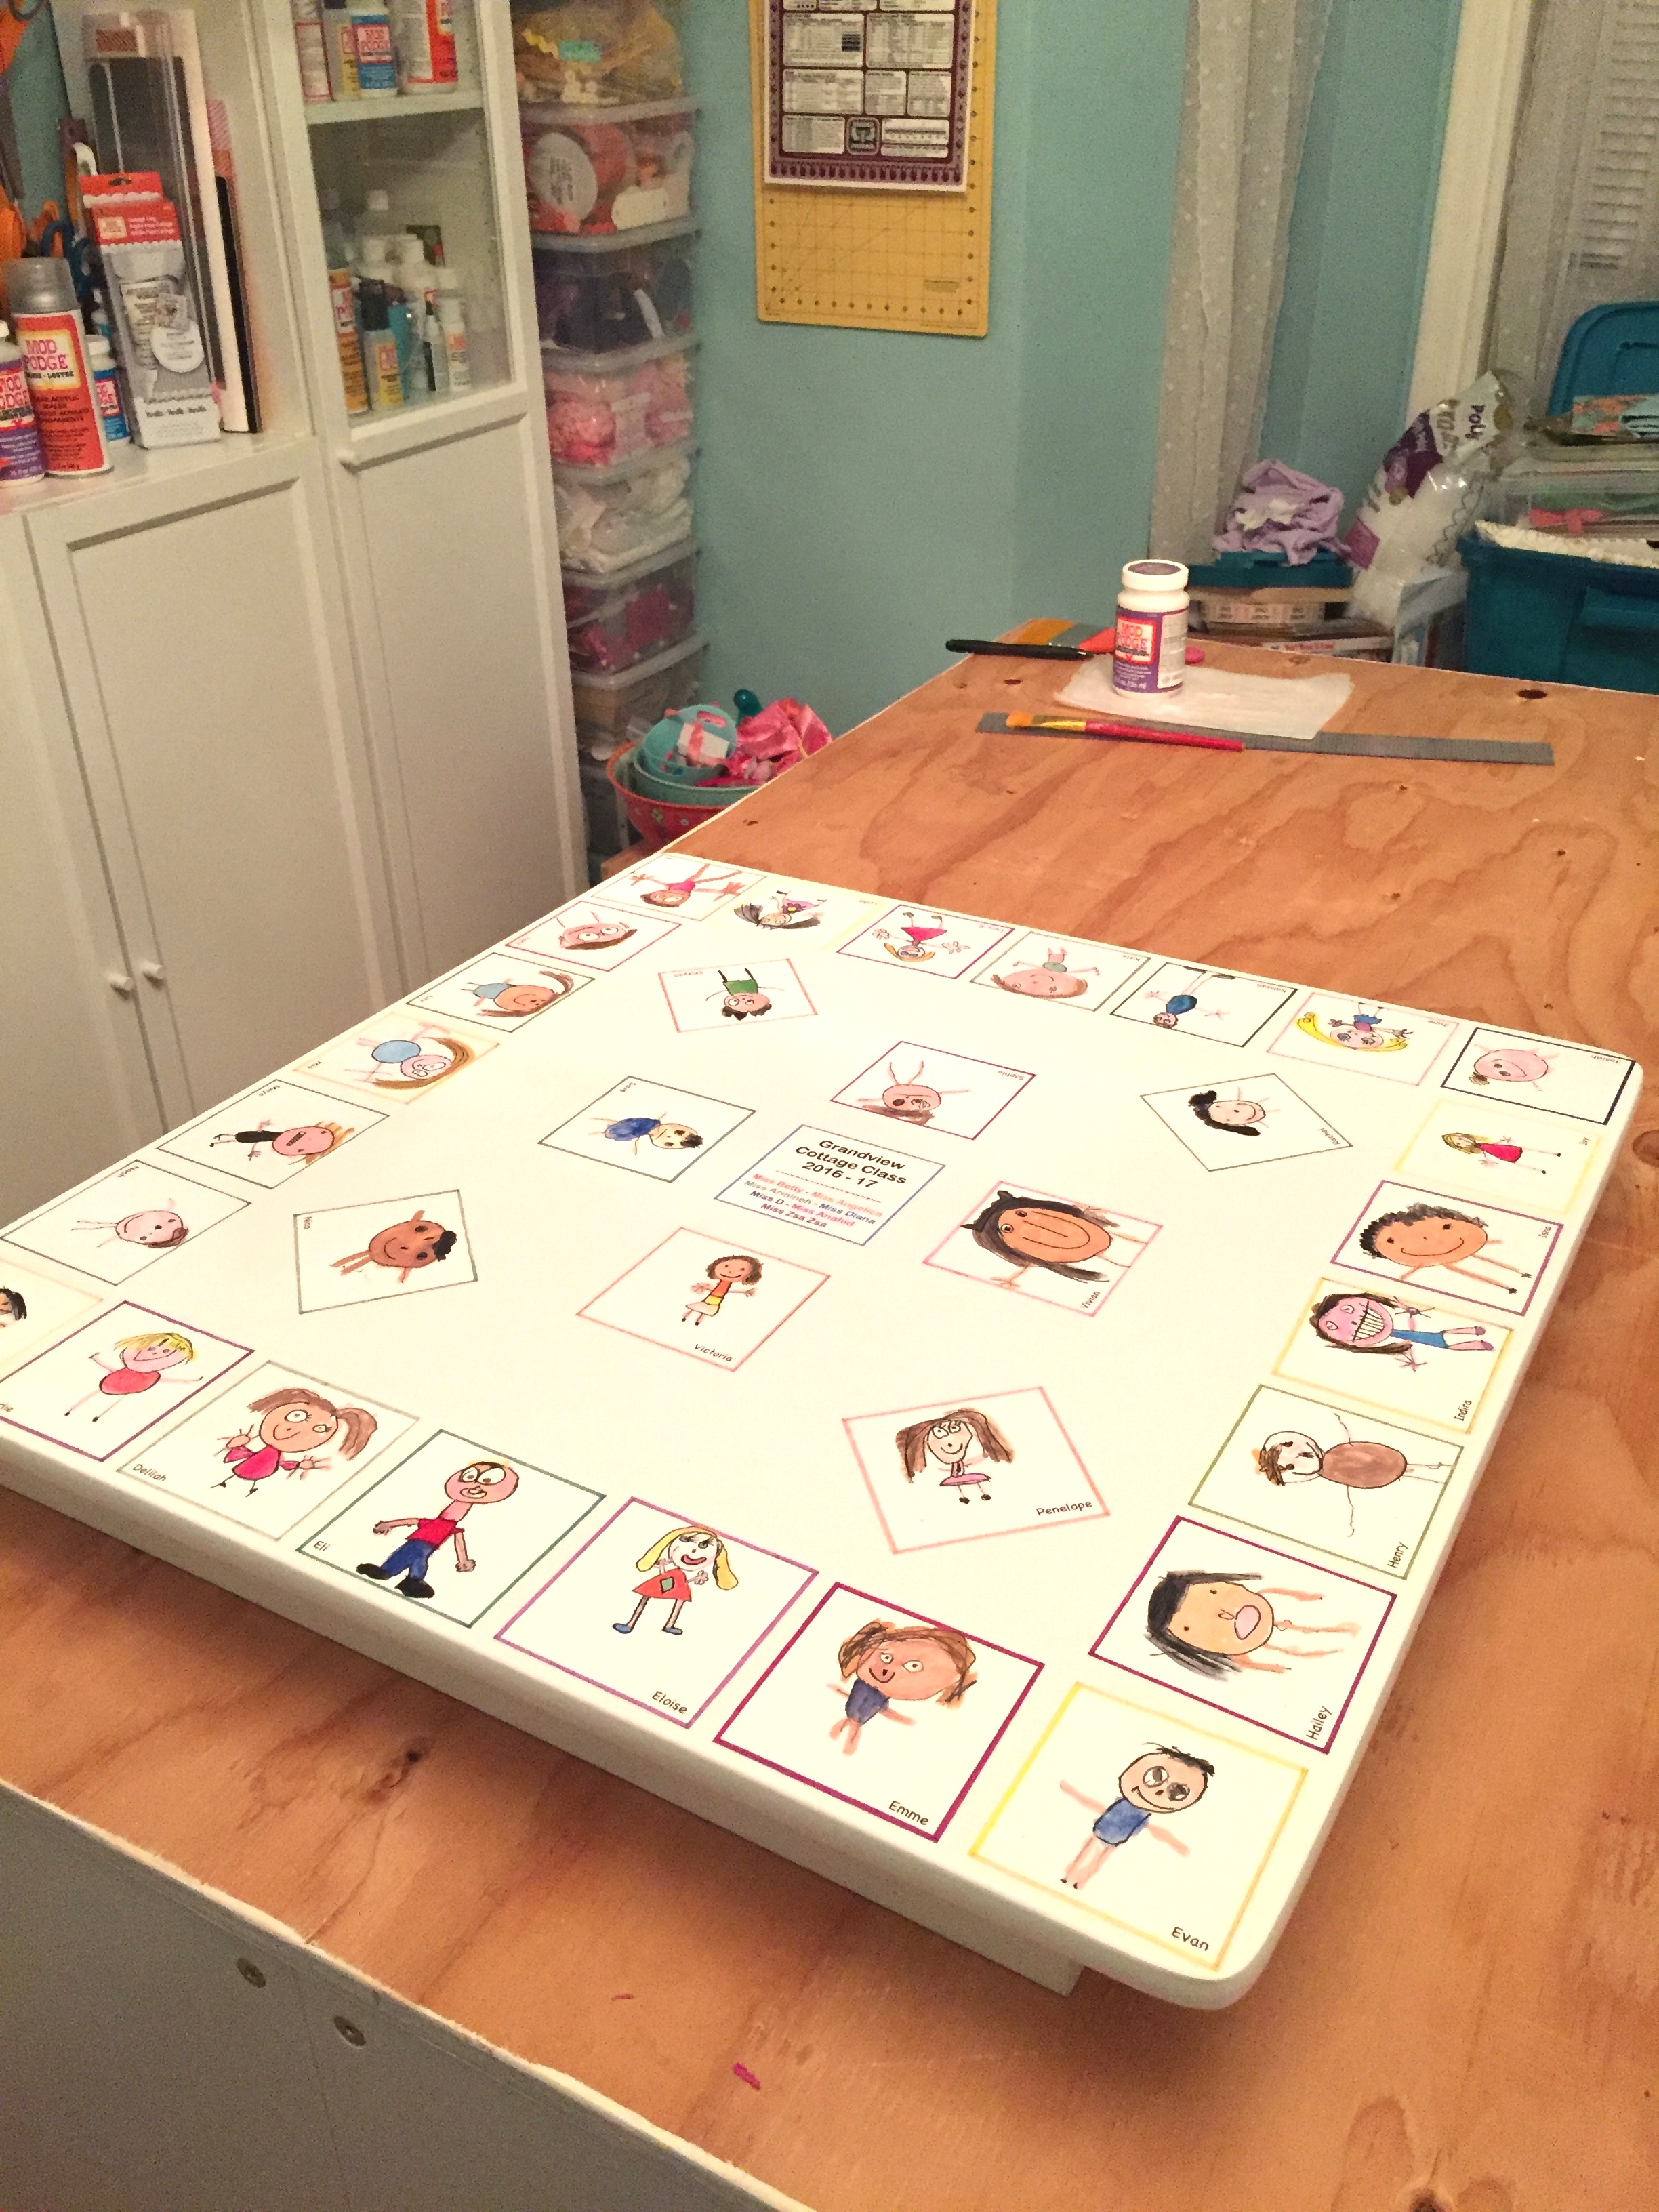
- Tape off a border edge to help with placement and to have a little edge around the table
- Layout your pieces. I went alphabetical.
TIP::: Mark a center line mark to help with your placement of the pieces.
Starting on one side, begin with the center piece.
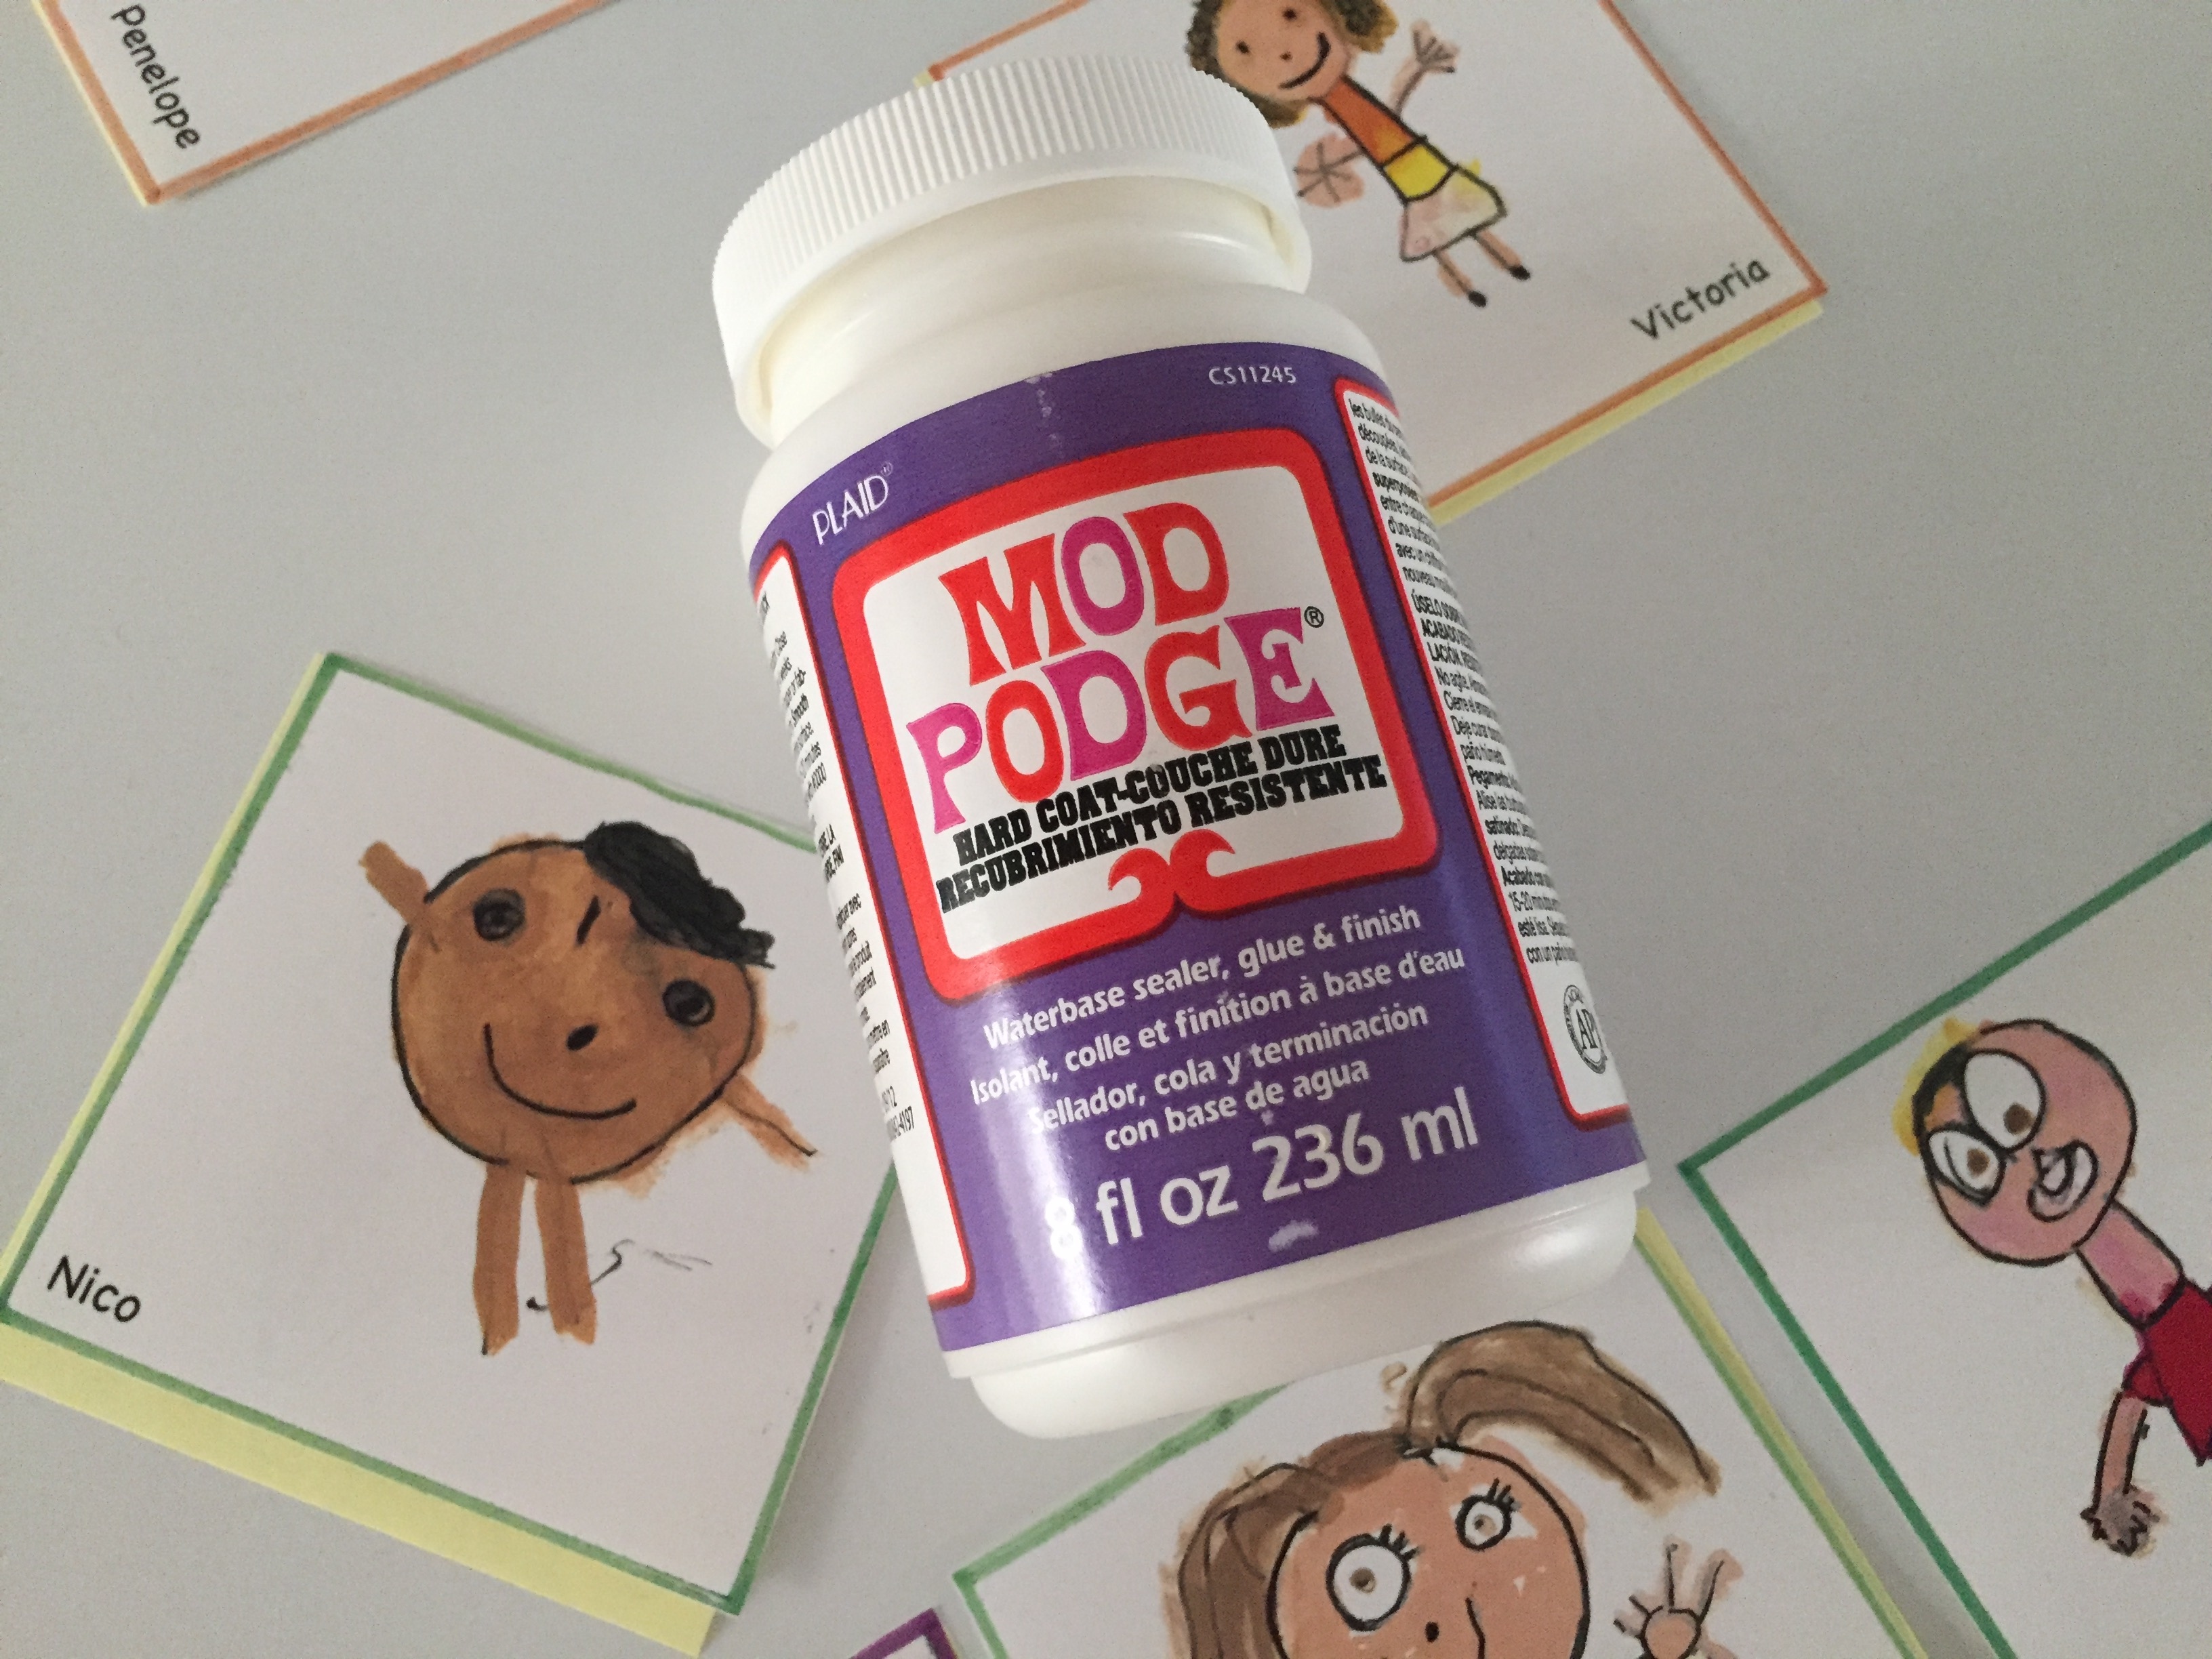
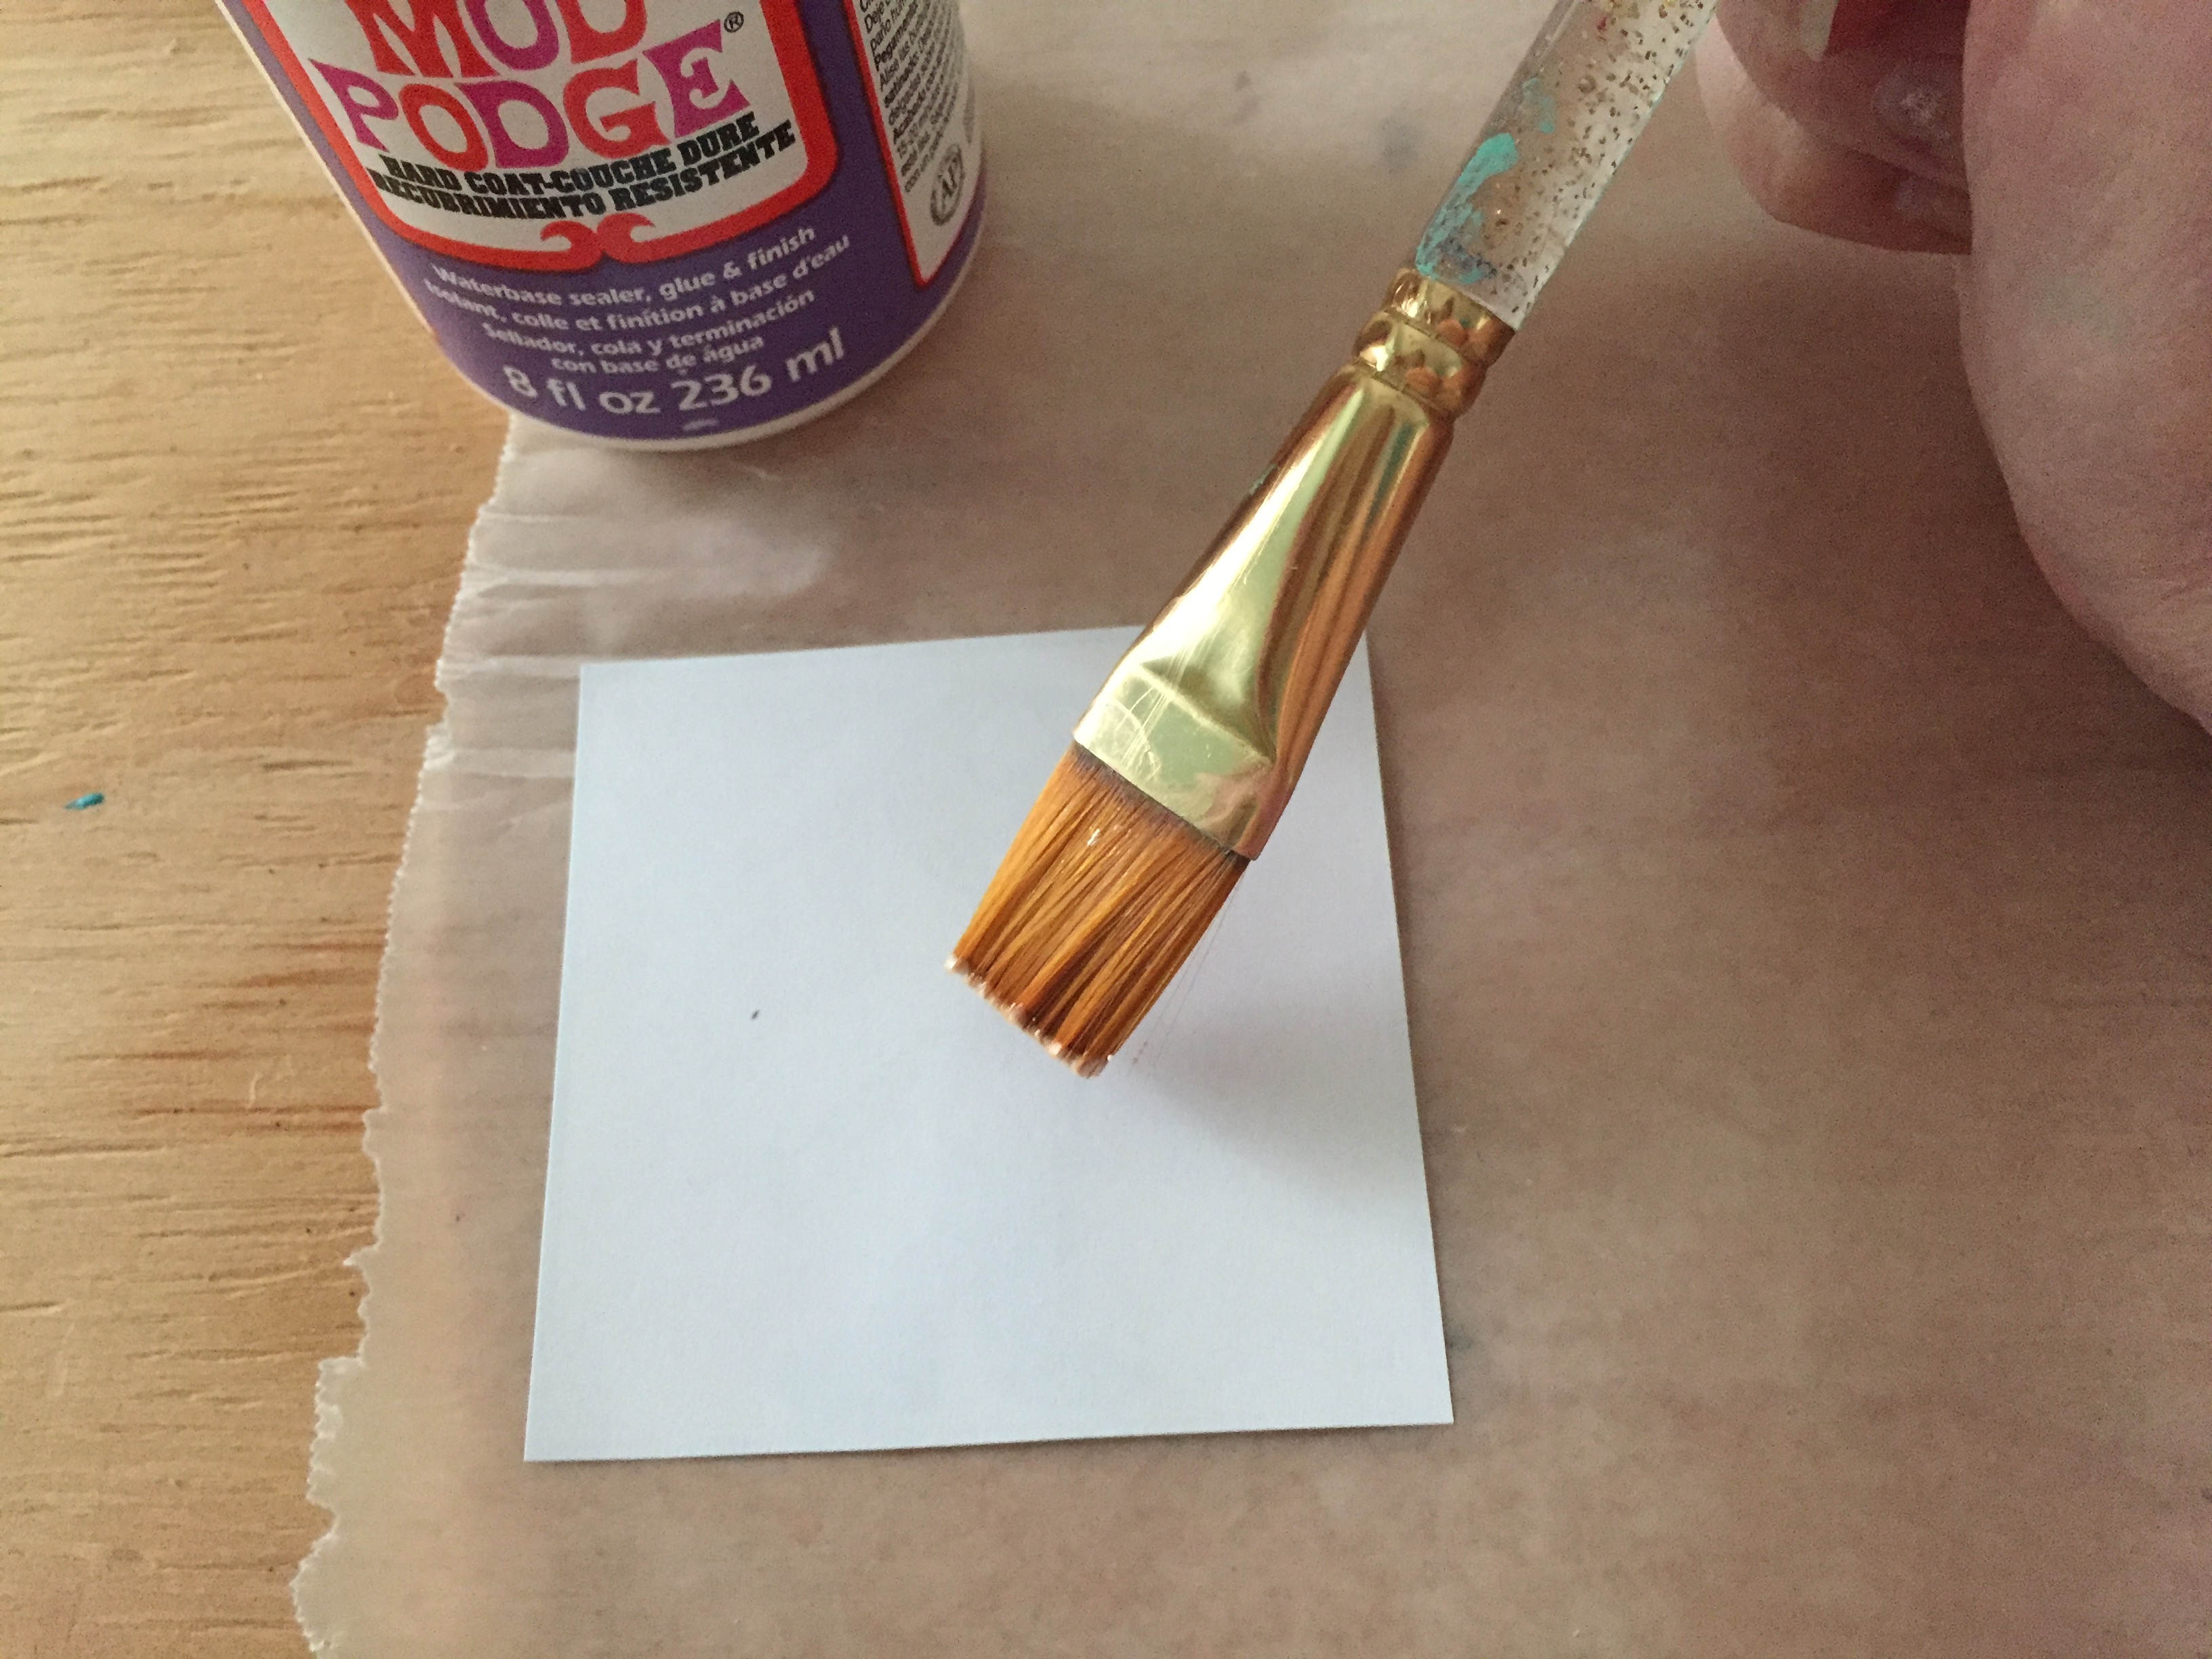
I’m using Mod Podge hard coat for attaching the paper pieces.
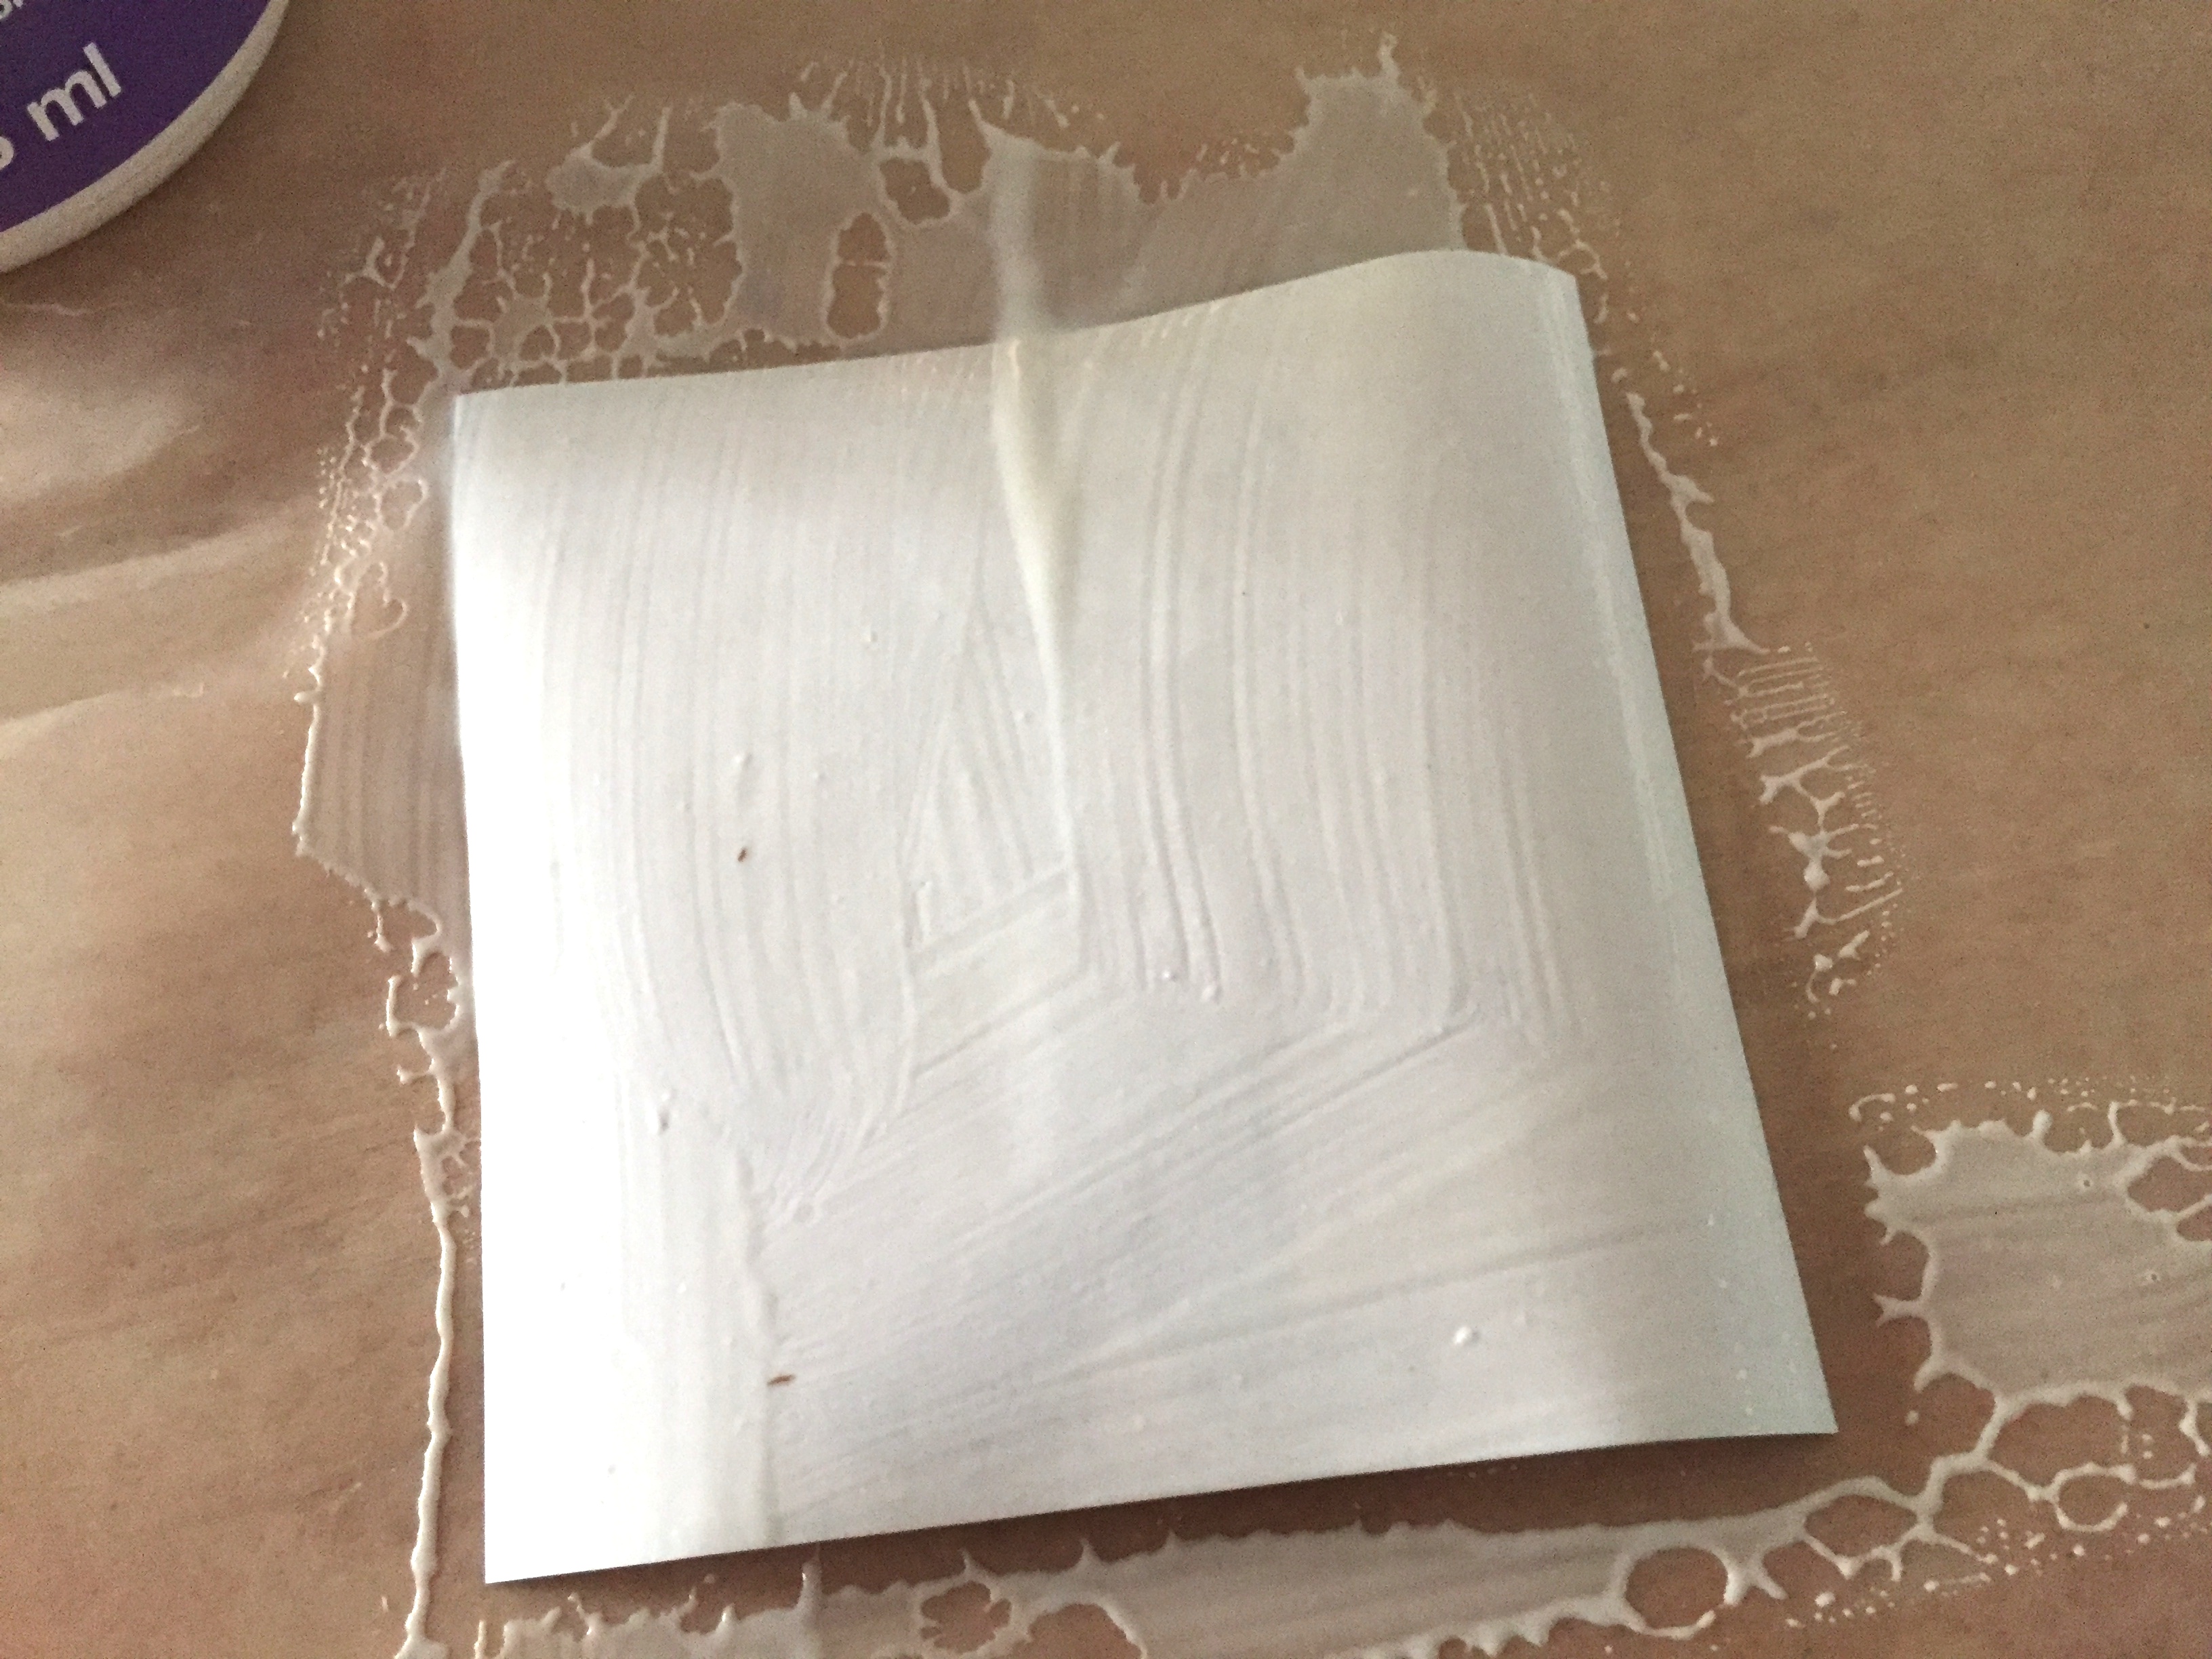
10. Apply Mod Podge to the back of the paper.
11. Place the paper onto the table. Center over your marked center line. Smooth any bubbles with your fingers.
12. Next do each corner and then do the remaining pieces along the edge. Then do the other three sides.
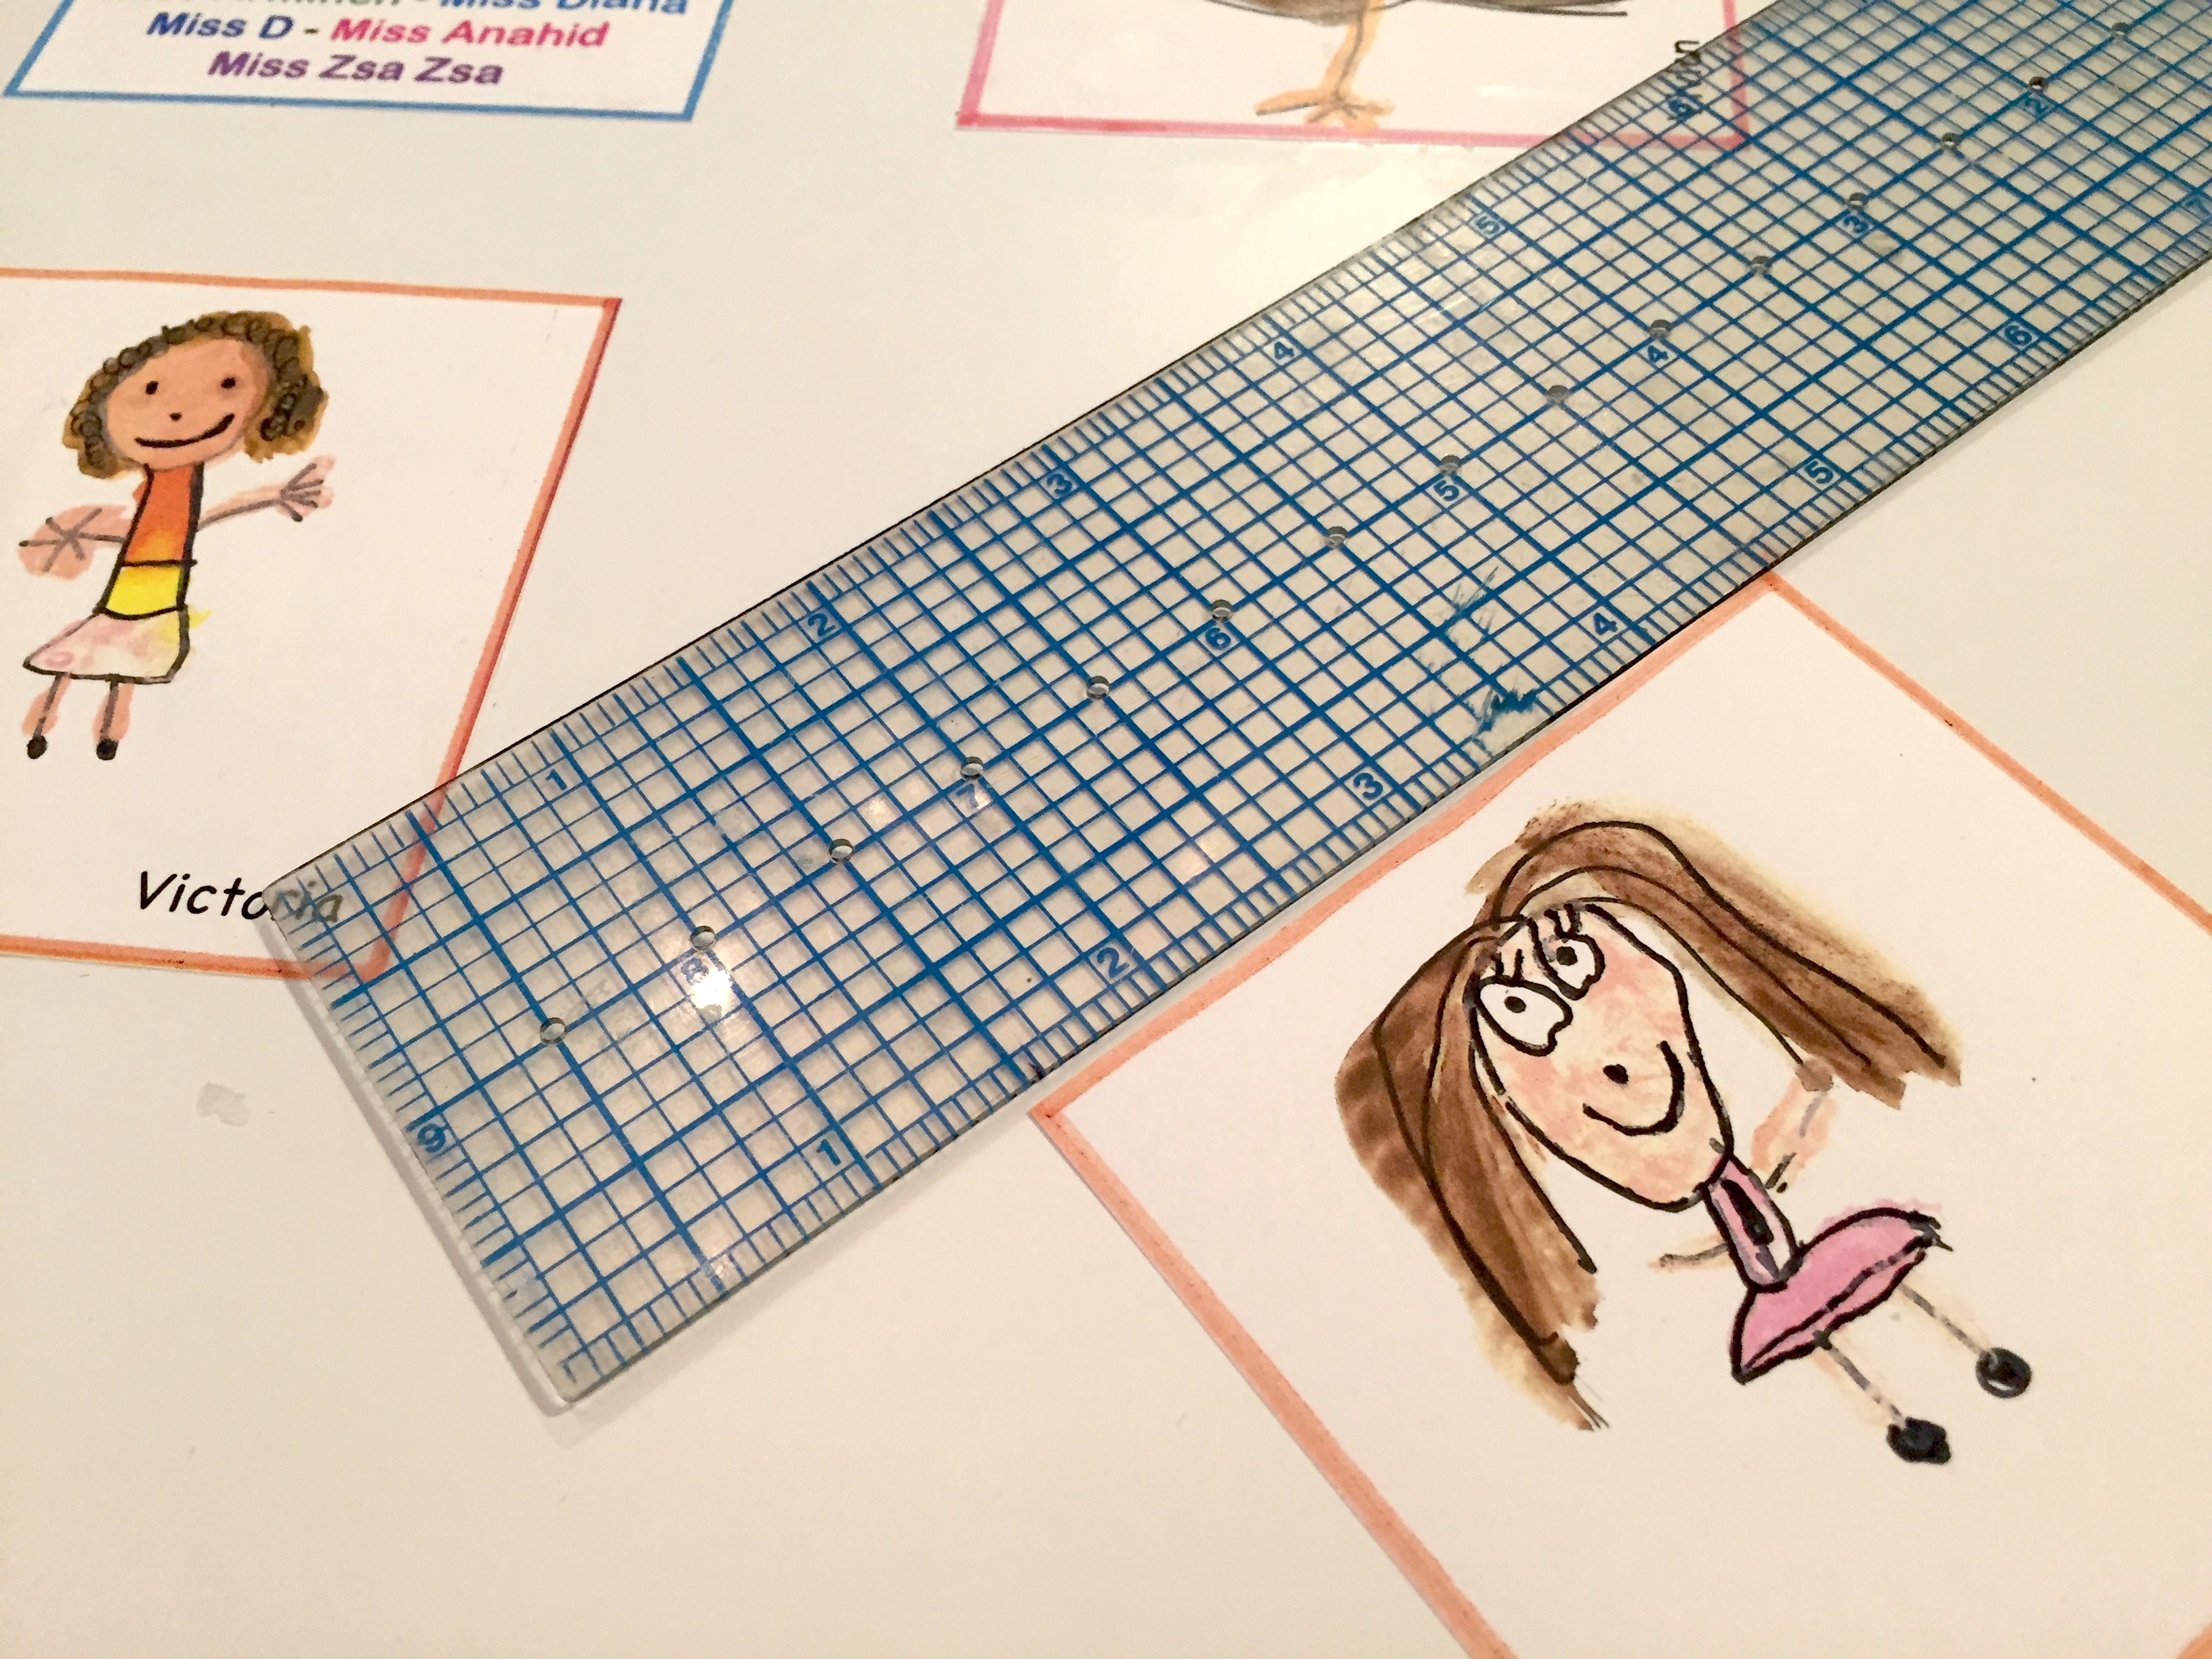
13. Attach the center design pieces. Use a ruler to help with the placement.
14. Top-coat each piece with a layer of Mod Podge Hard Coat. Try to only top-coat the actual paper. Allow to dry for a few hours.
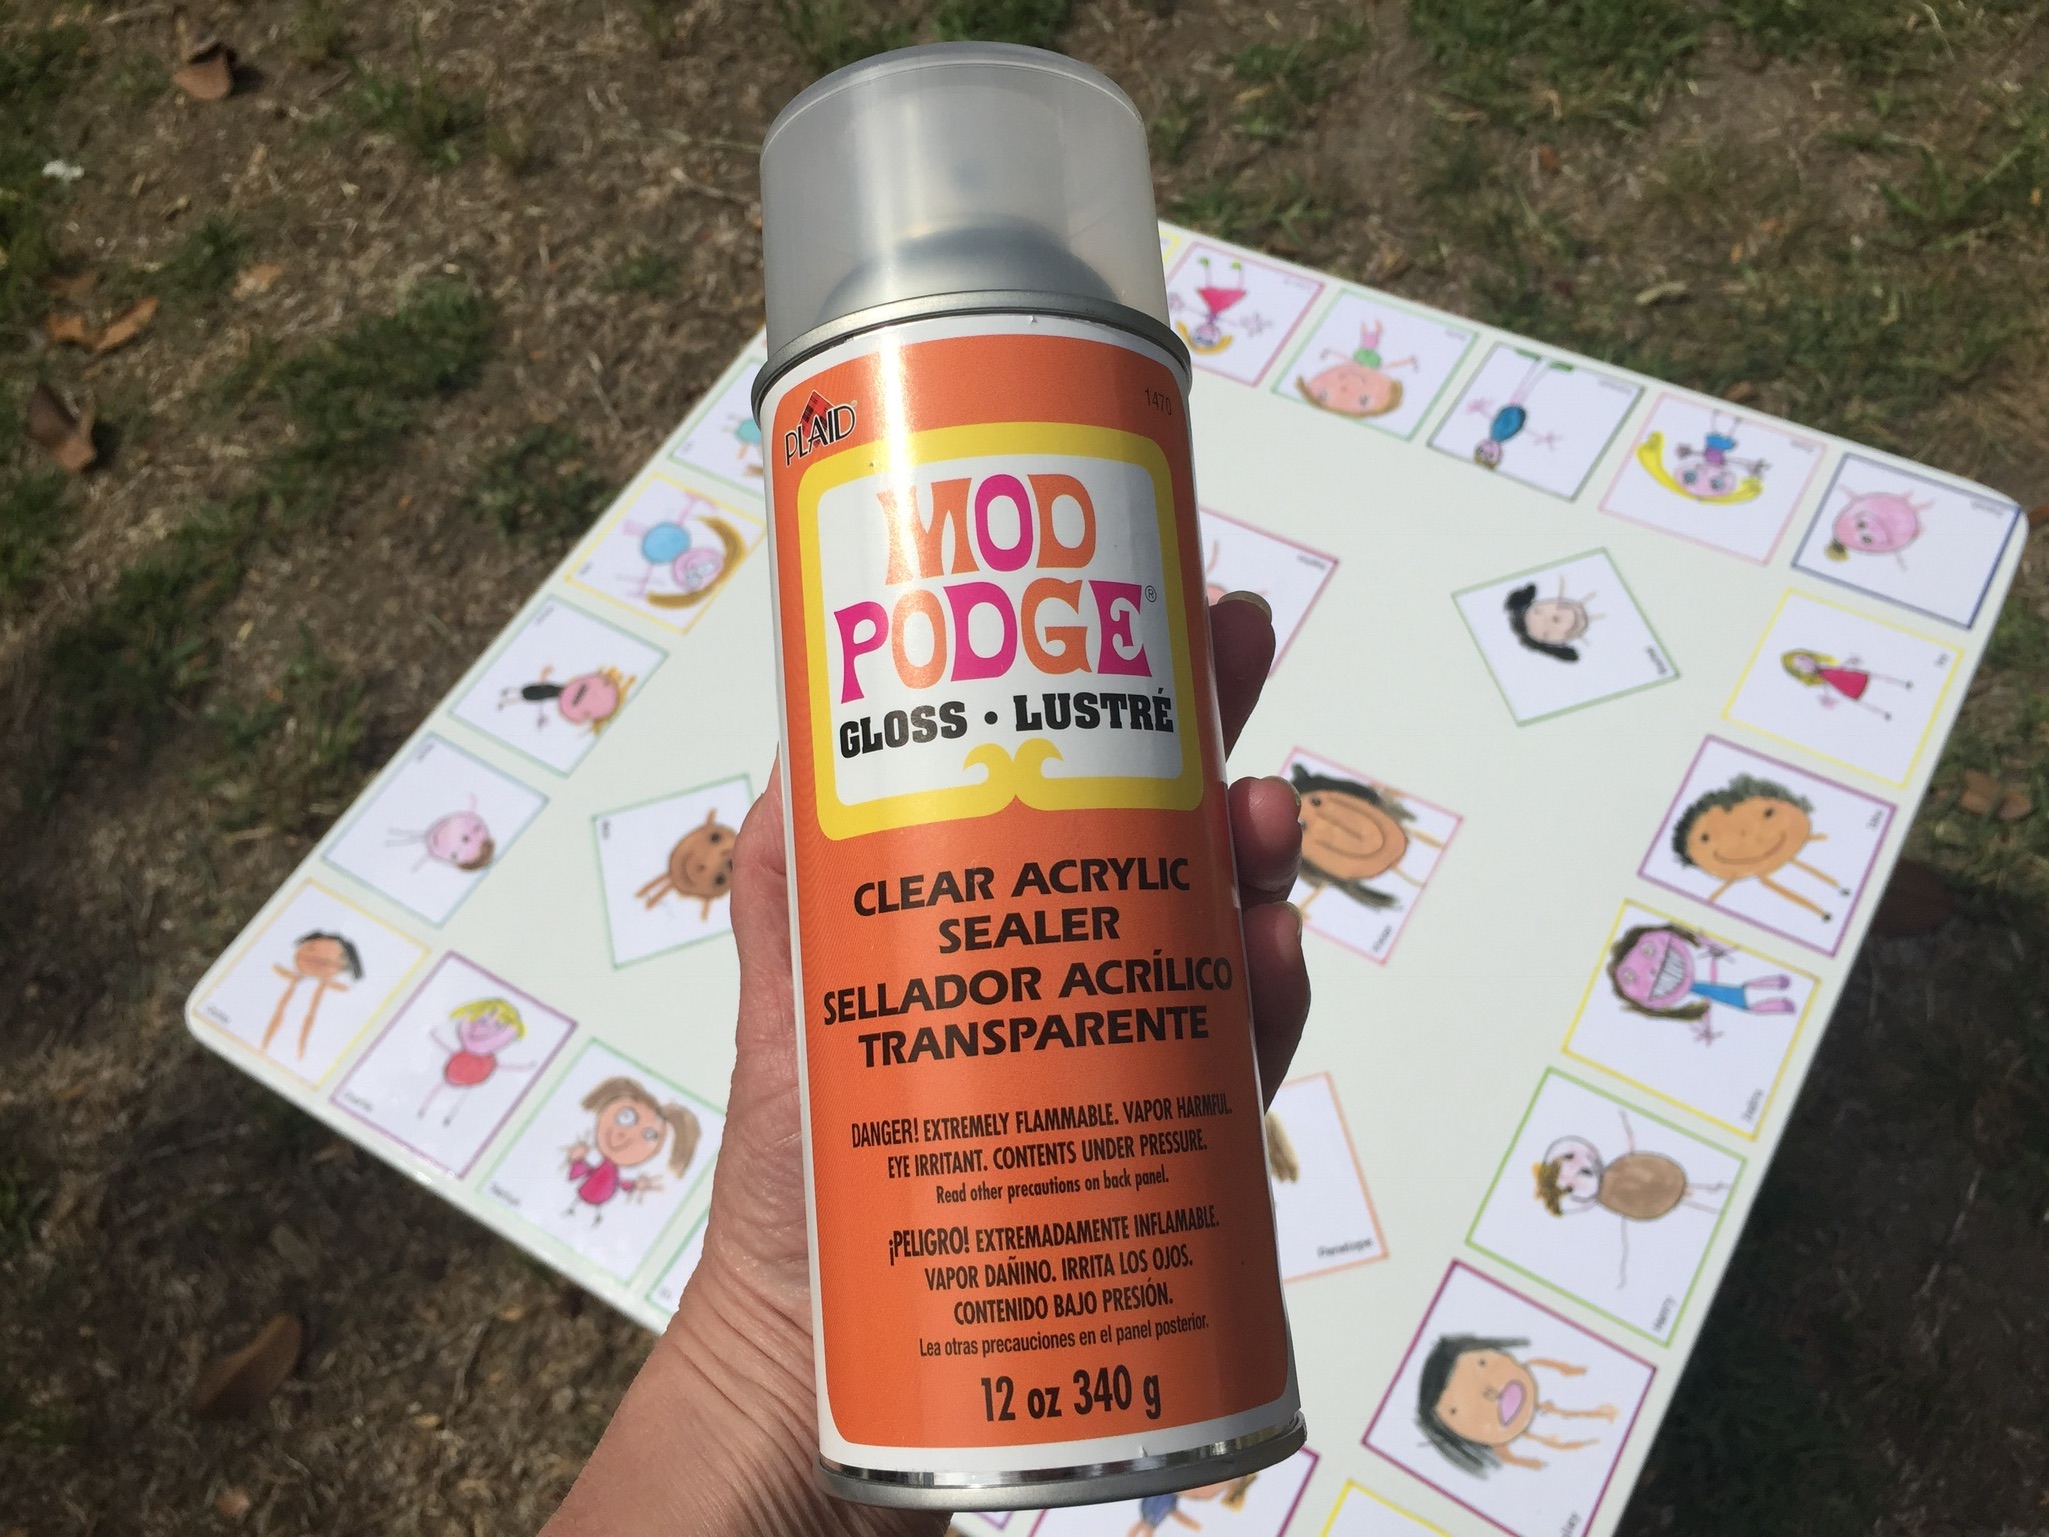
15. Seal with Spray Gloss Mod Podge. Use as many coats as you wish. I did about 10 coats. You can also top-coat with Mod Podge Super Gloss to get a super high shine.
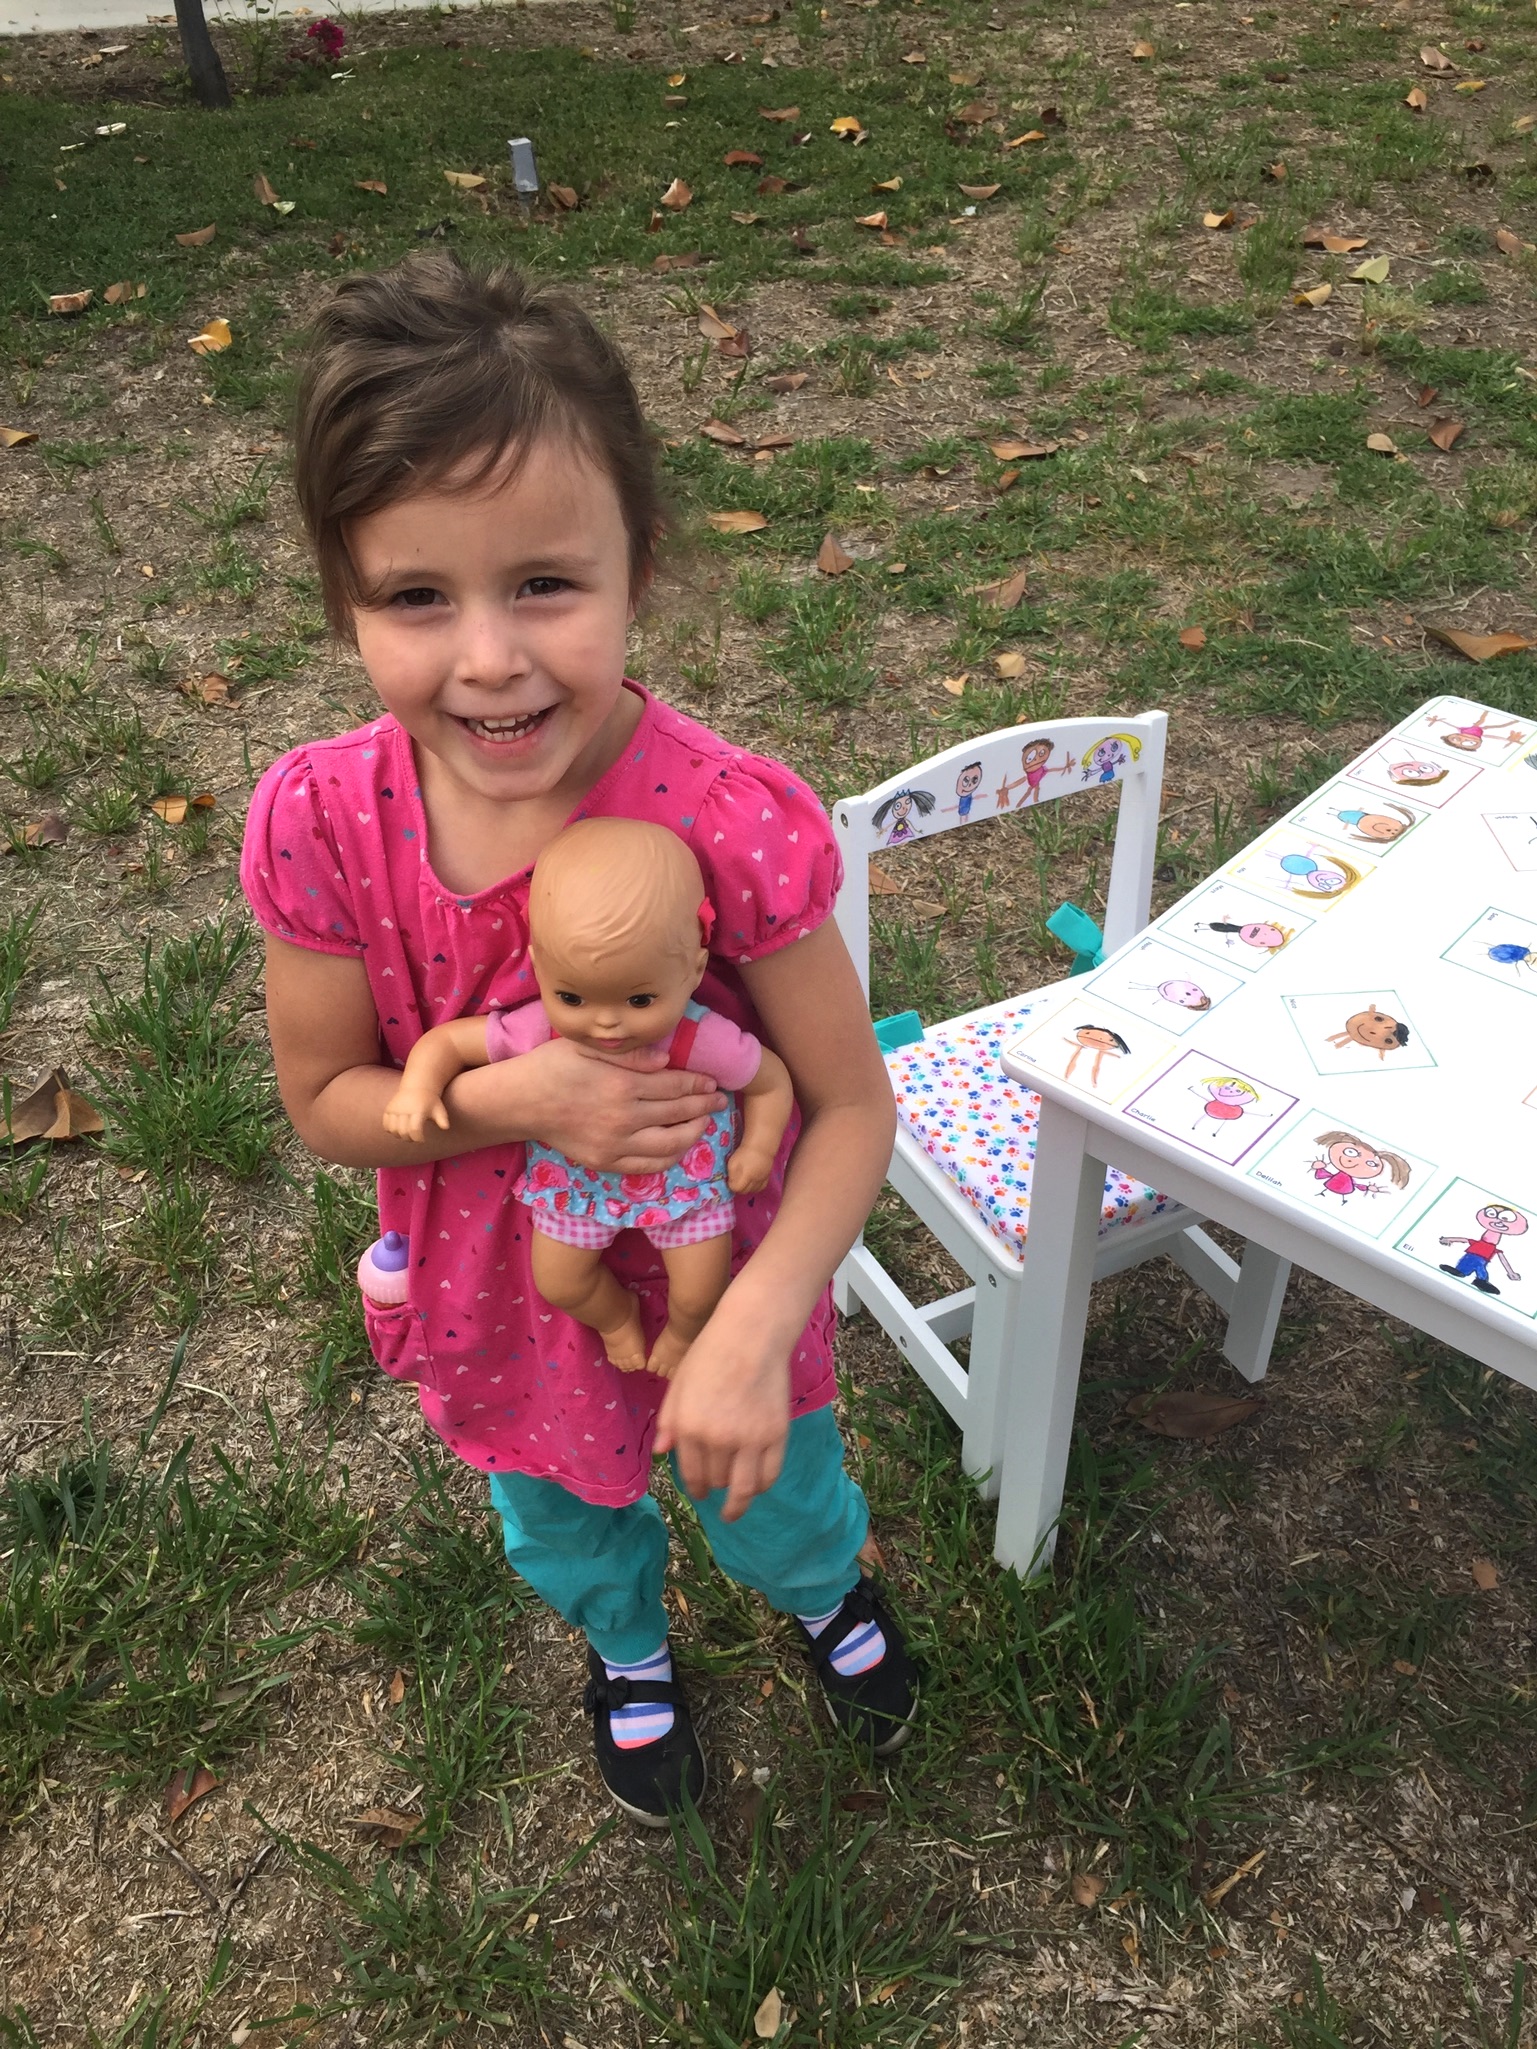
Delilah & Baby Approve!!
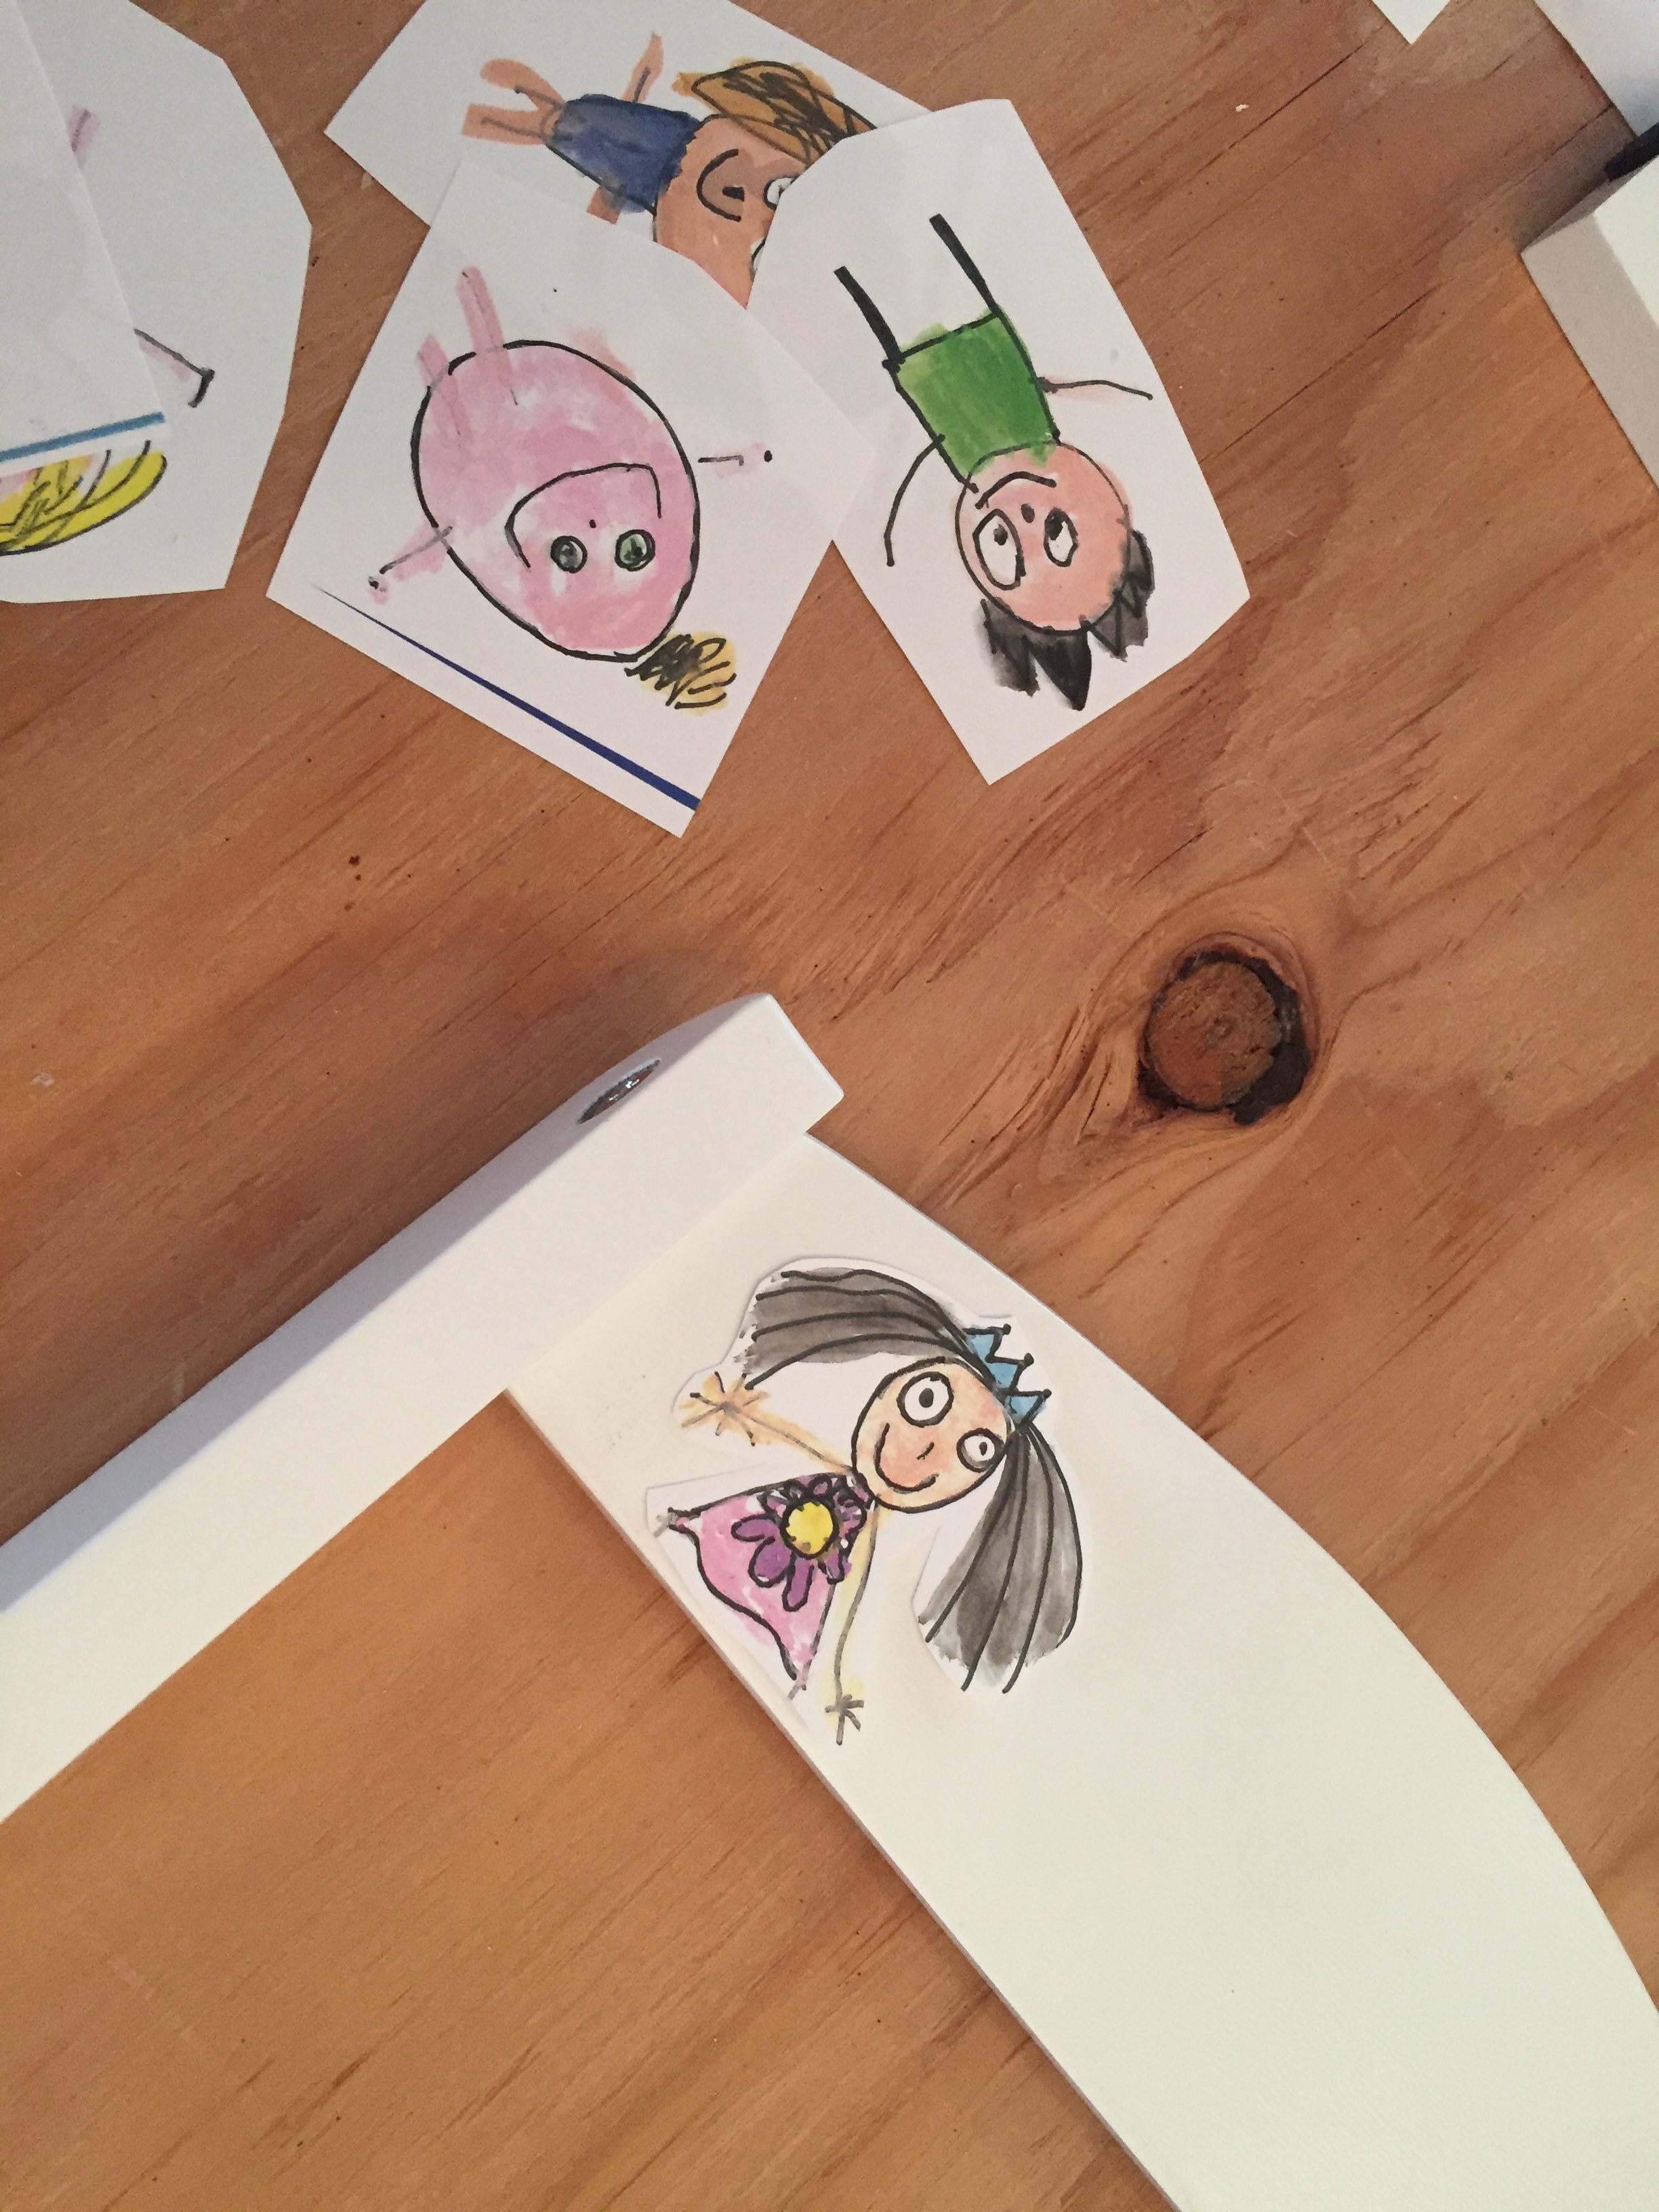
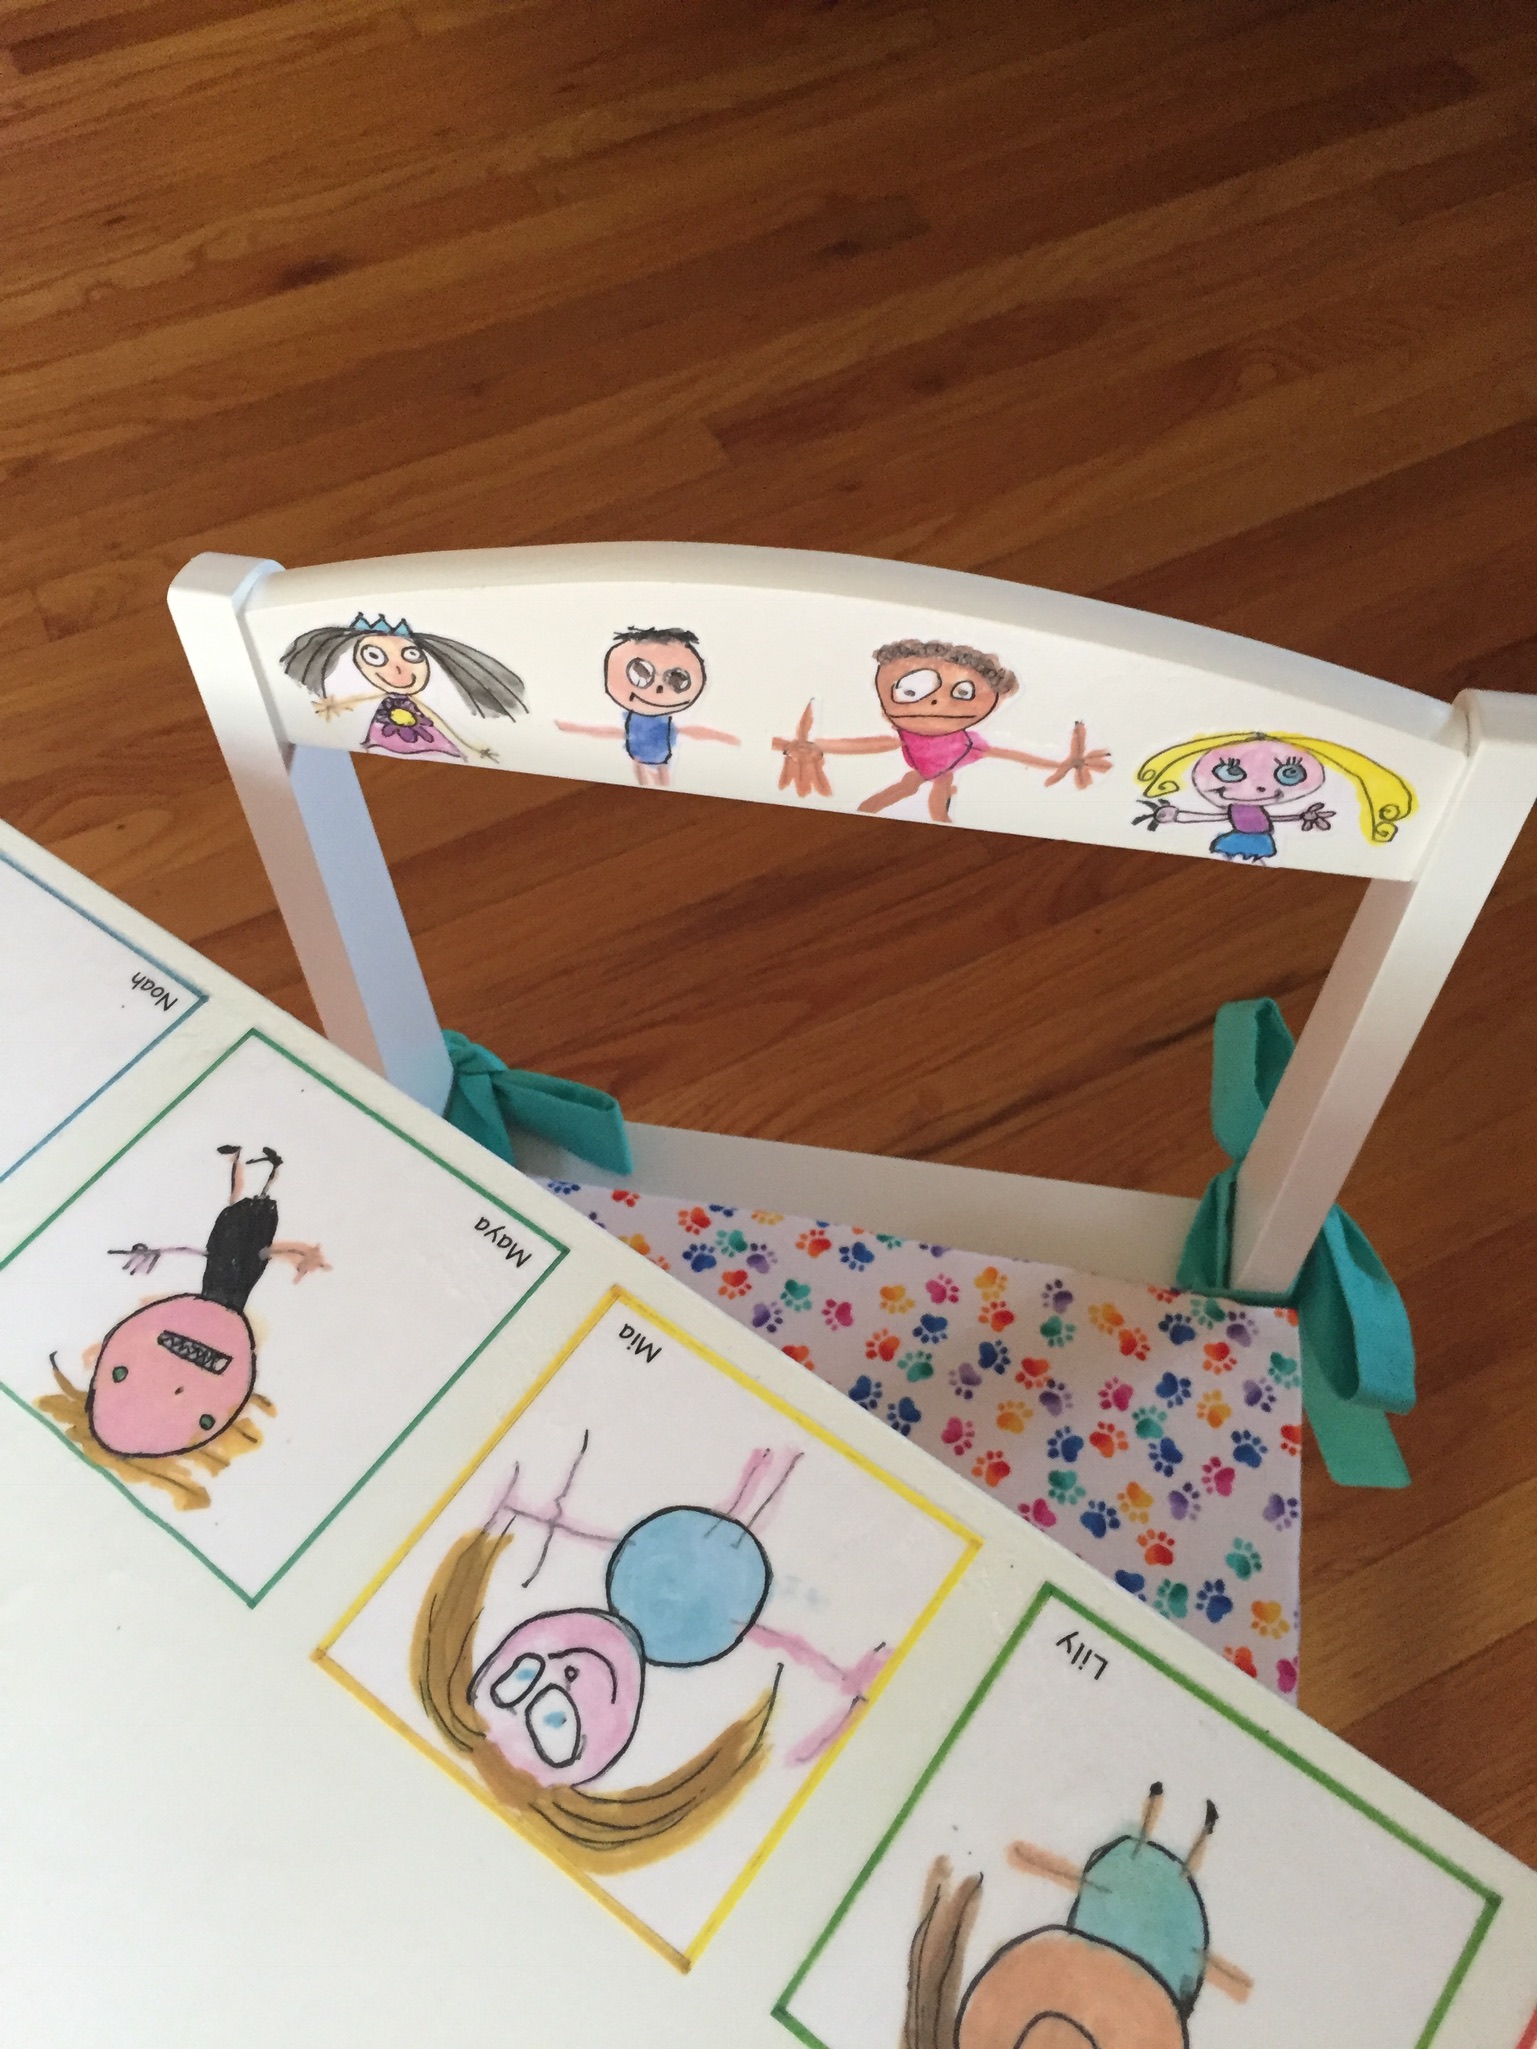
16. I made extra copies for the chair. For the chair backs, I applied small cut-outs in the same fashion.
Thanks for stopping by! Please comment with any questions! xo Cathie
