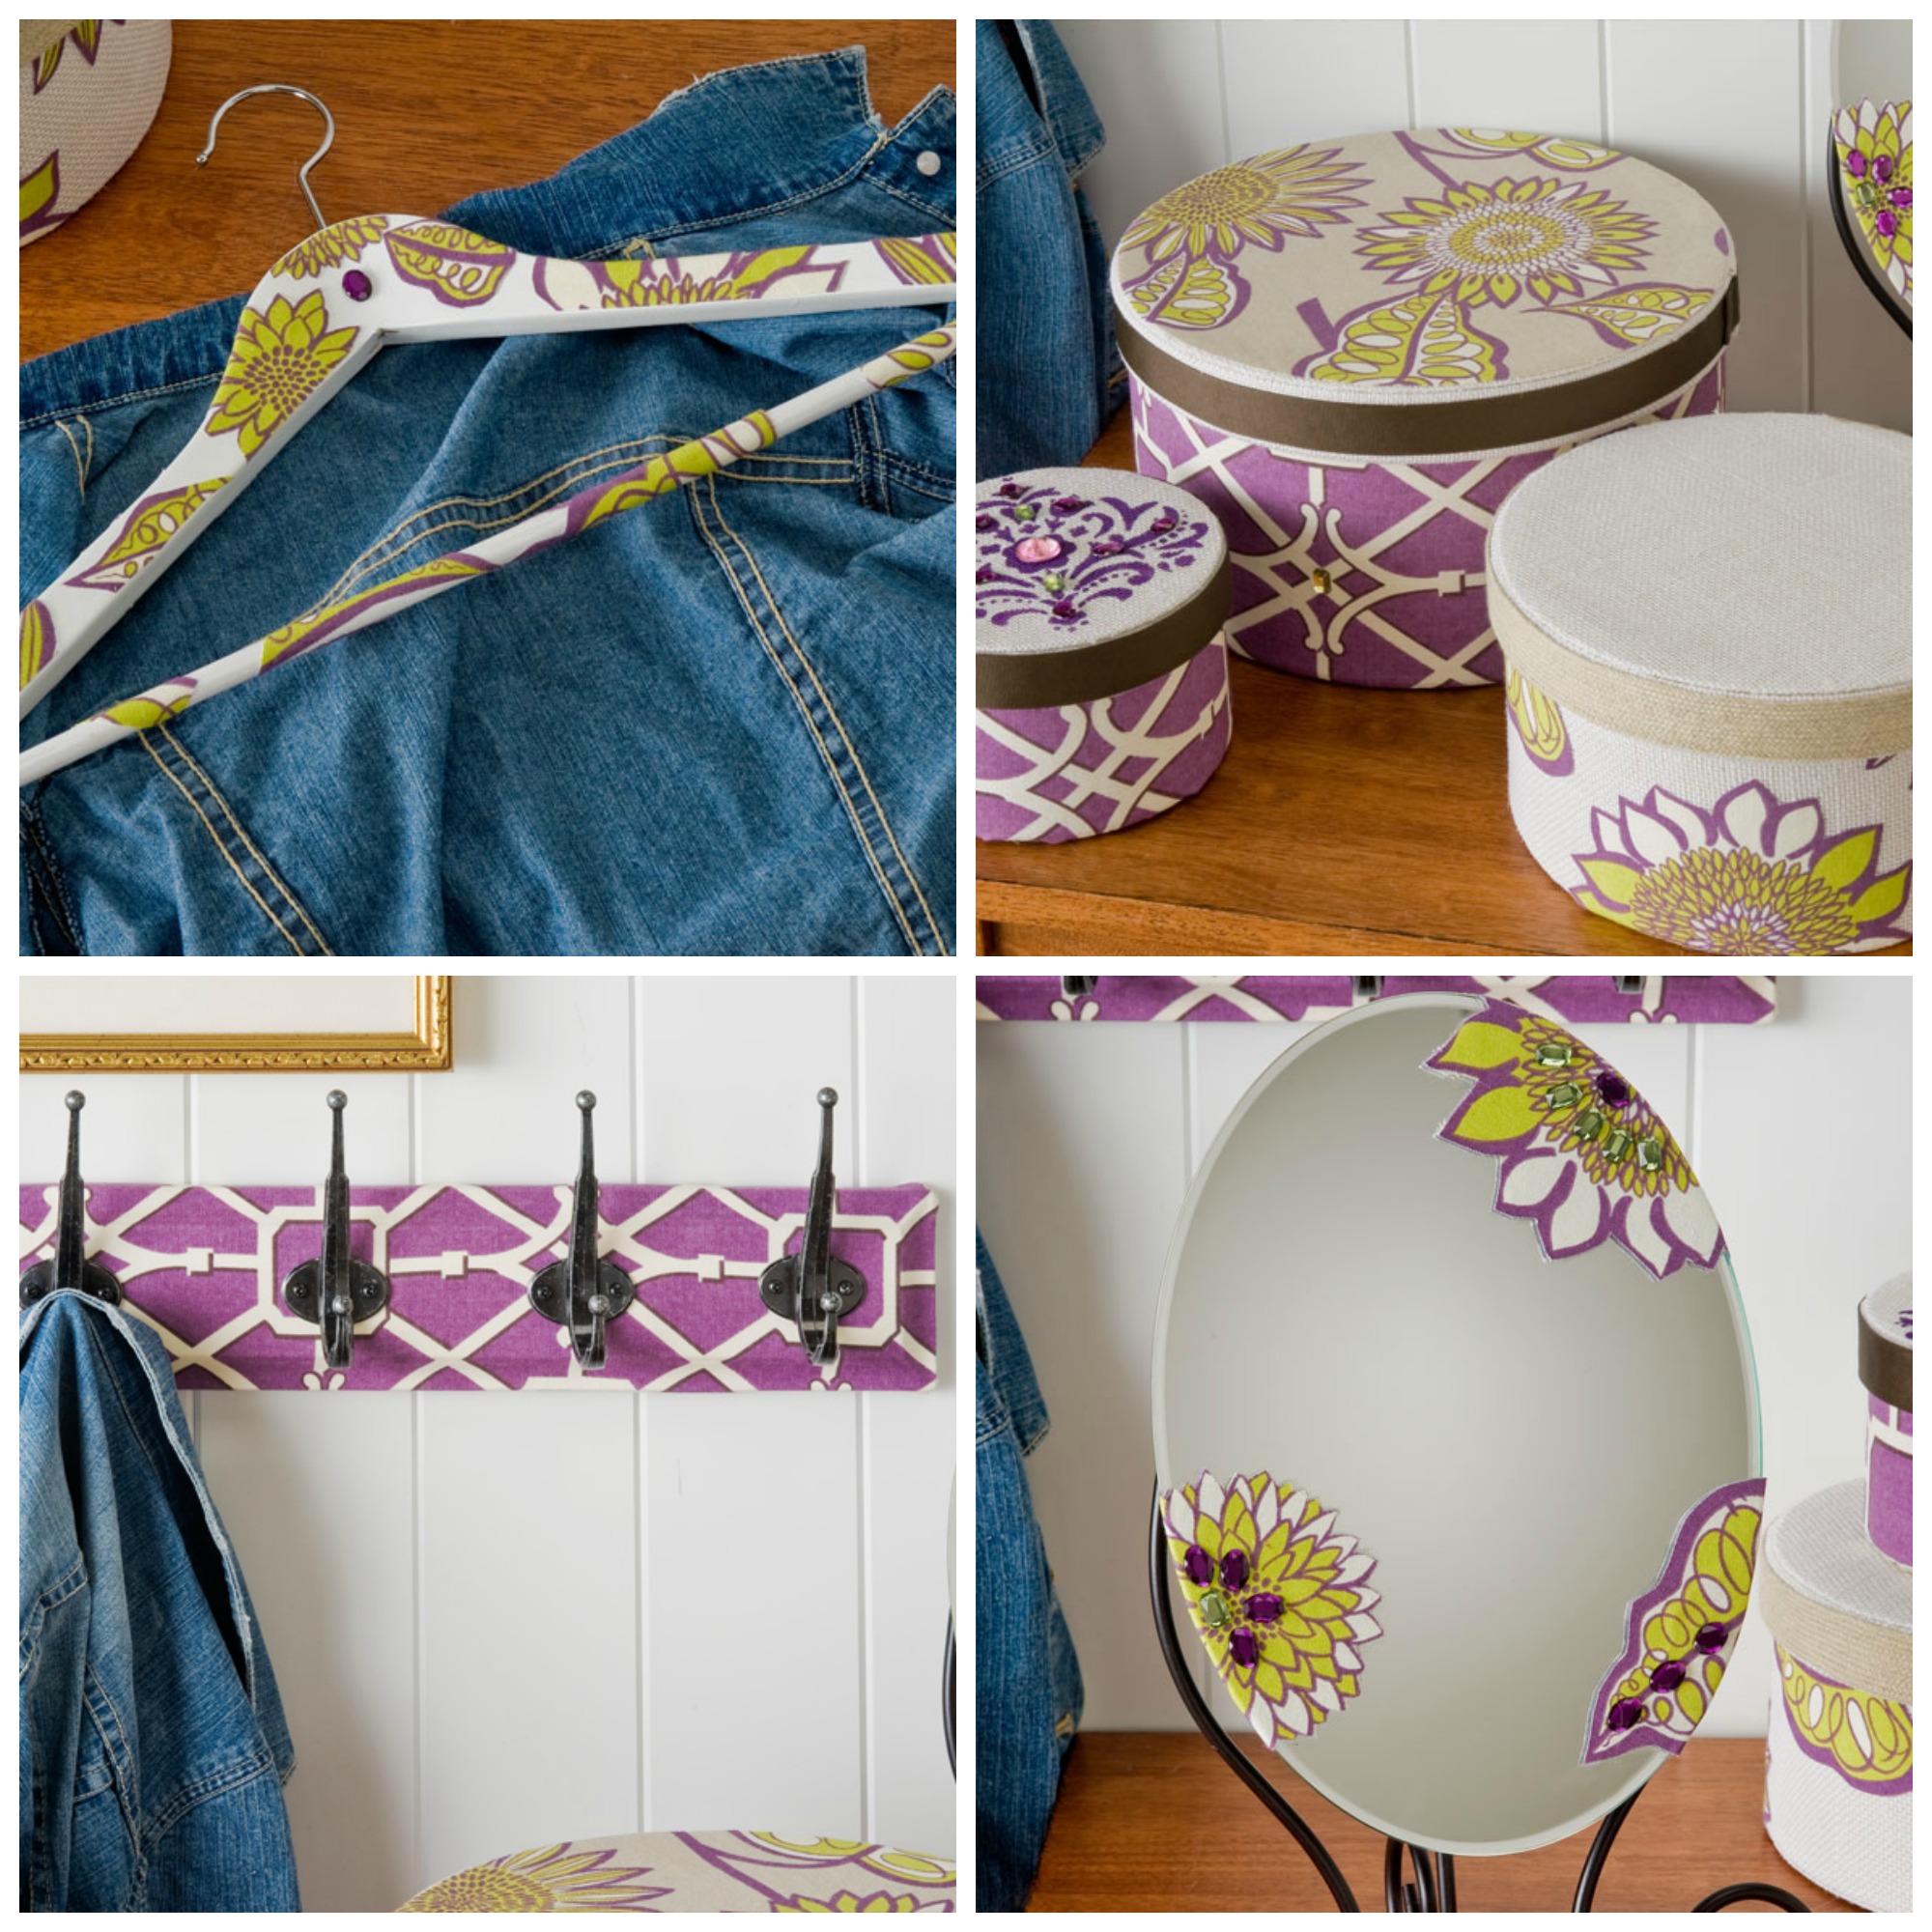
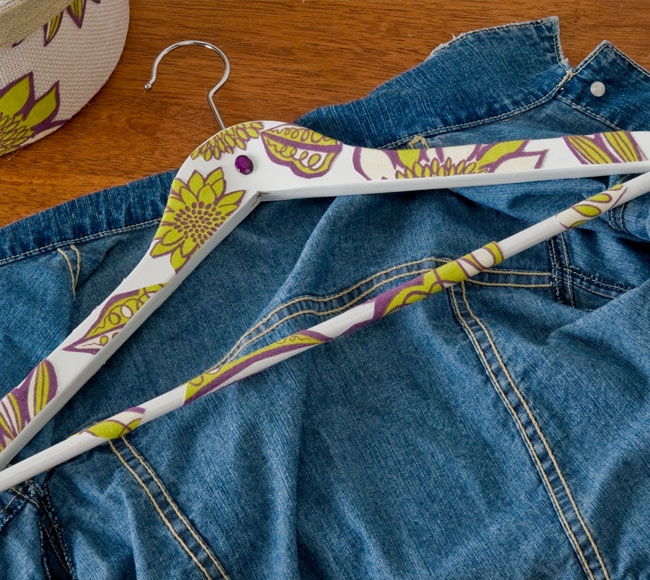
You can DIY your own coordinated home organization accessories with your favorite fabrics and Mod Podge. These projects are easy to create and will keep your space looking tidy and adorable. One of my favorite Mod Podge formulas is the Fabric formula. I guess my love is not only because it works so well but also because of how many fabrics are available to work with Fabric Mod Podge. We decoupaged hangers, hat boxes, coat hooks and even a table top mirror.
Hanger Supplies & Instructions
Wood hanger, Fabric Mod Podge, Scissors, Decorator Weight Fabric, Wax paper, Foam paintbrush, Gems, Gem Glue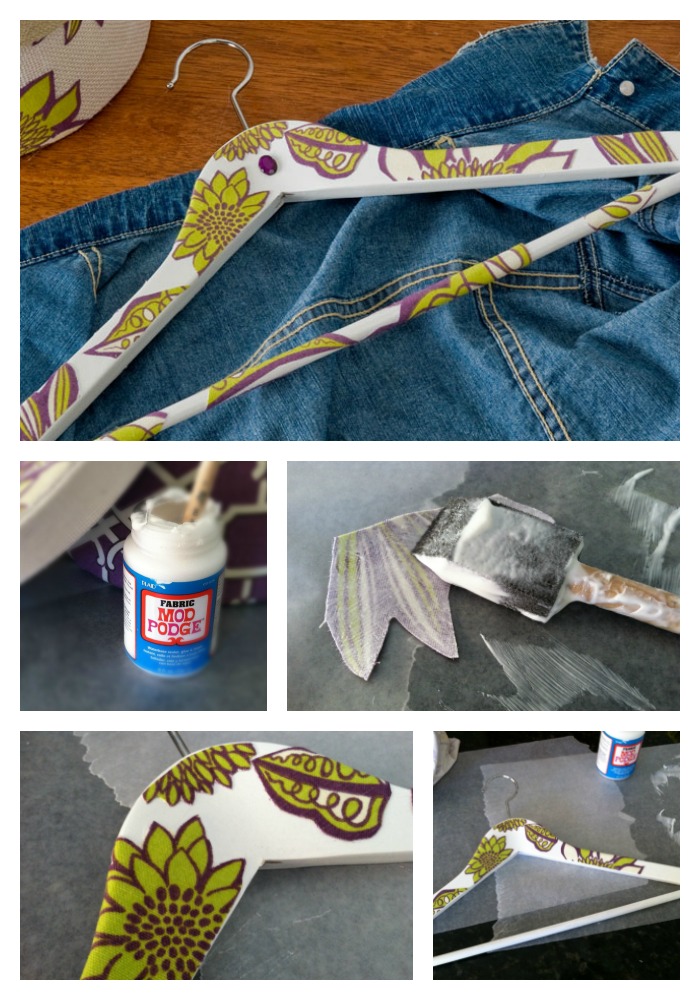
1. Cut random motifs from the fabric.
2. Place the cut motifs print side down on the wax paper, coat with a layer of Mod Podge Fabric.
3. Position on the hanger, press down and smooth with your fingers. Allow to dry.
4. Glue a gem in the top center of the hanger.
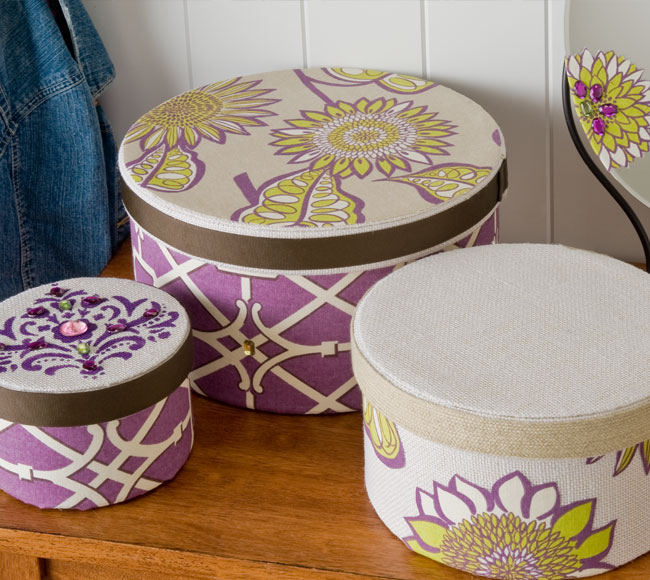
Hat Boxes Supplies & Instructions
3 Hat boxes, Stencil, Low-tac tape, Stencil, FolkArt Multi Surface Paint – Purple, Stencil paintbrush, Gems, Tape measure, Scissors, Decorator weight fabric, Fabric Mod Podge, Wax paper, Foam paintbrush, Mod Melter, Hot Glue Gun Helpers

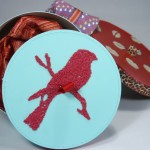
1. Stenciling on the lids: Tape the stencil to the top of the lid. Pool Violet Pansy paint onto wax paper. Dip the stencil brush into the paint and tap of the excess paint. Working in an up and down fashion, paint the stencil motif onto the top of the lid. Carefully remove the stencil and allow to dry. Glue gems to the design.
2. Covering the lids with fabric: Trace around the lid onto the backside of a piece of fabric. Working 1/4 “ on the inside of the drawn line, cut out the circle shape. Apply fabric Mod Podge to the back of the fabric. Position onto the top of the hatbox and allow to dry.
3. Covering the sides with fabric motifs: Cut designs from fabric, coat the backside with fabric Mod Podge and position on the sides of the boxes. Smooth with your fingers and allow to dry.
4. Covering the sides with solid piece of fabric: Measure around the hatbox. Add 2 inches for overlap to the length. Measure the height of the hatbox. Add 5 inches to the measurement. Apply fabric Mod Podge to the hatbox, center the fabric on the box and press down. Continue adding Mod Podge and pressing the fabric. When you reach the end, fold back the fabric and glue with Mod Podge to create a clean edge. Hot glue to secure. Allow to dry for 1 hour. Hot glue the excess fabric to the bottom of the box and to the inside of the box.
5. Embellishments: Hot glue ribbons around the boxes. Add gems or other embellishments.
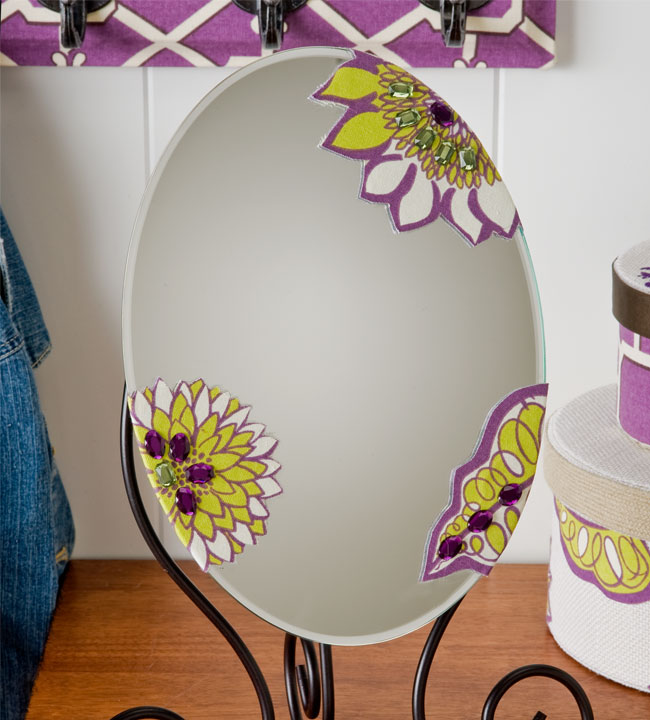
Mirror Supplies & Instructions
Table top mirror, Fabric Mod Podge, Scissors, Decorator weight fabric, Wax paper, Foam paintbrush, Gems
1. Cut random motifs from the fabric.
2. Place the cut motifs print side down on the wax paper, coat with a layer of Mod Podge Fabric.
3. Position on the edges of the mirror, wrap the excess fabric to the back of the mirror, press down and smooth with your fingers. Allow to dry.
4. Glue gems to the fabric motifs in your desired pattern.

Hooks Supplies and Instructions
Wood accessory hook rack, Screw driver, Scissors, Decorator weight fabric, Fabric Mod Podge, Wax paper, Foam paintbrush, Hot Glue
1. Remove all hooks and screws from the hook rack.
2. Position the wood portion of the hook rack onto a piece of fabric. Draw a box onto the fabric that is 4-inches larger (around all sides) than the wood plaque. (This allows for the fabric to wrap around the plaque)
3. Coat the top and sides of the wood plaque with a thick layer of Fabric Mod Podge. Place the fabric wrong side up. Place the wood plaque in the center of the cut fabric. Flip over and smooth the fabric with your fingers. Allow to dry for 1 hour.
4. Turn the plaque so the backside is facing up. Fold the excess fabric back in each corner and secure to the back with a drop of hot glue. Fold back the fabric along the edges and secure with hot glue.
5. Reattach the hooks across the center on the front of the wood plaque.
