Souffle Clay Mermaid Tail Oil Diffuser
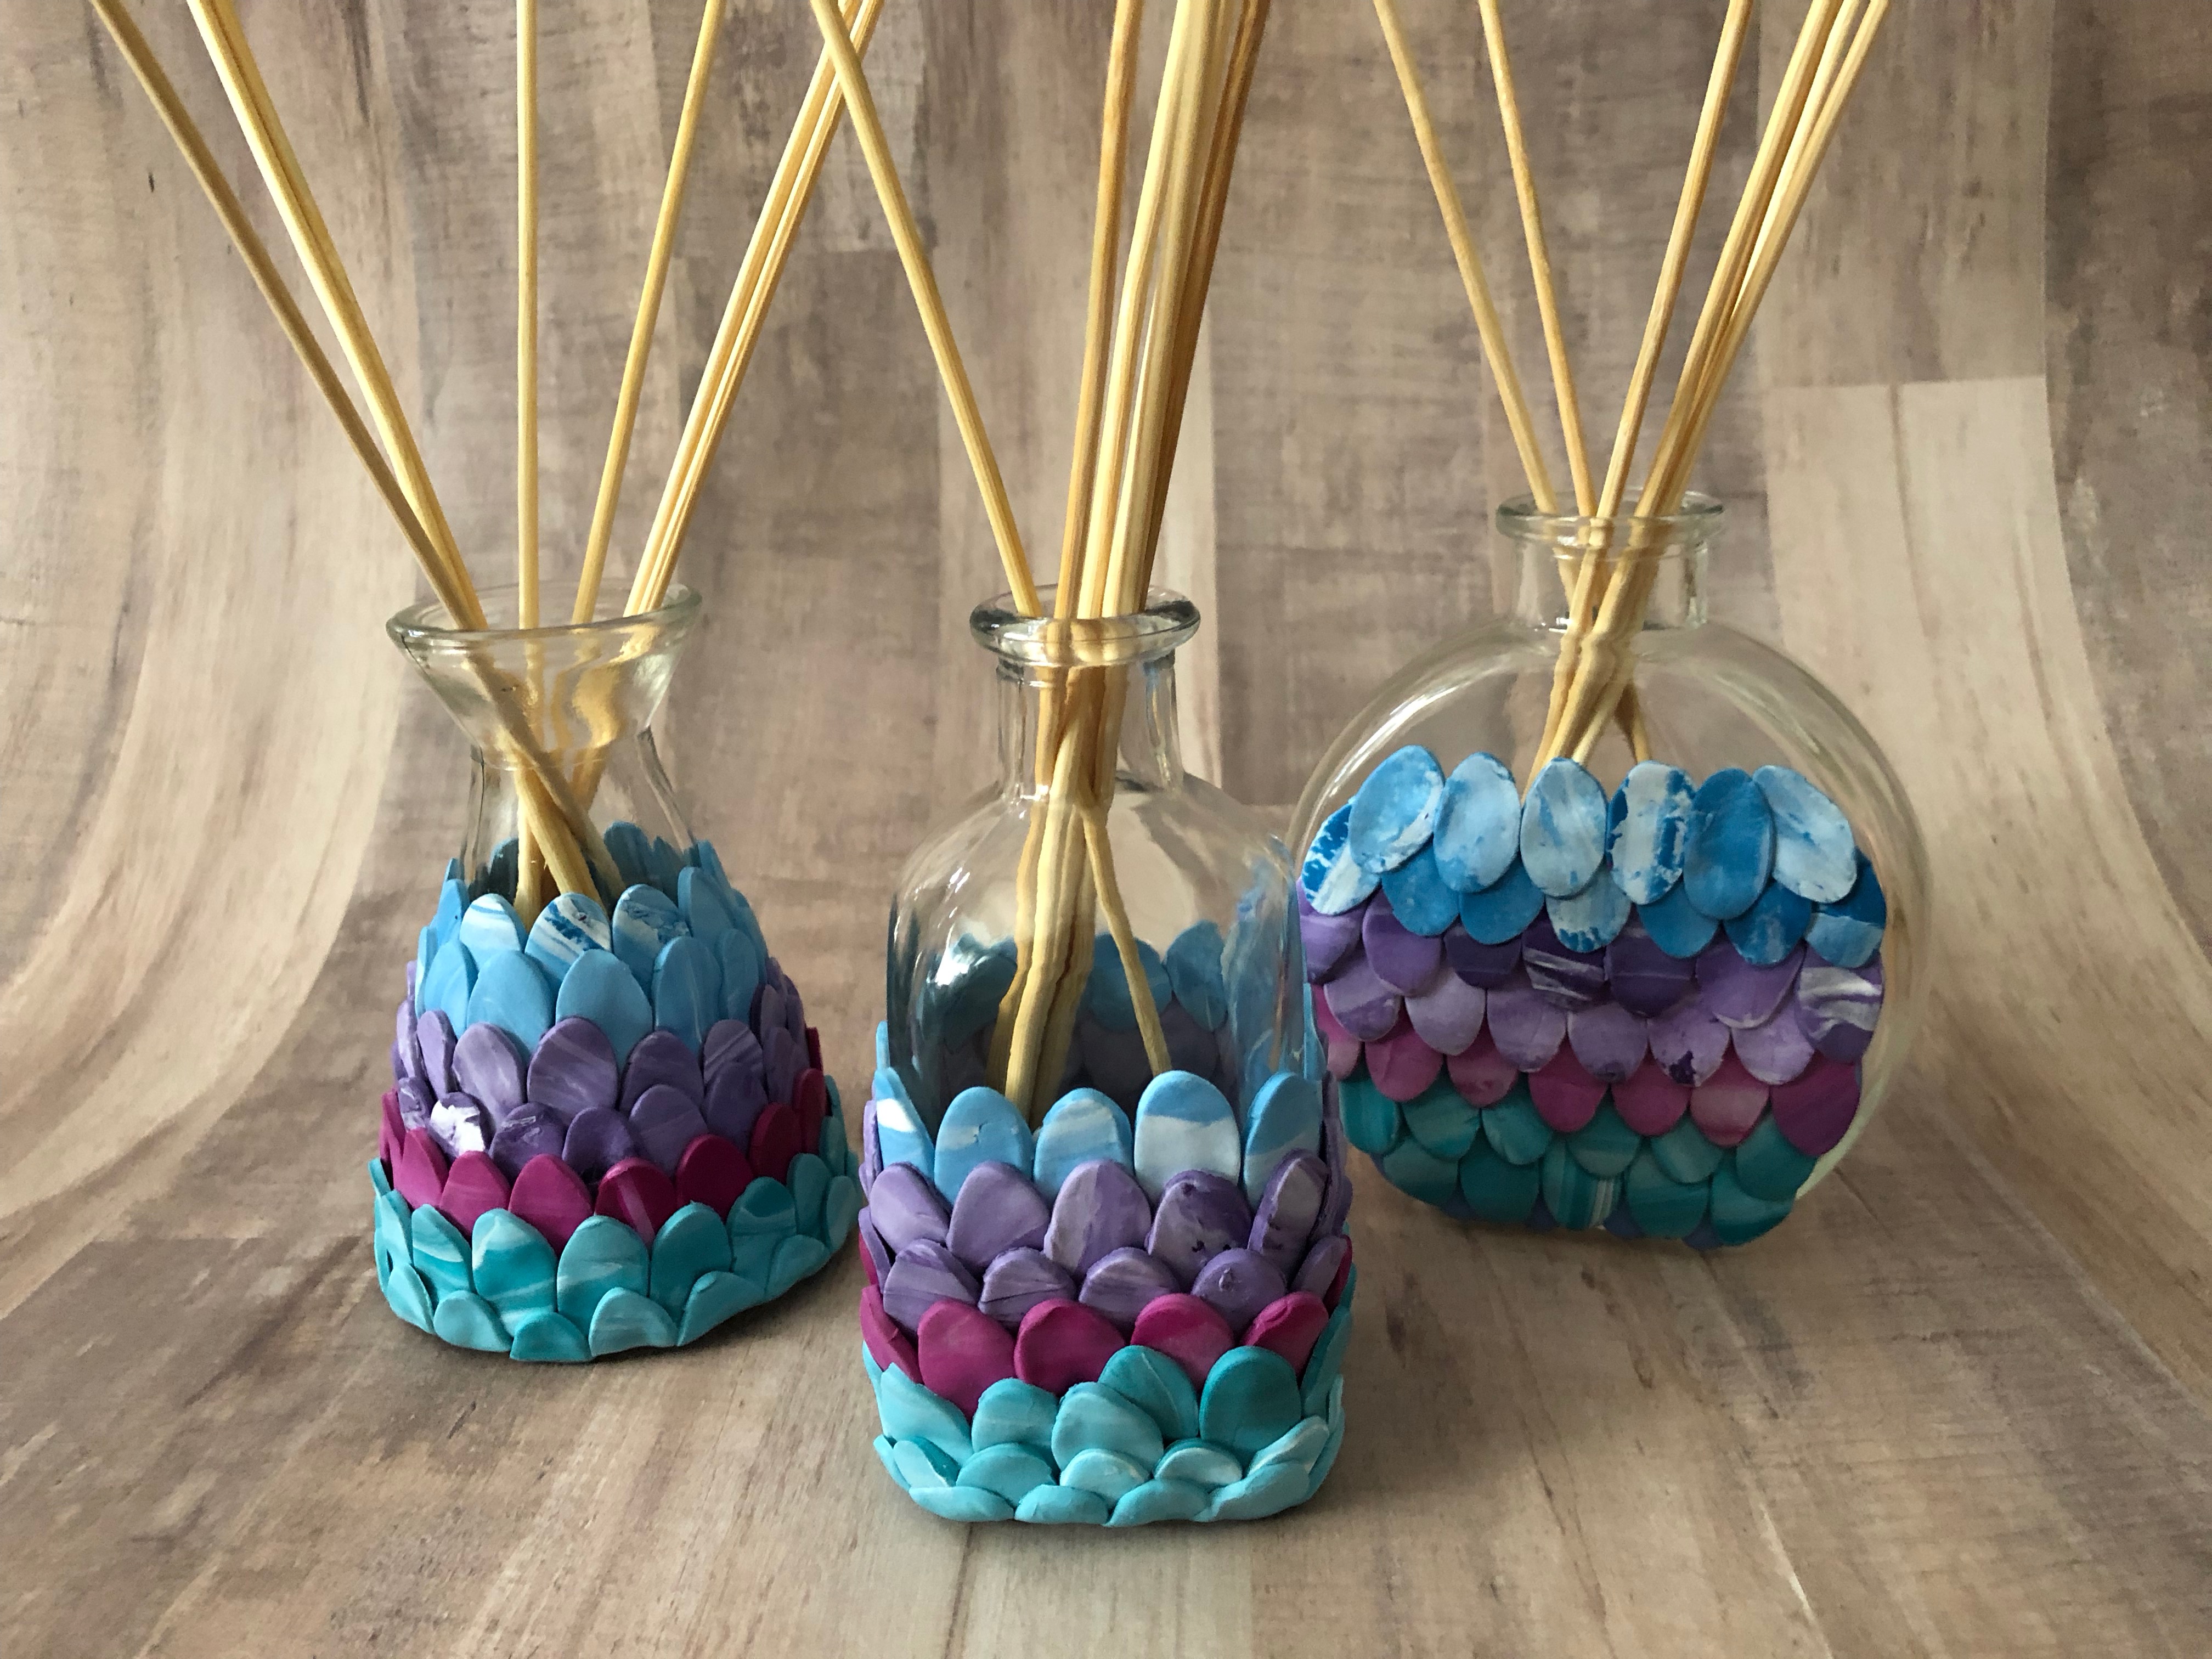
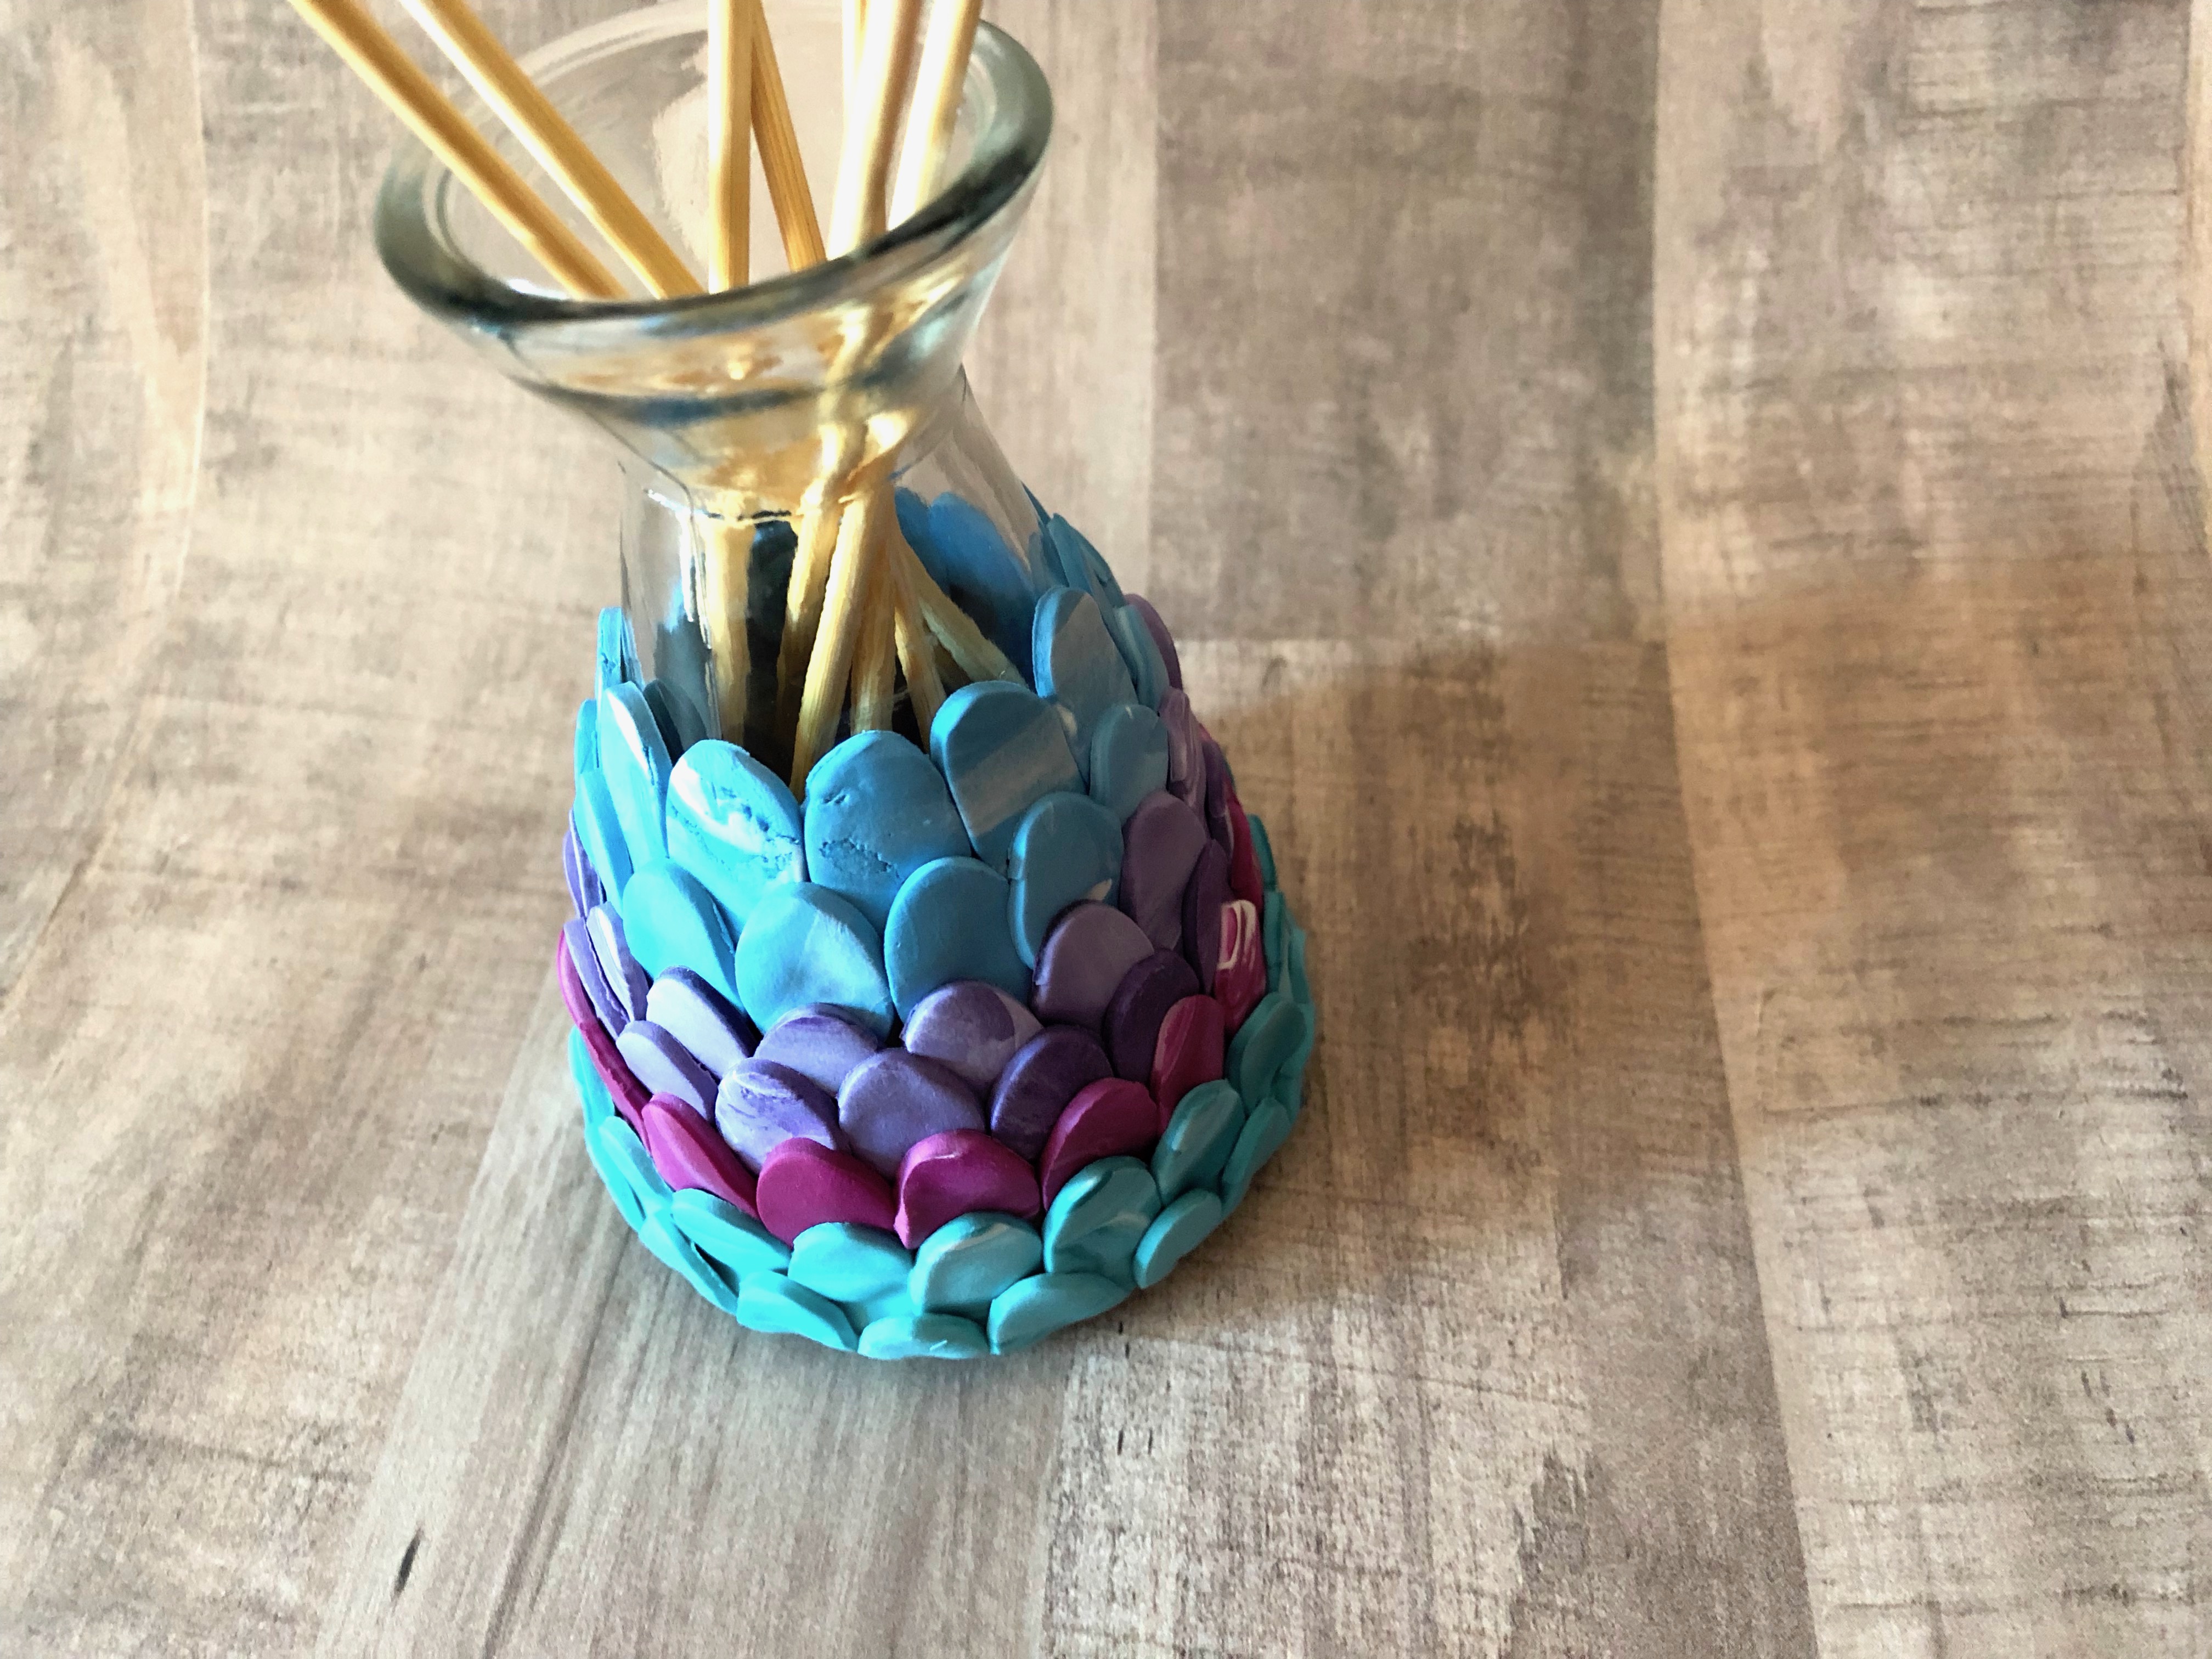
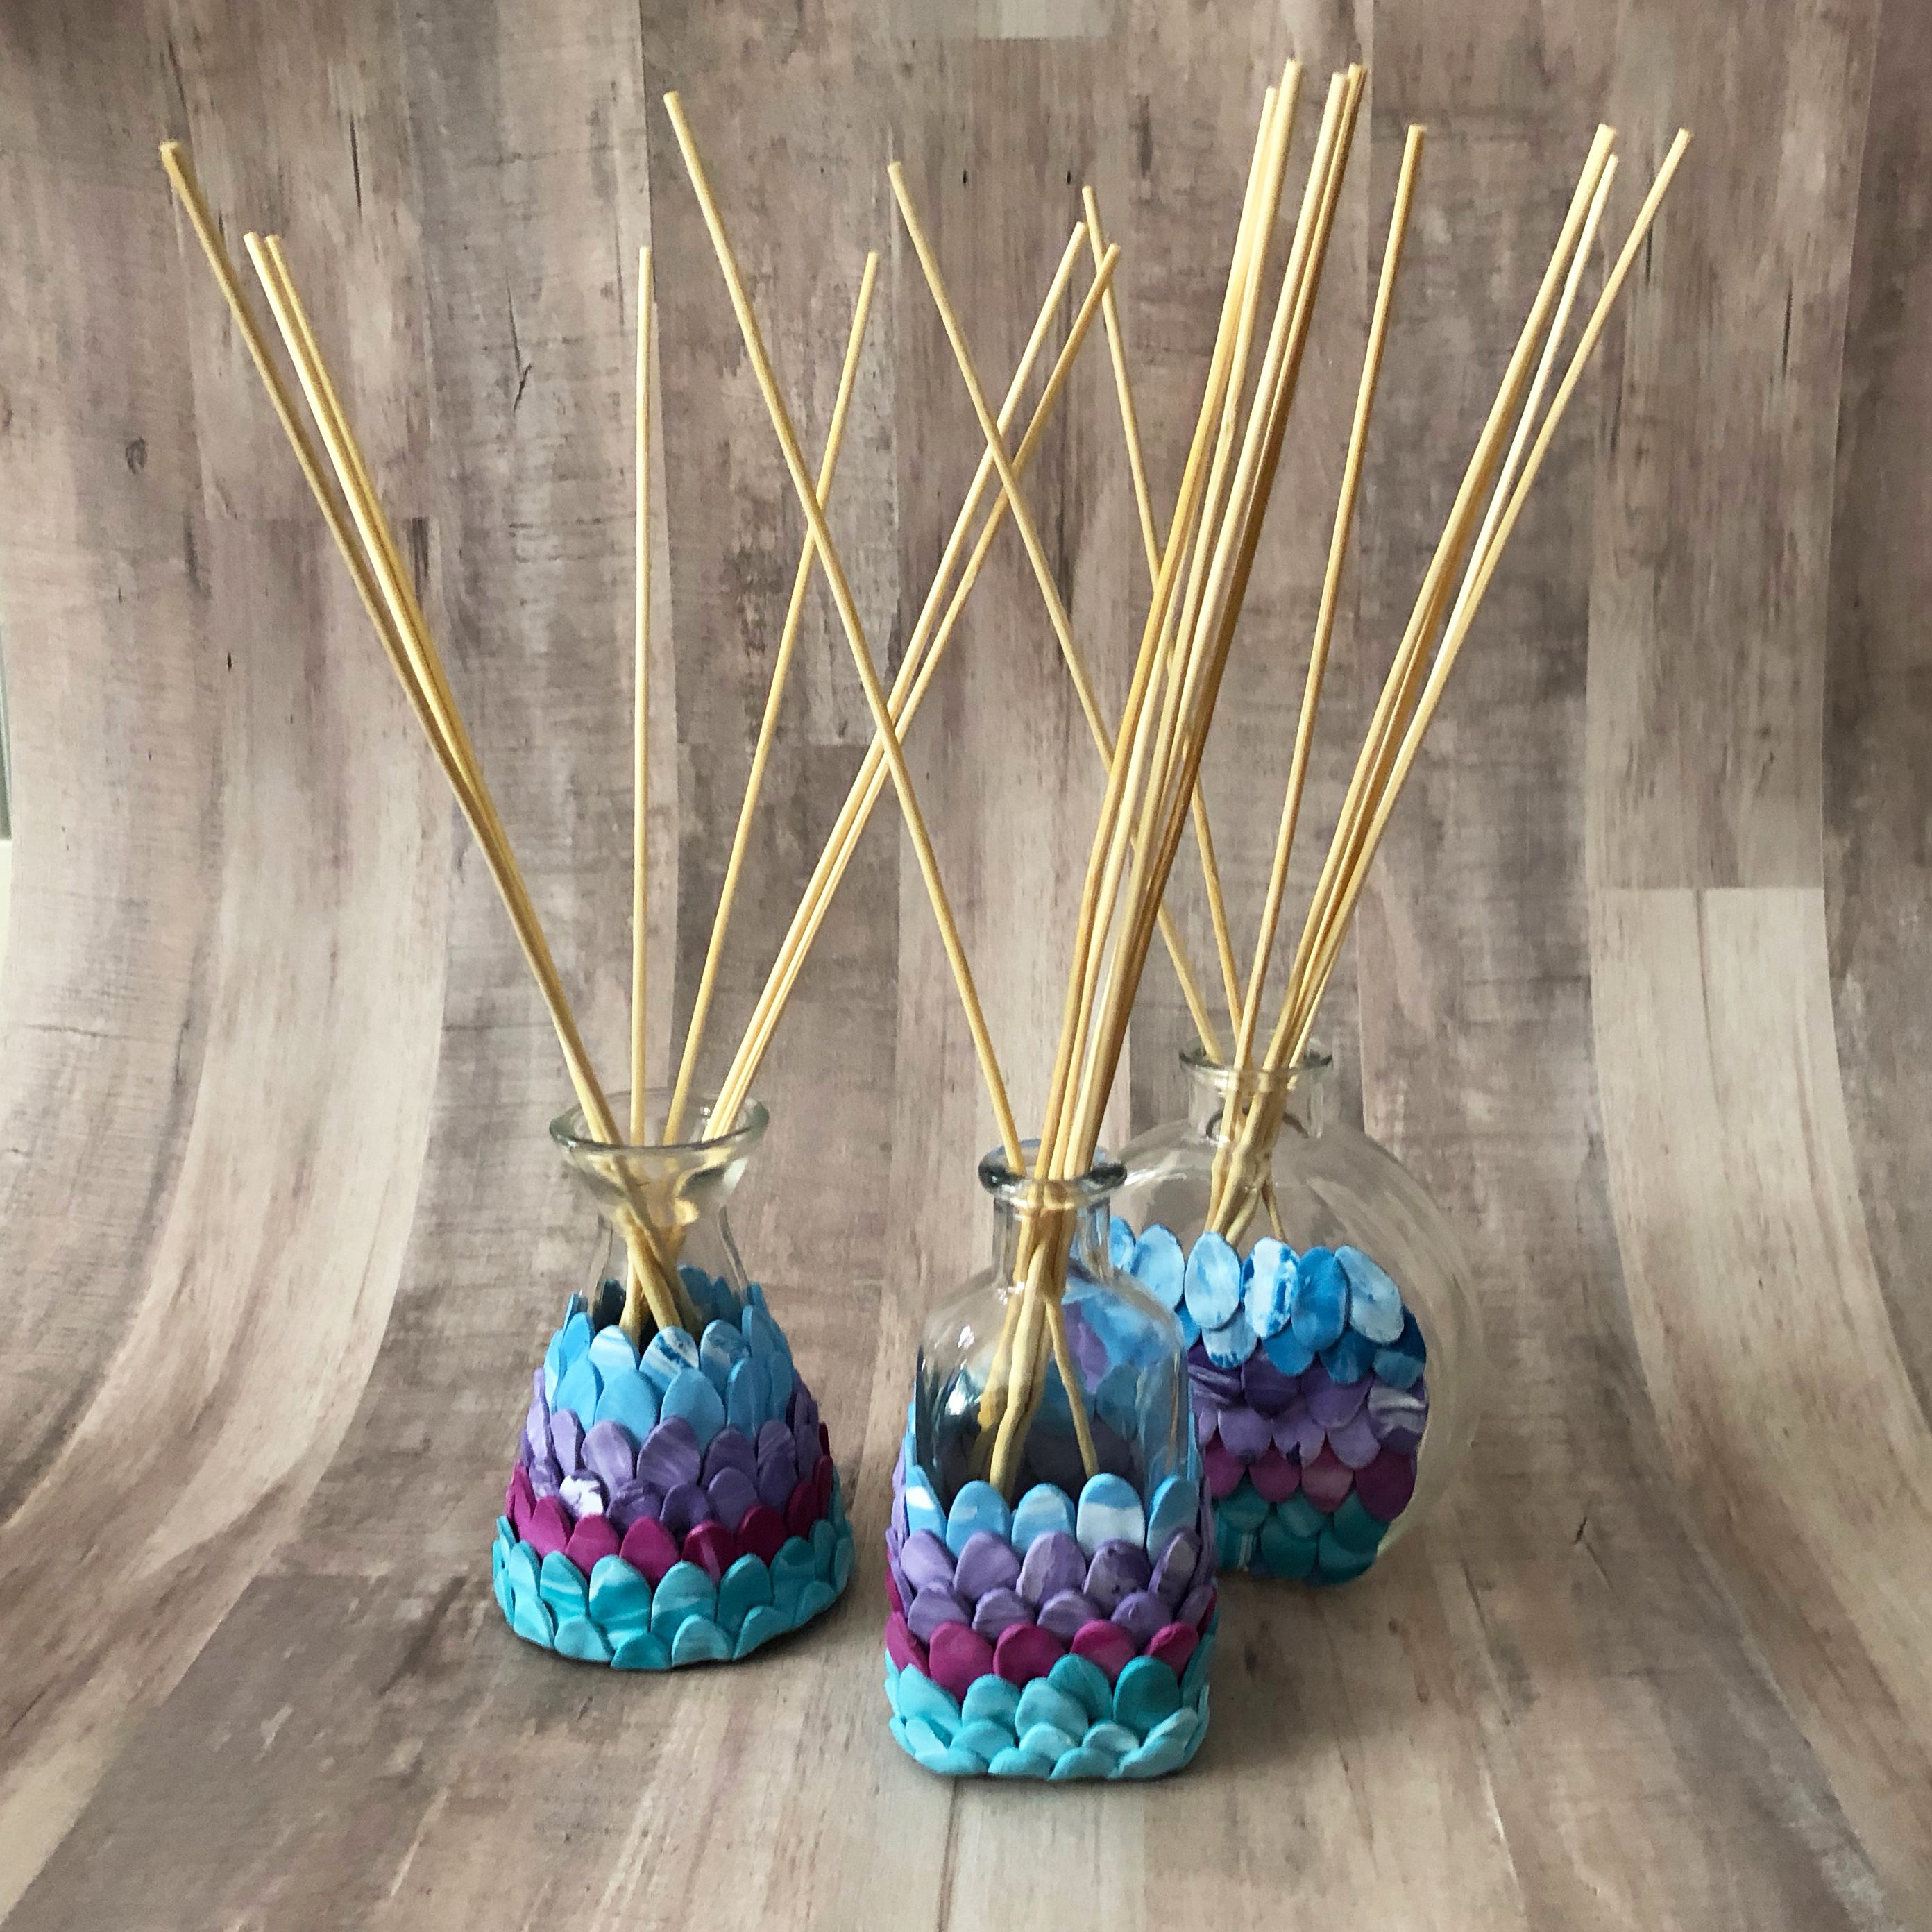
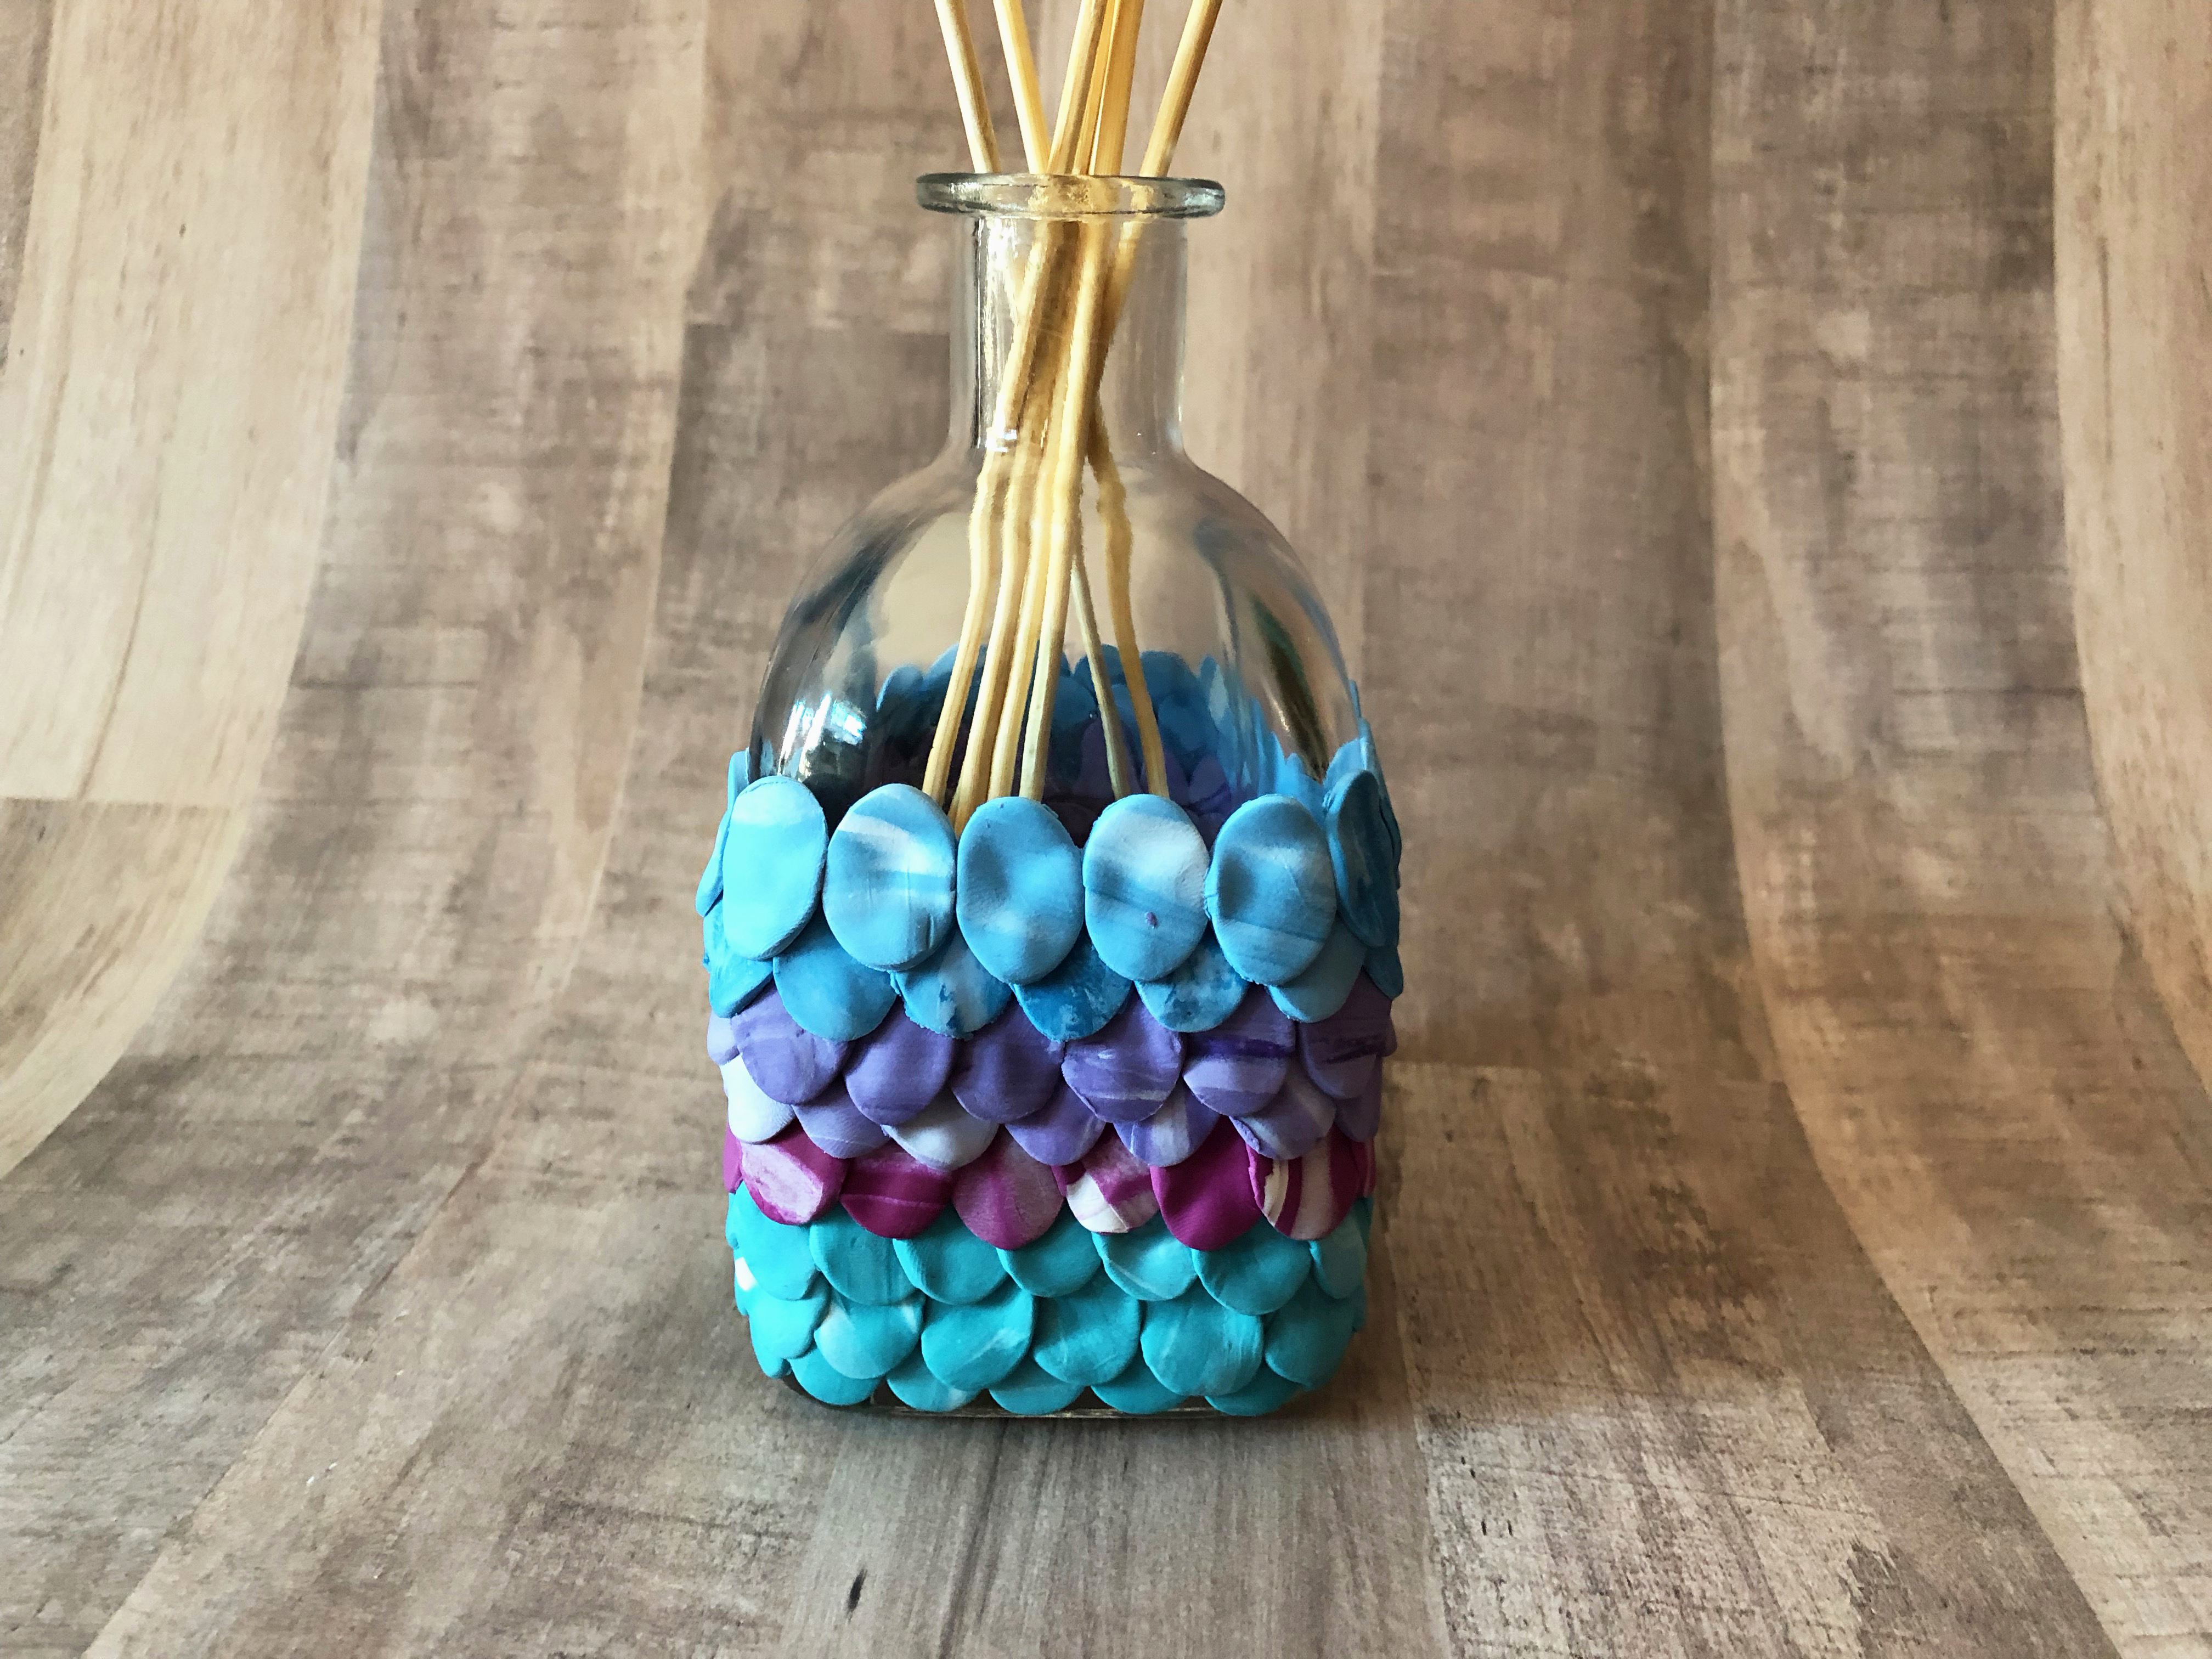
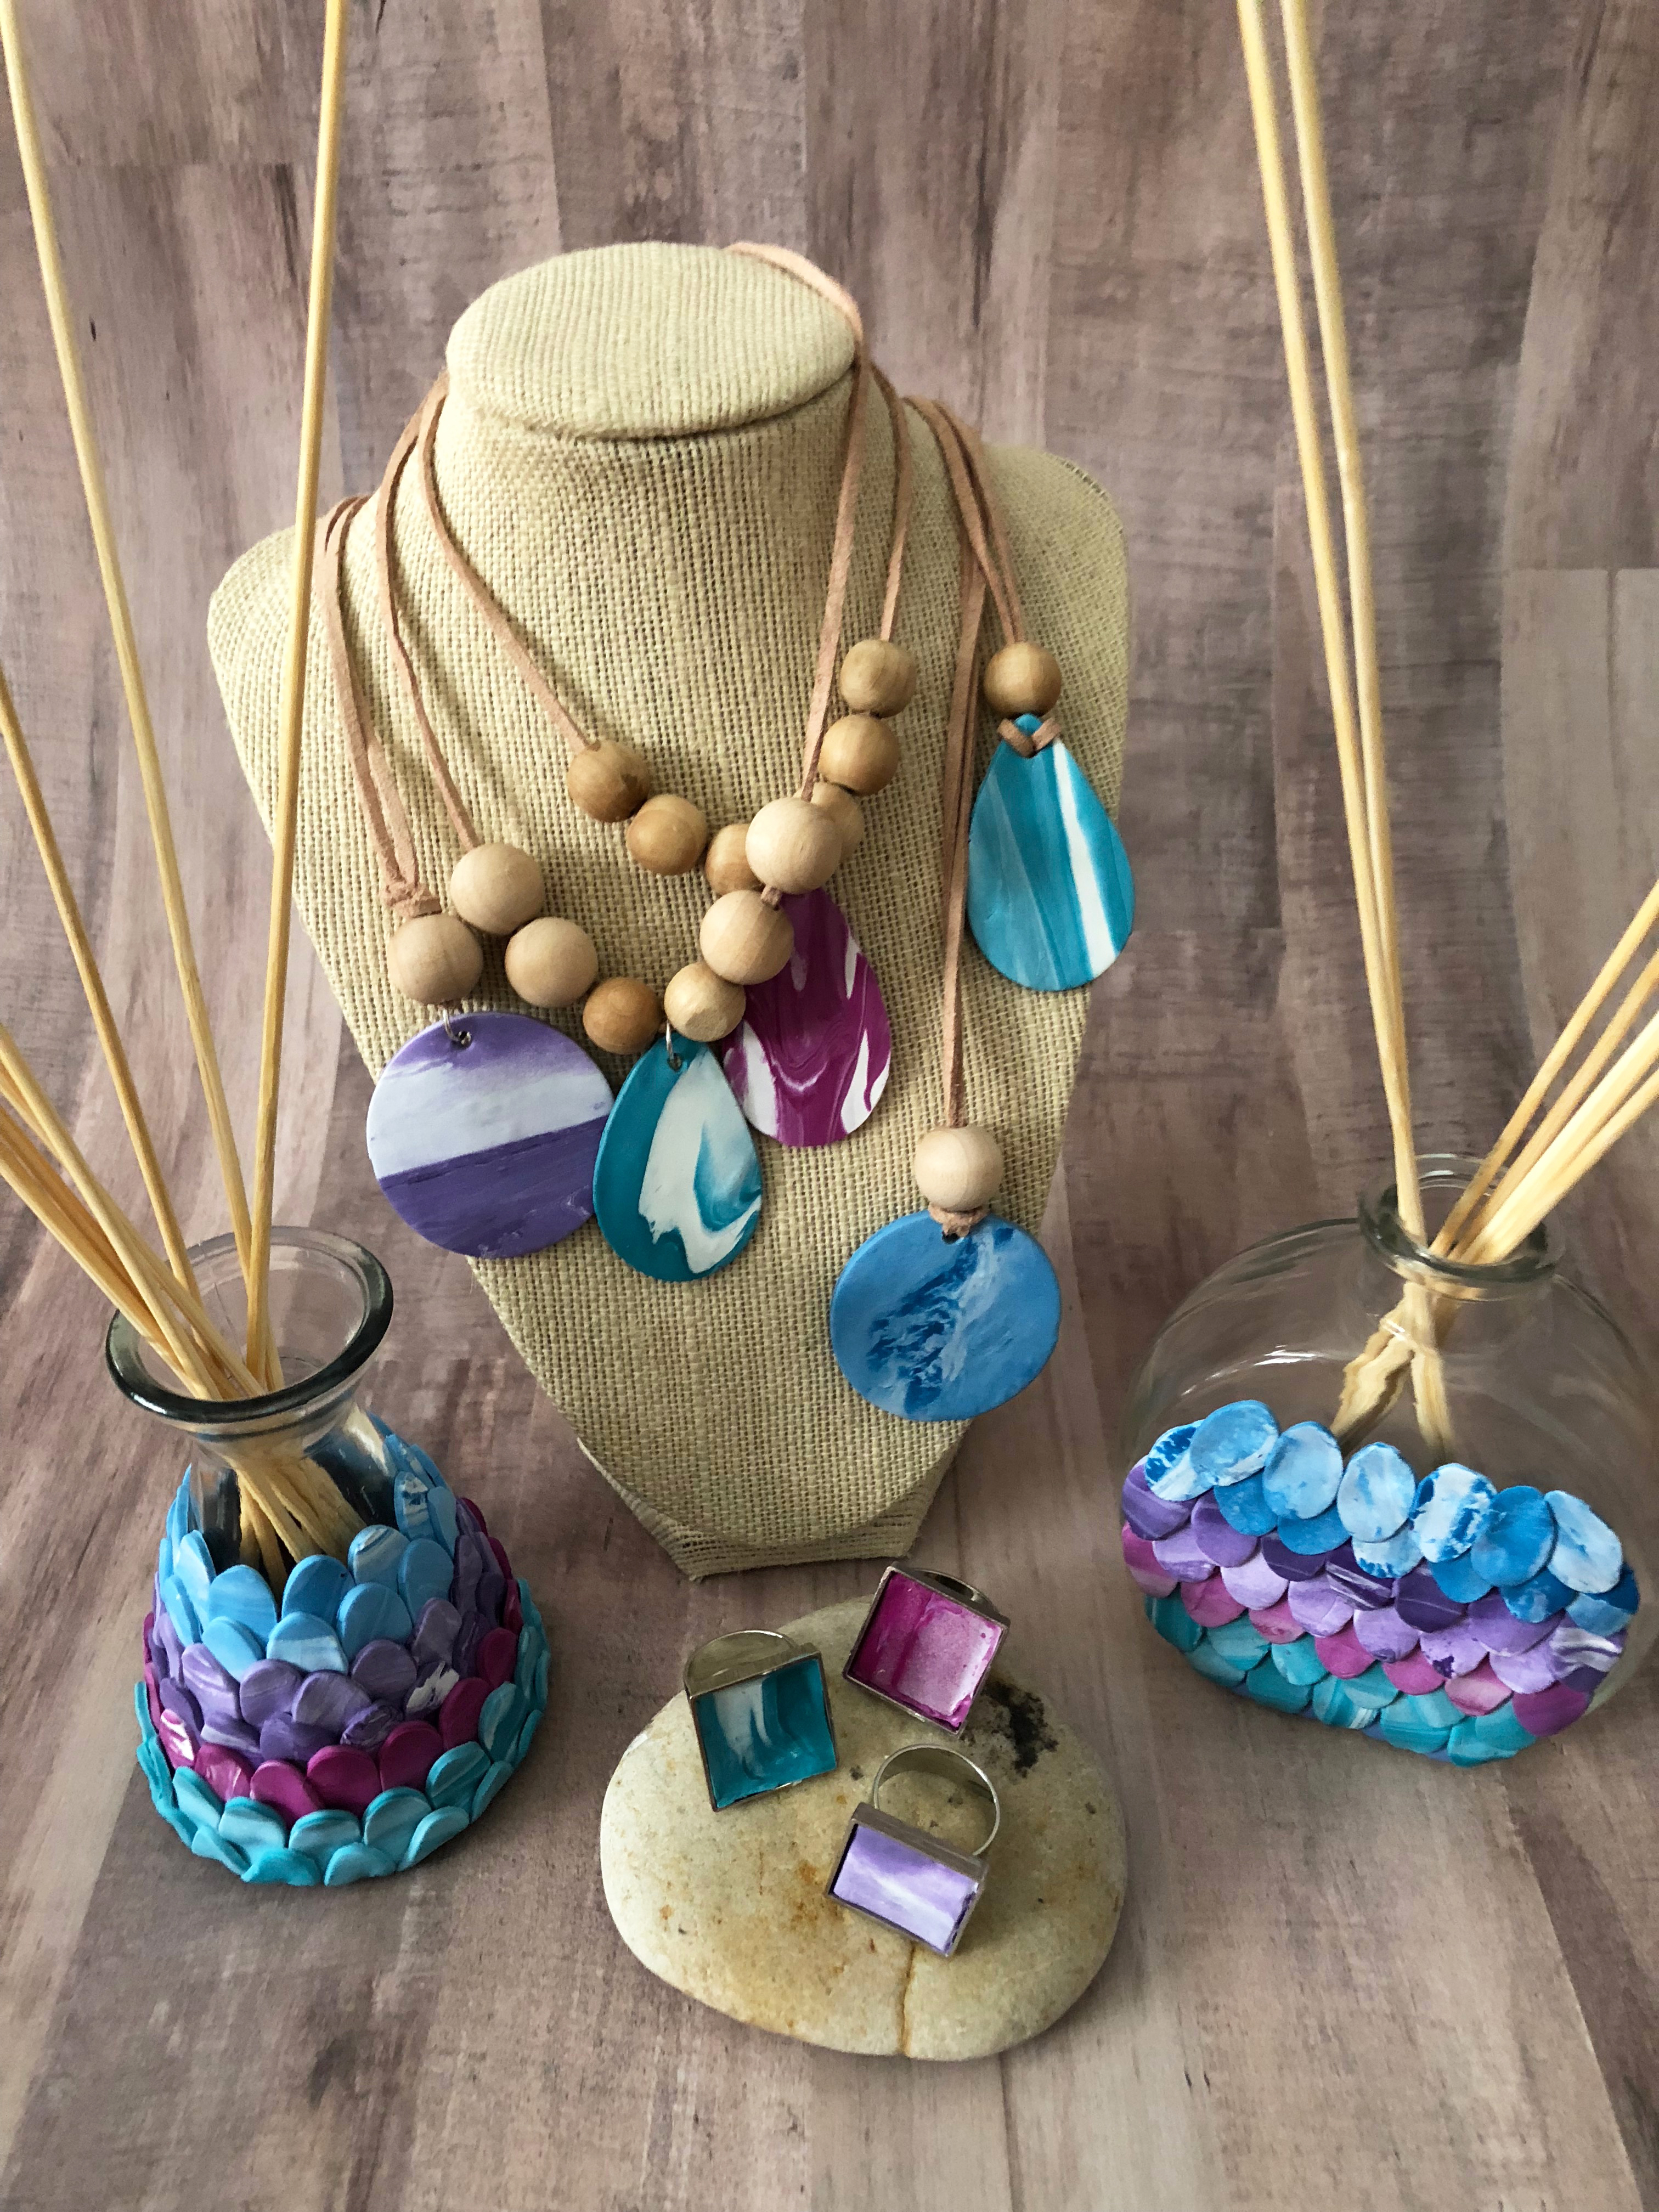
Add a mermaid’s touch to any oil diffuser by creating marbleized scales with Souffle clay. Or create your own diffuser with a small glass bottle and bamboo reeds. This technique for creating mermaid scales is so easy!
VIDEO HOW TO!
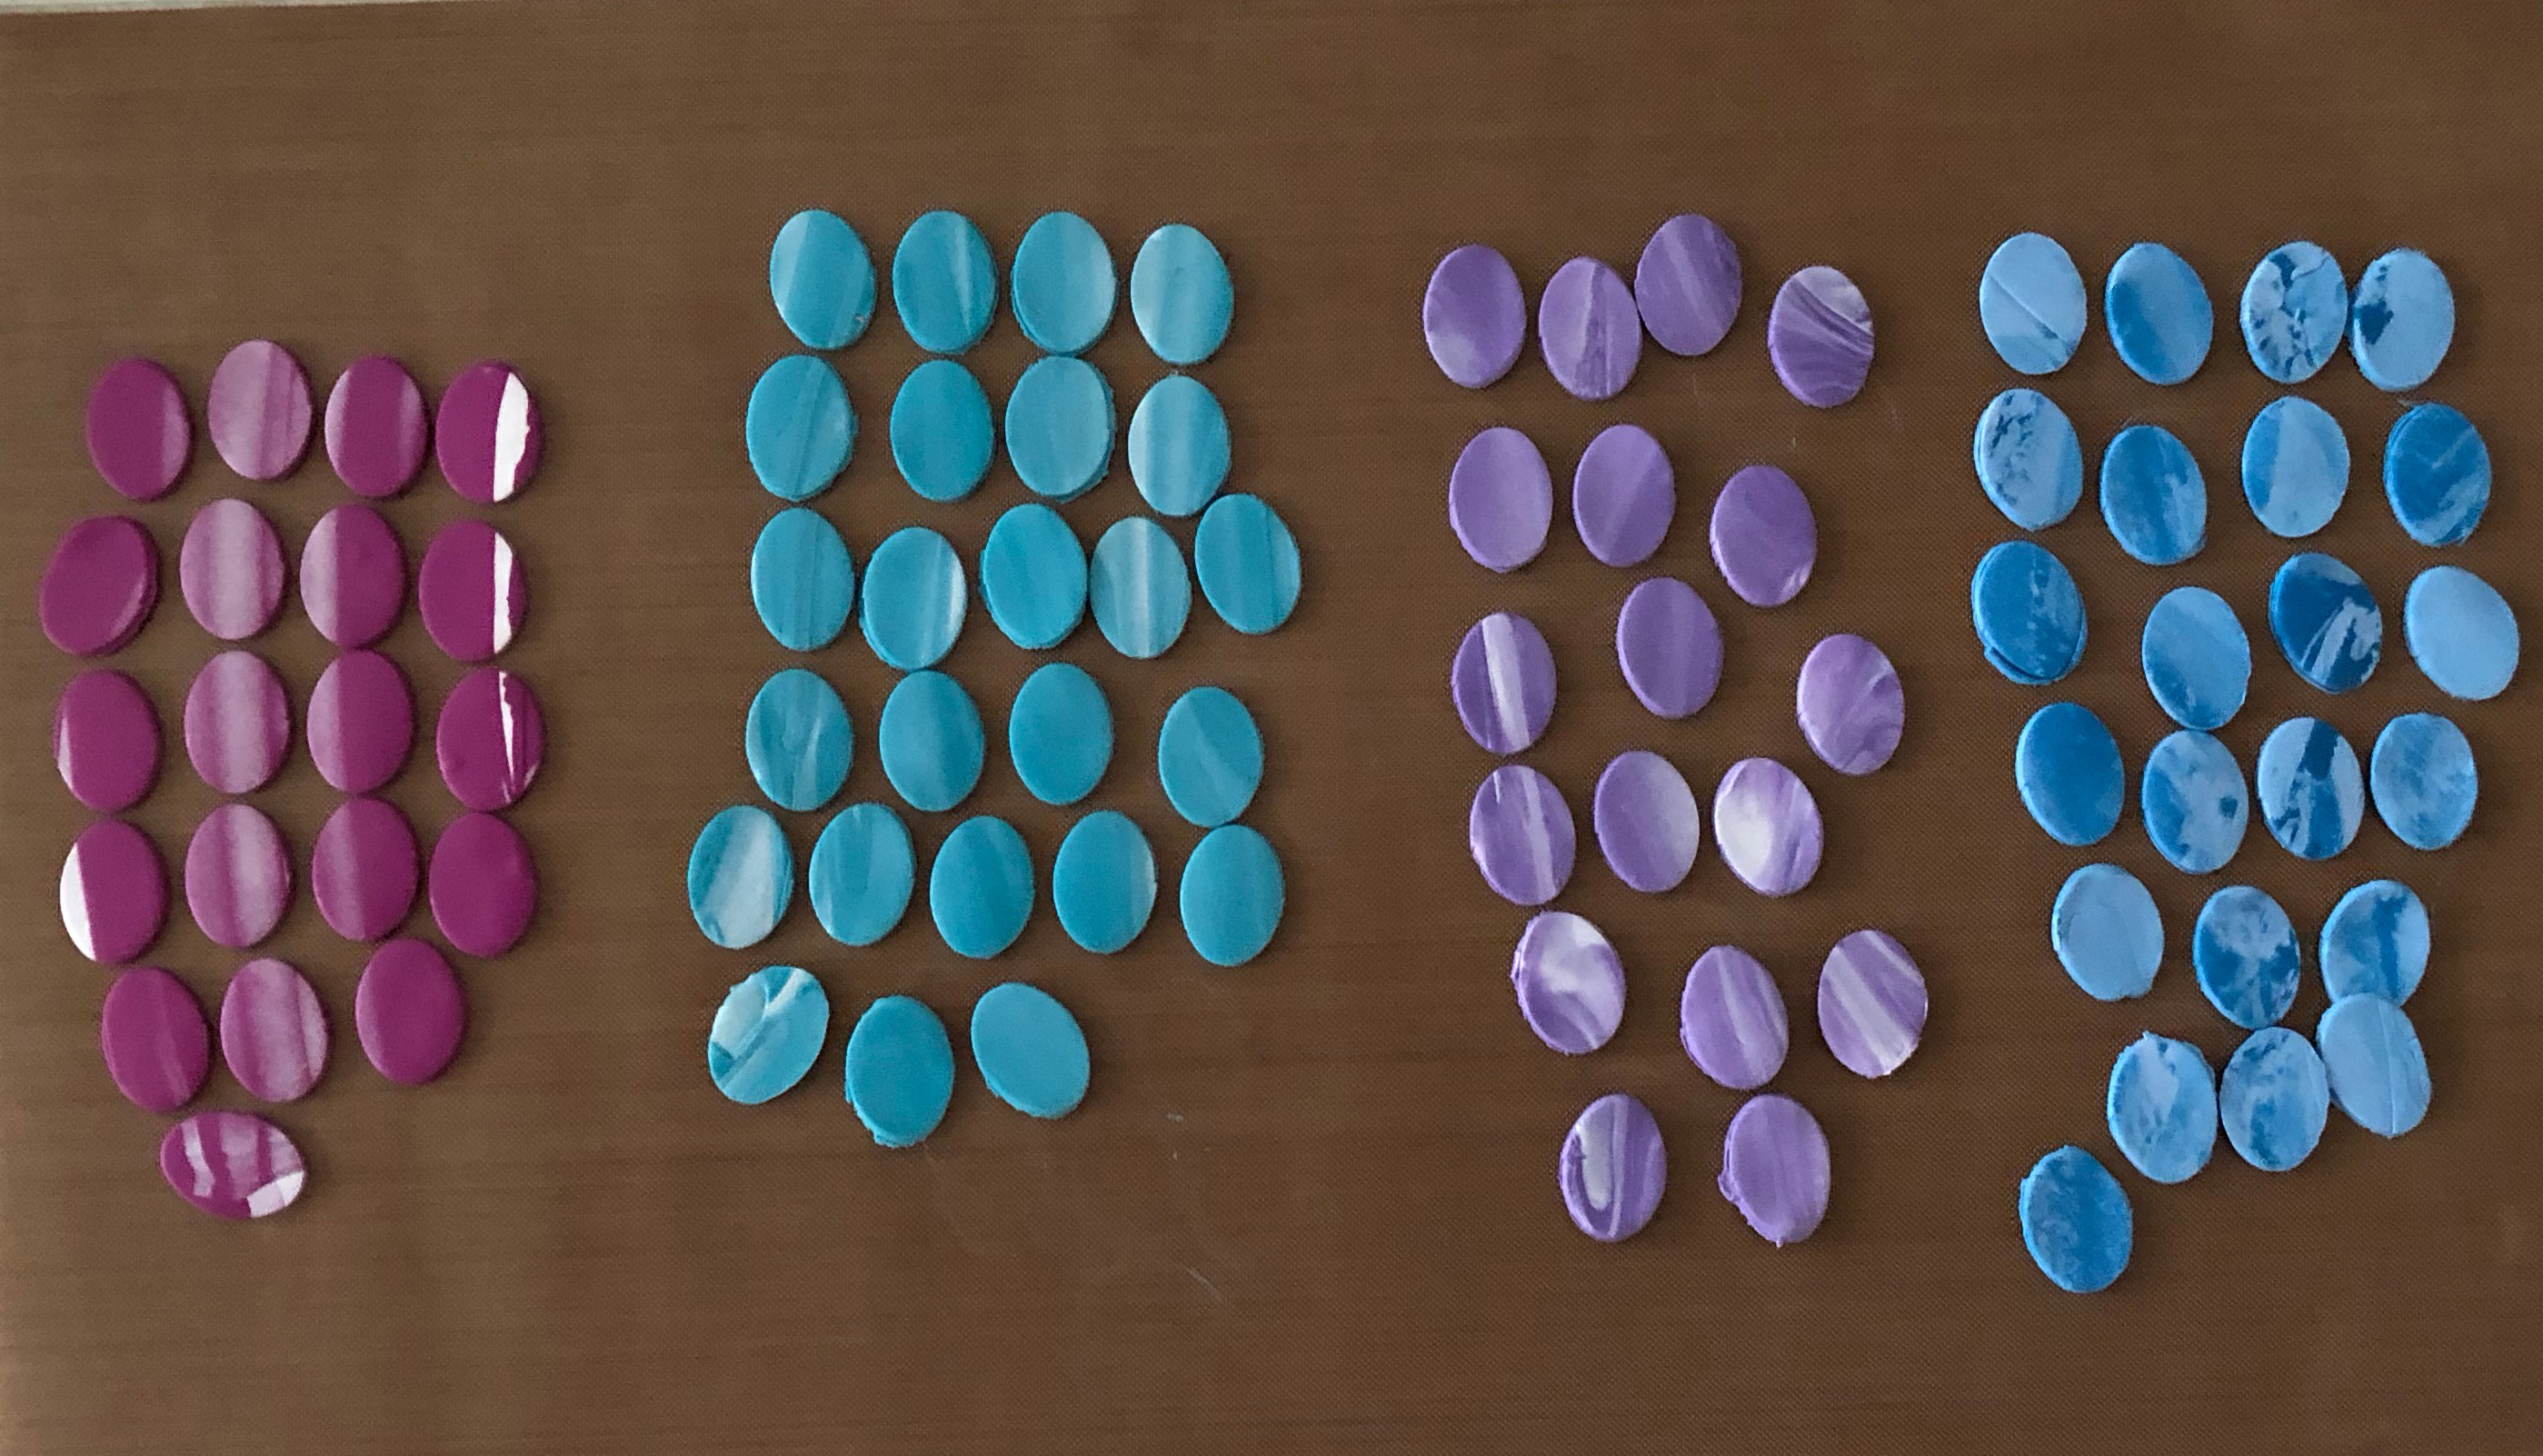
As you can see…..we just kept making them. We planned on making 1 oil diffuser and look… we made so many! The clay we used is Souffle by Sculpey. To get that perfect oval shape each time…. We used the smallest oval cutter in the Graduated Oval Cutter Set by Sculpey.
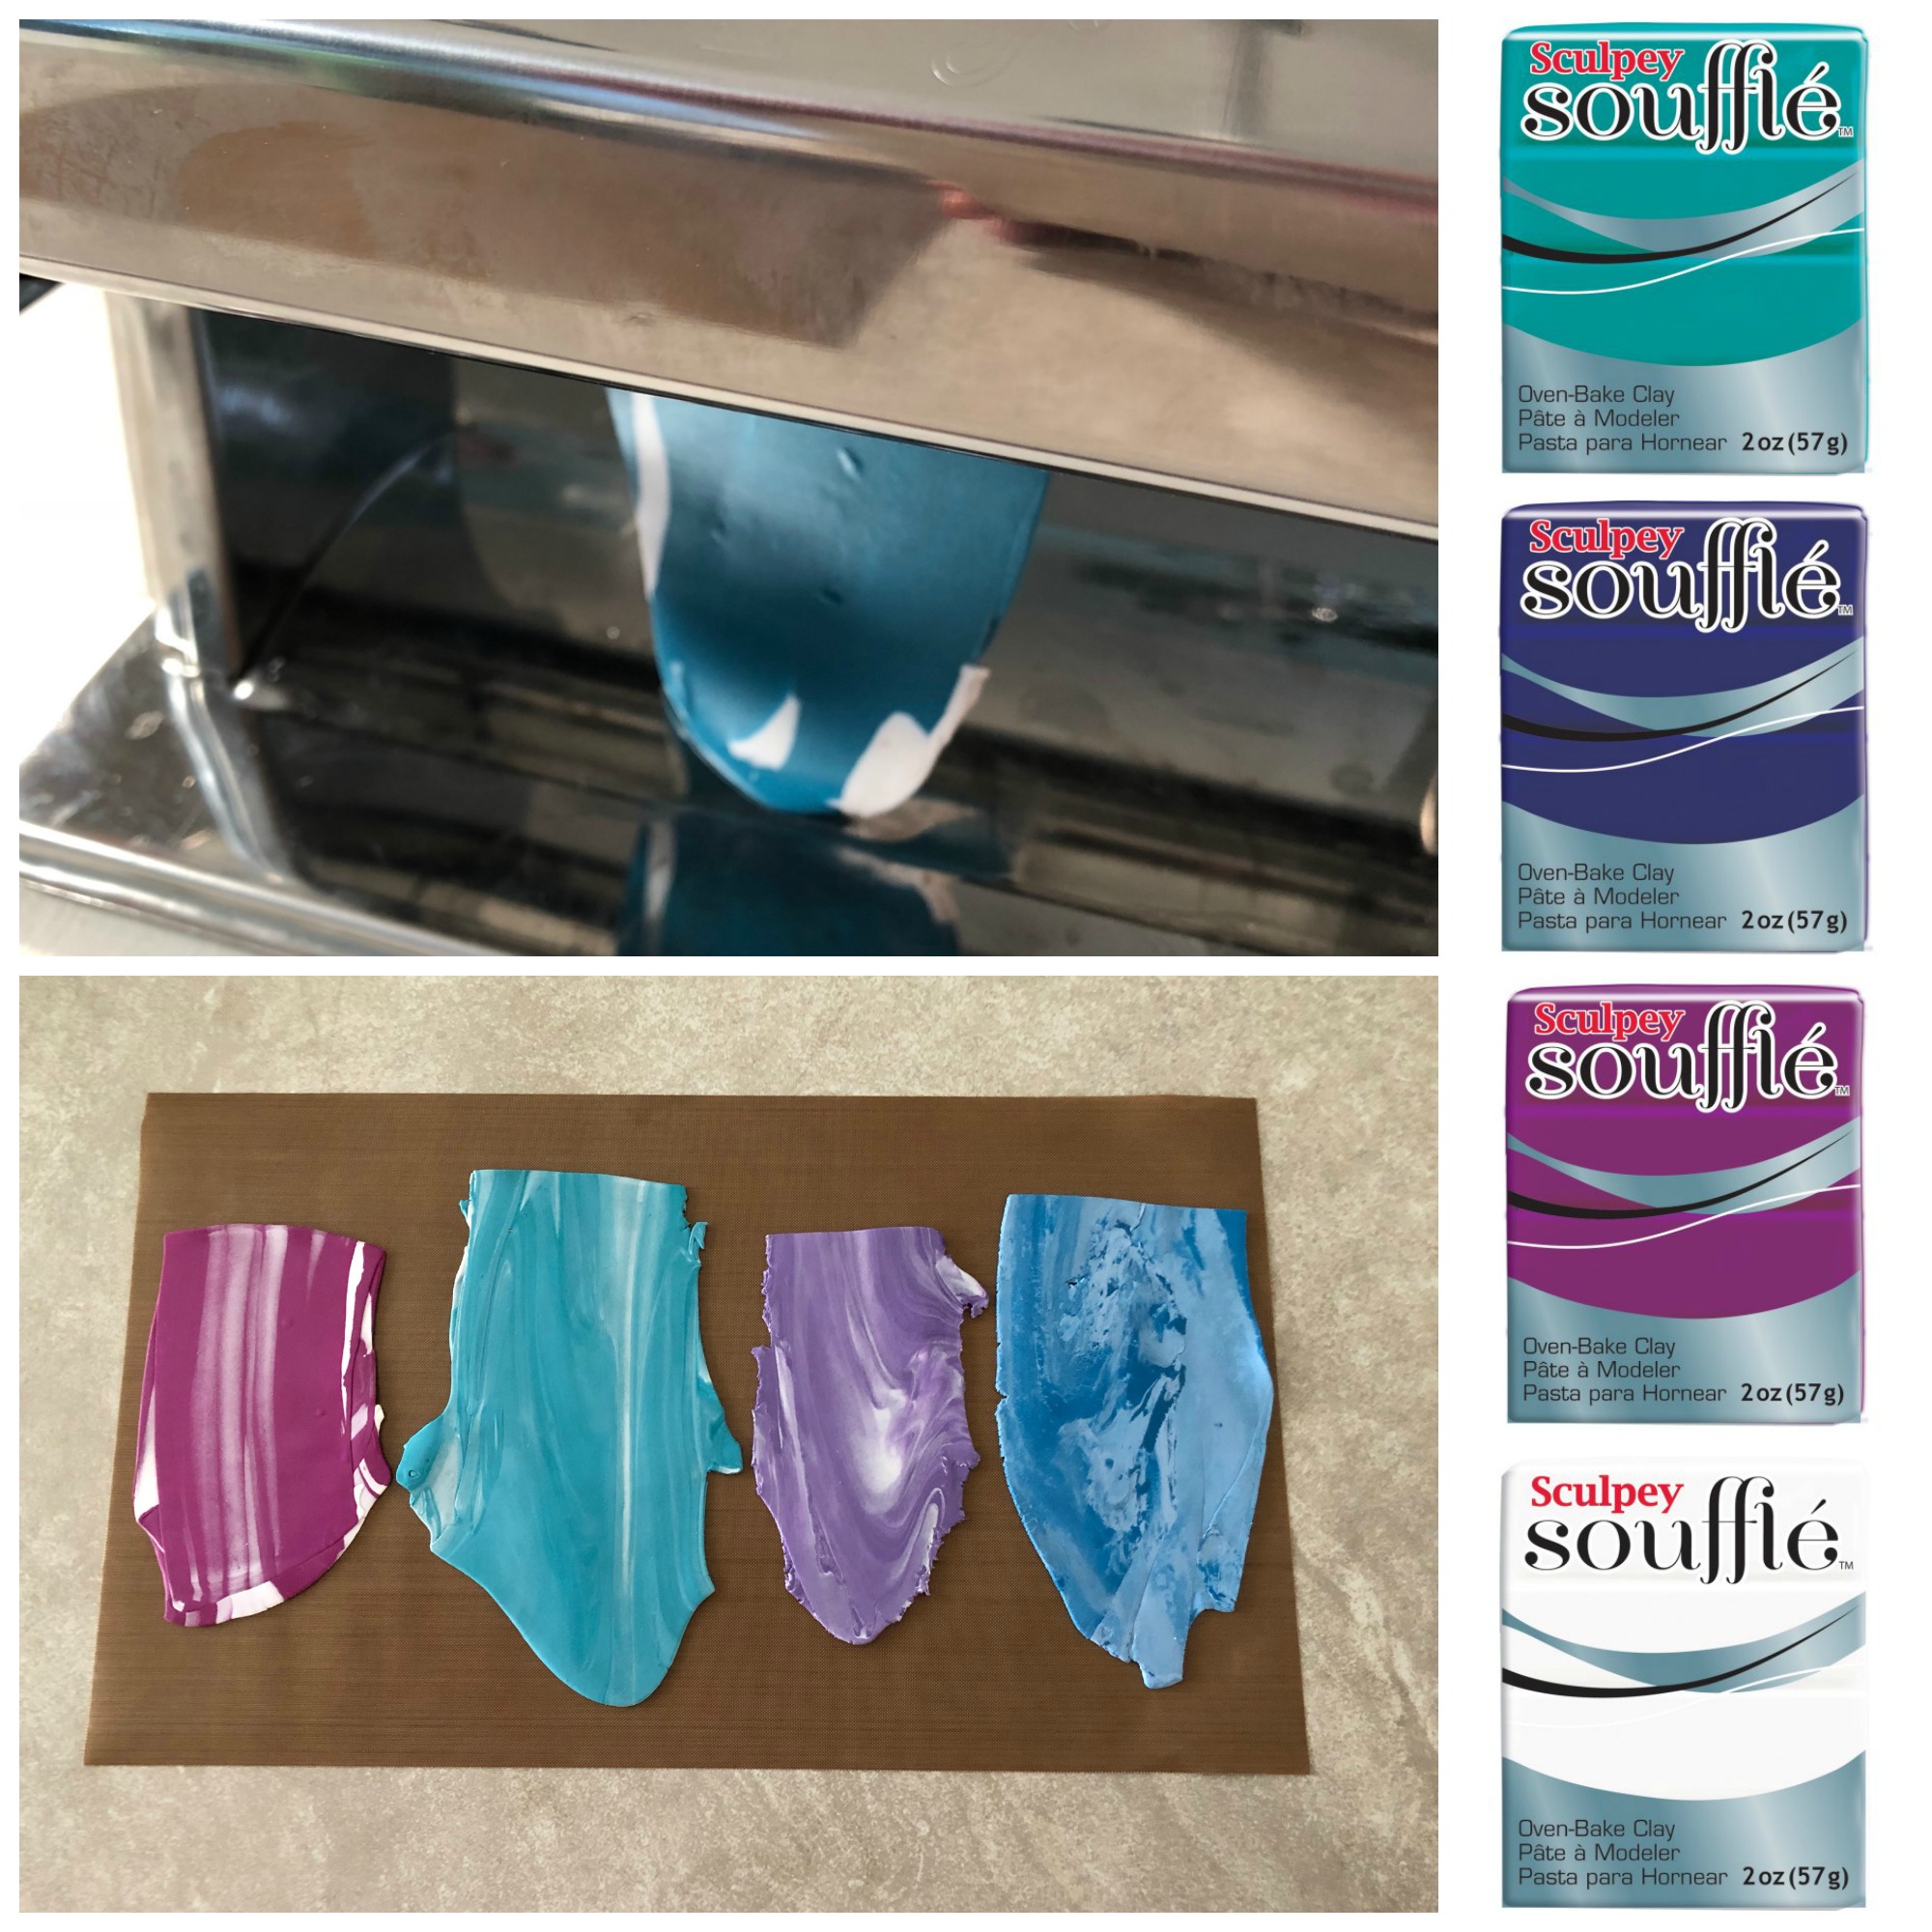
The Clays We Used Are:
Turnip – Sculpey® Soufflé
Sea Glass – Sculpey® Soufflé
Royalty – Sculpey® Soufflé
Lagoon – Sculpey® Soufflé
Igloo – Sculpey® Soufflé
We Also Used:
Sculpey® Work n’ Bake Clay Mat
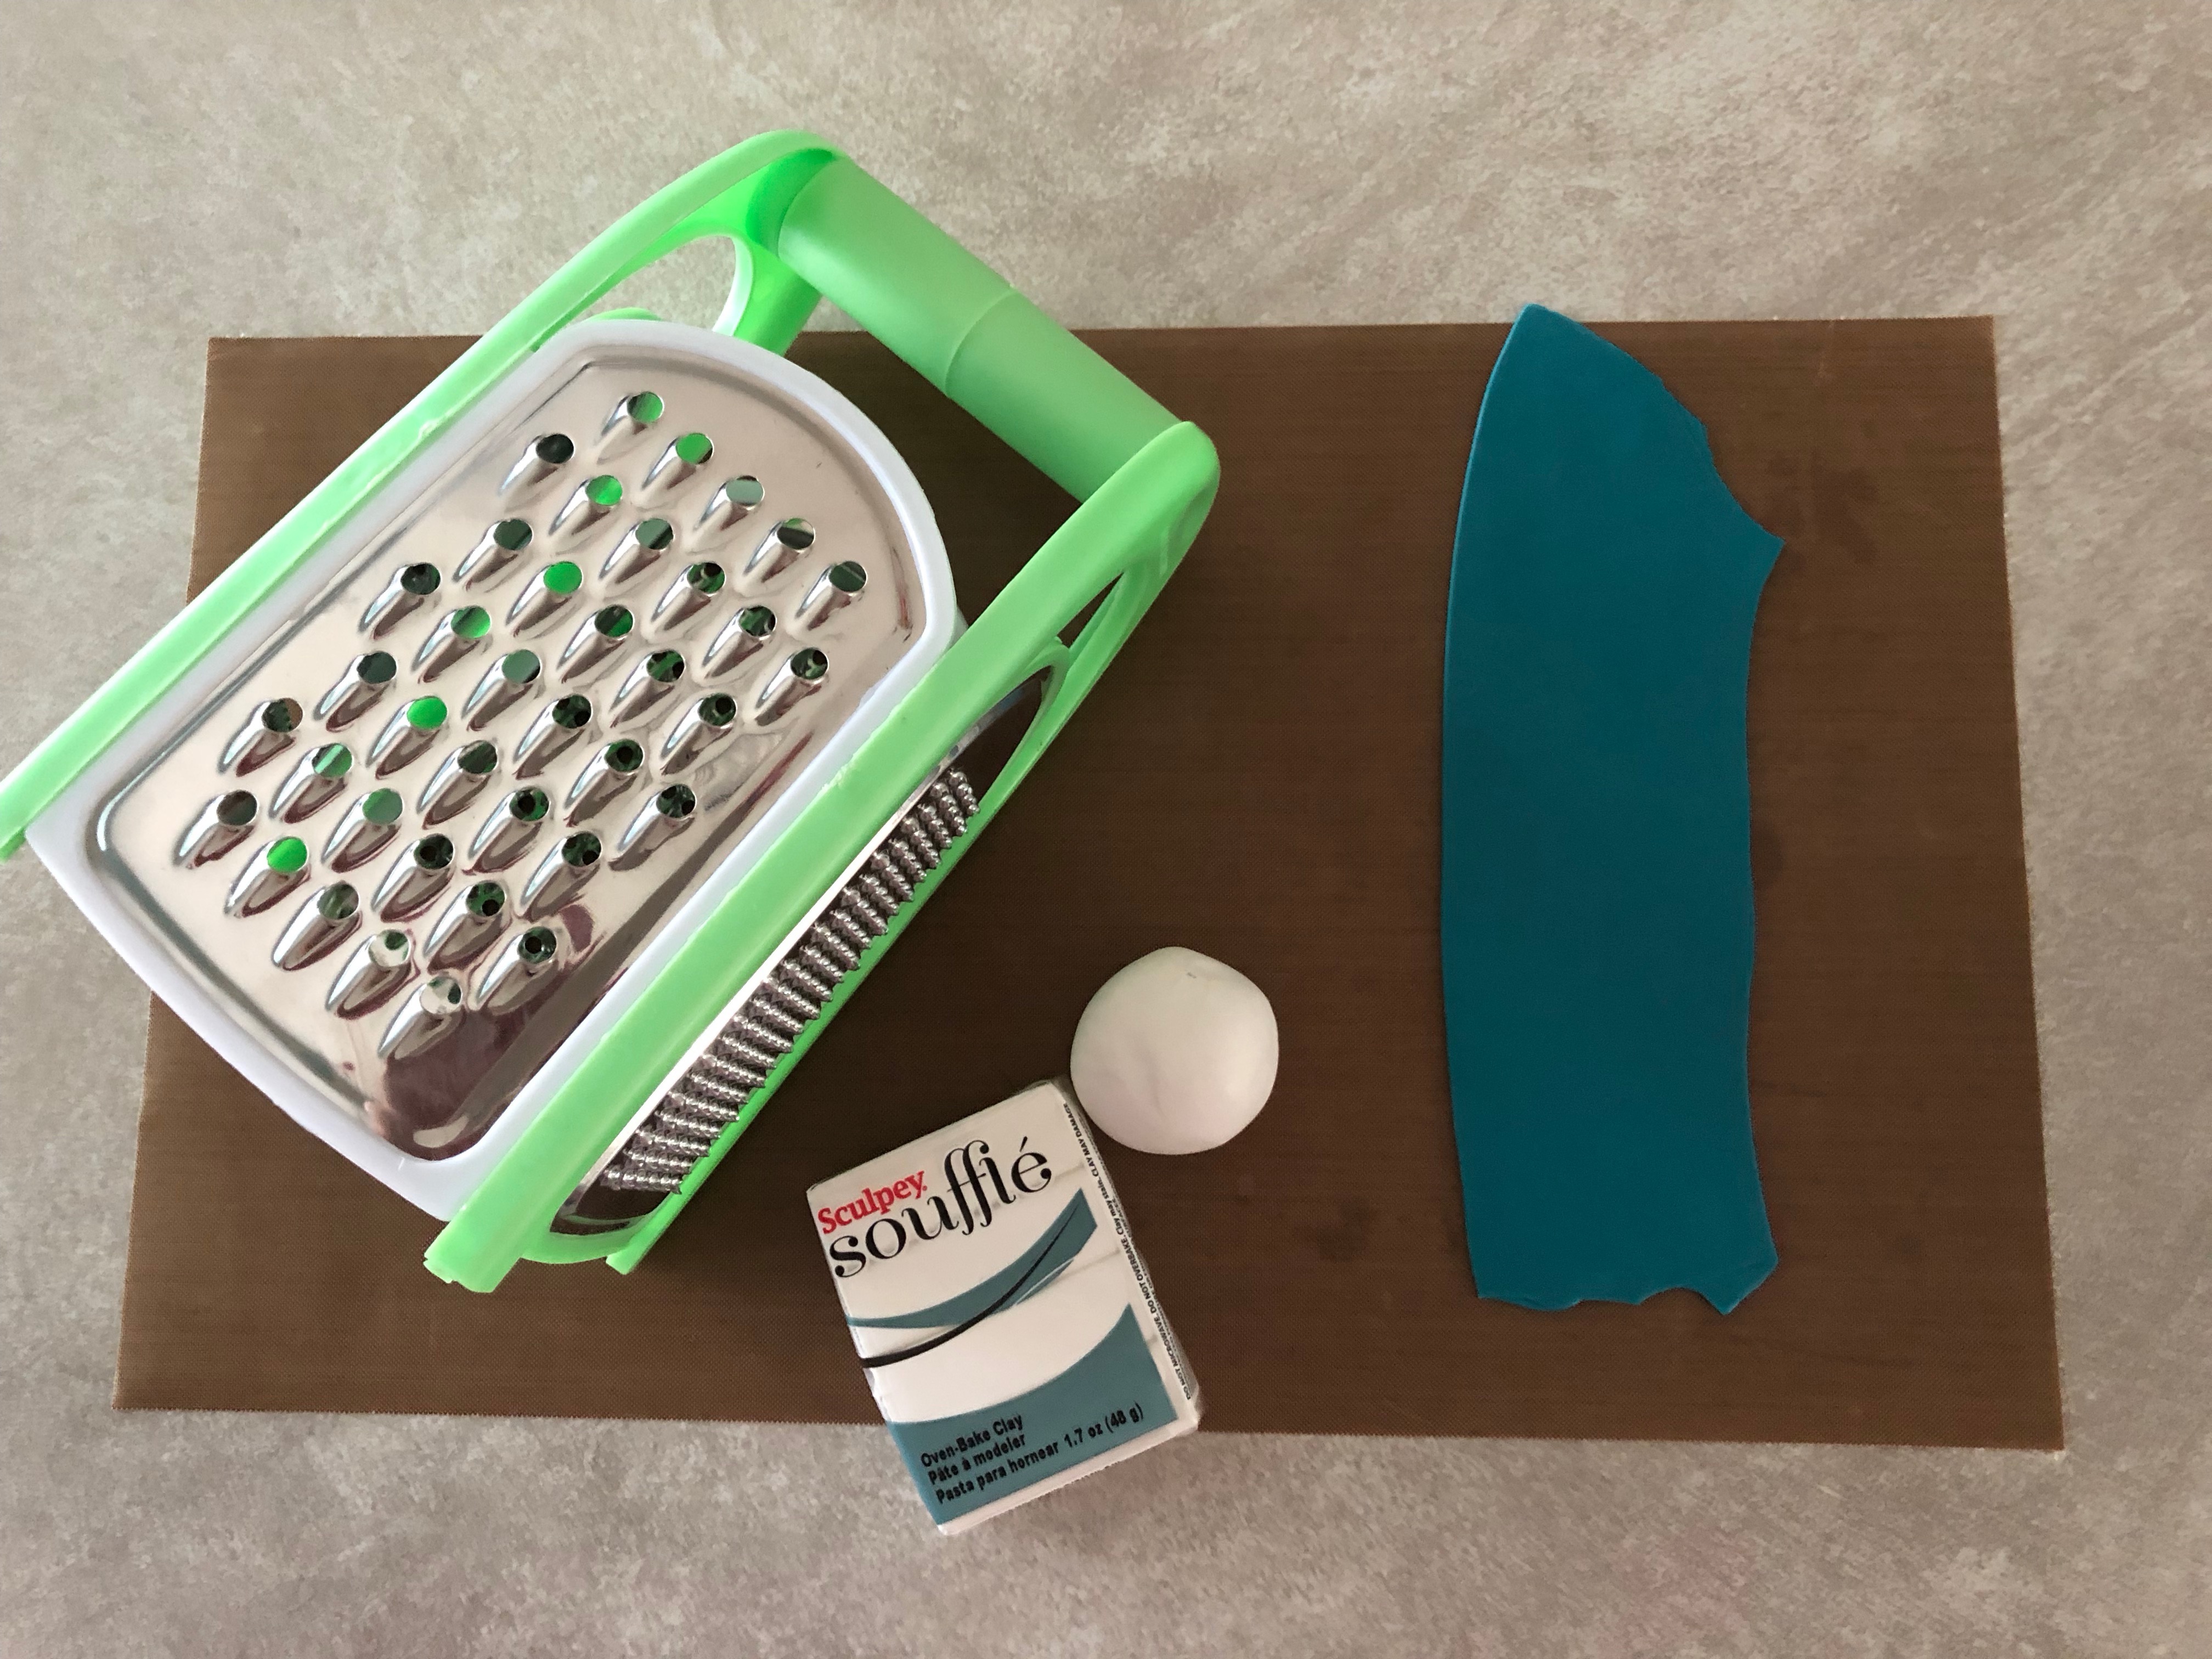
Sculpey® Clay Conditioning Machine
Cheese Grater
premo Sculpey® Graduated Cutter Set: Oval
Sculpey® Super Slicer Set, w/comfort handles
Glass oil diffuser bottle
Cookie Baking Sheet
Step 1: Getting Started
Please make sure your work area is covered and you are not working on an unprotected surface. We recommend working on the Sculpey® Work ‘n Bake Clay Mat, wax paper, metal baking sheet, or disposable foil. Uncured clay may damage unprotected furniture or finished surfaces. Be sure to cover your crafting area appropriately.
Start with clean hands, unwrap and knead clay until soft and smooth, or condition by running clay though a Pasta Machine. We recommend using a designated machine for clay purposes only. When working with multiple colors, clean hands with soap and water or baby wipes (we have found that baby wipes work best) before switching colors. Shape clay, pressing pieces firmly together. Wash hands after use.
Step 2
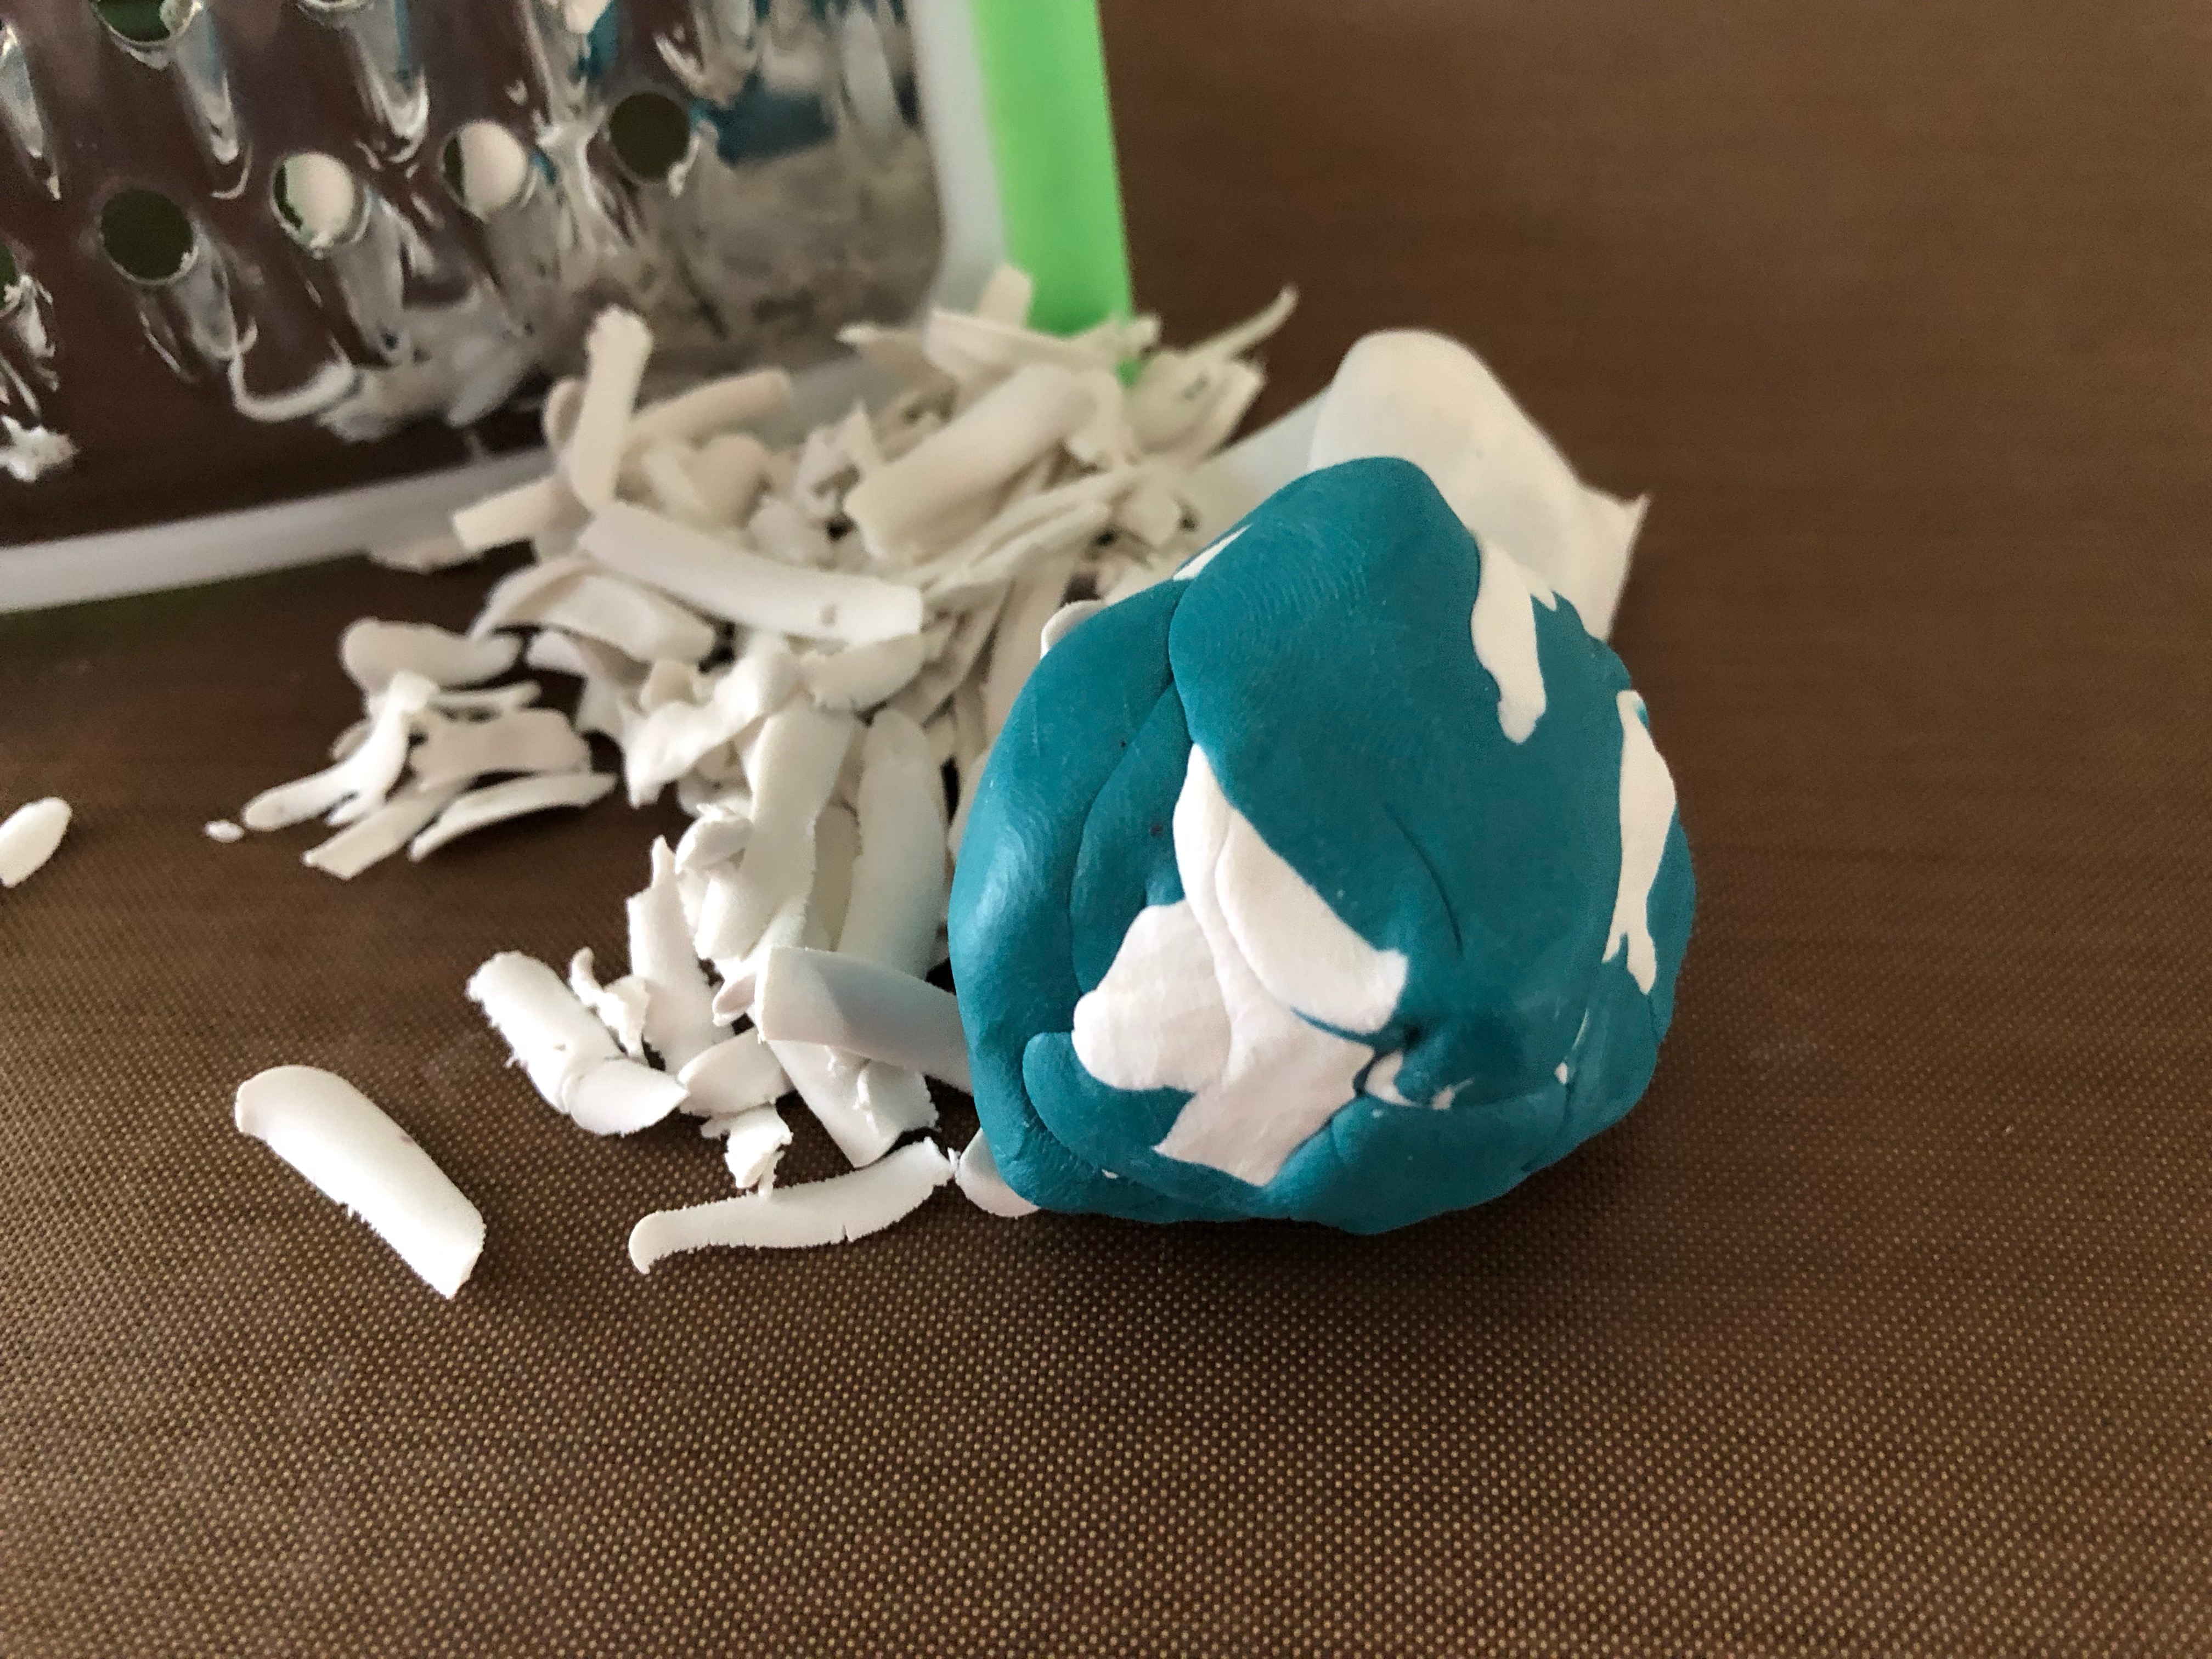
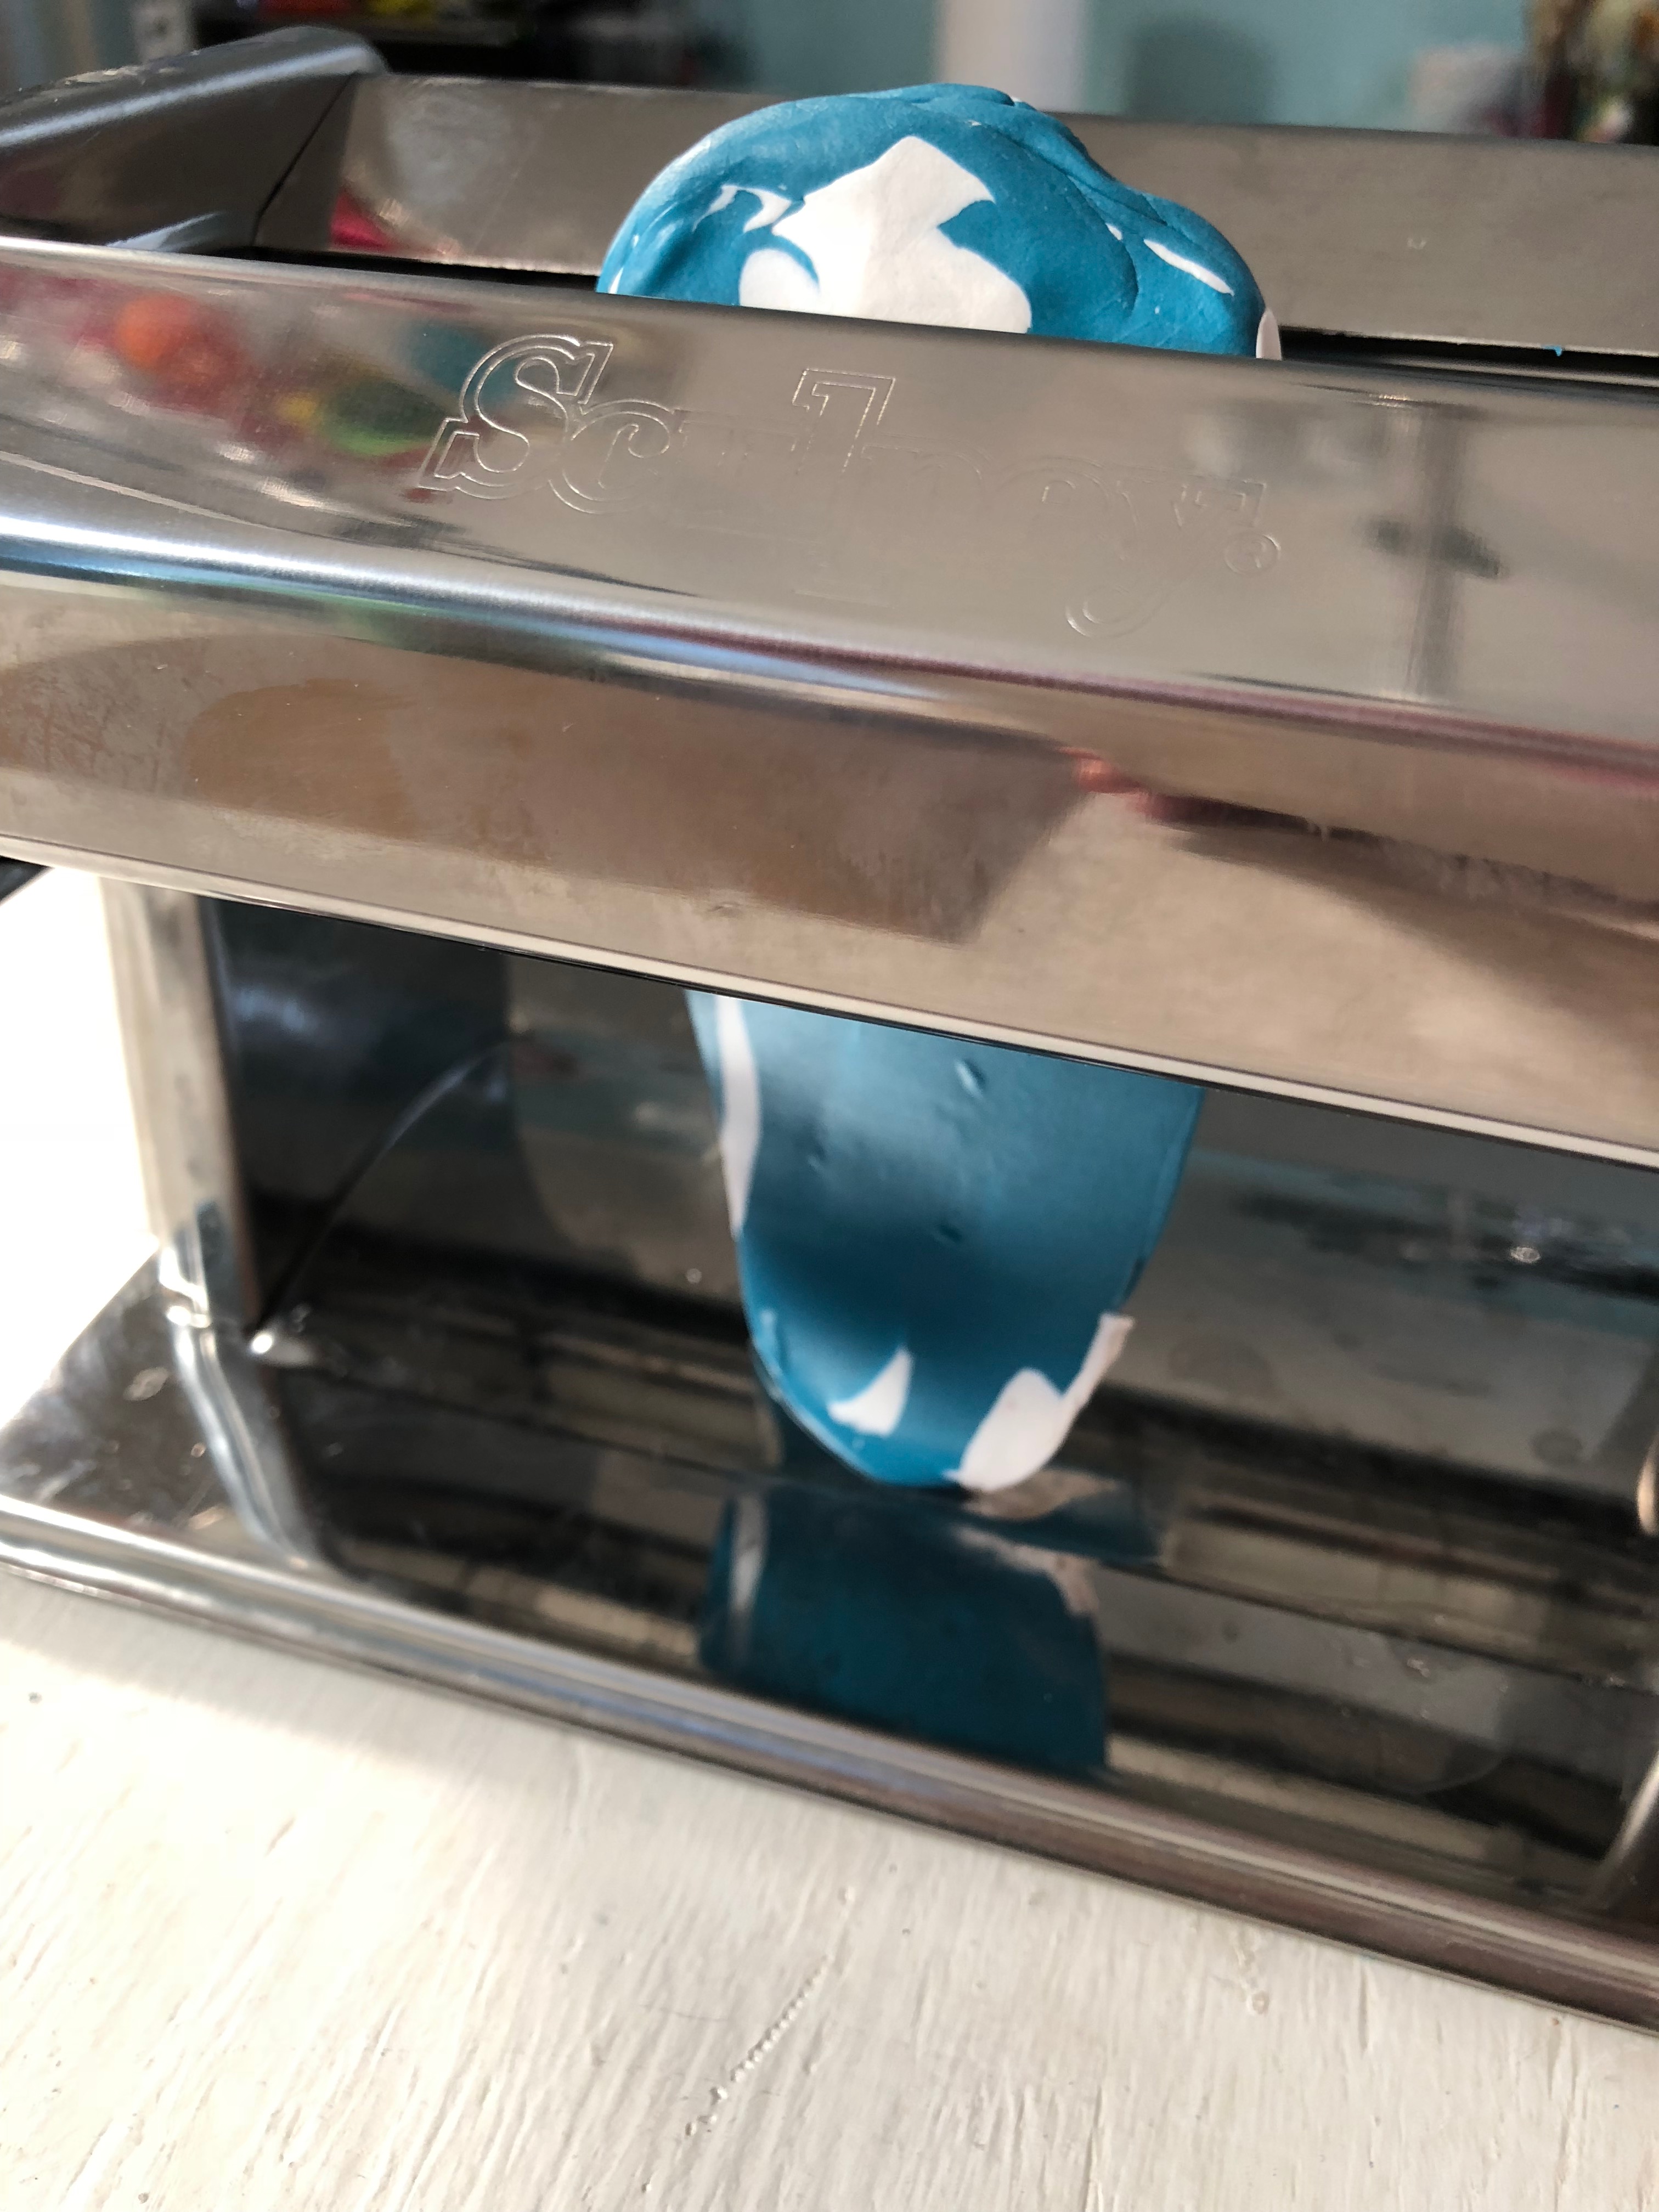
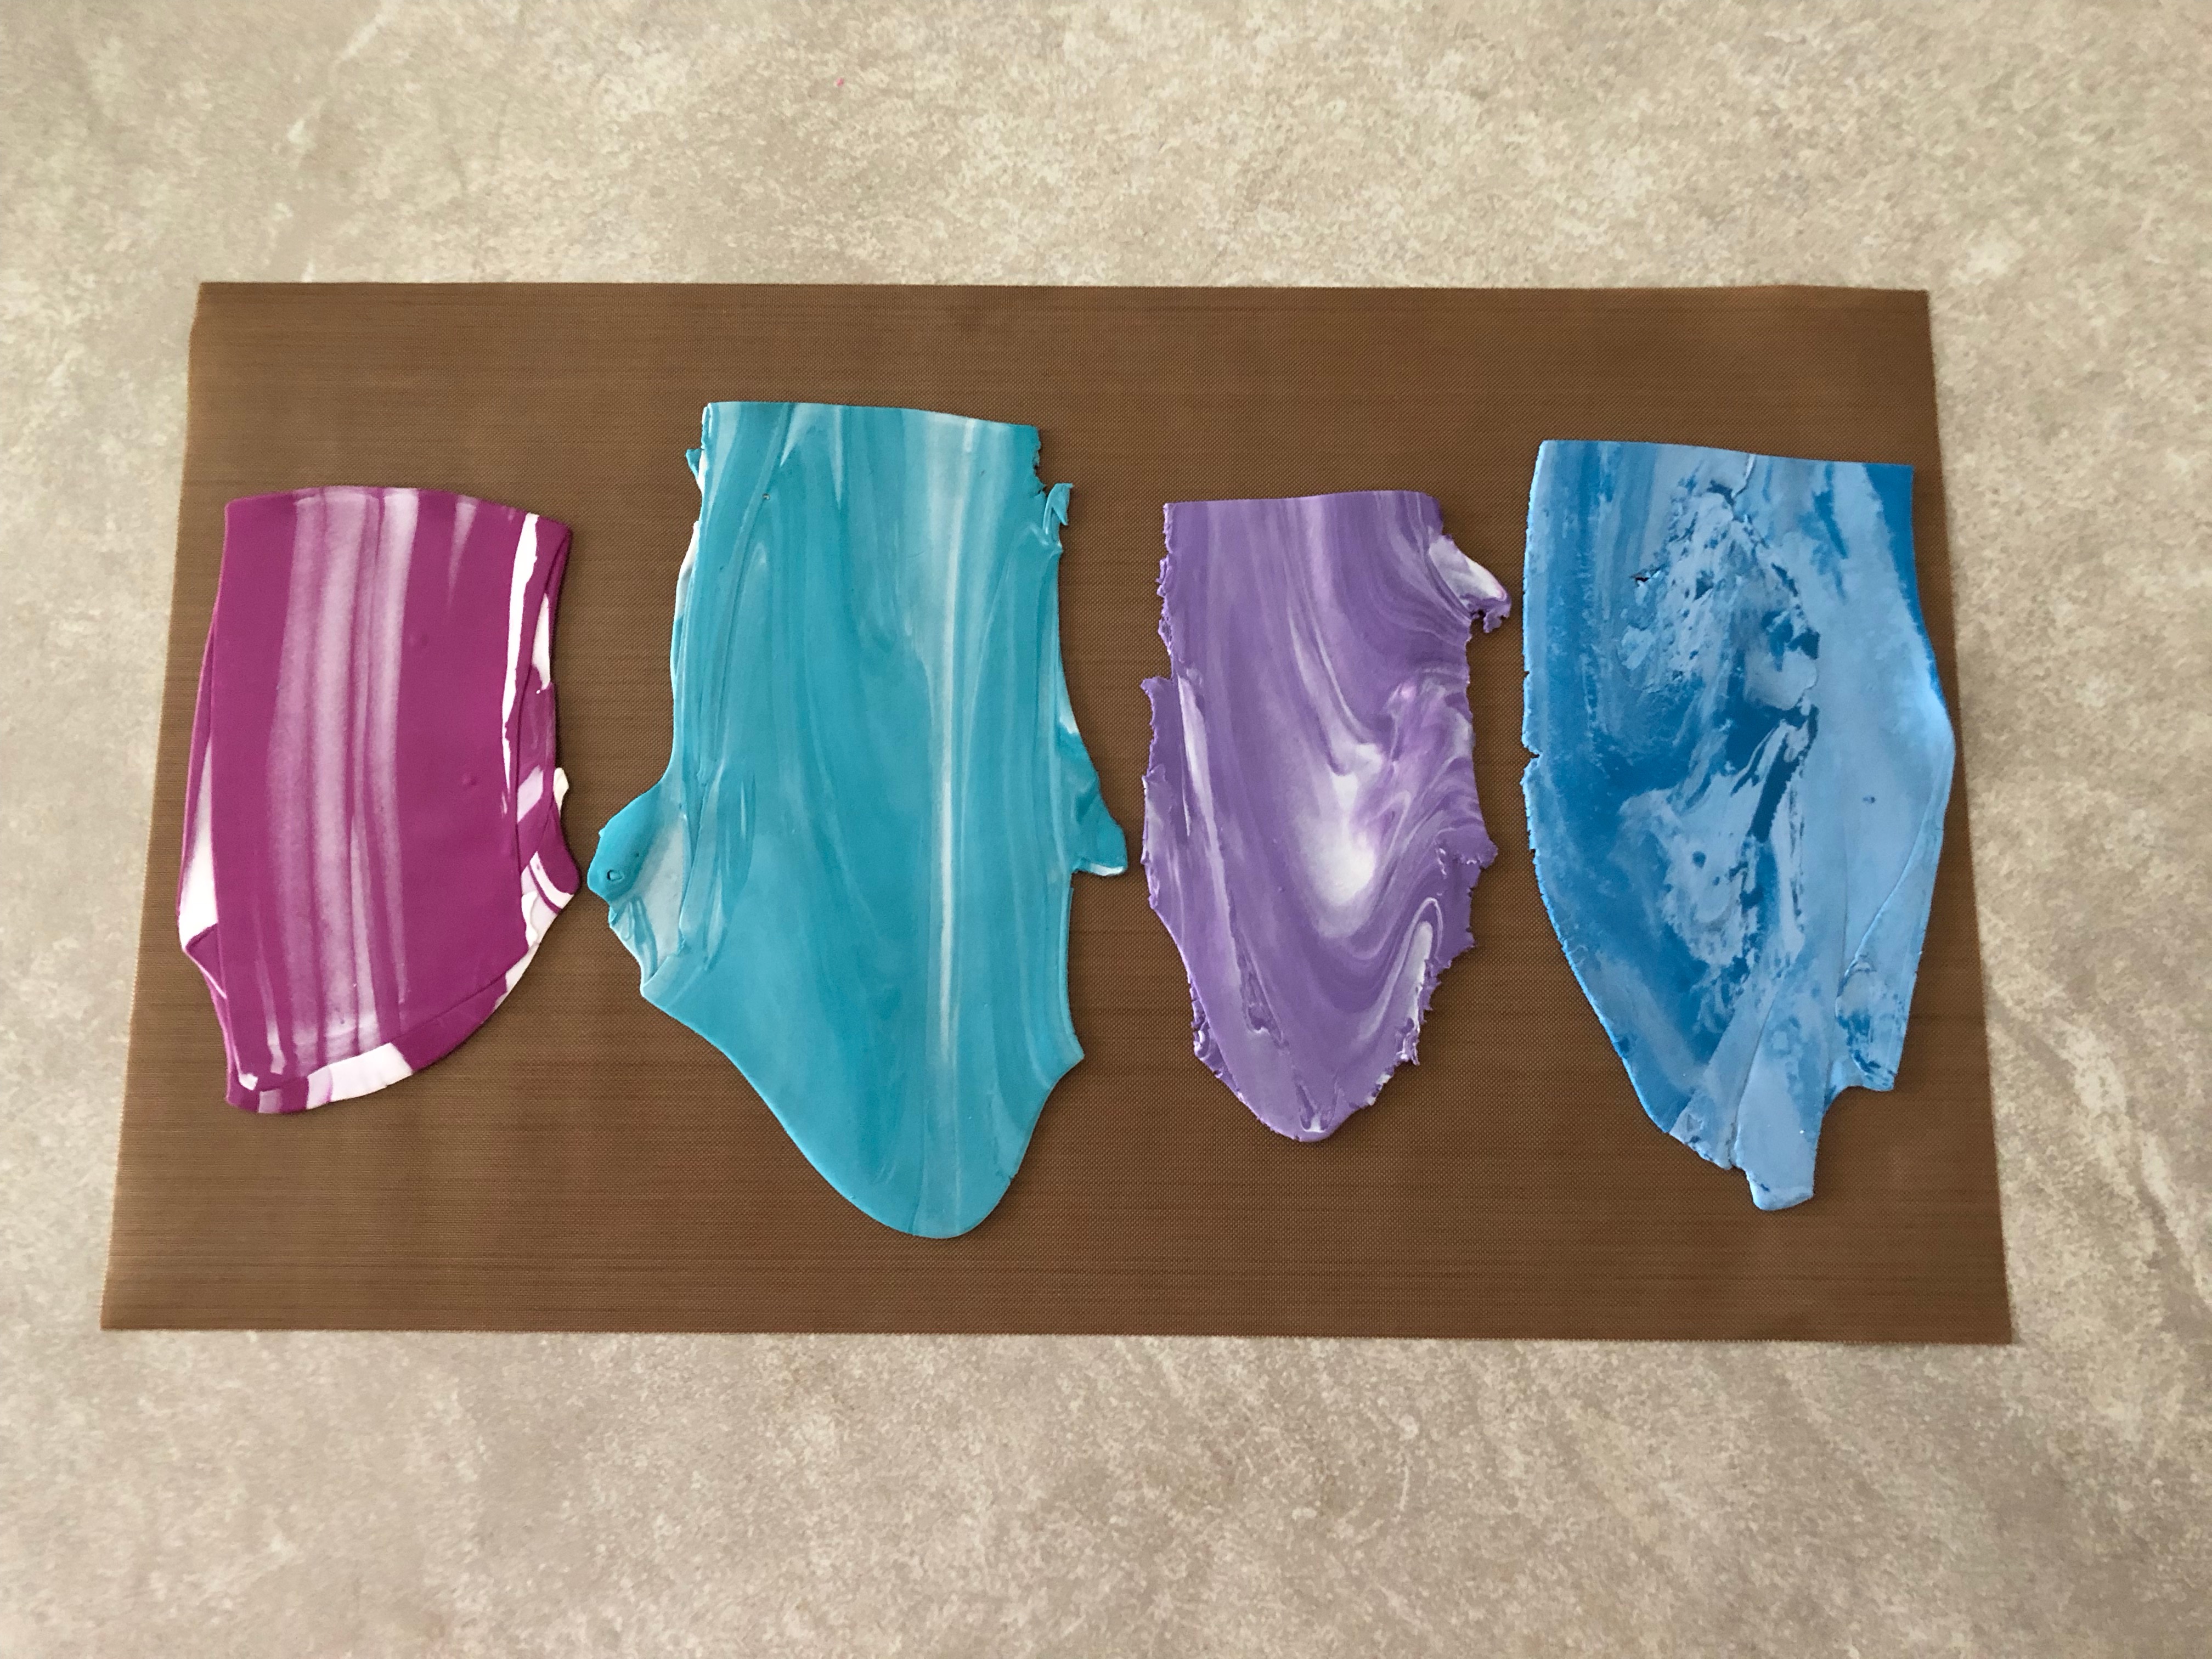
Marbleize the clay. Roll out a piece of Sea Glass clay. Grate a piece of Igloo clay into a small pile. Combine the Igloo pieces with the Sea Glass. Form into a small ball.
Step 3
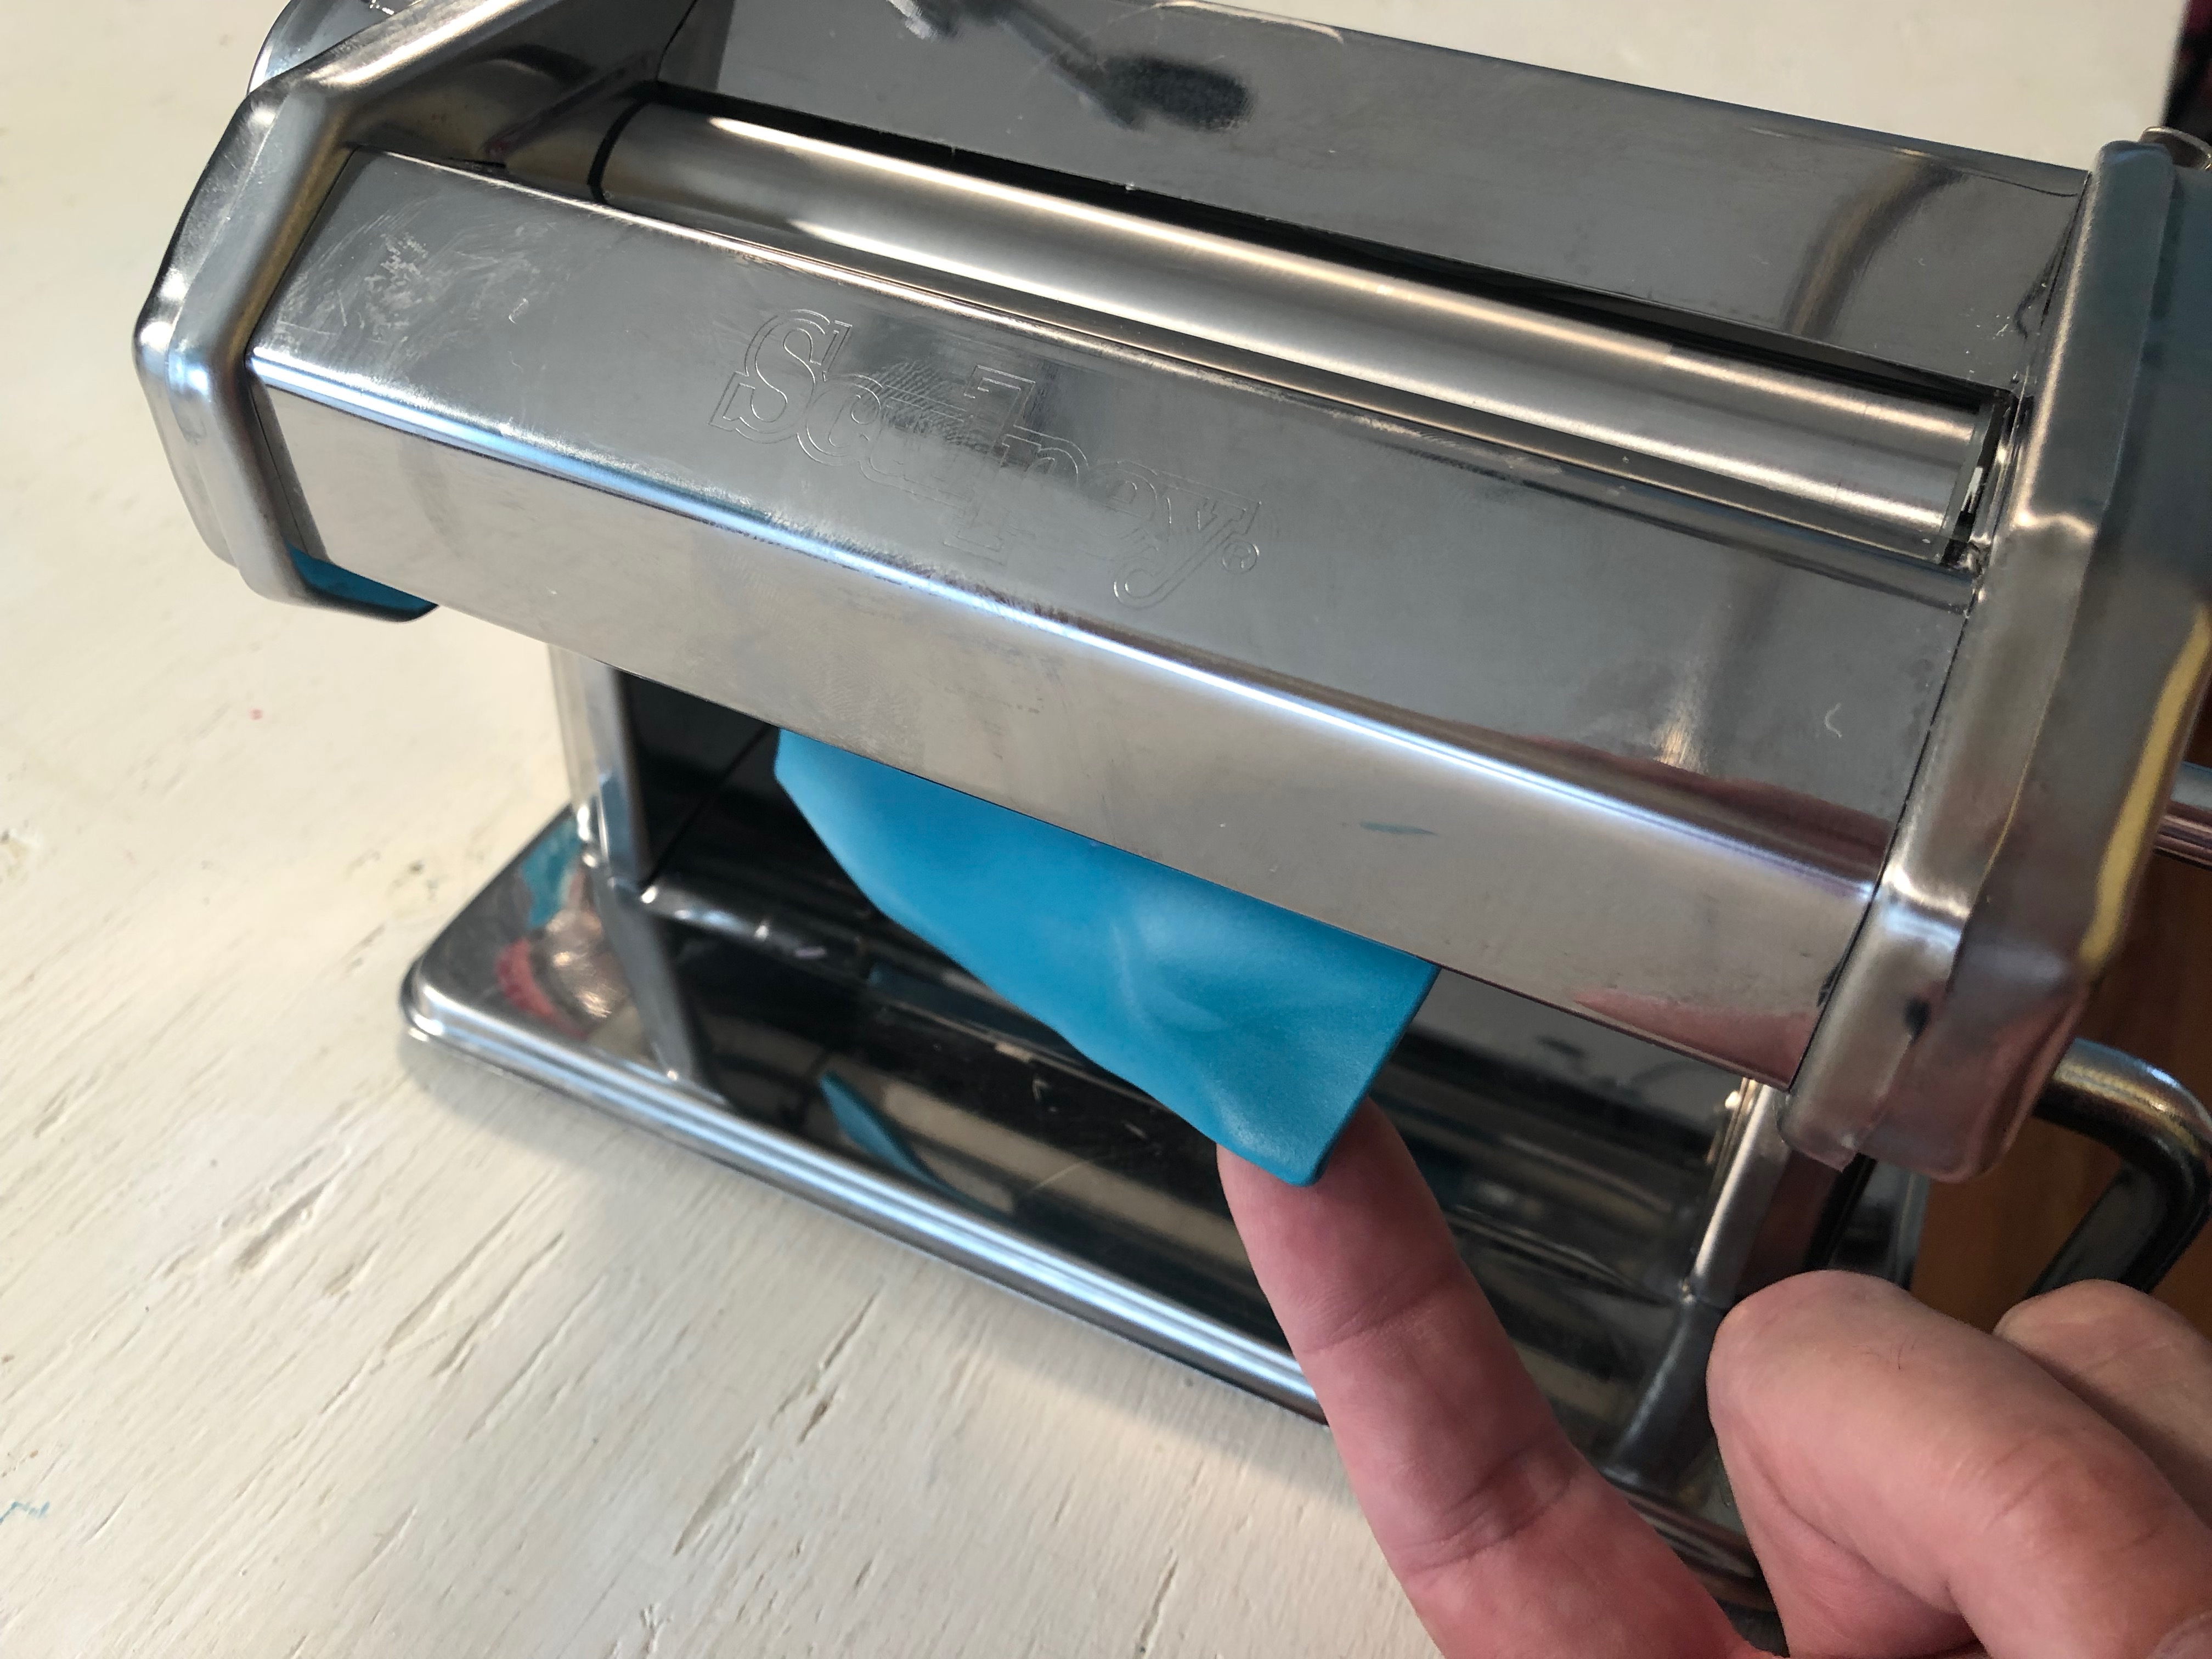
Run the clay though the conditioning machine on a number 4 setting. Fold the clay and continue to run the clay through the machine until you have a marbleized look.
Step 4
Repeat steps 2 and 3 with Turnip, Lagoon and Royalty Souffle clay.
Step 5
Use the small oval cutter to cut a series of small ovals from each color of the clay.
Step 6
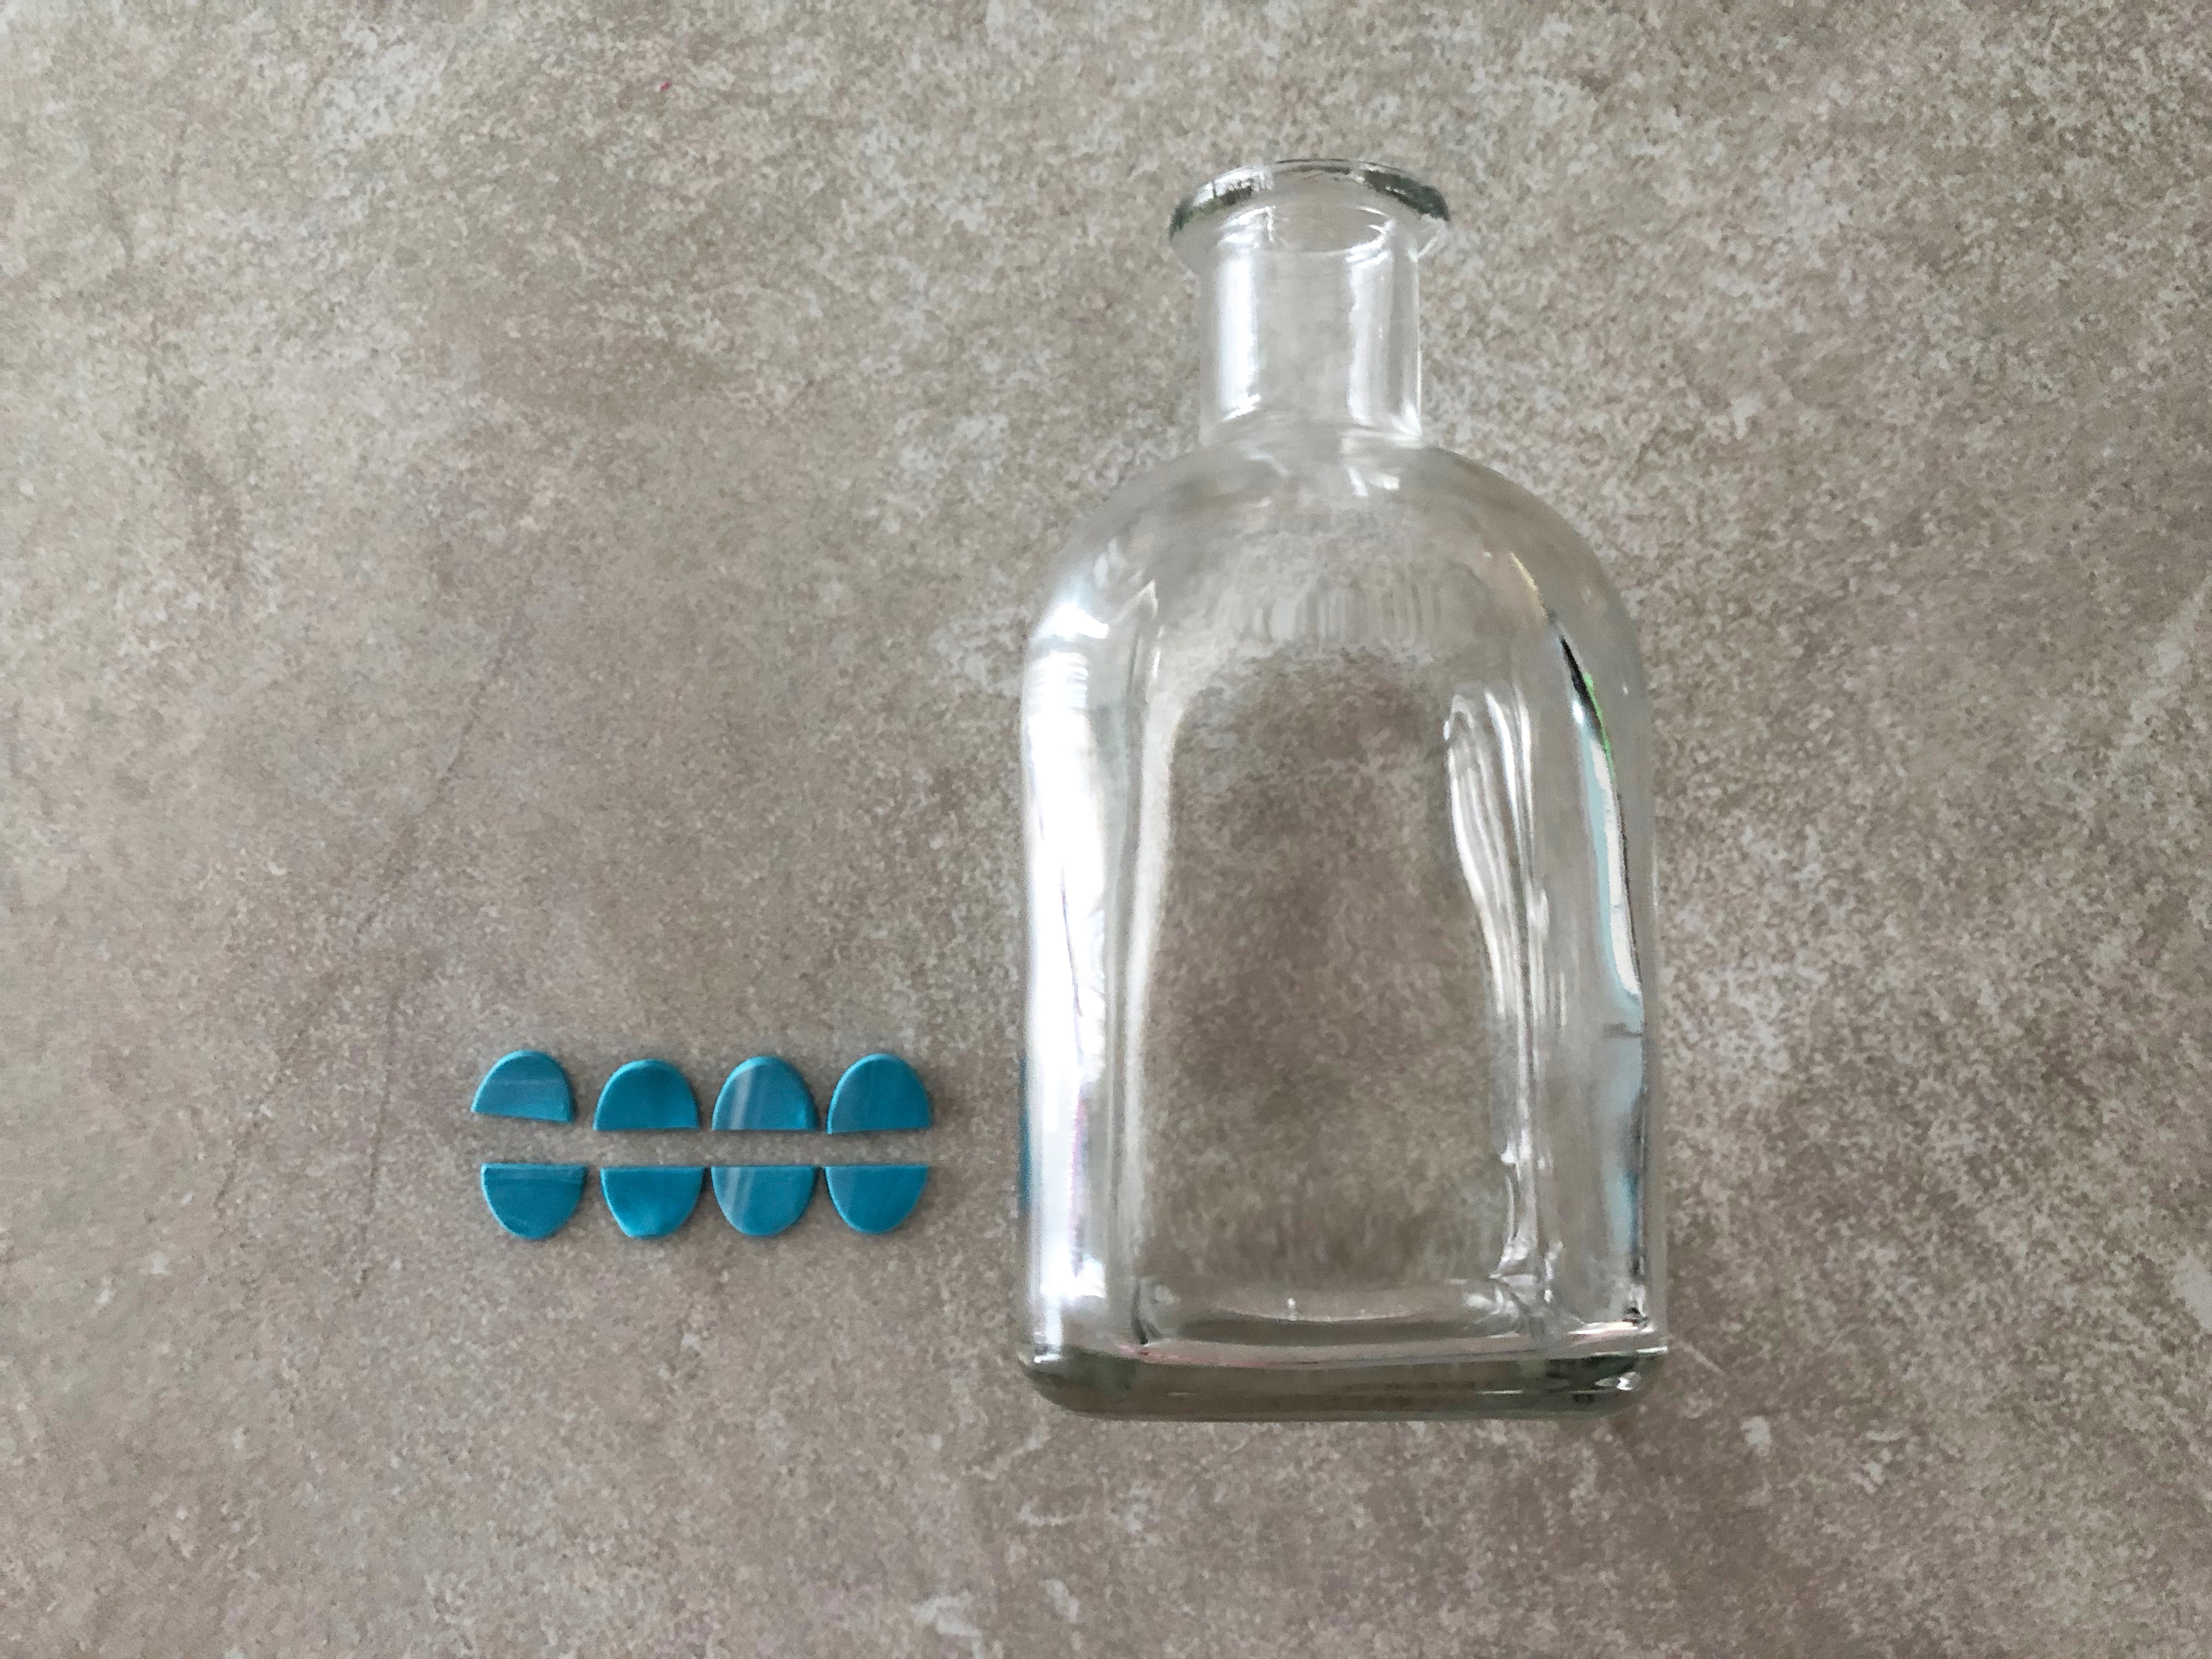
Use the slicer to cut a series of ovals in half. For this design we are starting with Sea Glass color on the bottom. You will enough half-ovals to cover the bottom edge of the oil diffuser.
Step 7
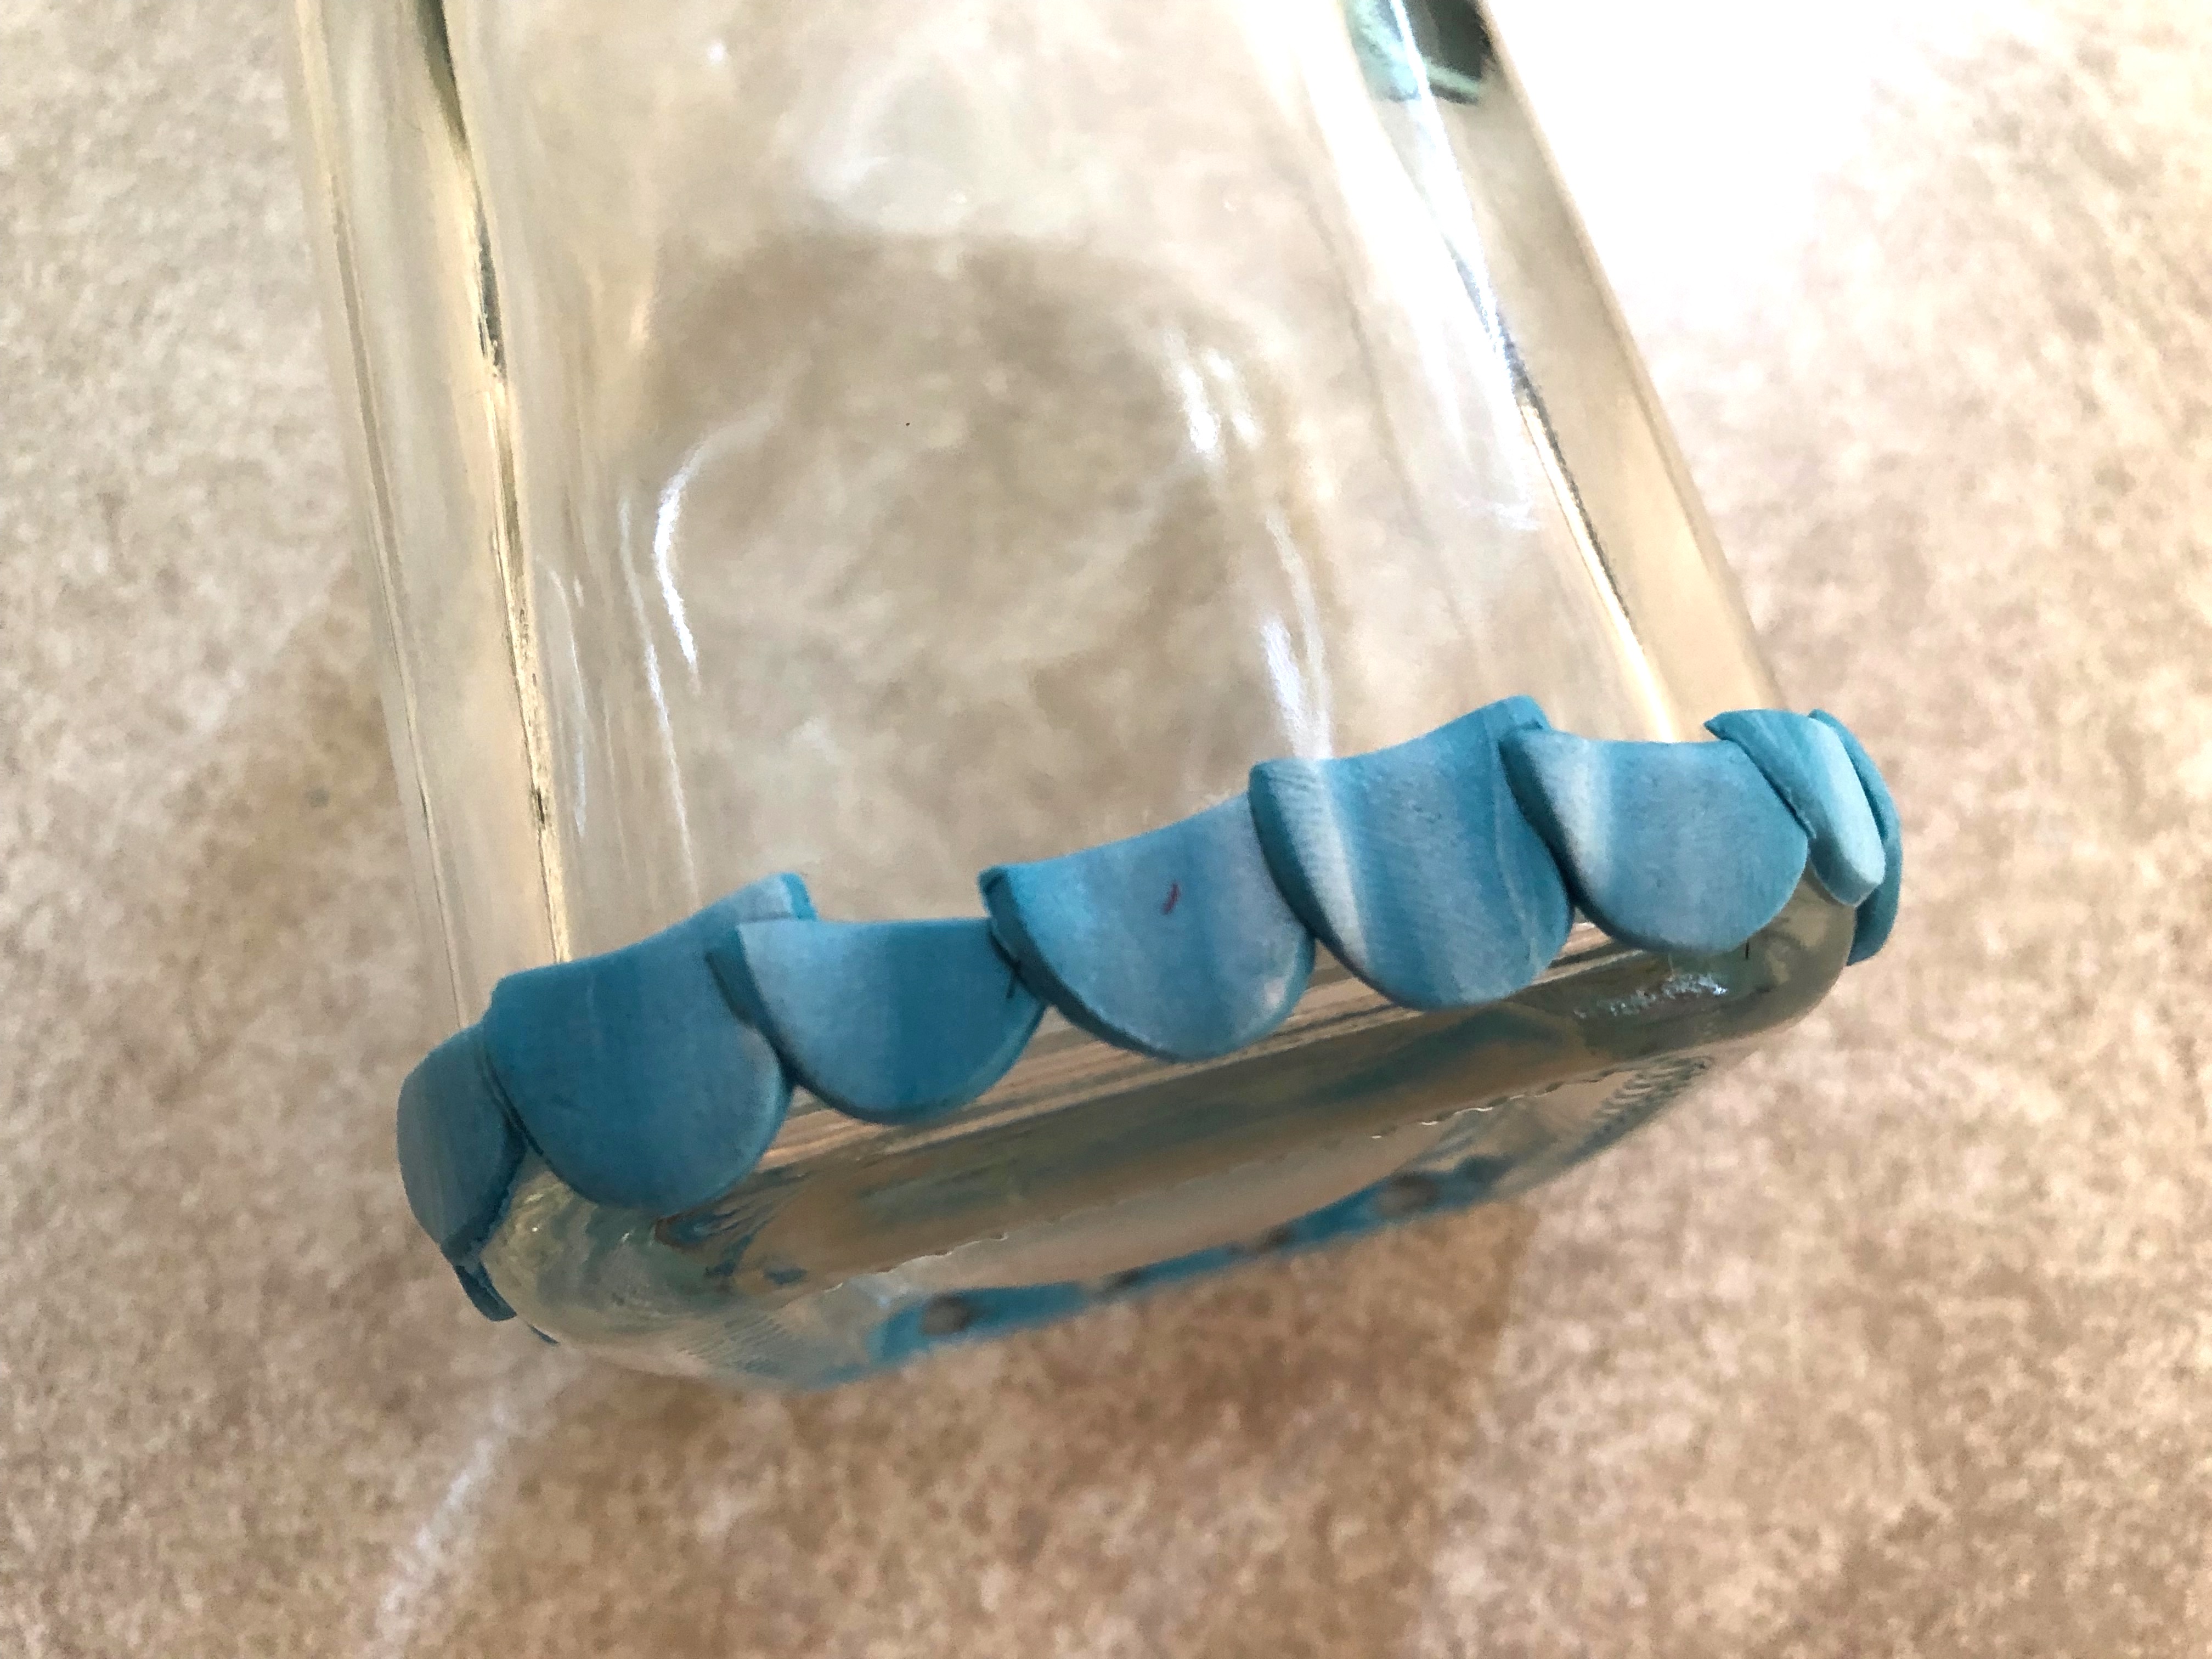
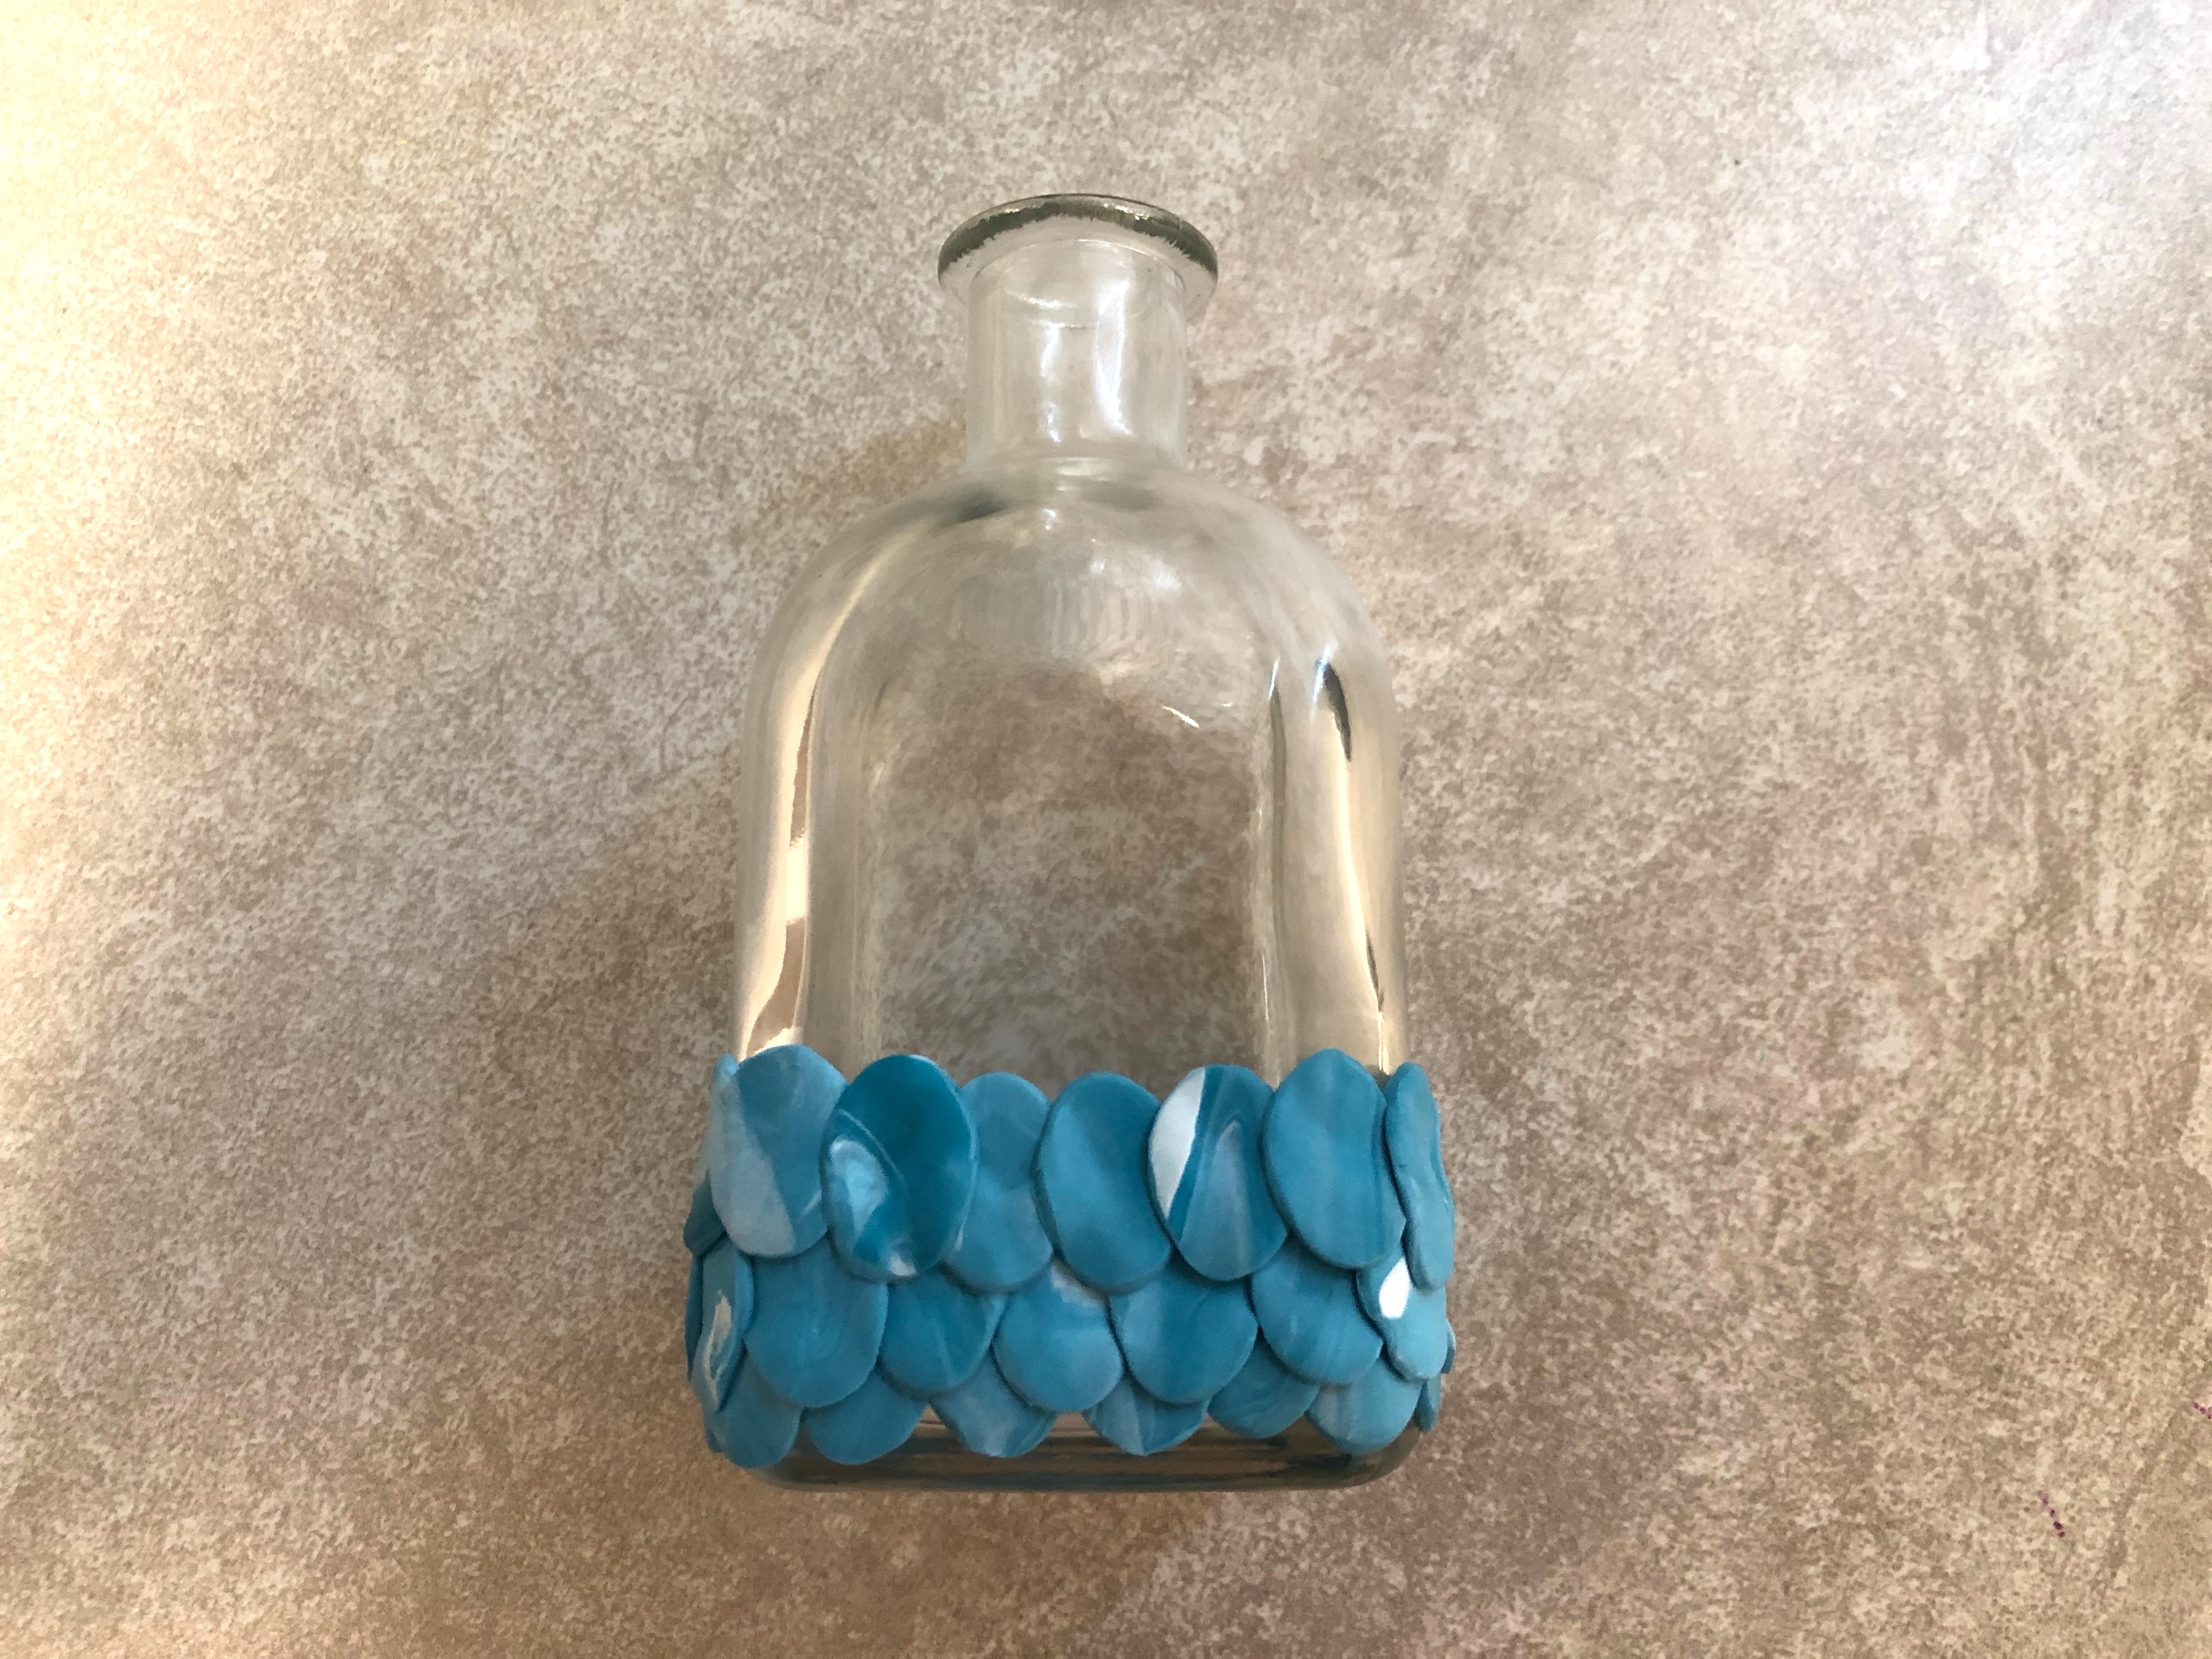
Position the half-ovals along the bottom edge of the oil diffuser with the curved edge pointed down. Slightly over lap each piece so the are touching. Do this across the entire bottom edge.
Step 8
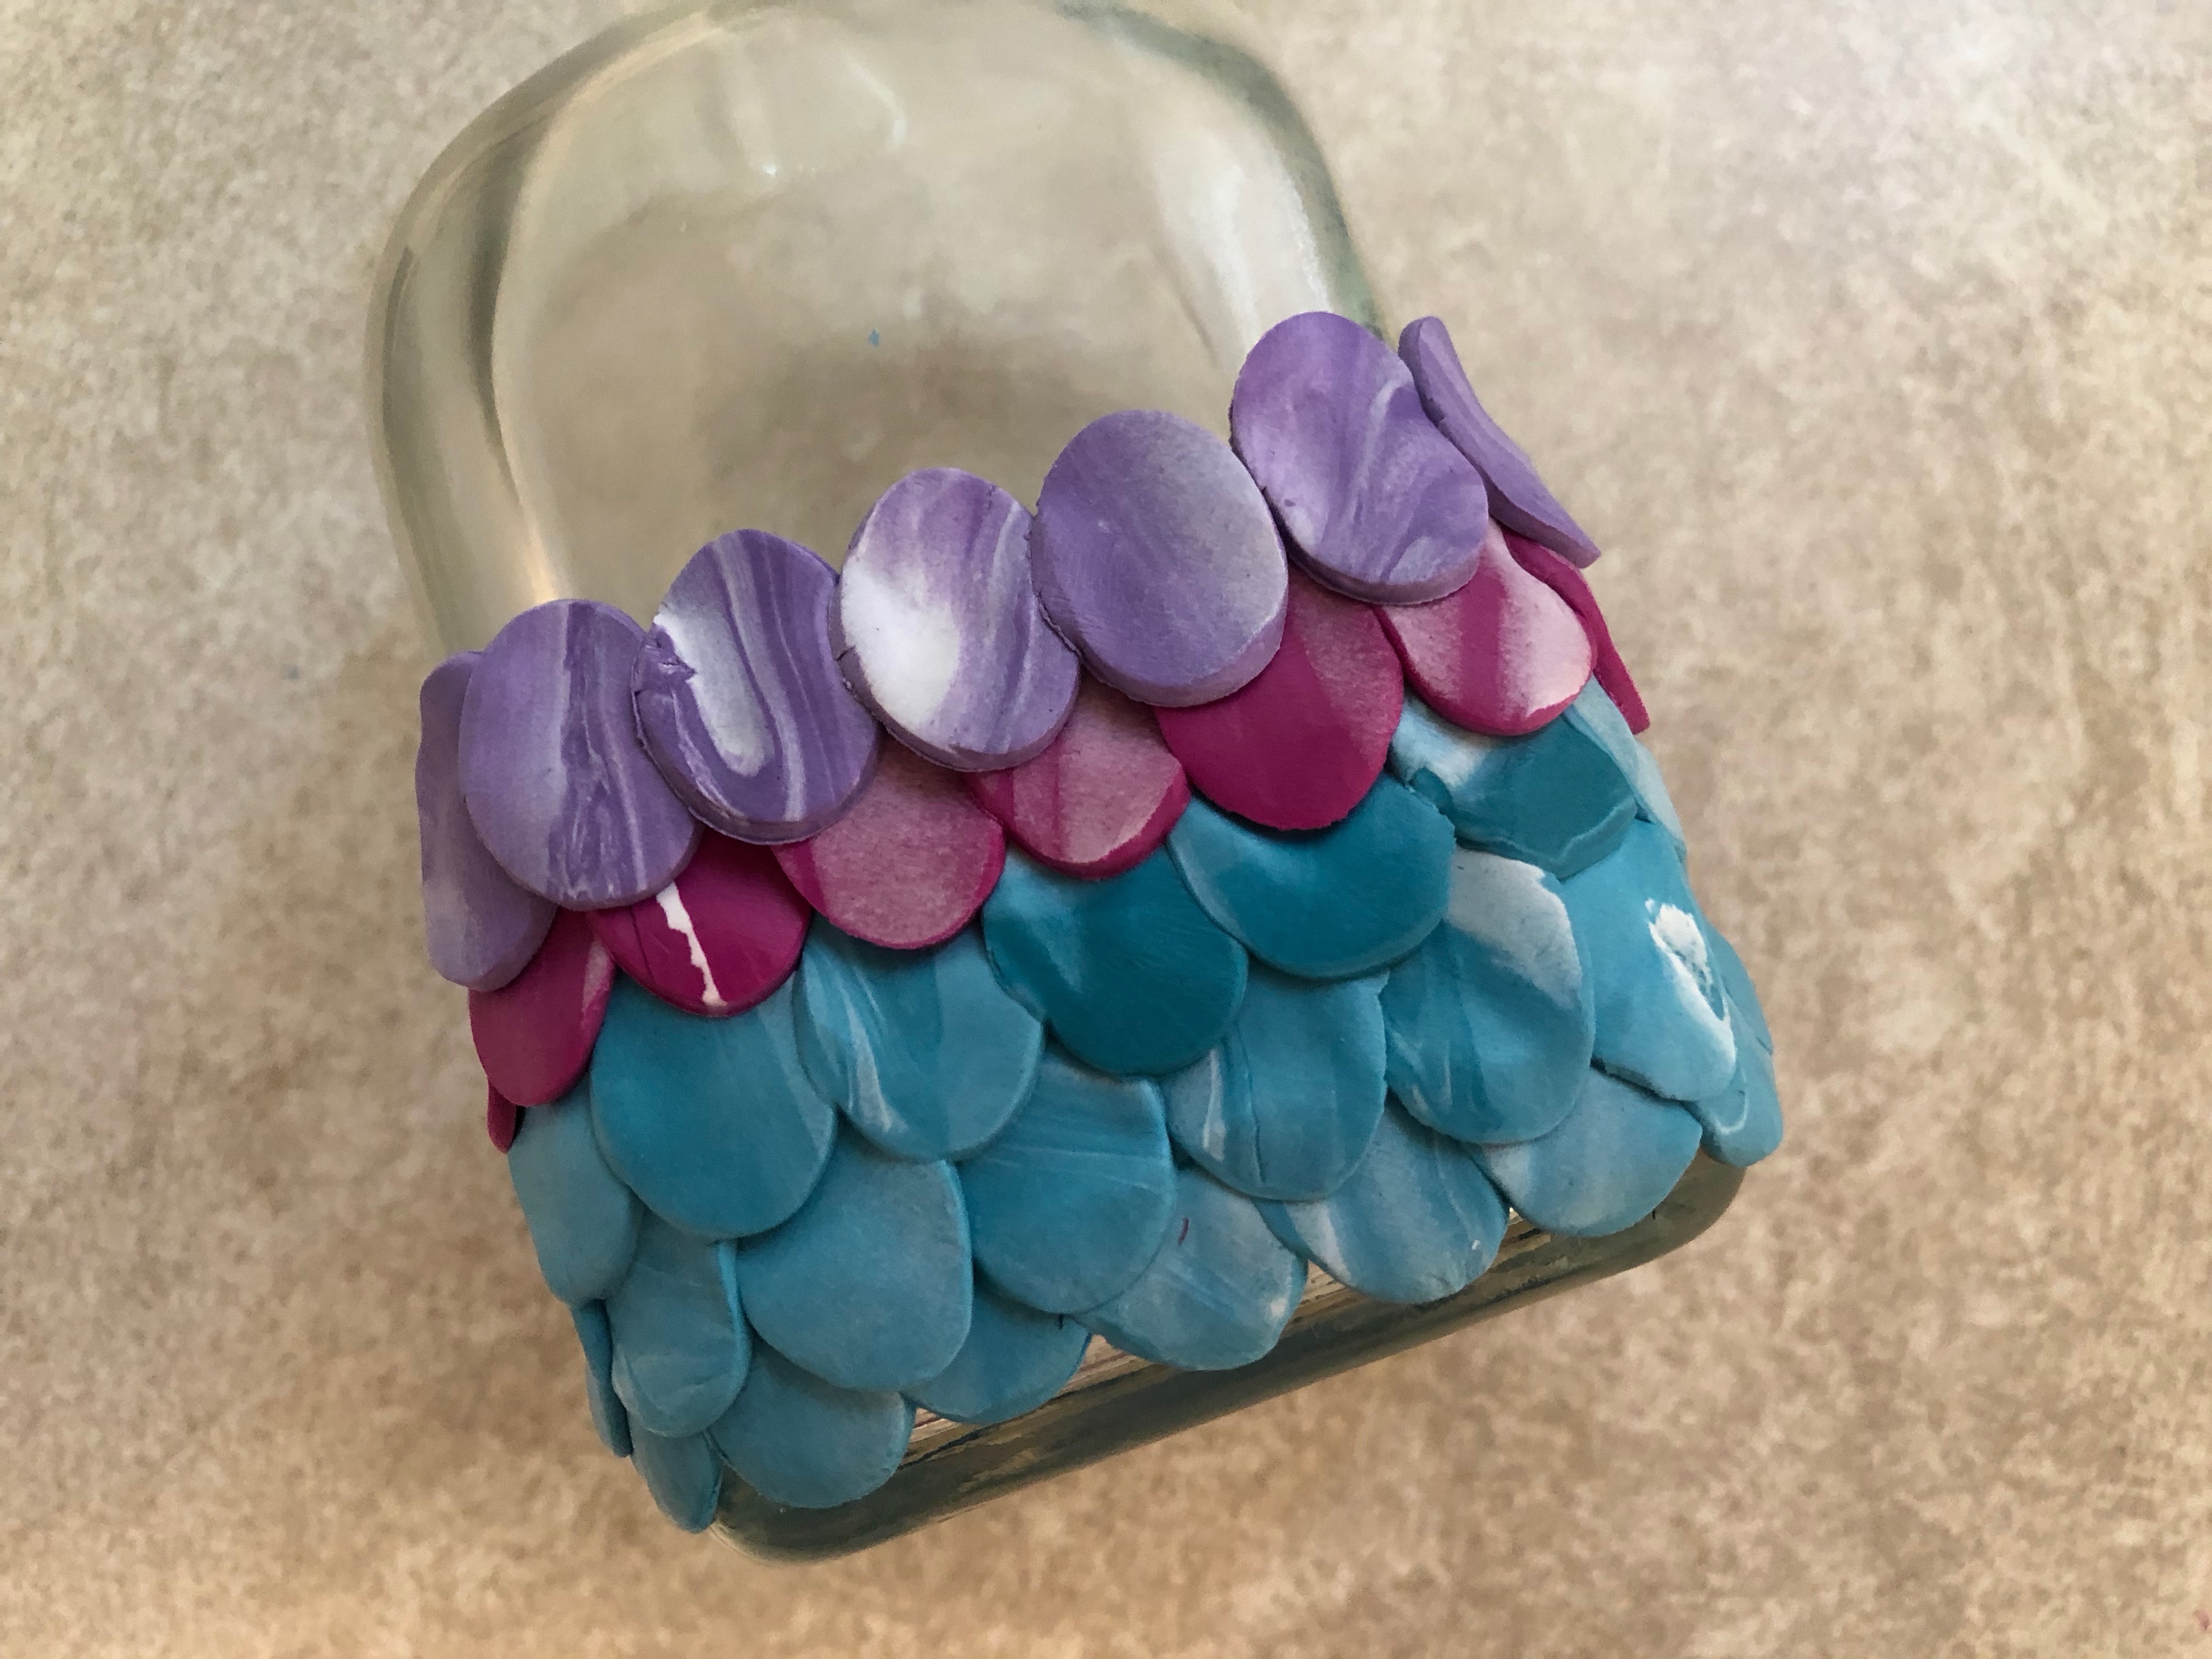
Add two rows of Sea Glass ovals around the oil diffuser. Try to overlap them as you go and place the over the lower seam.
Step 9
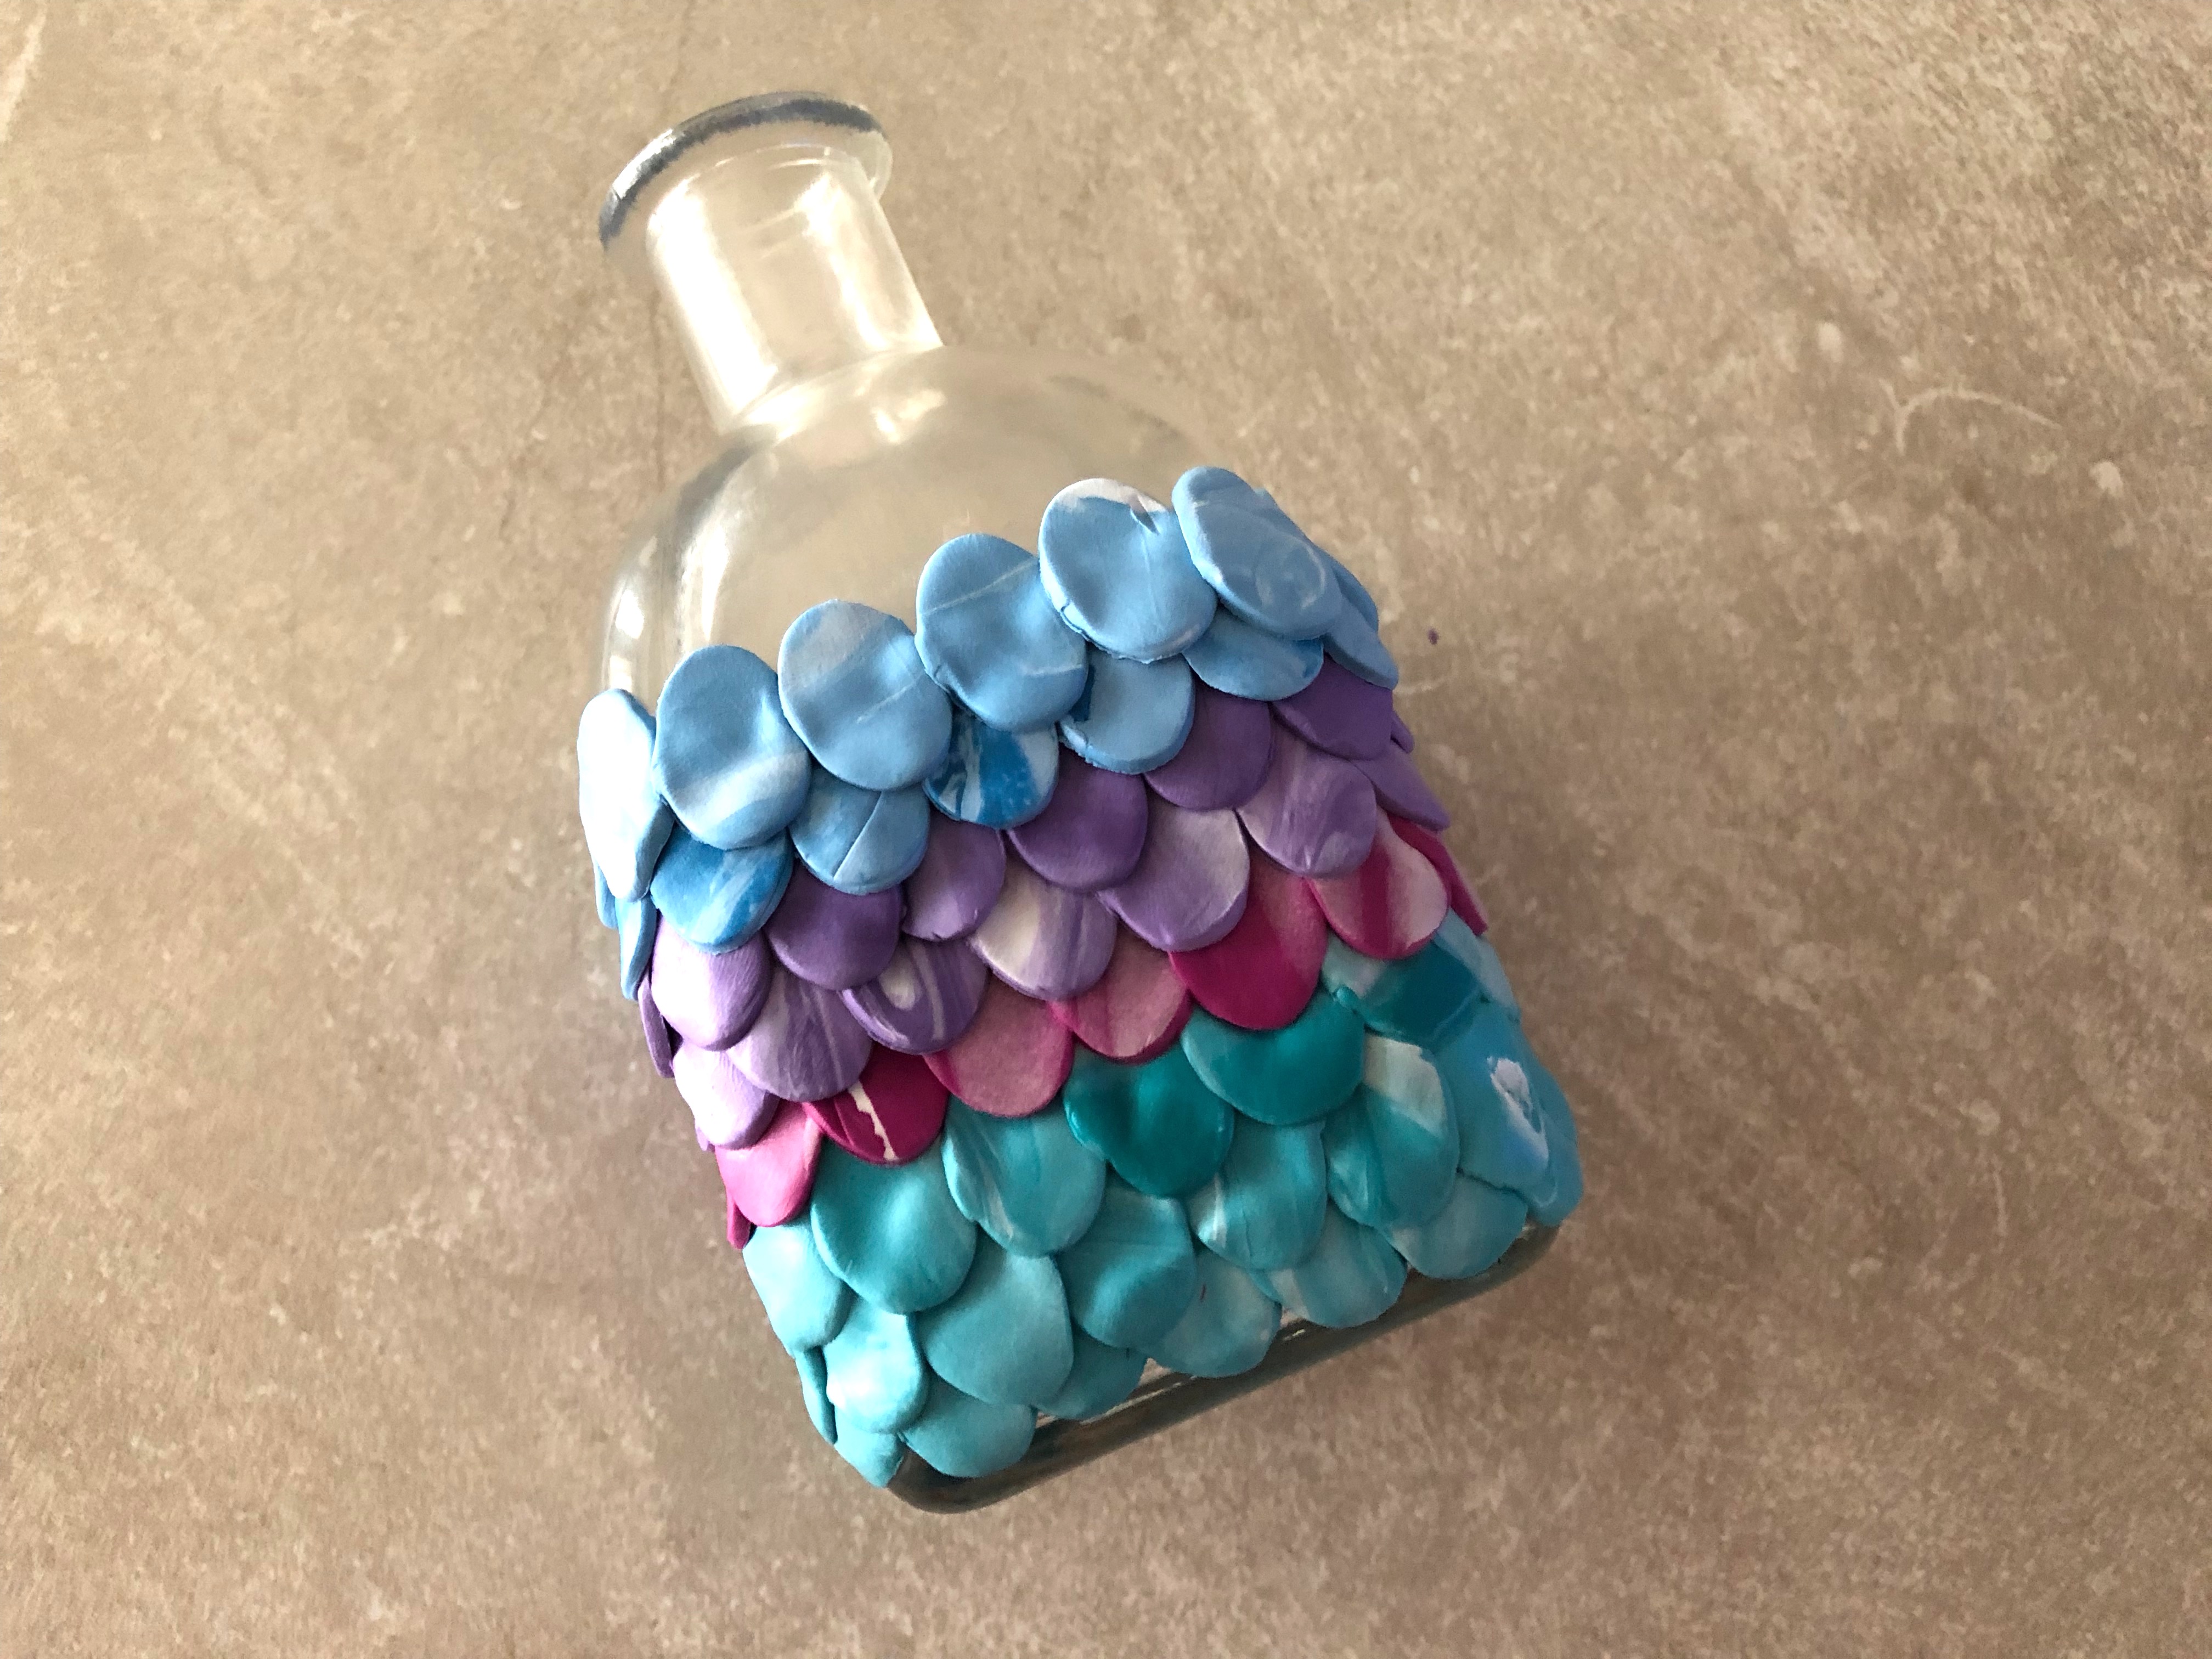
Continue to add oval scales around the oil diffuser. For this design the order from the bottom up is: Sea Glass, Turnip, Royalty and Lagoon.
Step 10
Finish off the top edge with a row of Lagoon ovals.
Step 11: Baking
Begin by preheating oven to 275 °F (130 °C). After you are done creating; for best results bake clay on an oven-proof surface such metal, aluminum foil, an index card or the Sculpey® Clay Mat at 275°F (130 °C) for 30 minutes per ¼” (6 mm) thickness according to package directions. Oven safe glass or ceramic surfaces are also acceptable for baking; however please note that the baking times may take longer as the glass or ceramic surfaces take longer to heat up. For best baking results, use an oven thermometer. DO NOT USE MICROWAVE OVEN. DO NOT EXCEED THE ABOVE TEMPERATURE OR RECOMMENDED BAKING TIME.
After baking fill the glass diffuser with your favorite oil or scent and add the reeds.
Check out our entire collection of Essential and Fragrance Oil Projects using Souffle Polymer Clay by Sculpey.
Thanks for stopping by! Please leave us a comment if you love working with Sculpy products or if you have any questions.
