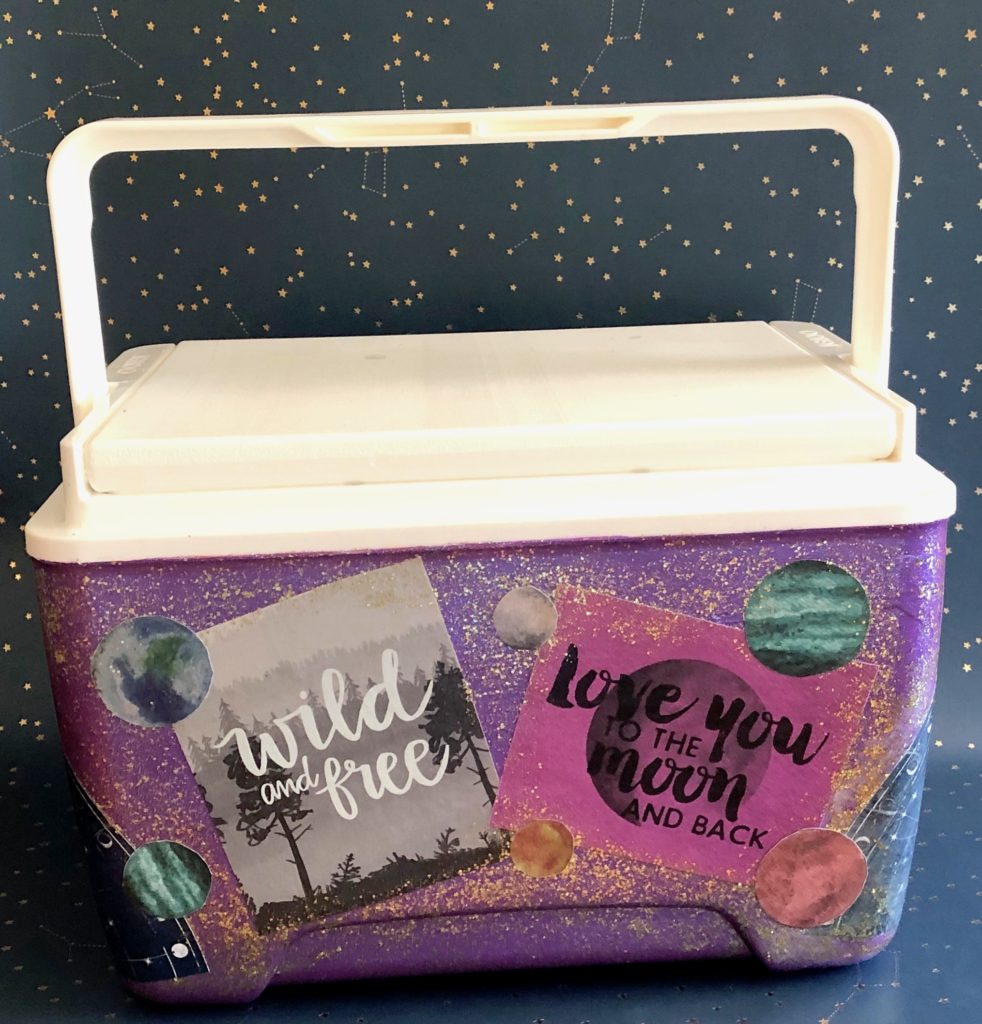
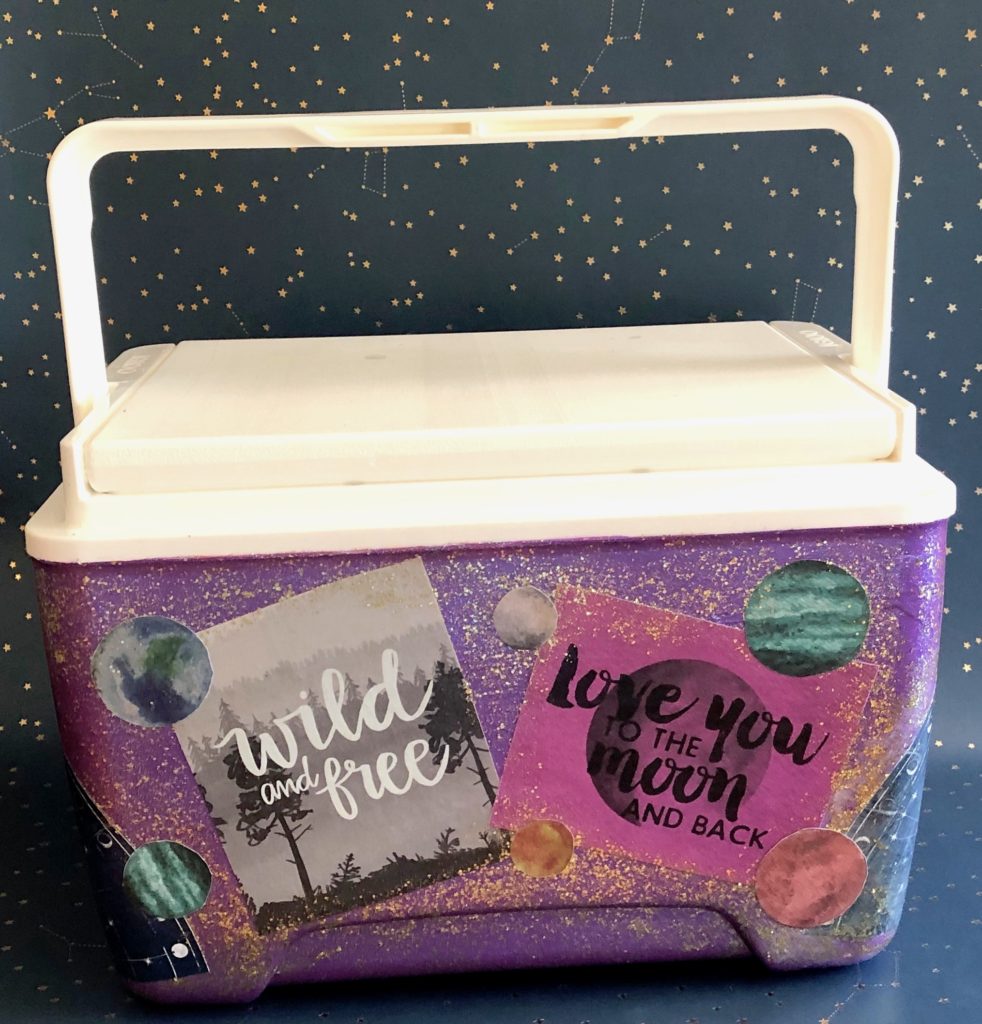
I love how this Collage Cooler turned out! Have you ever tried your hand at making over a cooler? I’m not gonna fool you….. there is lots of steps to achieve a durable and multi-media collaged cooler. You are going to need to prime, paint, collage, Mod Podge, glitter and seal! The results are so fun. So grab some supplies and see the how to in the video below.
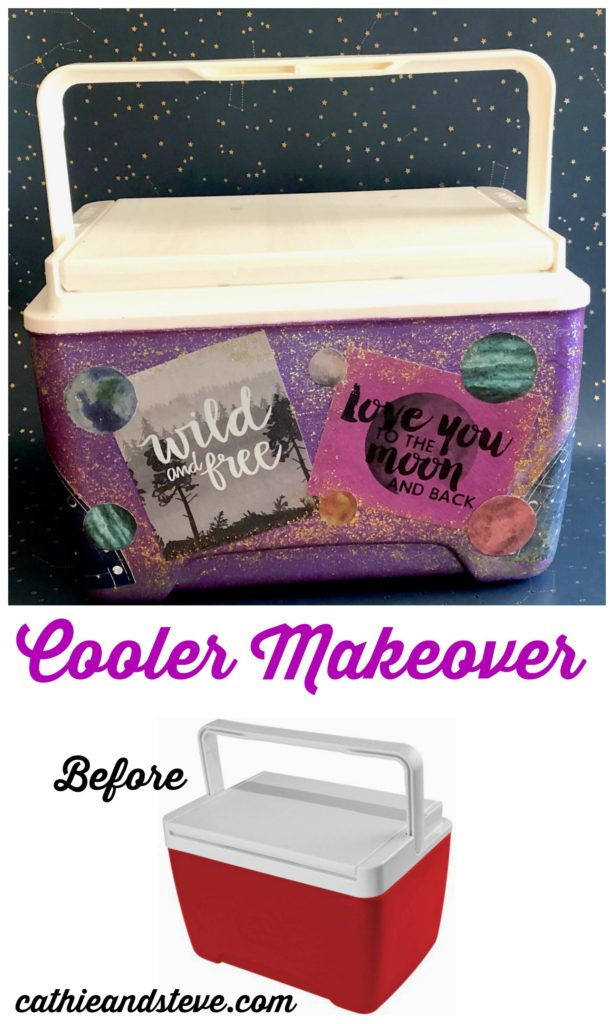
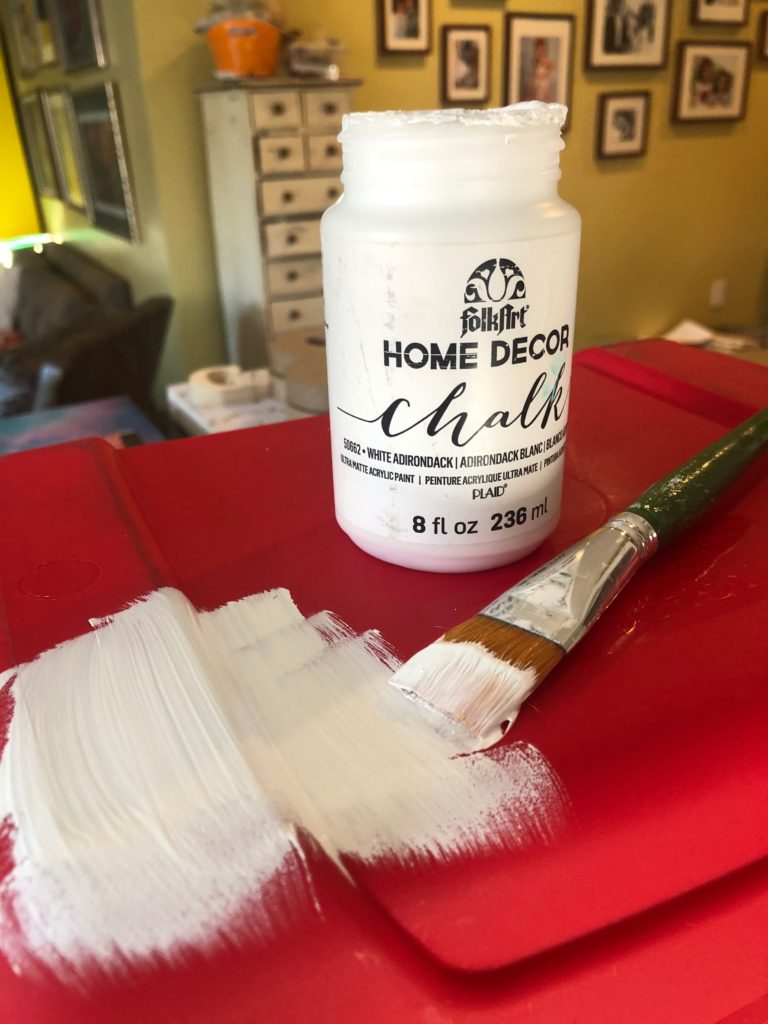
To prime the cooler, we used FolkArt Home Decor Chalk. I love this paint as a primer because it sticks so well to plastic. I used two coats because I rally wanted a good seal.
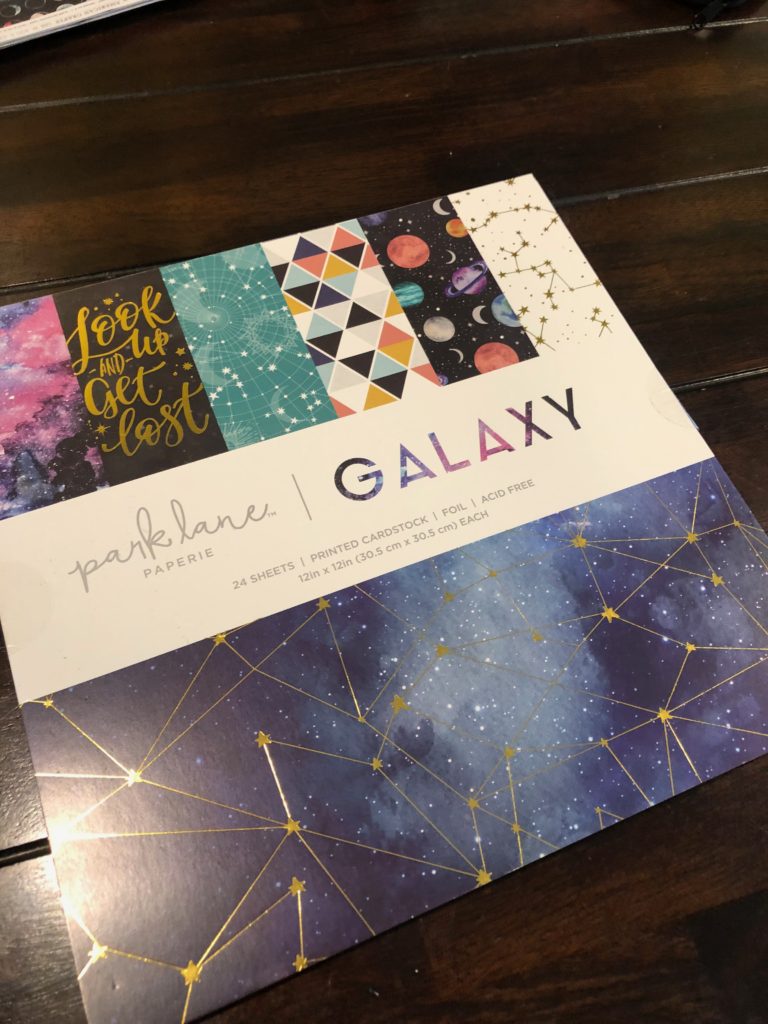
For this collage cooler, we used a bunch of galaxy papers from this paper pack and we also bought to loose scrapbook sheets.
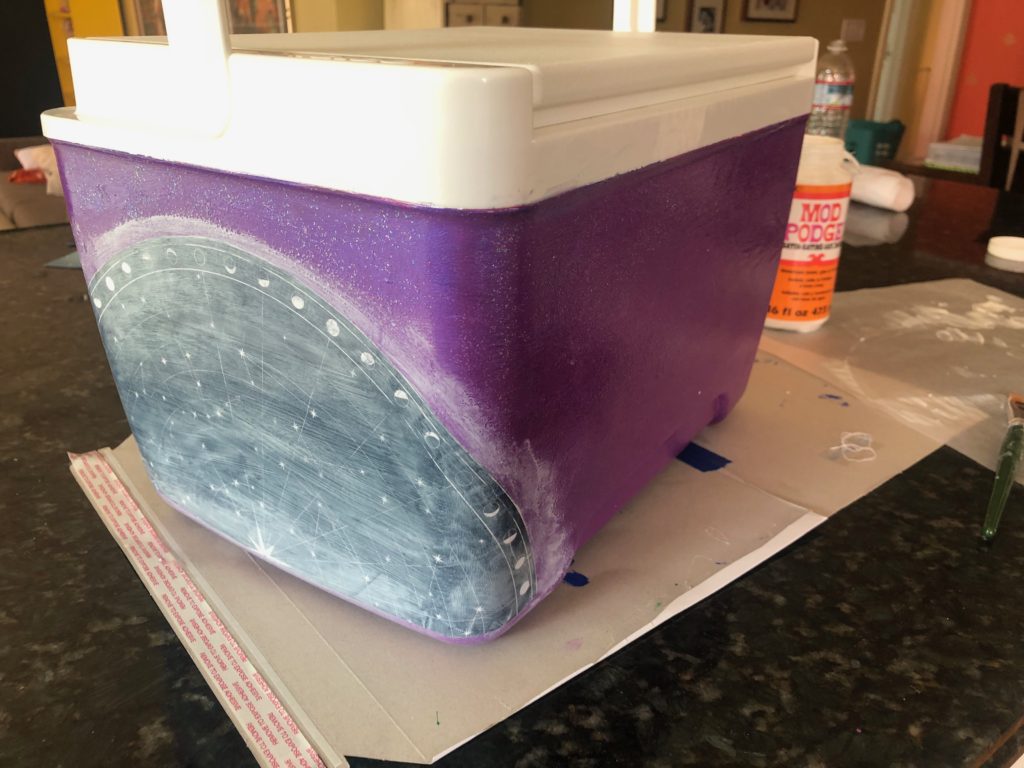
We layered a bunch of paint and Mod Podge Sparkle on to the cooler. In the video we go through all the steps.
Basically we did out painting in this order….. 1. Prime with Chalk (2 coats). 2. Paint with FolkArt Multi-Surface Purple Paint. (1 coat with touch-ups). 3. Paint 1 Coat of FolkArt Color Shift Purple. Tap off and texture the paint with a damp sea sponge (1 coat). 4. Seal the paint with Mod Podge Sparkle. (2 coats) 5. Add gold highlights with Mod Podge Mega Glitter (tap onto areas where you want glitter).
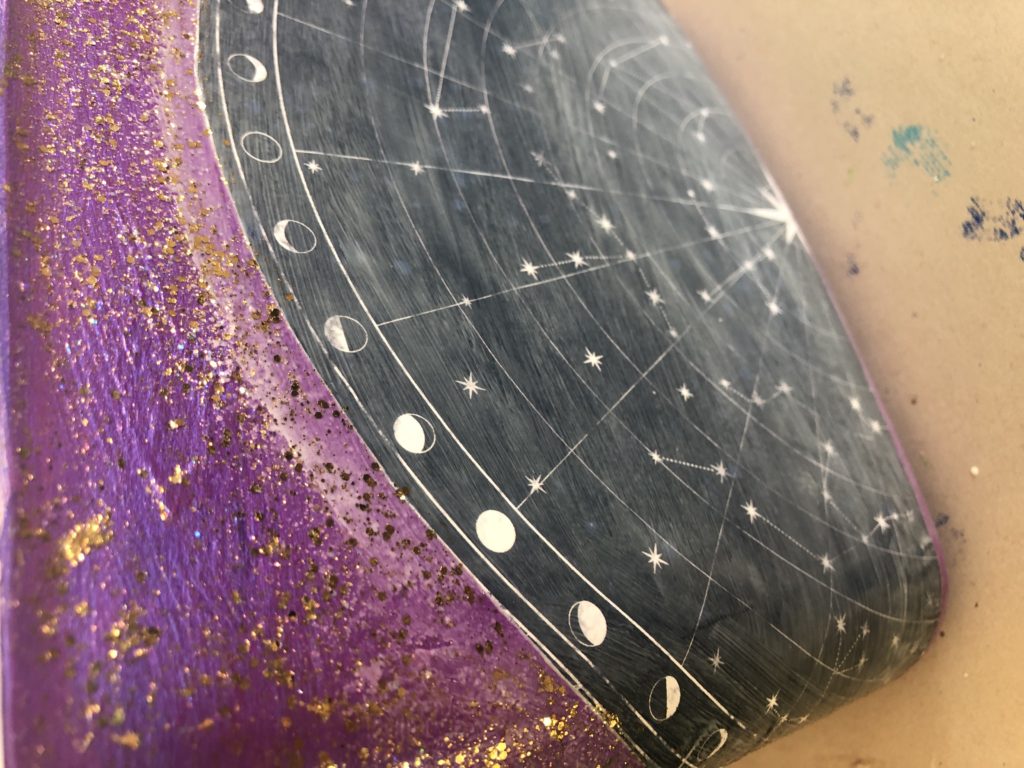
After the painting you are ready to collage all your papers with Mod Podge Gloss, Matte or Satin. Check the video for all the how to.
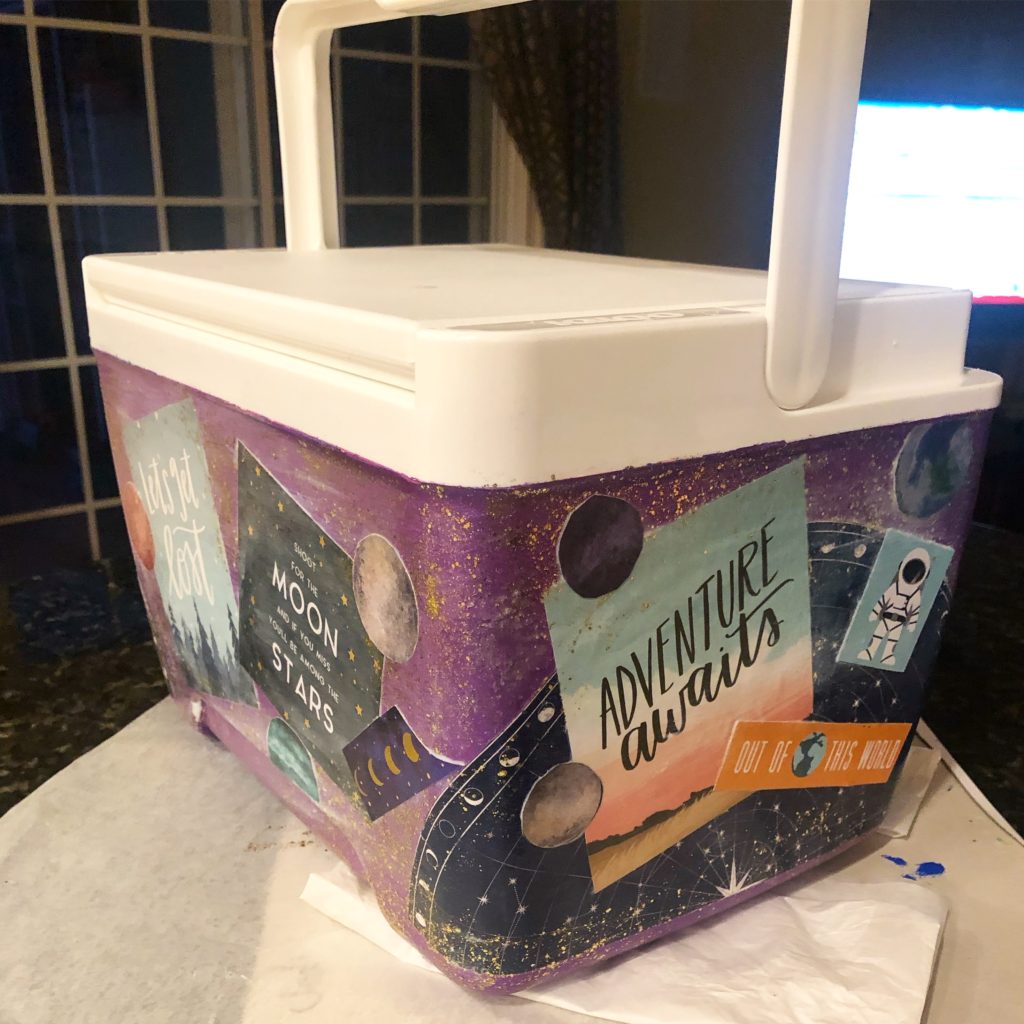
You can see how you can layer up paper design elements. Just keep adding Mod Podge to the paper and applying to the cooler.
Watch and Learn!
Thanks for stopping by! Like, PIN and Share!
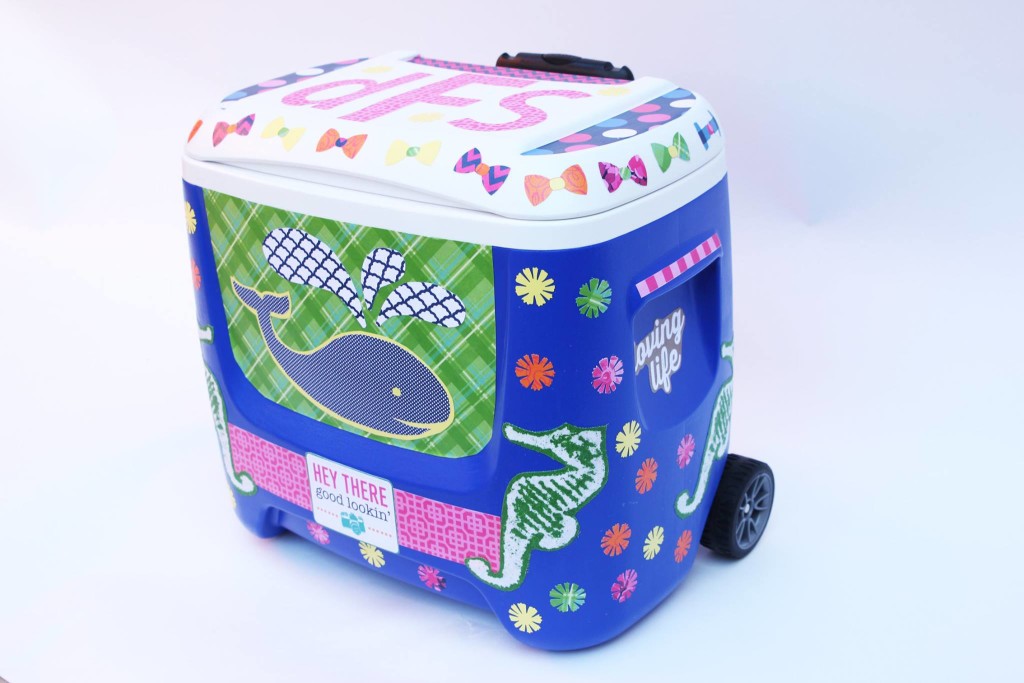
P.S. here is another cooler makeover we did.
Thanks for stopping by! Like, PIN and Share!
