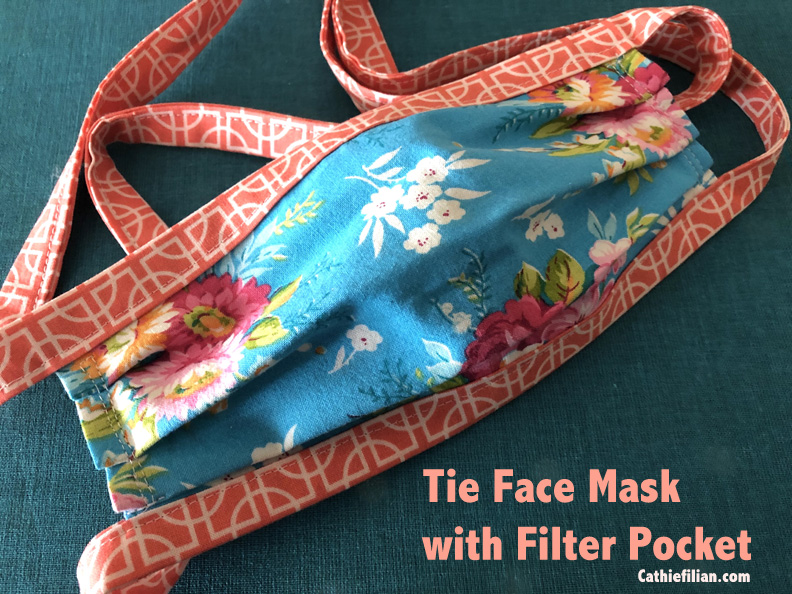
Hello! Today, I’m sharing a pattern I made for creating a face mask with ties and a pocket filter. I adapted this pattern from a video tutorial made by a member of the Stitched Together group on facebook. I’ll be linking to the original post as soon as I can find it.
I know there is much debate about sewing masks. I’m siding on the “debate-side” that the docs and nurses are asking for them…… so I’ll make some. Many first responders (fire/police/etc) are also asking for them.
This mask is made with 2 layers of 100% tight woven cotton fabric. It can be worn over an N95 mask or used with a filter layer. This size fit my husband, me and my two daughters. It can be worn to “keep your hands off your face” or to help with spreading/catching germs. These are also good for people who might be waiting for testing.
So here we go…… This pattern works great for beginner sewers too.
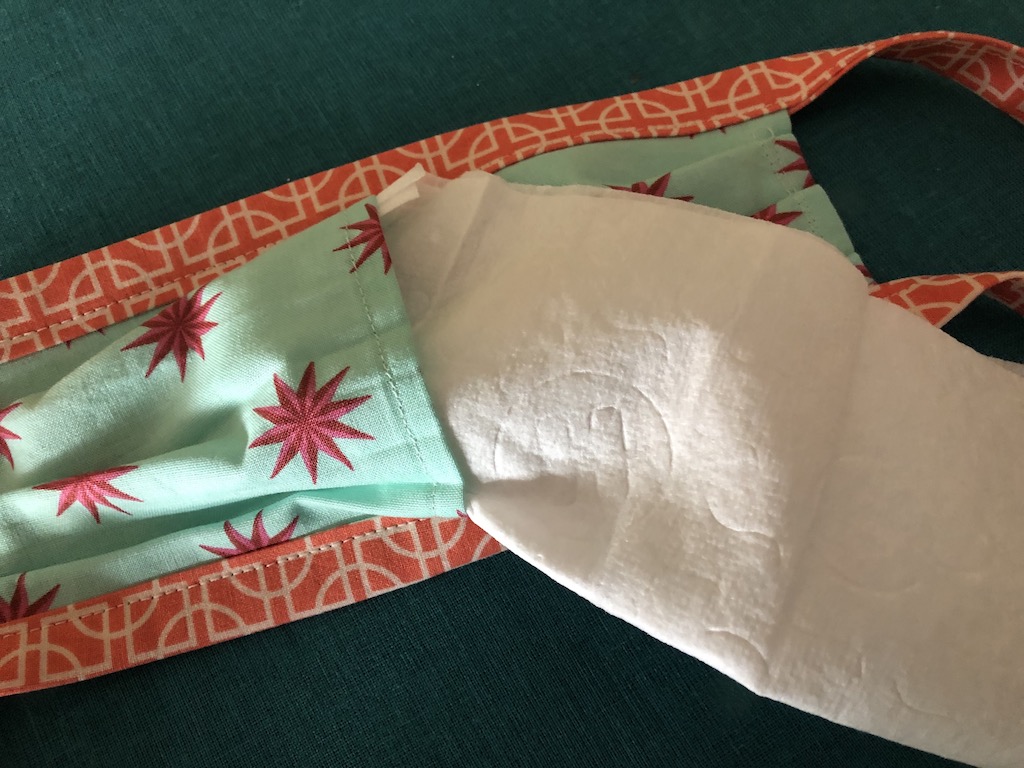
This is the backside with the filter pocket.
Before you begin wash all fabrics in hot water. I used non-scented/no-dye detergent because that is what I have at home. Clean your hands with soap and water. Clean your work space with spray cleaner. For personal use after sewing you are probably good to go or you can wash in hot again. For donation, please check before-hand to see if they prefer washed masks or if they will be washing.
For the two layers you will need to cut one of each as stated above. They can be the same print or mixed. I used 100% cotton with a tight weave.
FOR A MED/LARGE Mask:
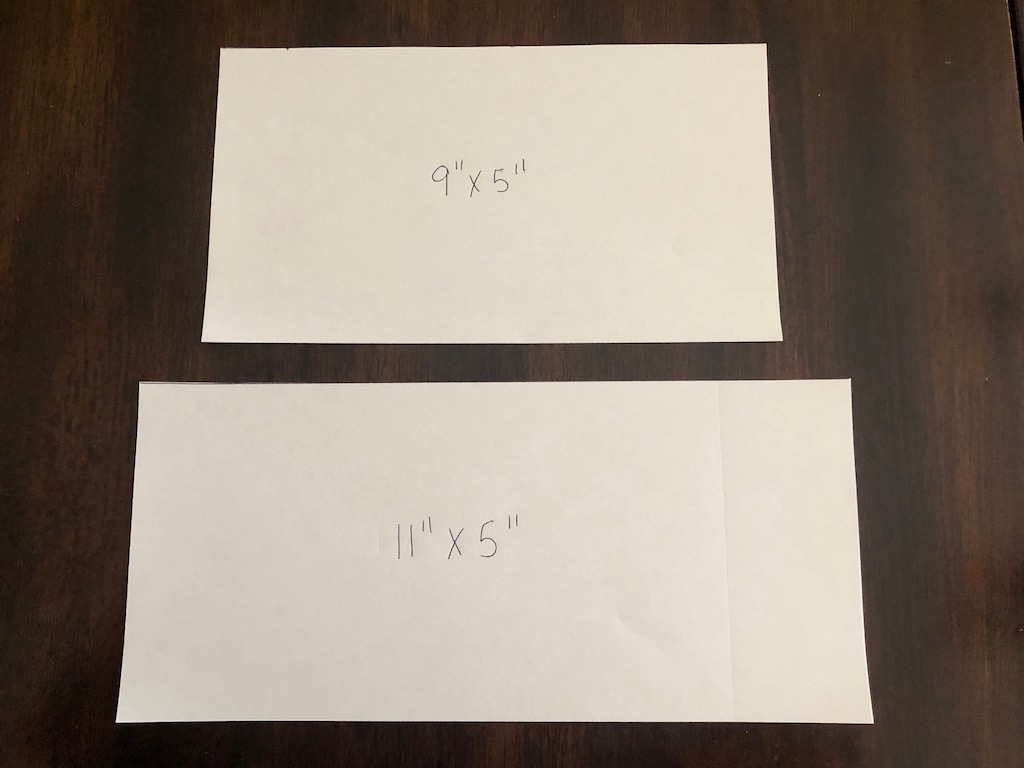
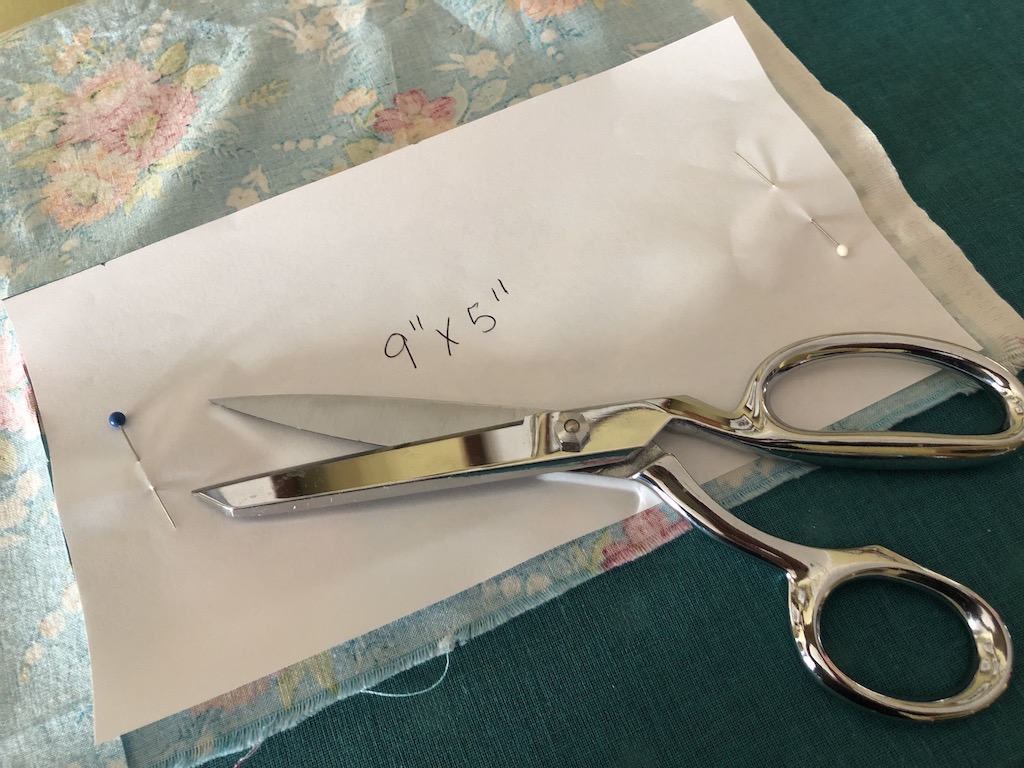
1- 9″ x 5″ = Front layer
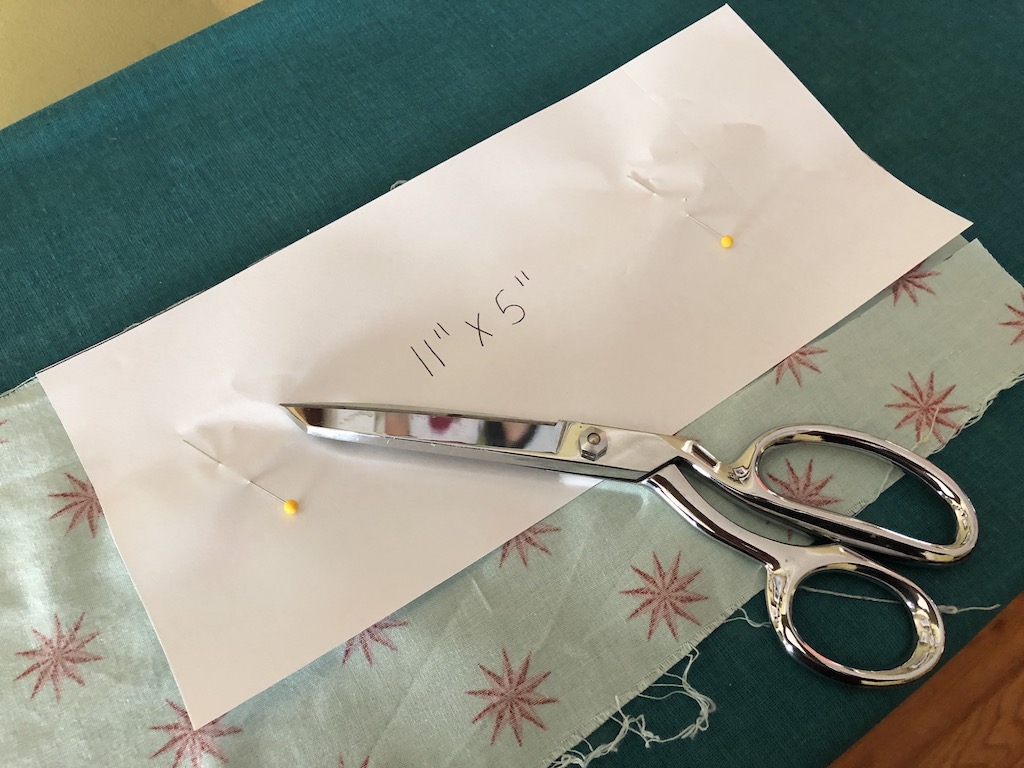
1- 11″ x 5″ = Back Pocket Layer
LARGER: To make a larger size mask, cut your pieces 7″ instead of 5″. I did this for a few doctor friends who have larger heads. Also this gives a little more space for going over a mask.
SMALLER: To make a smaller or more kids size mask, cut your front layer 8″ x 4.5″ and your back pocket layer 10″ x 4.5″. This fits a little more comfortable on smaller faces.
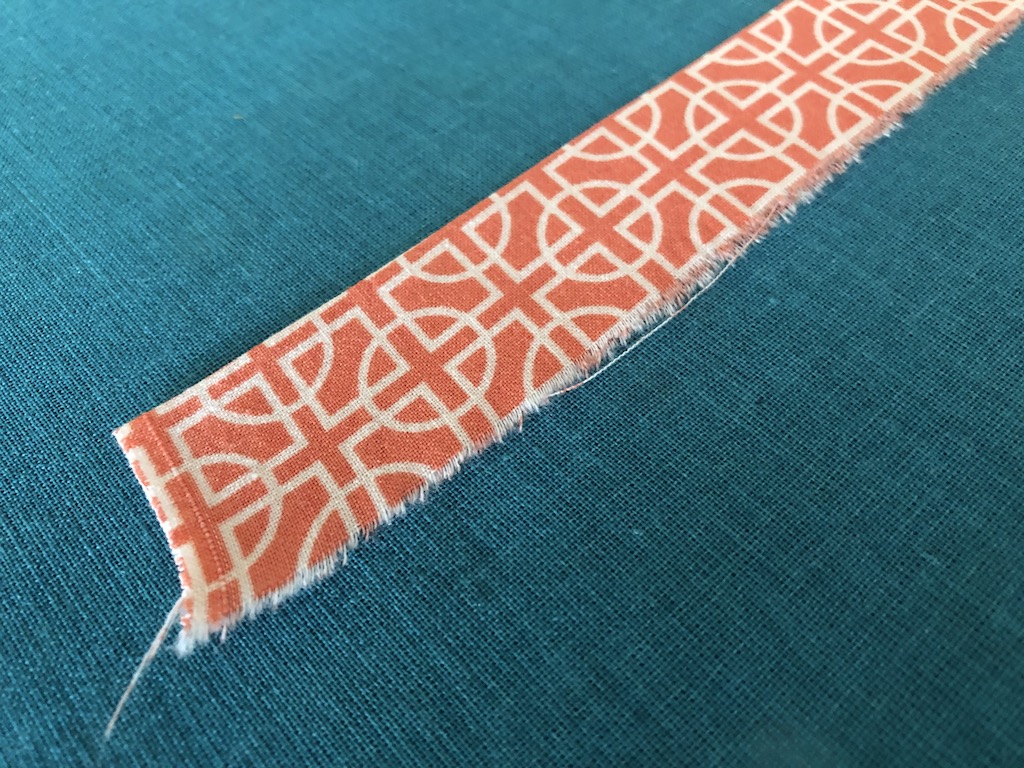
For the ties you will need to cut or tear strips. I personally like to tear them so they are straight. (plus it is way faster) You will need 2 – 45″ x 2″ strips.
2 – 44″ x 2″ = Ties
Tearing creates a straight edge.
I’m starting with the back pocket filter. Cut your fabric.
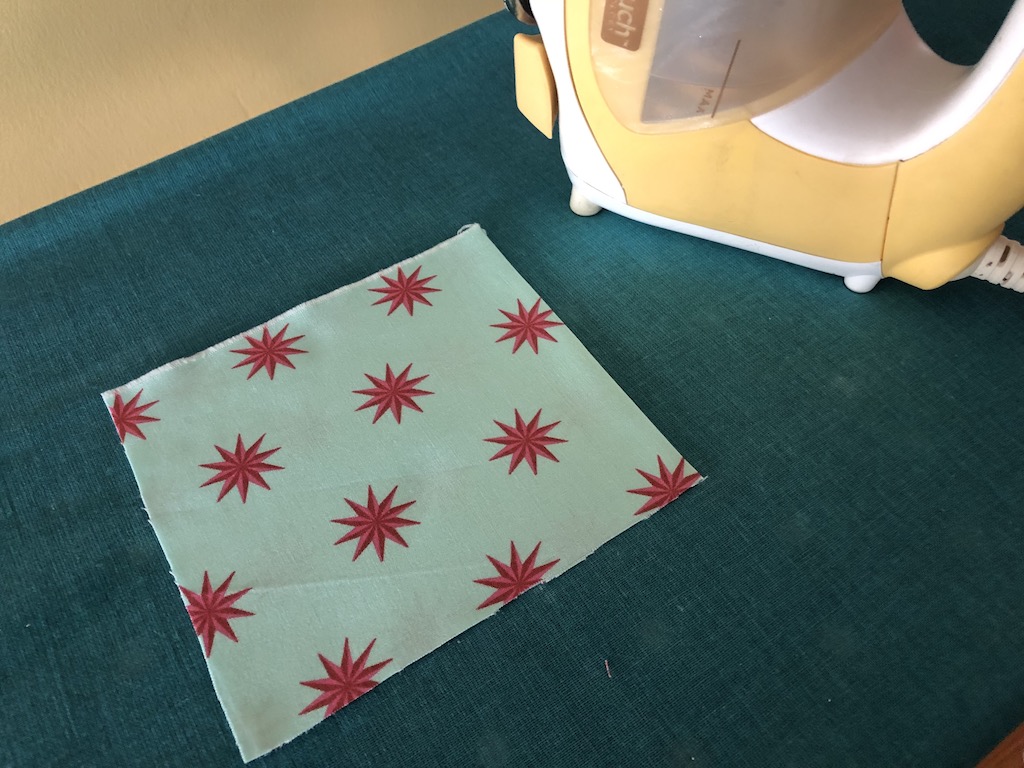
Iron the piece in half.
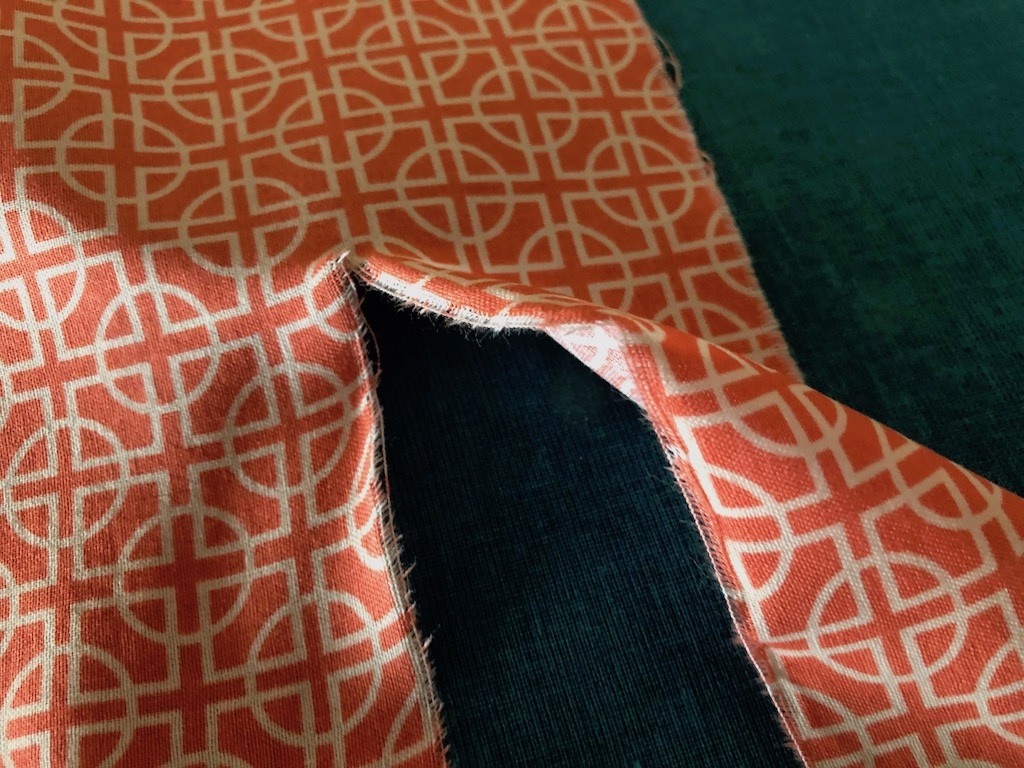
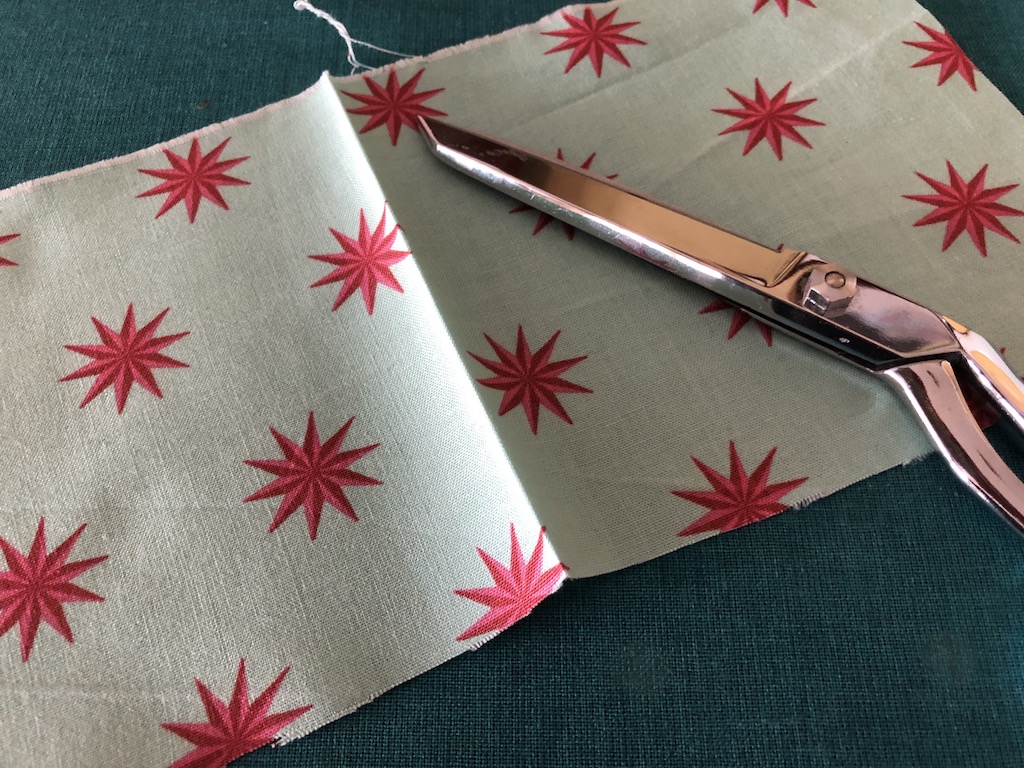
Open the piece up and cut on the pressed line.
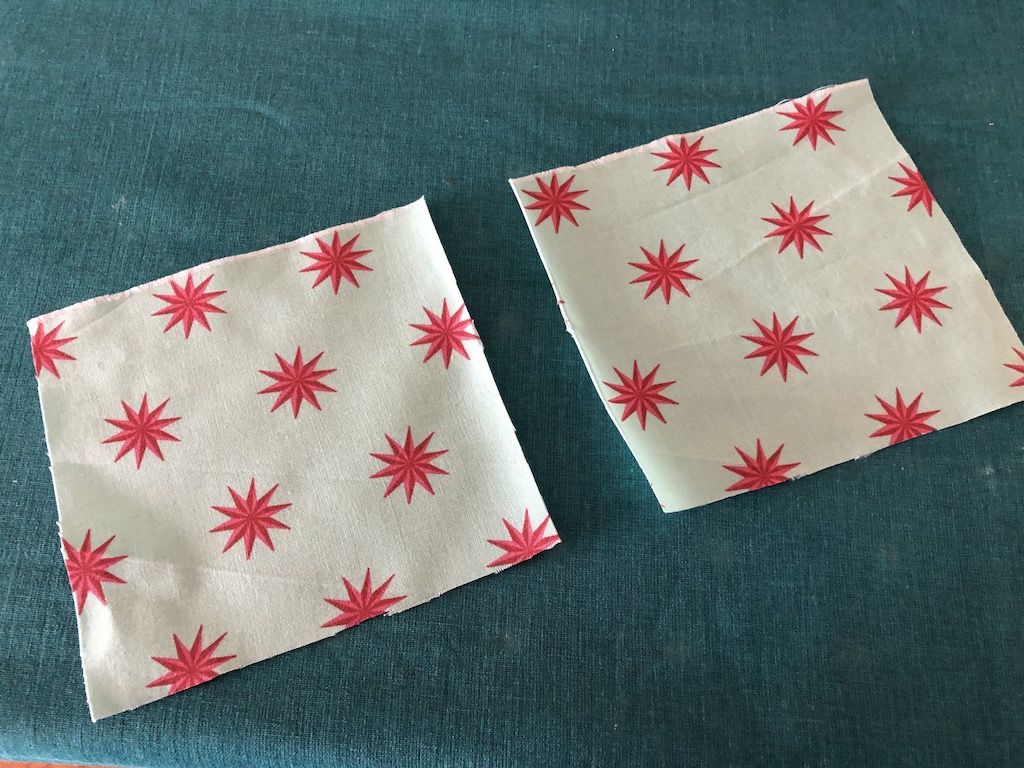
Now you have two pieces. Next, you will hem the inside pocket edges.
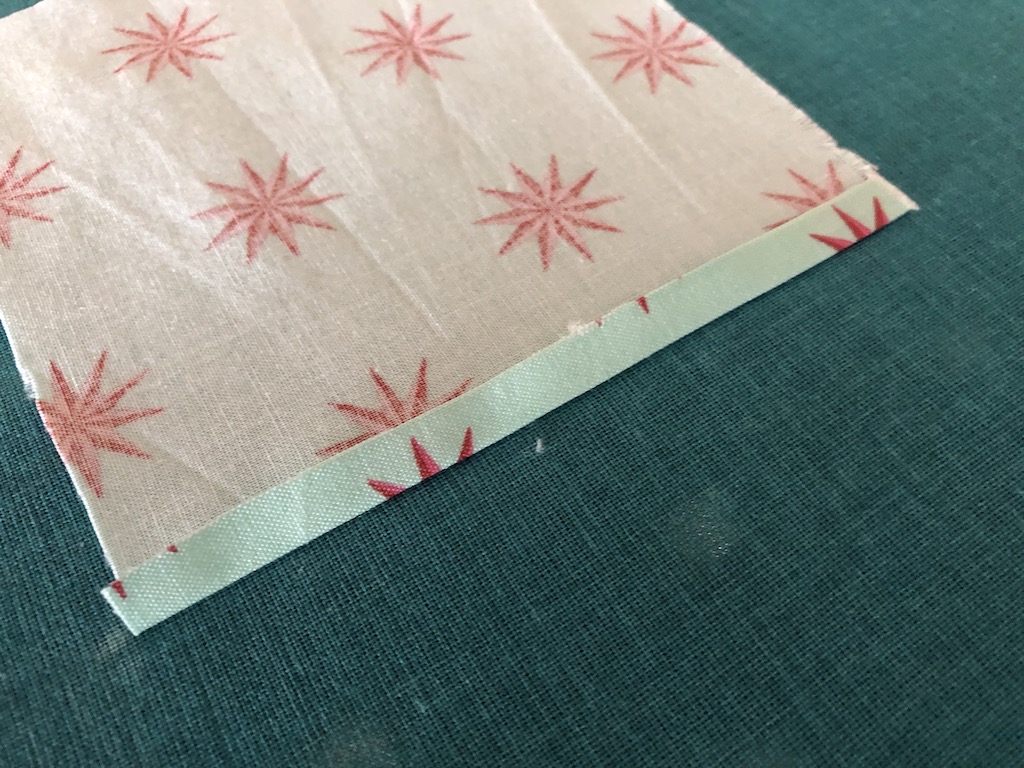
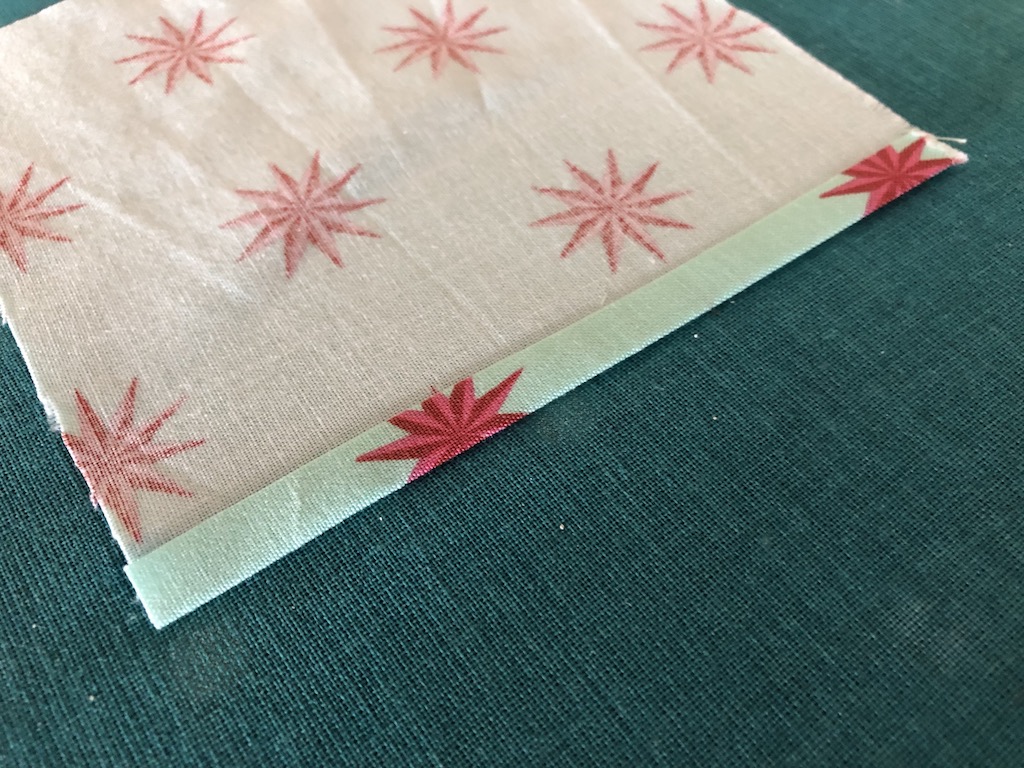
Fold and press a small section (about 1/4″) towards the inside of the pocket piece.
Repeat this step one more time so you have no raw edge.
Do this for both sides.
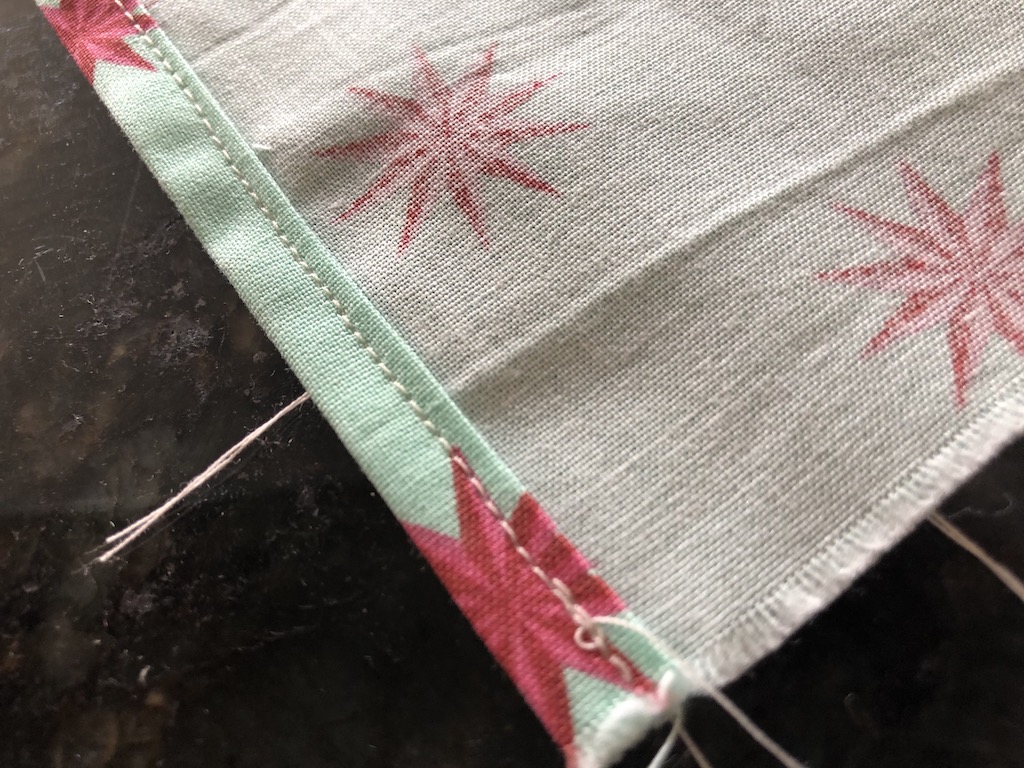
Stitch the hem in place. Sew down the inside edge.
Do this for each pocket piece.
Next, cut the front of the mask.
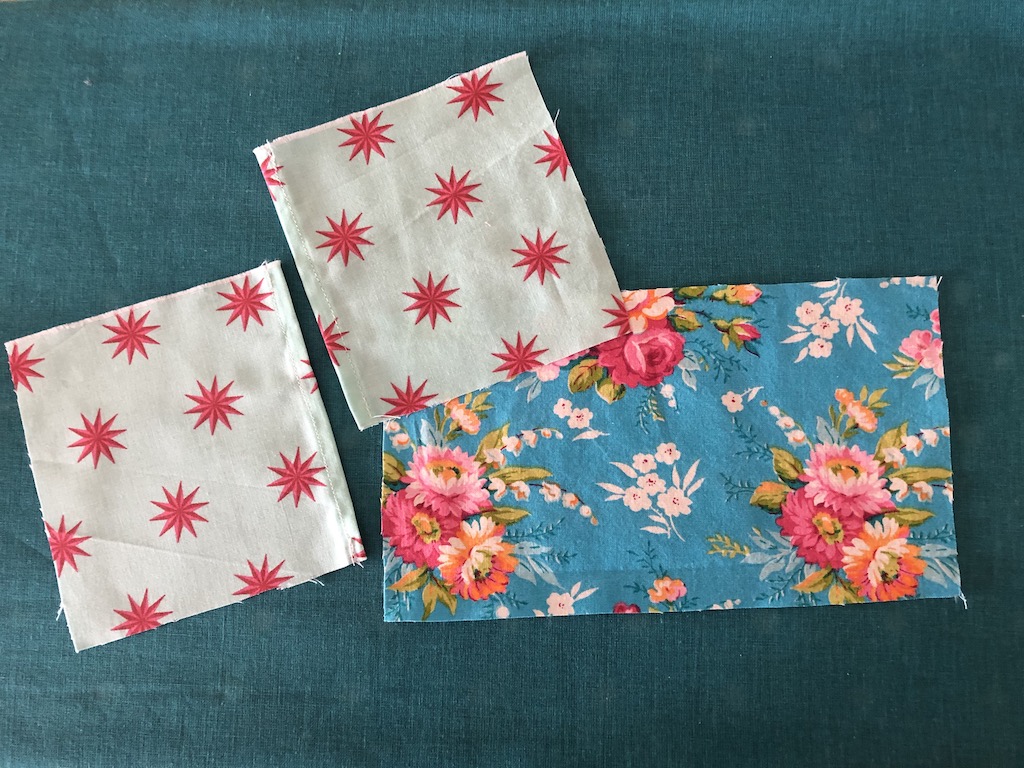
Now you have the front piece and 2 back pocket pieces.
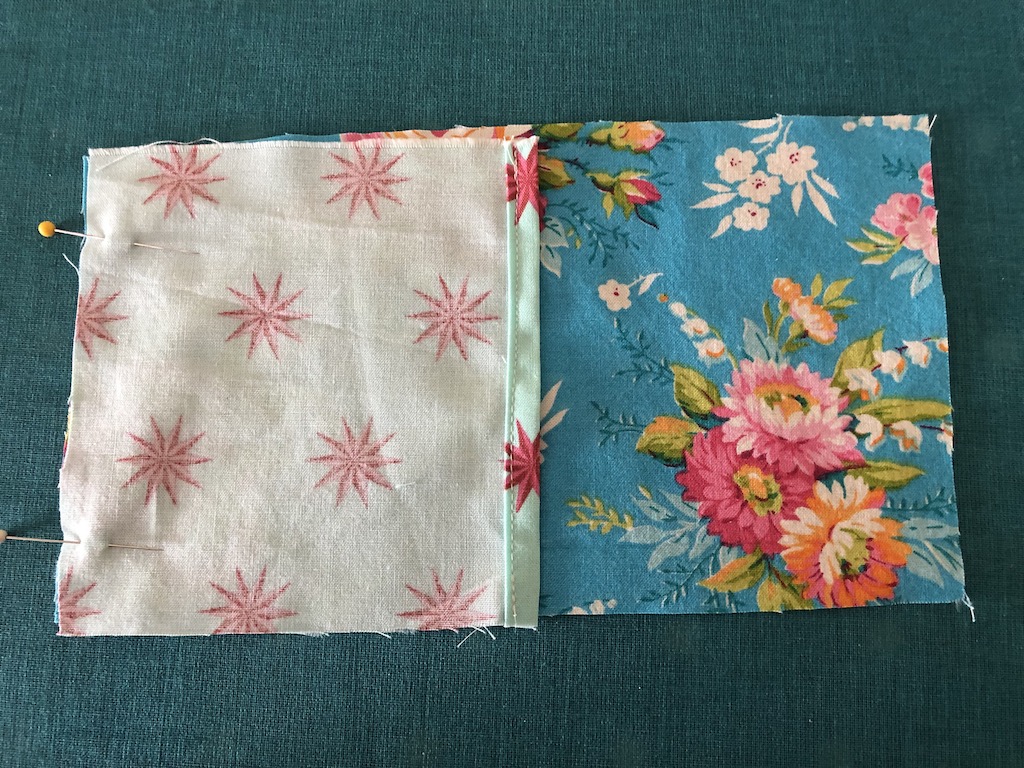
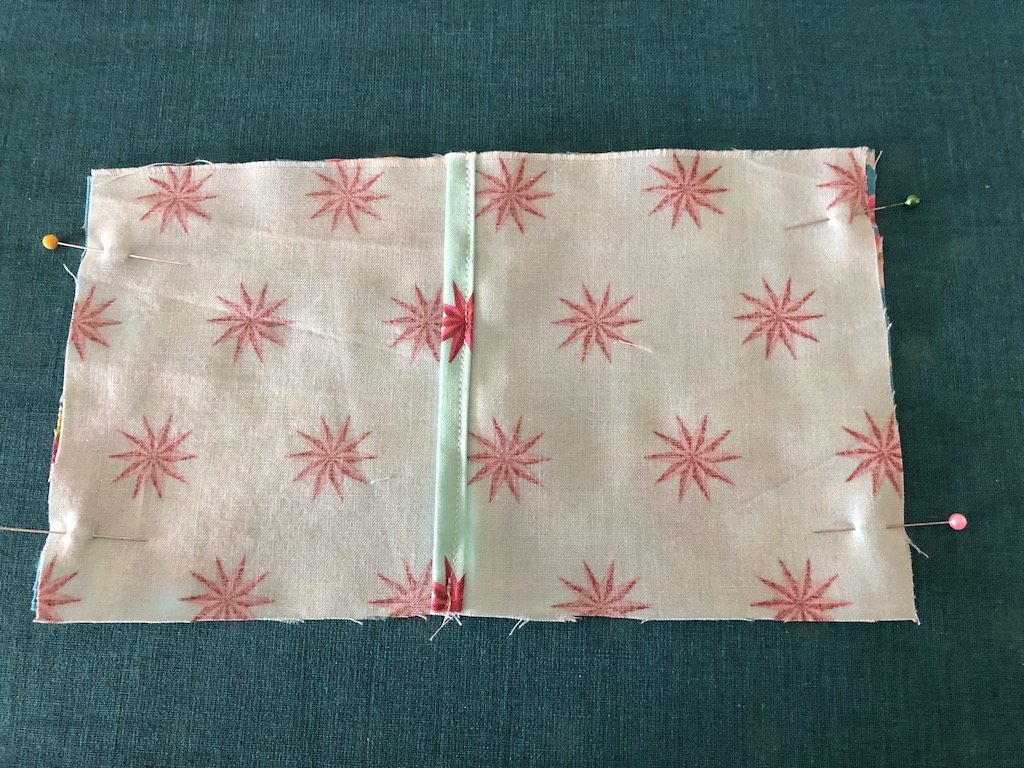
Begin on one side and pin the side raw edges together. You will place your fabrics right-side to right-side (print to print).
Repeat on the other side. Make sure your back pocket pieces overlap. That is what creates the pocket.
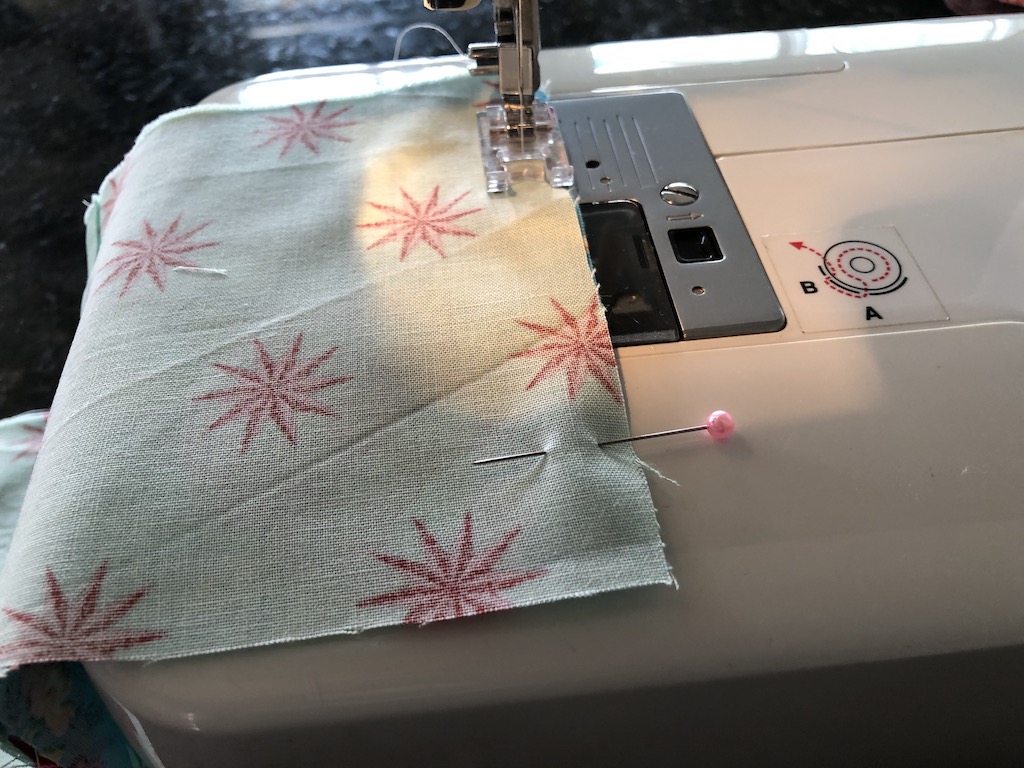
Sew the side seam. I used about a 1/4″ seam allowance. (distance from the raw edge)
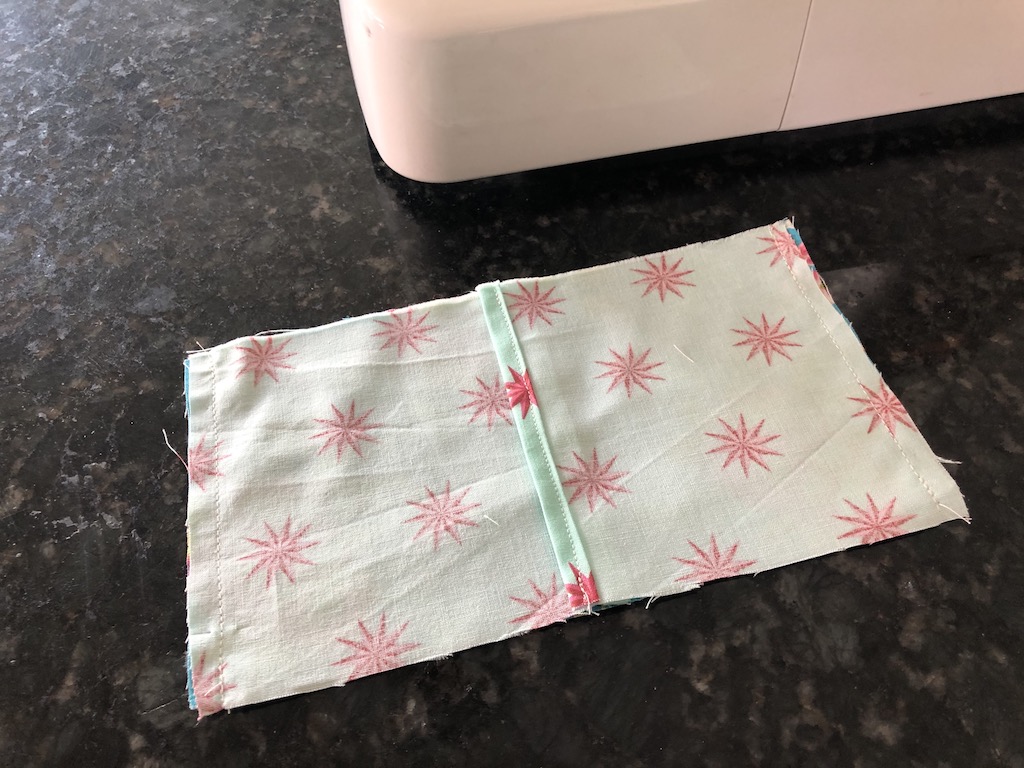
Repeat on the other side. Turn your piece inside out. Iron if needed.
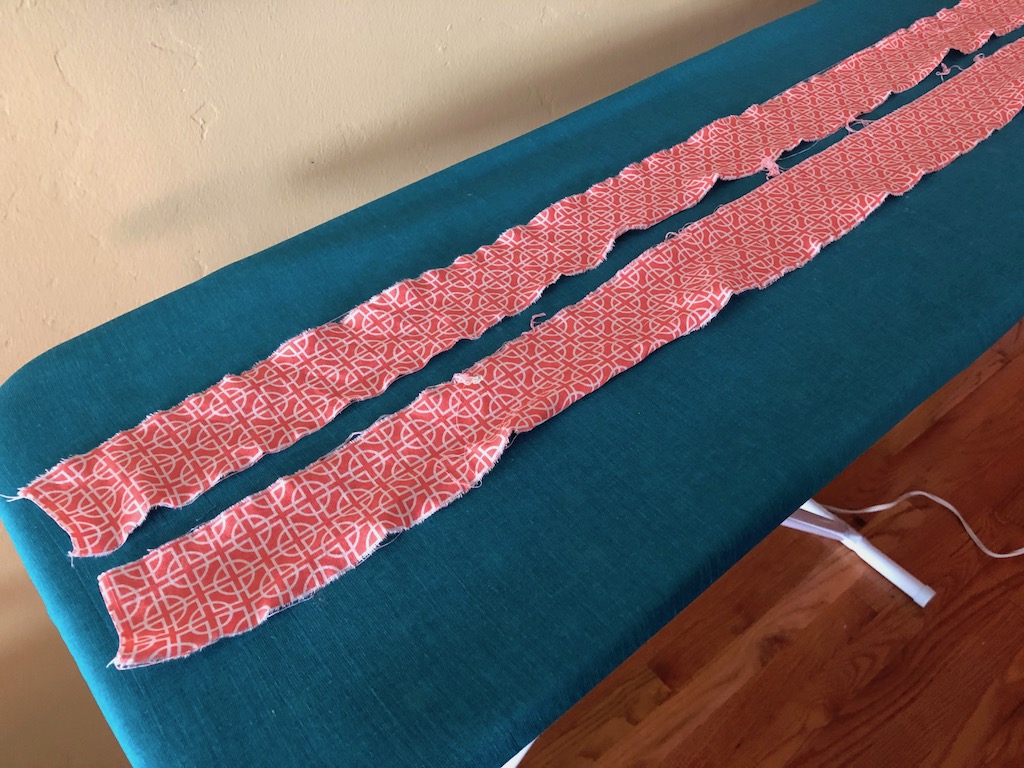 Prep your strips. For the ties you will need to cut or tear strips. I personally like to tear them so they are straight. (plus it’s way faster) You will need 2 – 45″ x 2″ strips.
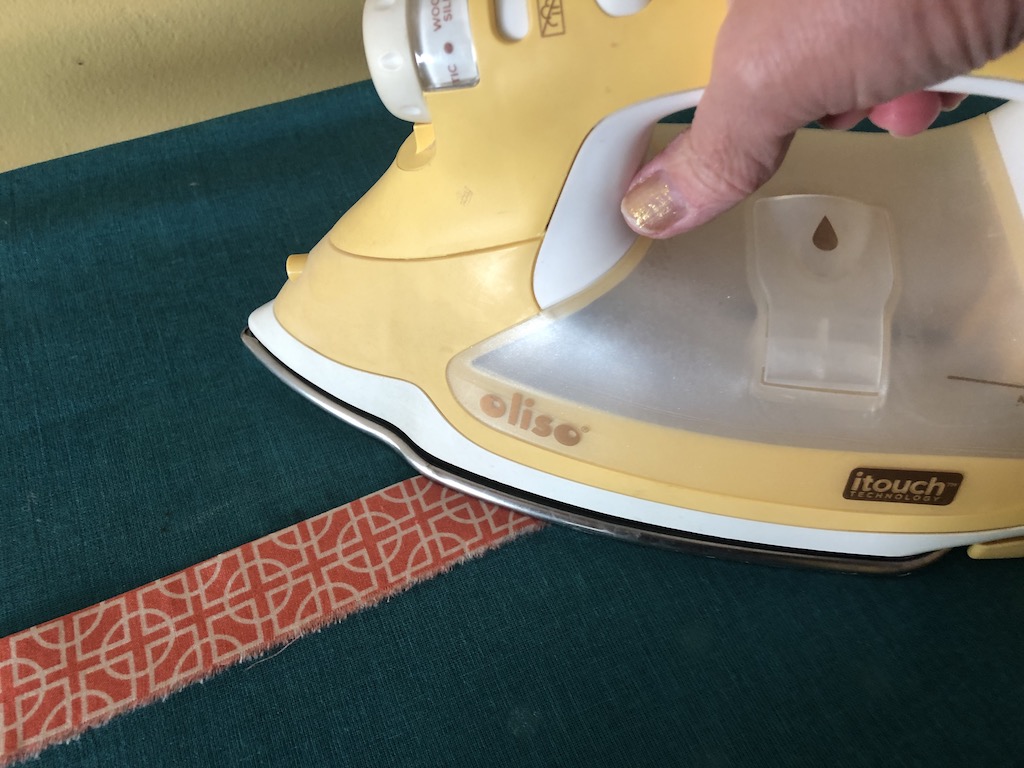
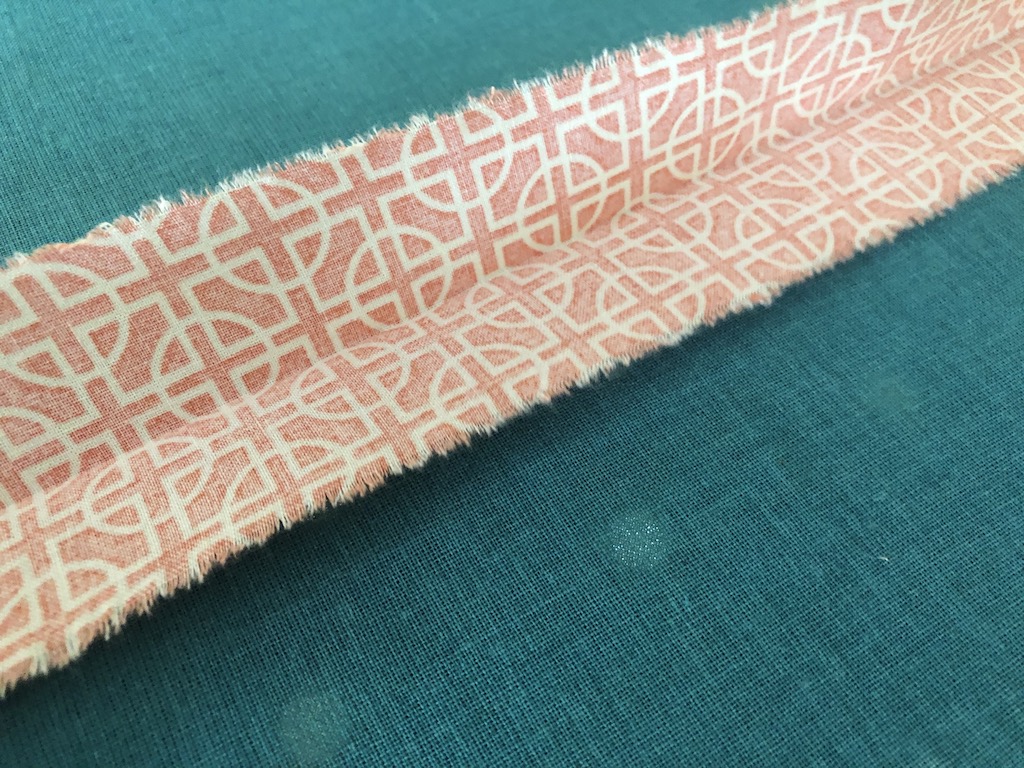
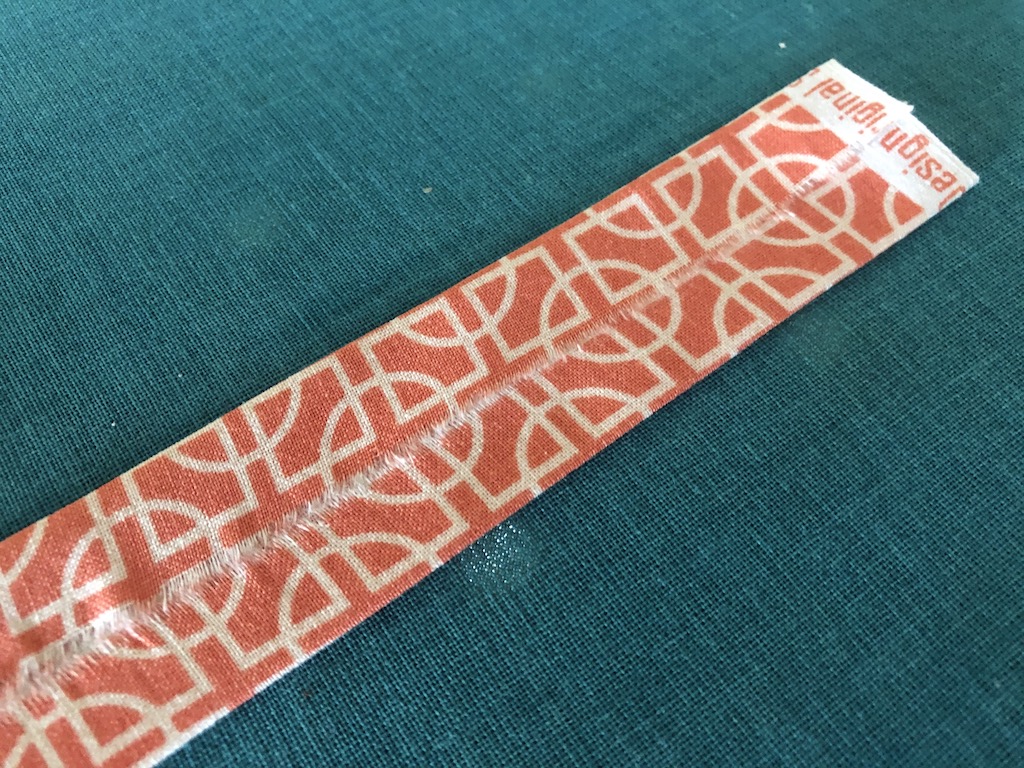
Fold the strips in half and press.
Open the pressed and folded tie up.
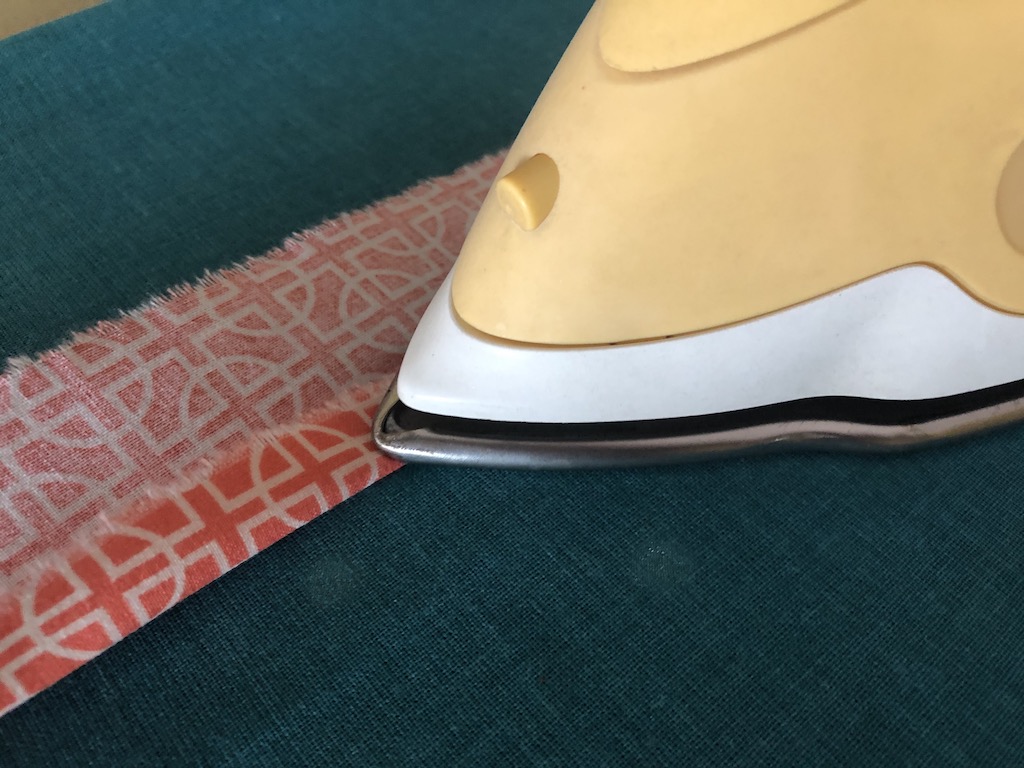
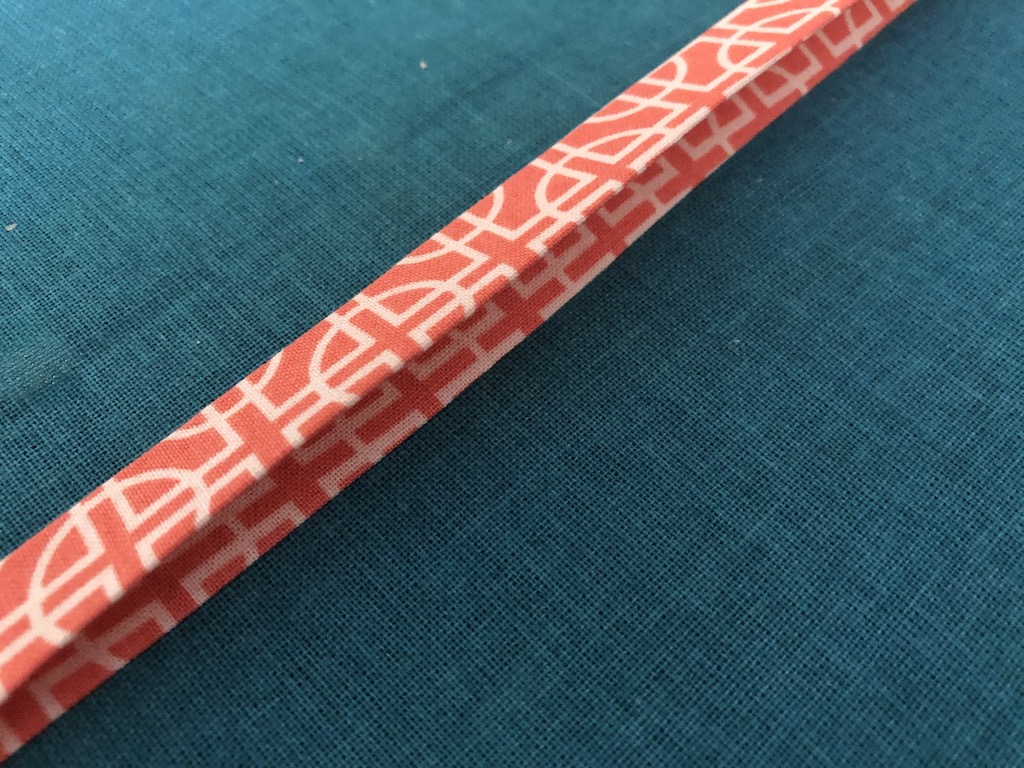
Working on one side, fold and press the edge to the center.
Repeat on the other side.
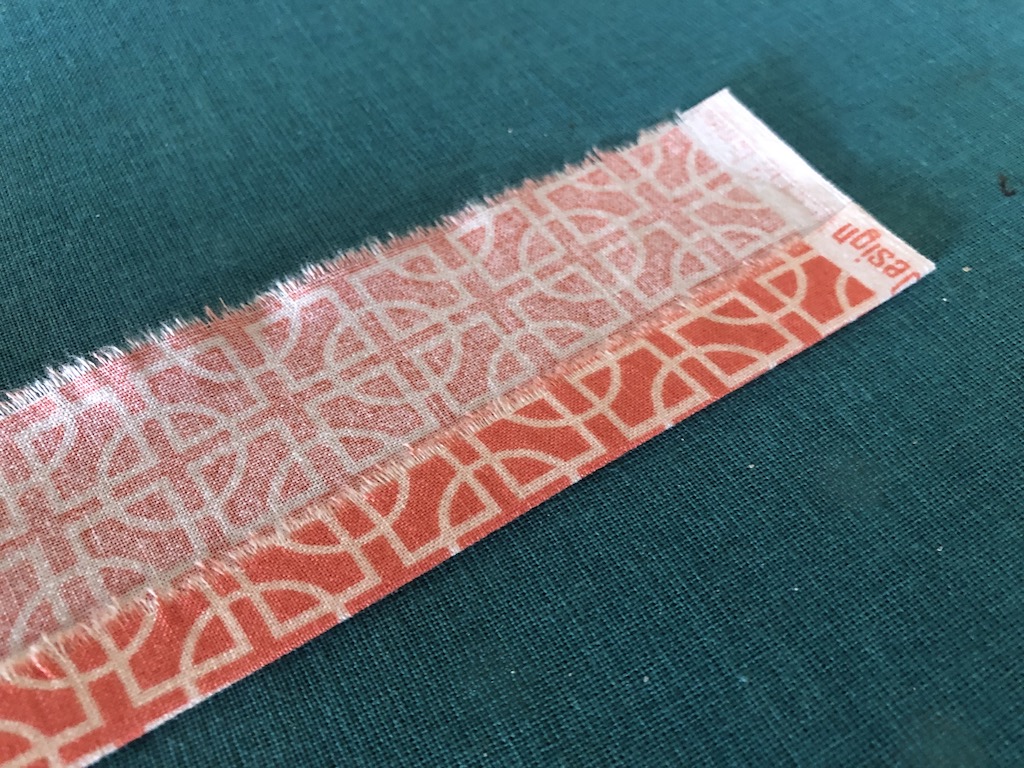
Fold the tie one more time. All the raw edges are now on the inside. Now we have a tie that won’t ravel.
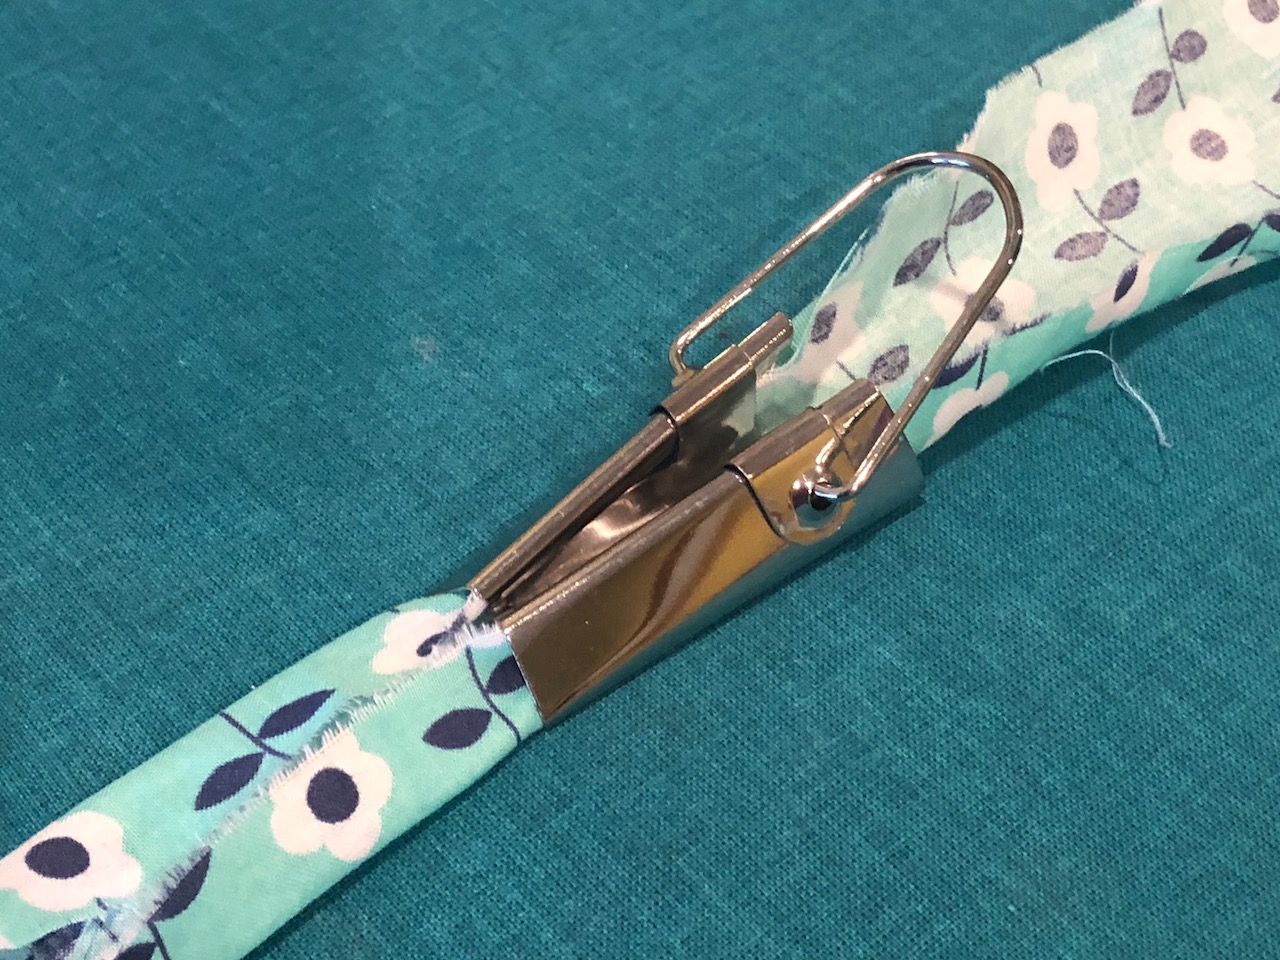
TIP:: You can use a bias tape maker to create the ties. This is much faster. I have several in many sizes.
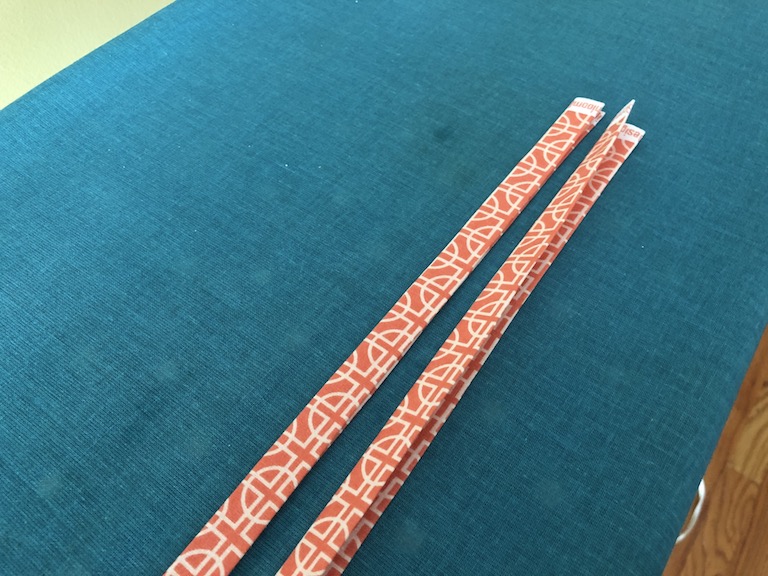
Create two ties with the same iron technique.
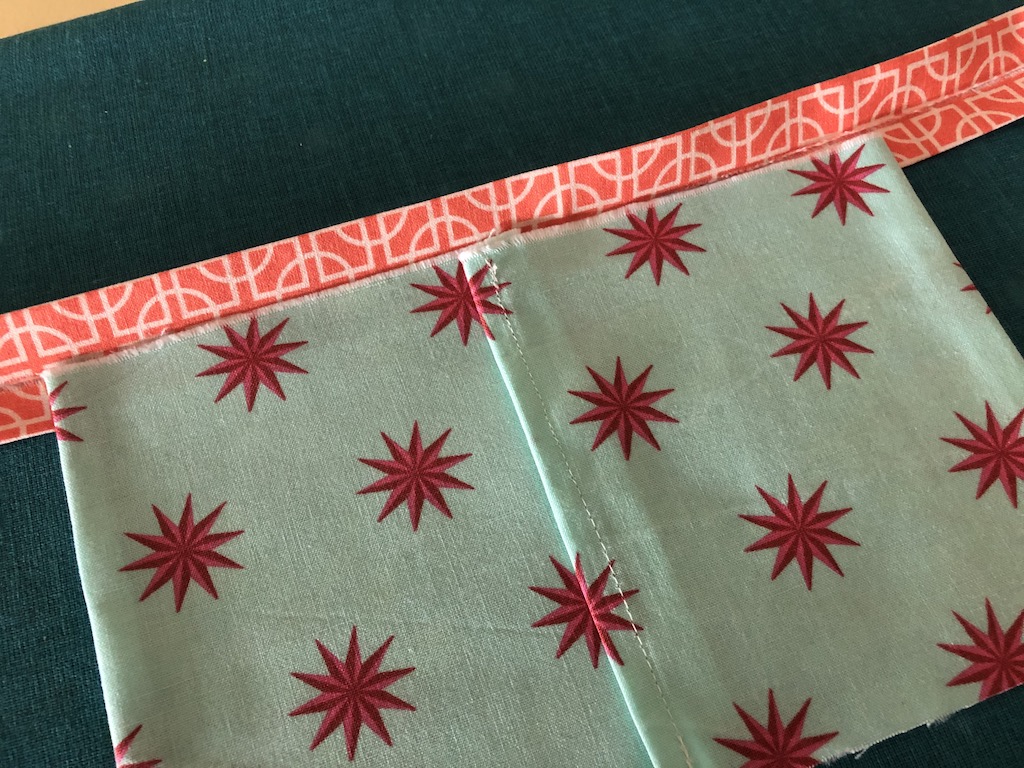
Now we are working on the top edge of the mask. Open the fabric tie and find the center. Sandwich the top-edge of the mask in between the layers on the ties.
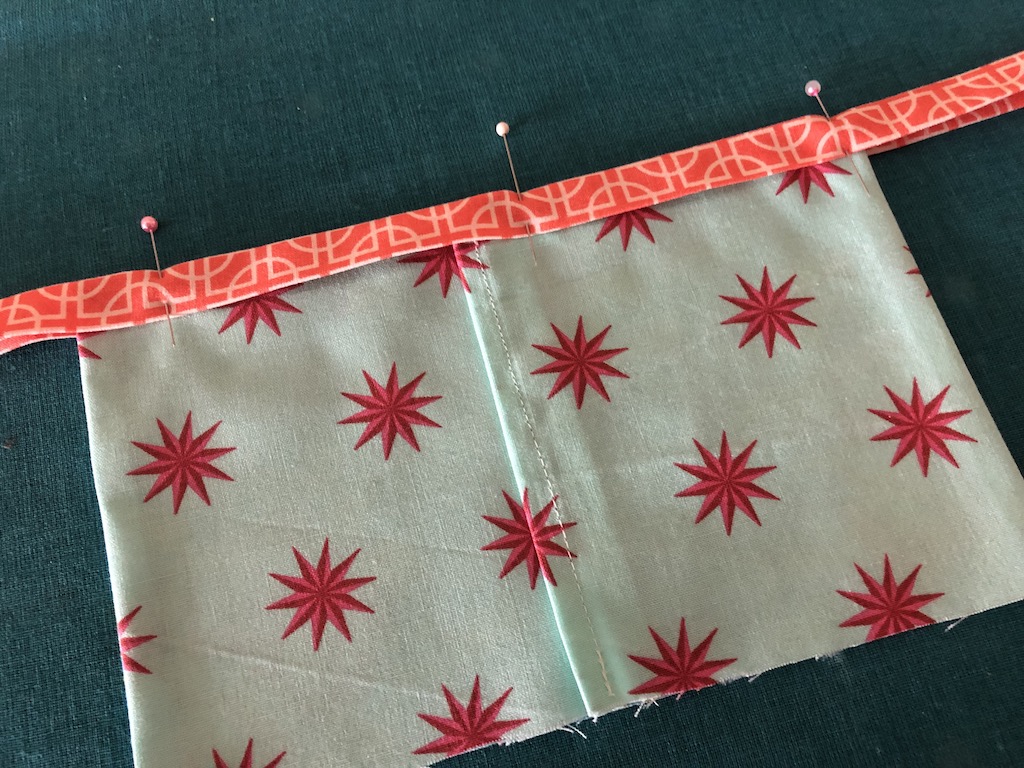
Fold over the tie and pin in place.
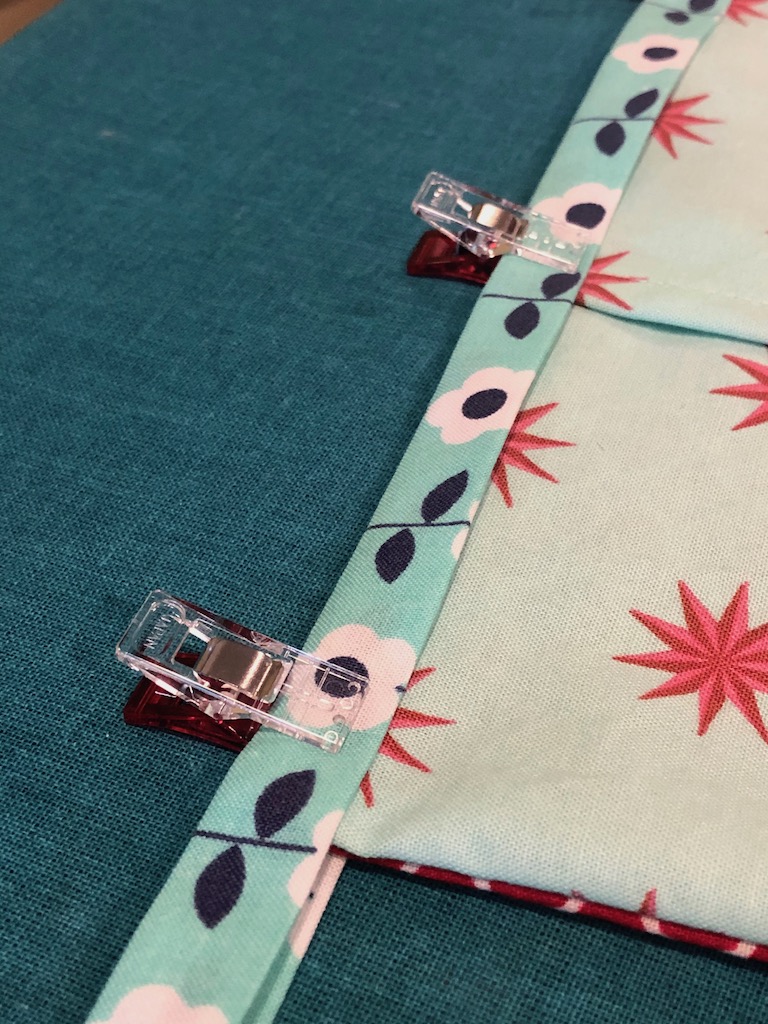
TIP:: I like to use sewing clips because they are faster than pins.
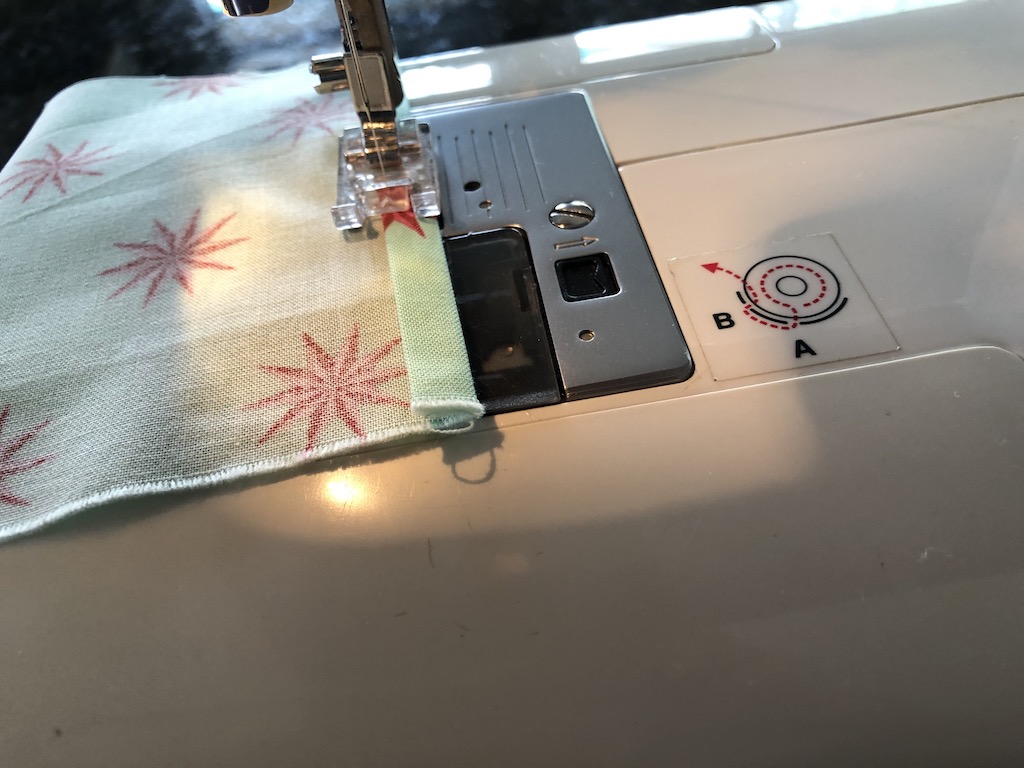
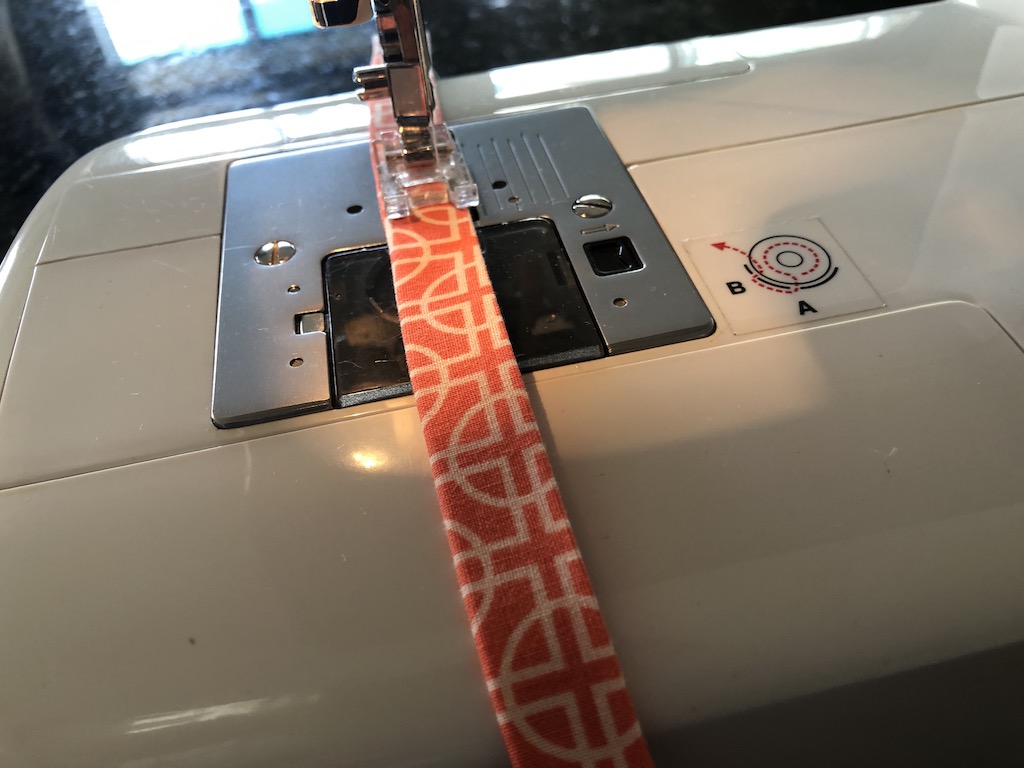
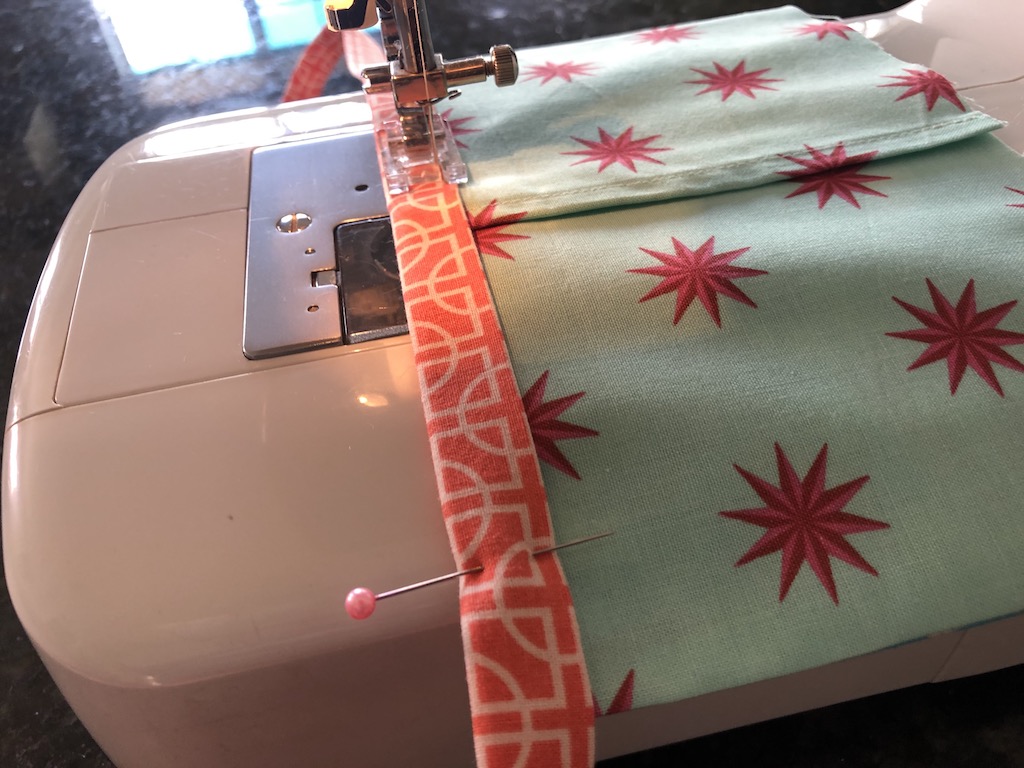
Start sewing on the end of the tie. You will be sewing the tie closed so make sure you are sewing the open side closed and not sewing on the folded edge.
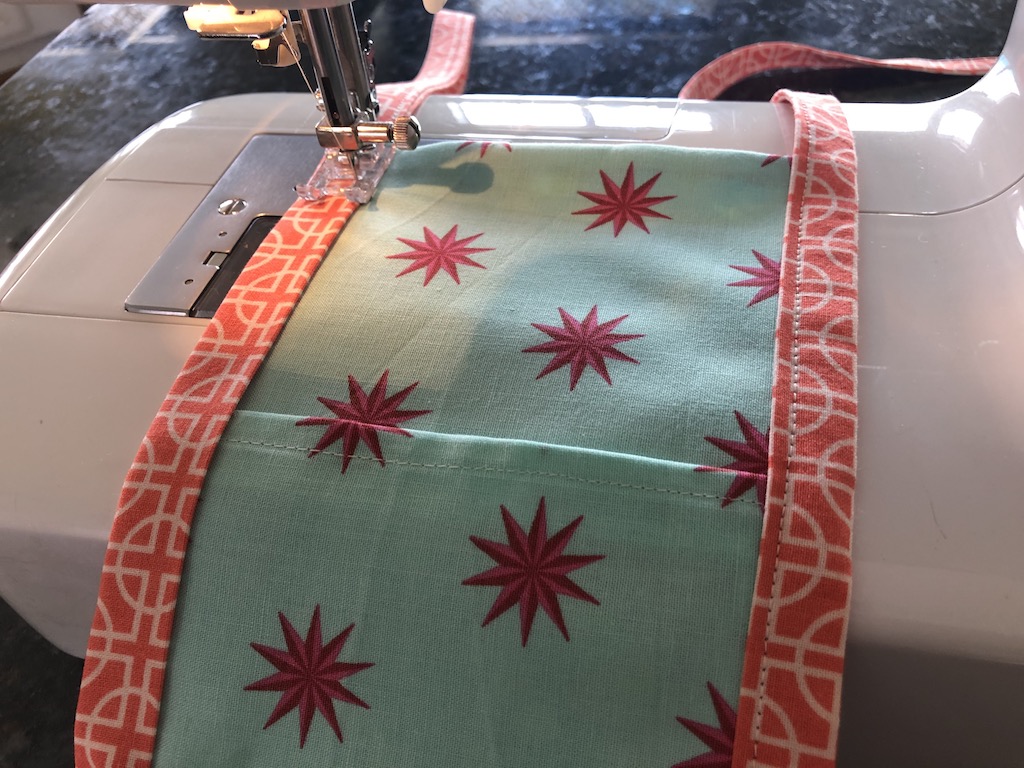
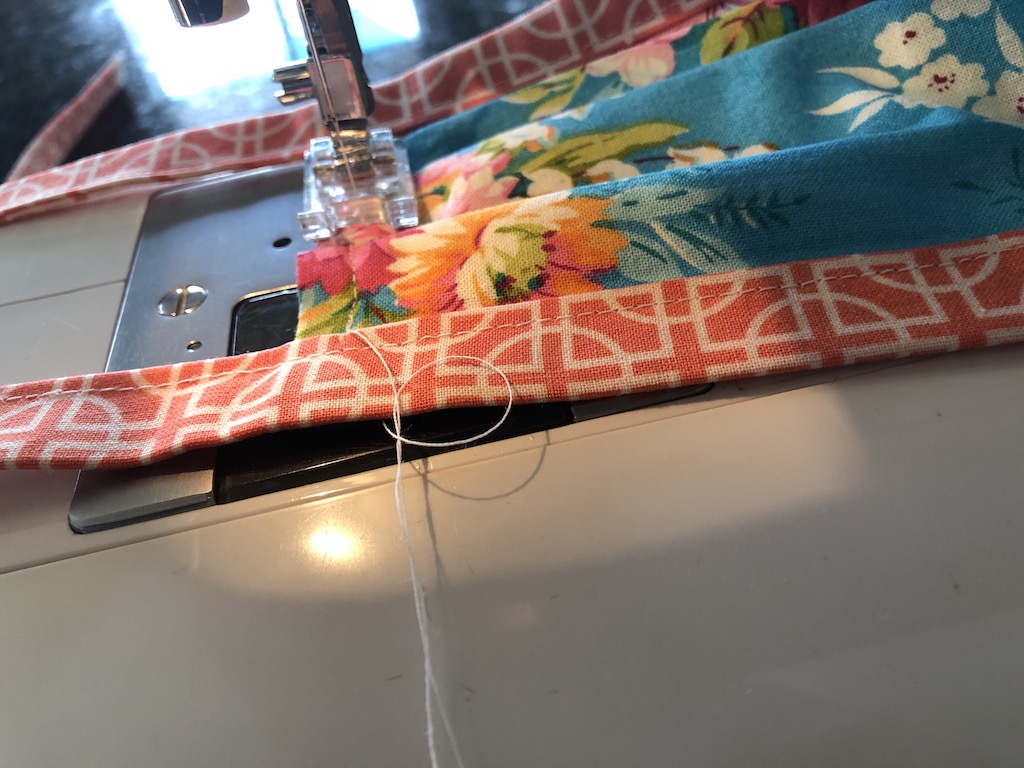
Continue sewing.
Repeat on the other side. If your fabric was cut or torn with the selvage edge on the ends then you don’t need to finish the ends. If you have a raw edge then stitch across the end to so it won’t ravel.
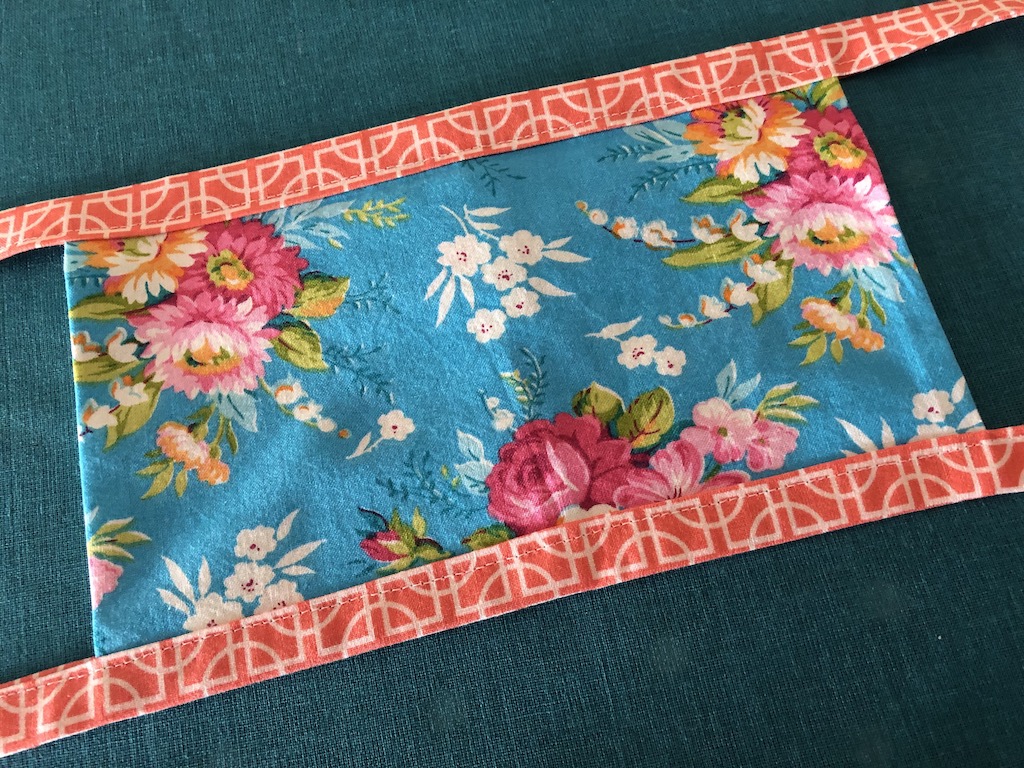
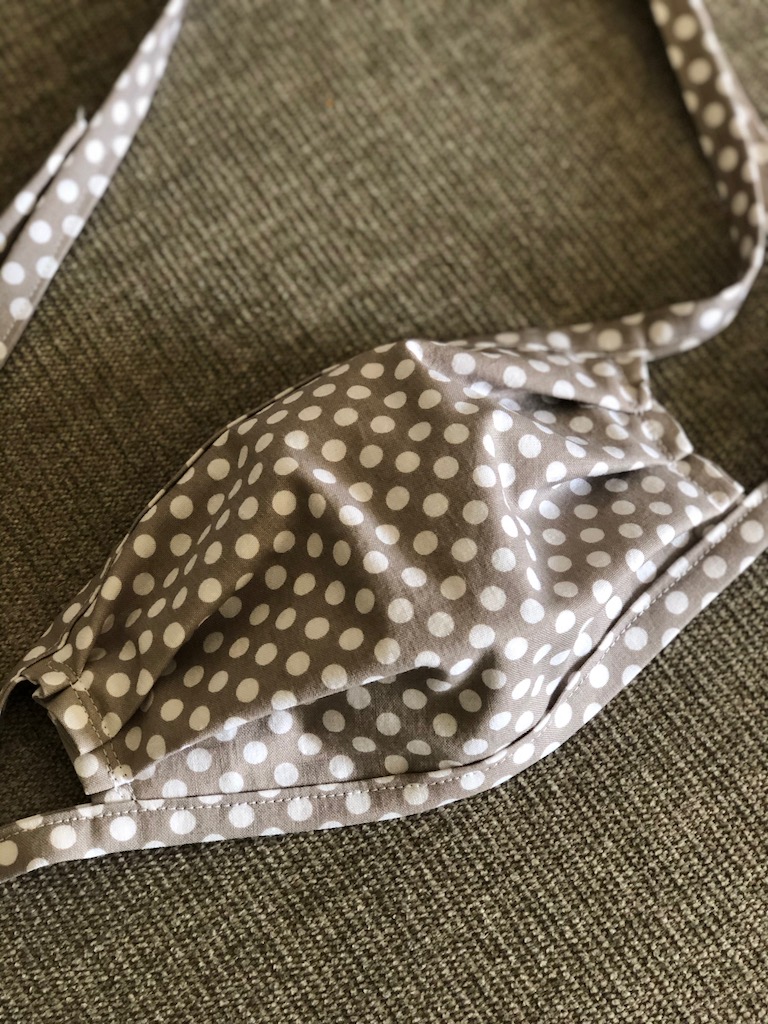
This is the front of the mask. Ready for pleating.
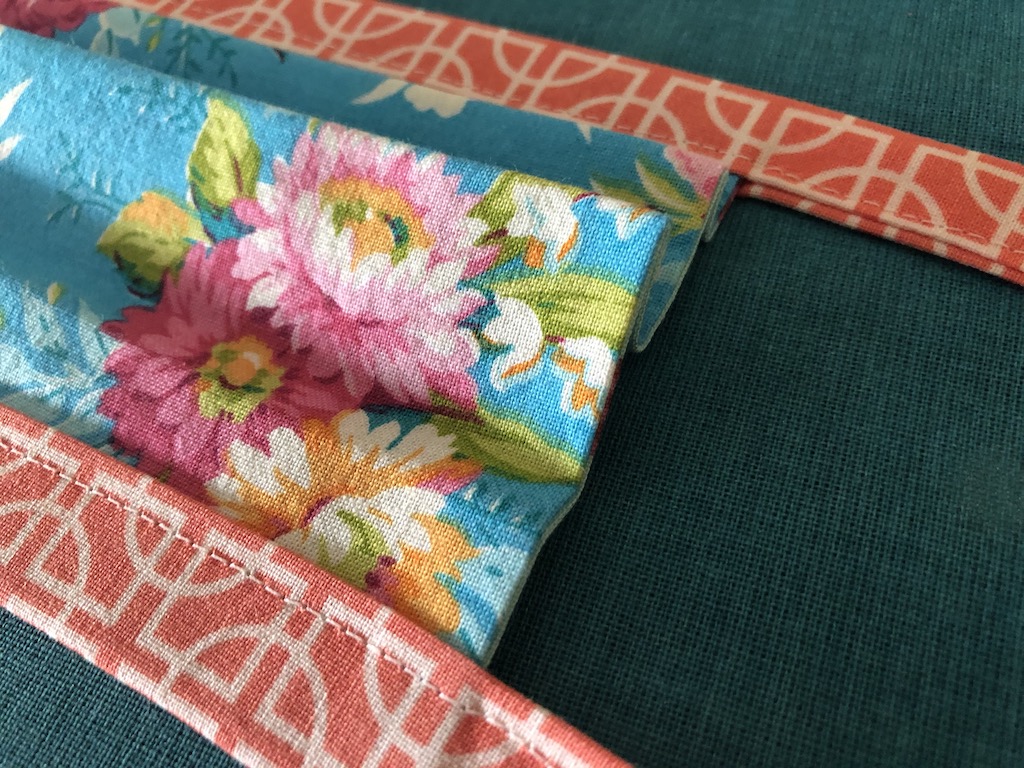
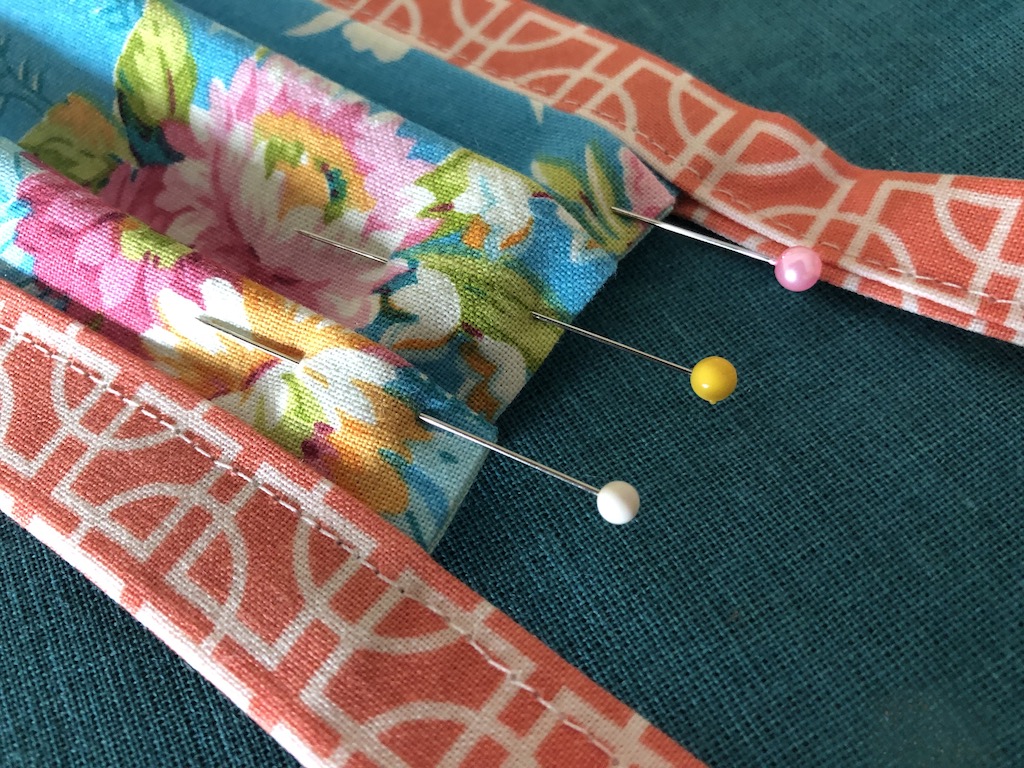
Create 3 pinch-pleats. Use your fingers to pinch the fabric towards the top edge.
Pin your pleats in place.
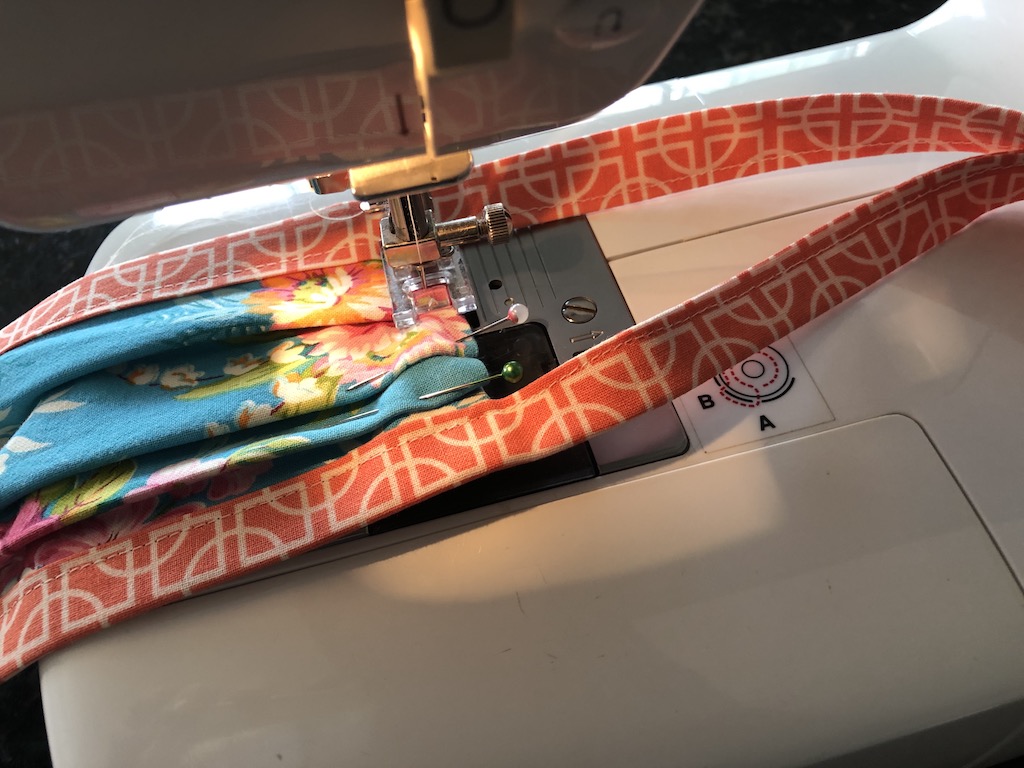
Sew the pleats in place.
I sewed down the edge, turned and sewed down the edge a second time.
Trim your threads and you are finished. Wash in hot.
Add your filter into the pocket. I’m using dried baby-wipes because that is what we have. This post has lots of good information.
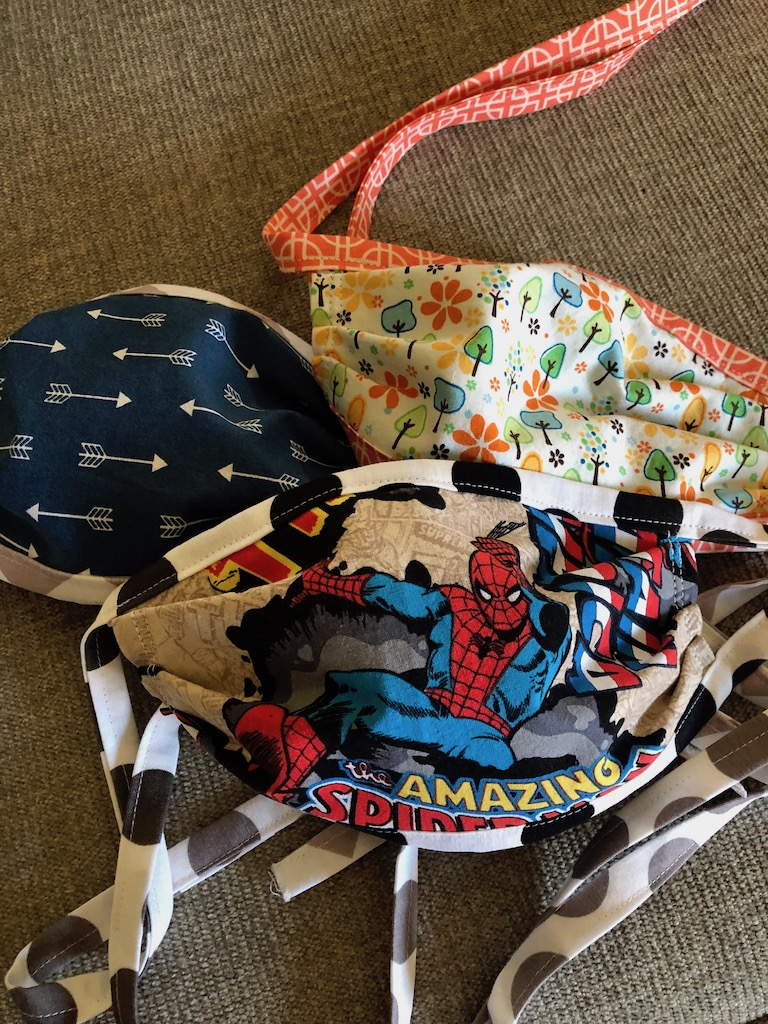
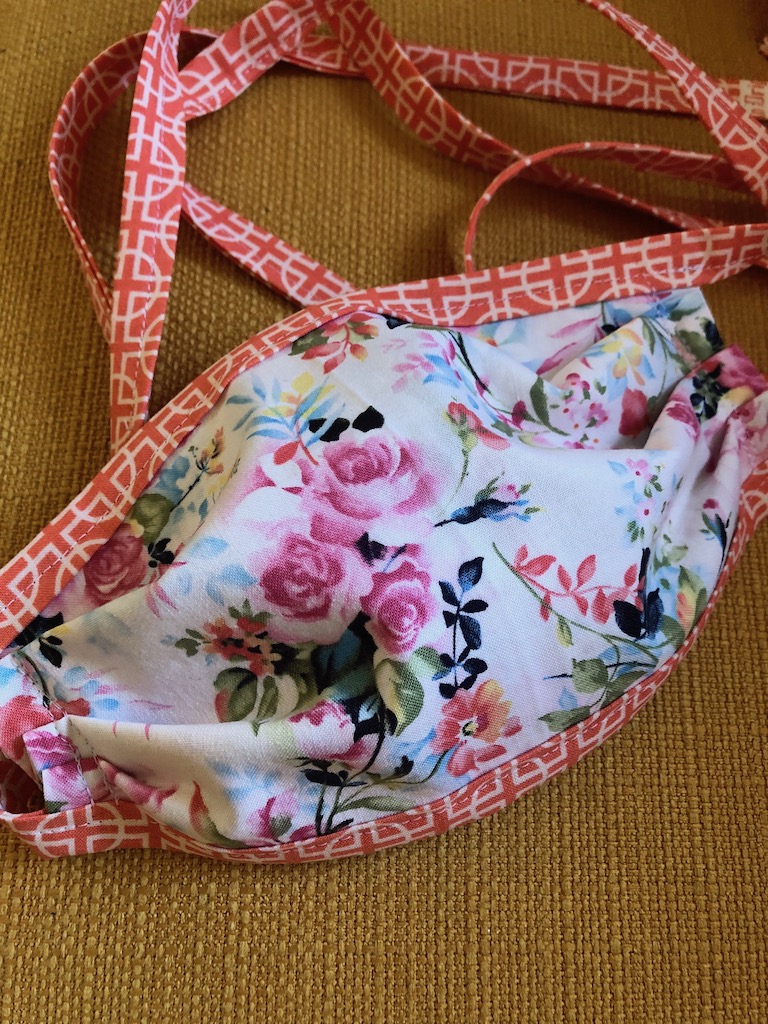
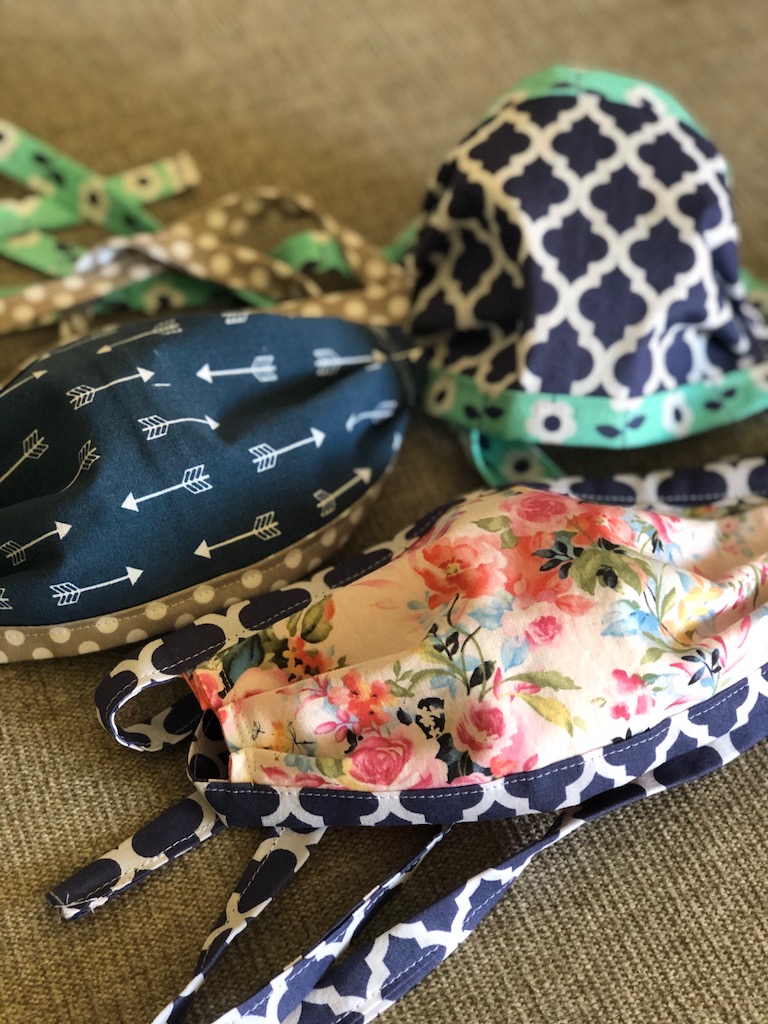
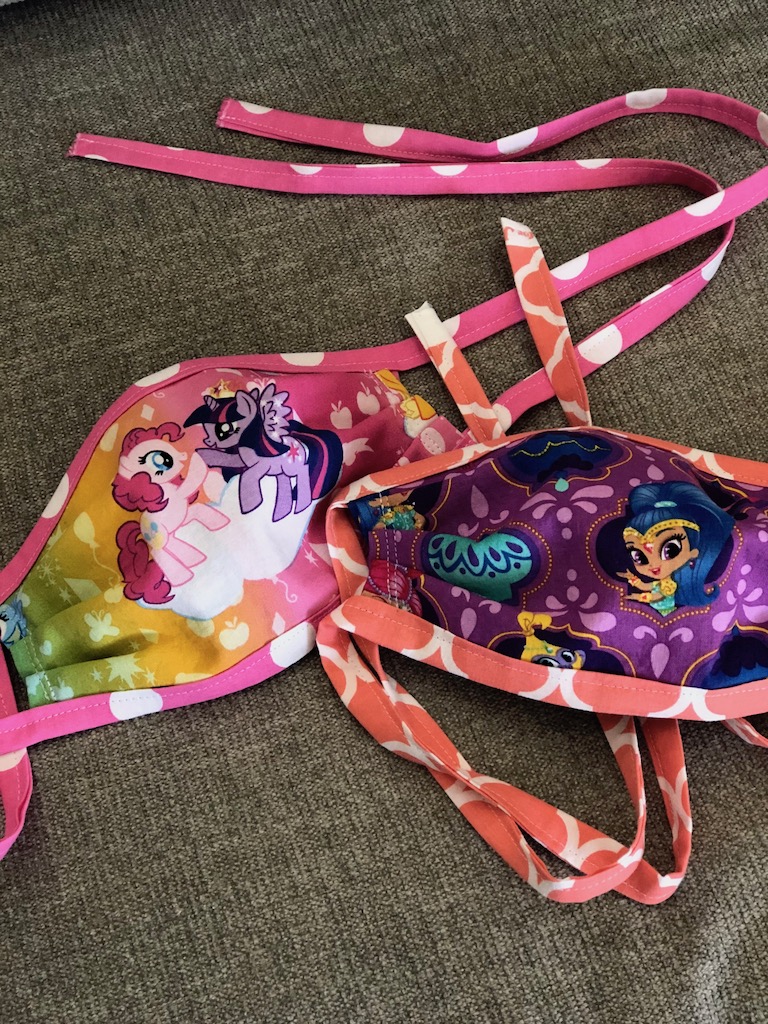
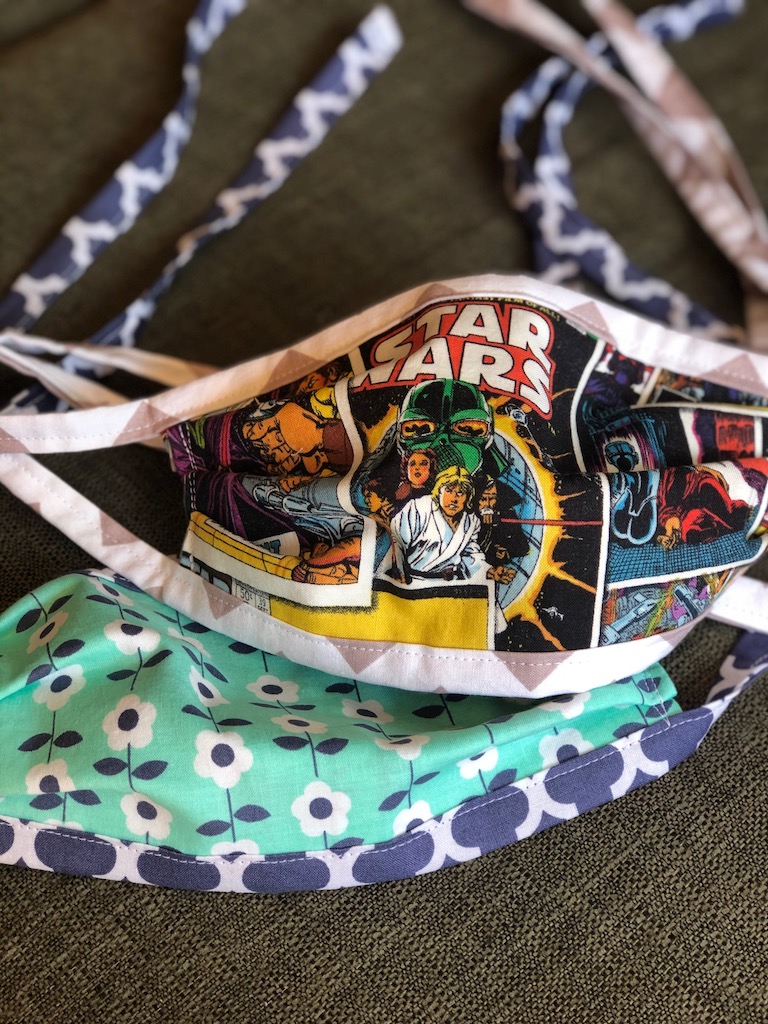
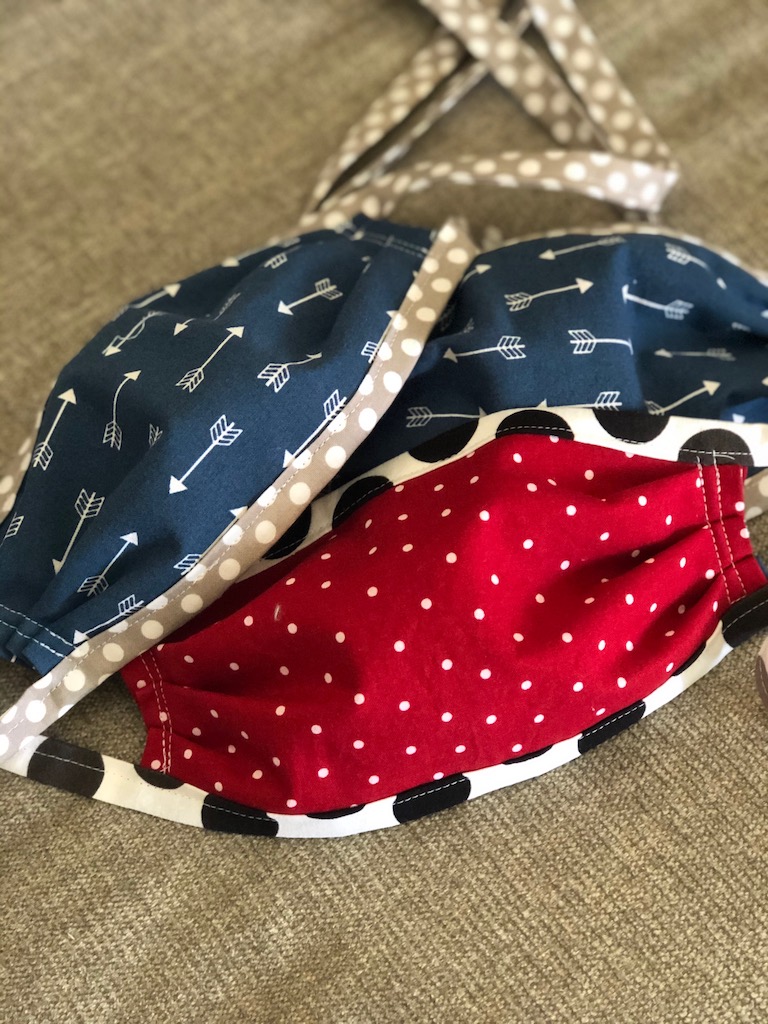
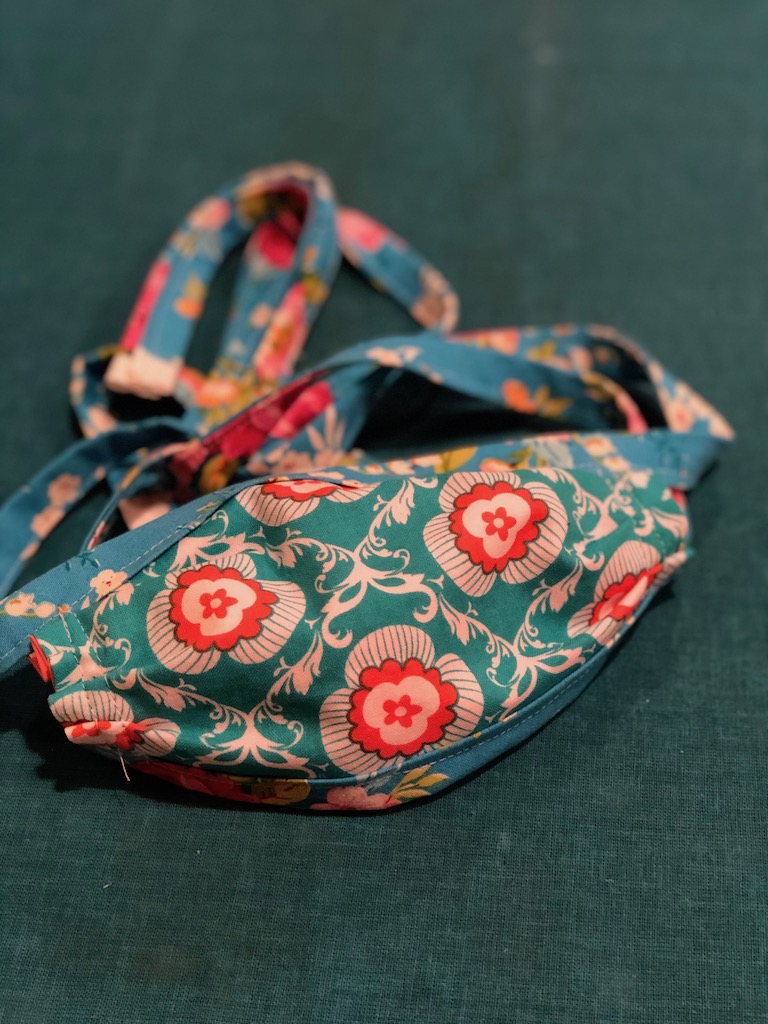
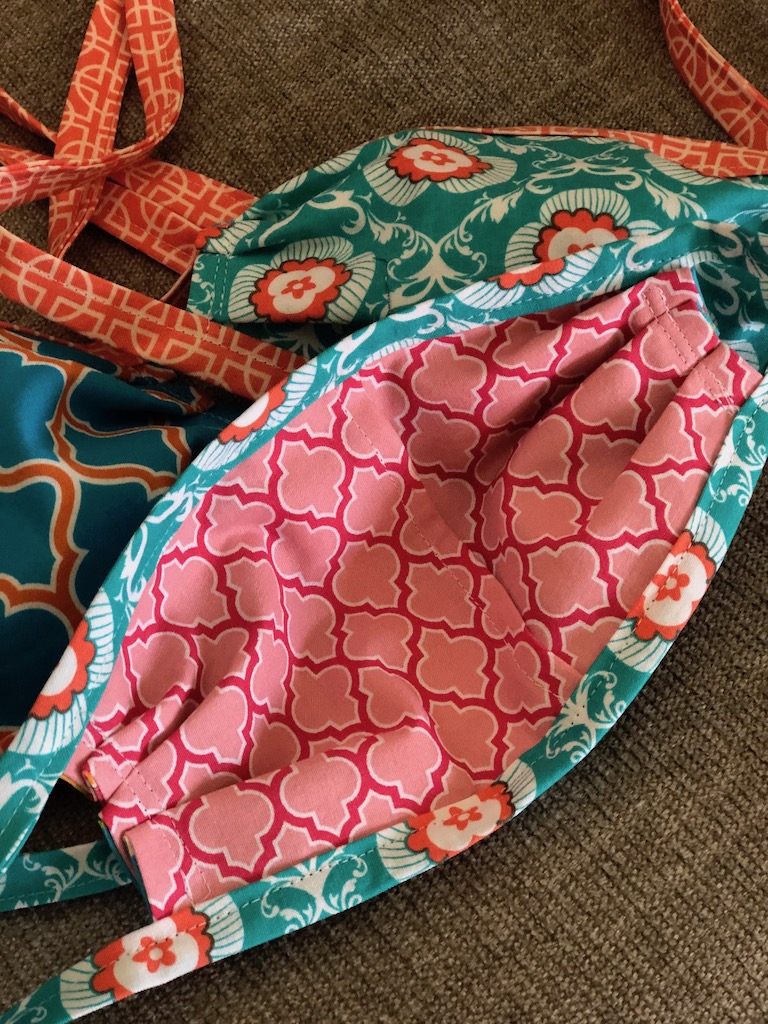
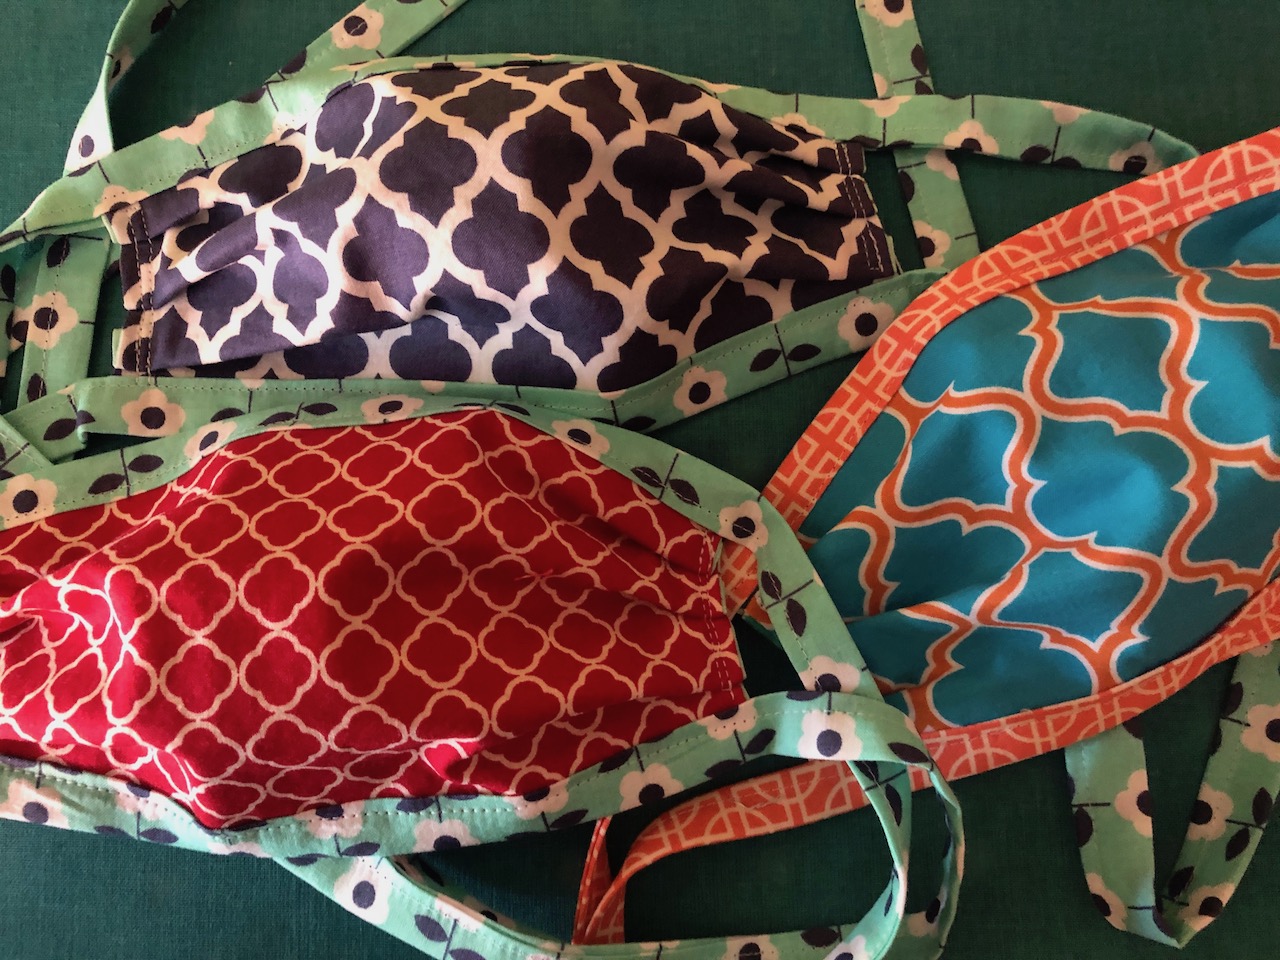
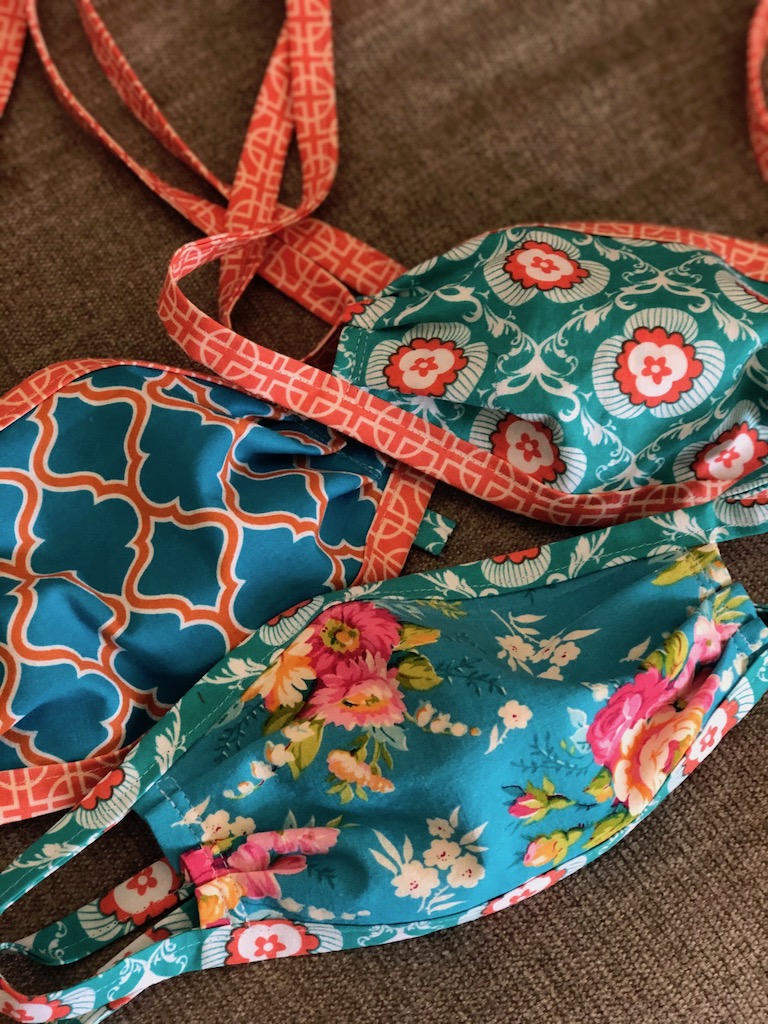
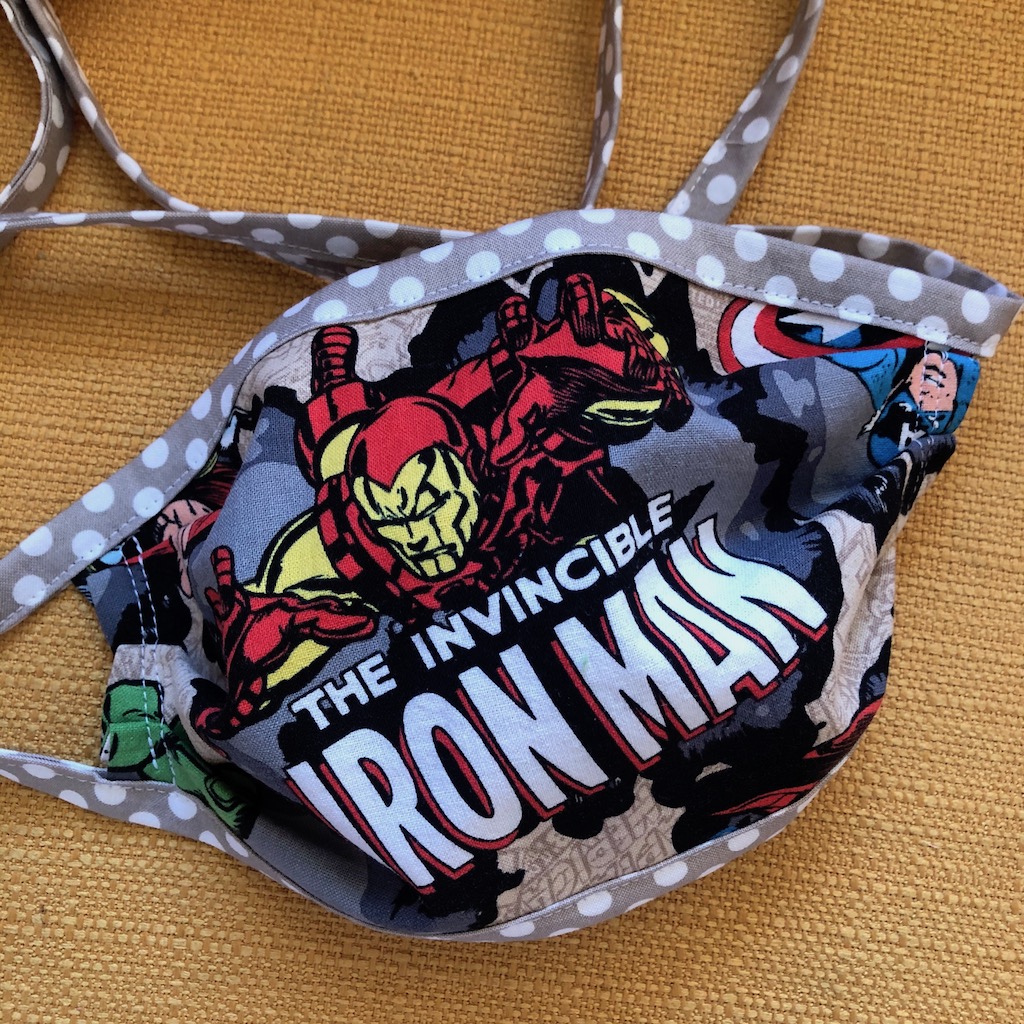
Here are some of the masks I have been making. I’m just using scraps right now. I have a big stash of cotton. I did just order some more masculine and netural fabrics. For “some reason” I have lots of girly prints. LOL.
Thanks for stopping by. Be safe. Be Healthy. xo Cathie












I loved this so much. I have been wanting to make a face mask, but could not find simple instructions! I am NOT a seamstress by any sense of the word, but I found this super easy to follow. The instructions just made sense. Also, I did mine by hand. Totally doable. It took me about 2 hours. Thank you!!
Thanks so much! I love that you dod this by hand. I’m making so many masks right now. I’m glad this pattern worked for you! 🙂 Cathie
This is a great pattern! Quick question: how did you finish the end edges of the ties? Maybe I missed that.
Thanks so much. I edited a note into the post. I tore my fabric so it is the selvage edge and it didn’t need a hem. (no ravel because it is finished) On a few that I pieced together, I just sewed across the edge to prevent it from raveling. Hope that makes sense. 🙂
Hi, how long are the ties for the kids masks?
Thank you
Be safe
I made the ties the dame length because I am sewing and cutting assembly line style. You can make them a little shorter if you wish. This length fits my 6 & 7 year olds girls. Be safe. 🙂
I’ve looked at MANY sites for a good quality mask with SIMPLE instructions. This is perfect! I’ve made several for family members. I love the insert pocket that allows added protection from a paper towel or coffee filter. They’re easy to wash. THANK YOU SO MUCH for sharing this!
Thanks so much! I’m glad this pattern worked for you! I have been sewing non-stop! 🙂
should the pieces that form the pocket overlap? I am making mine now, and they are lining up exactly with no overlap – I hope that’s ok!