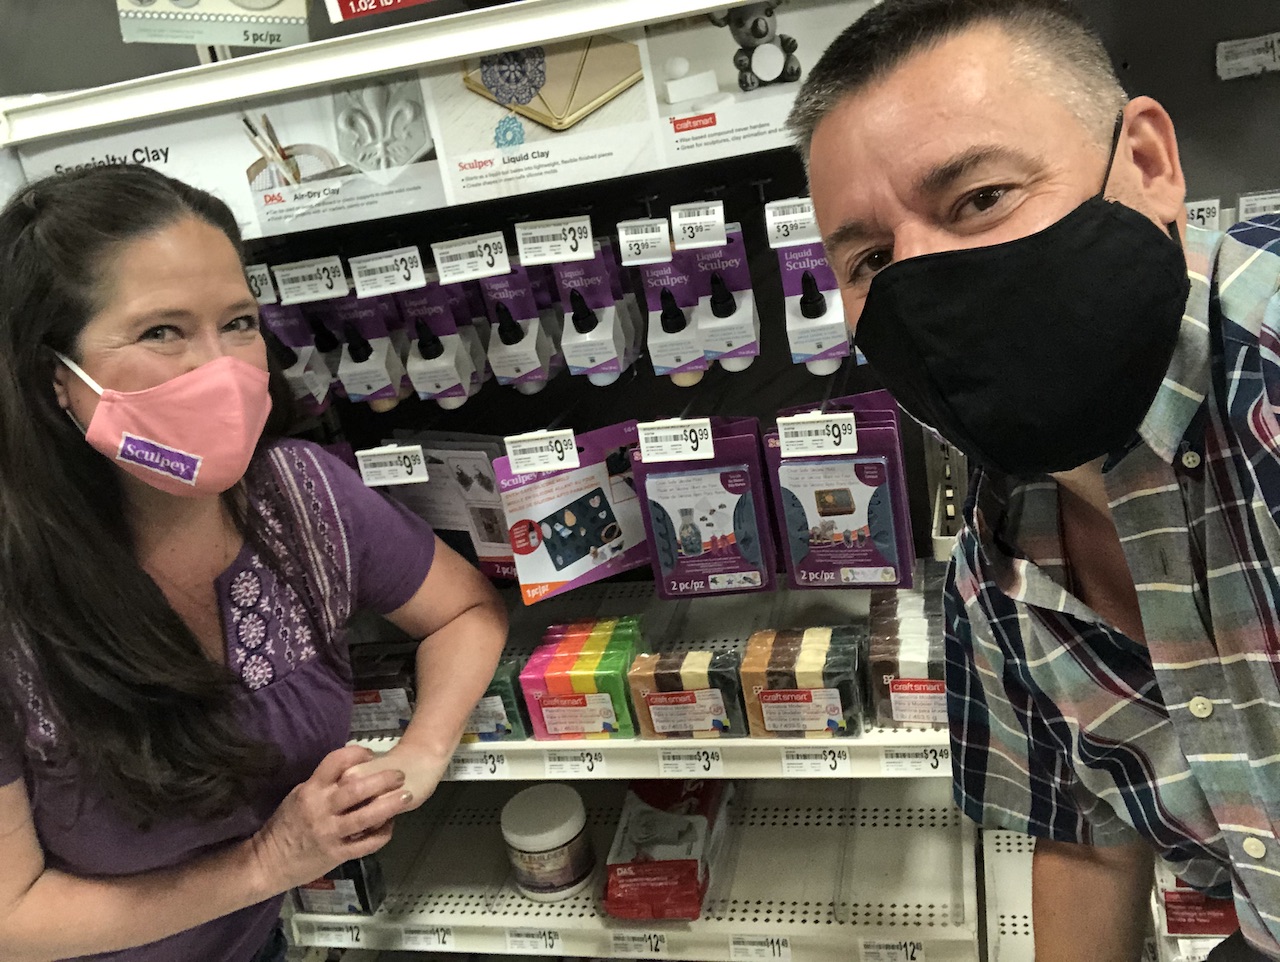
We are teaming up with Sculpey to help announce their new Liquid Sculpey and the new Sculpey Molds. We adventured to our local Michaels for a little shopping trip to check out all the new goodies.
Of course…. we needed our masks since we are still dealing with Covid-19. I custom made these masks for us to wear with some store bought masks and iron-on transfers. They were perfect for our adventure.
Watch our trip to Michaels and See all the things you can make with the new Liquid Sculpey and Molds.
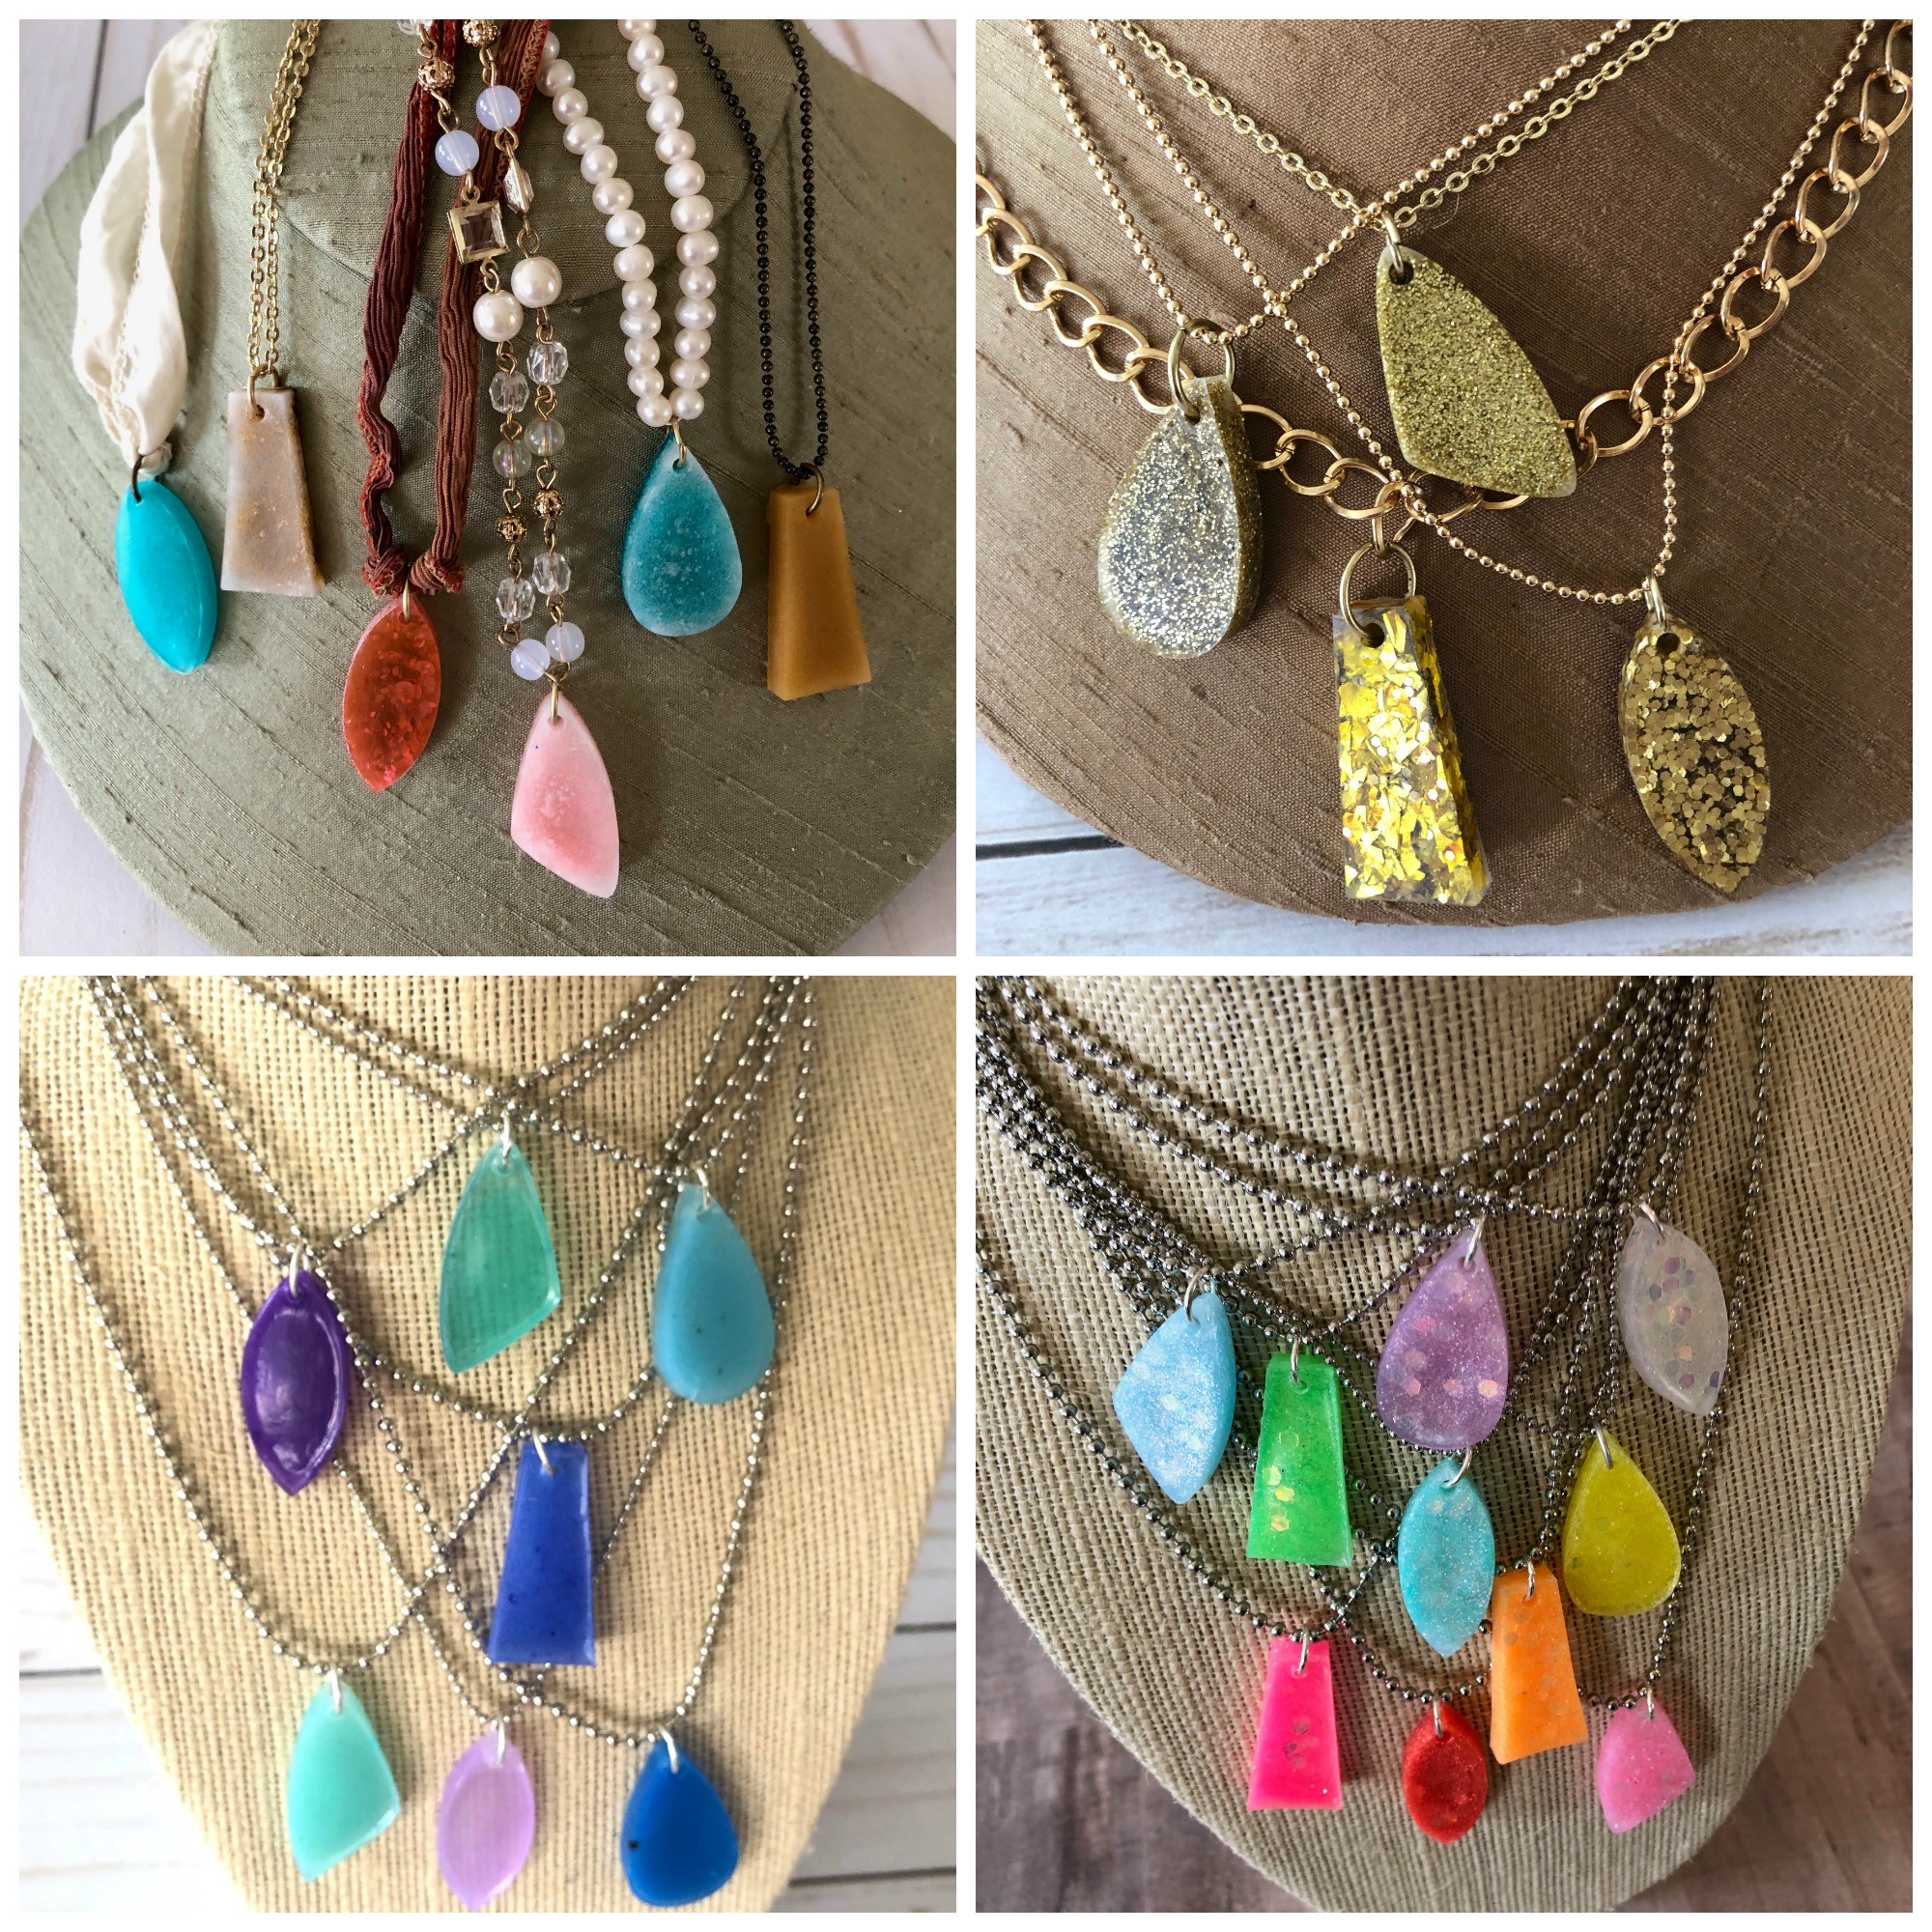
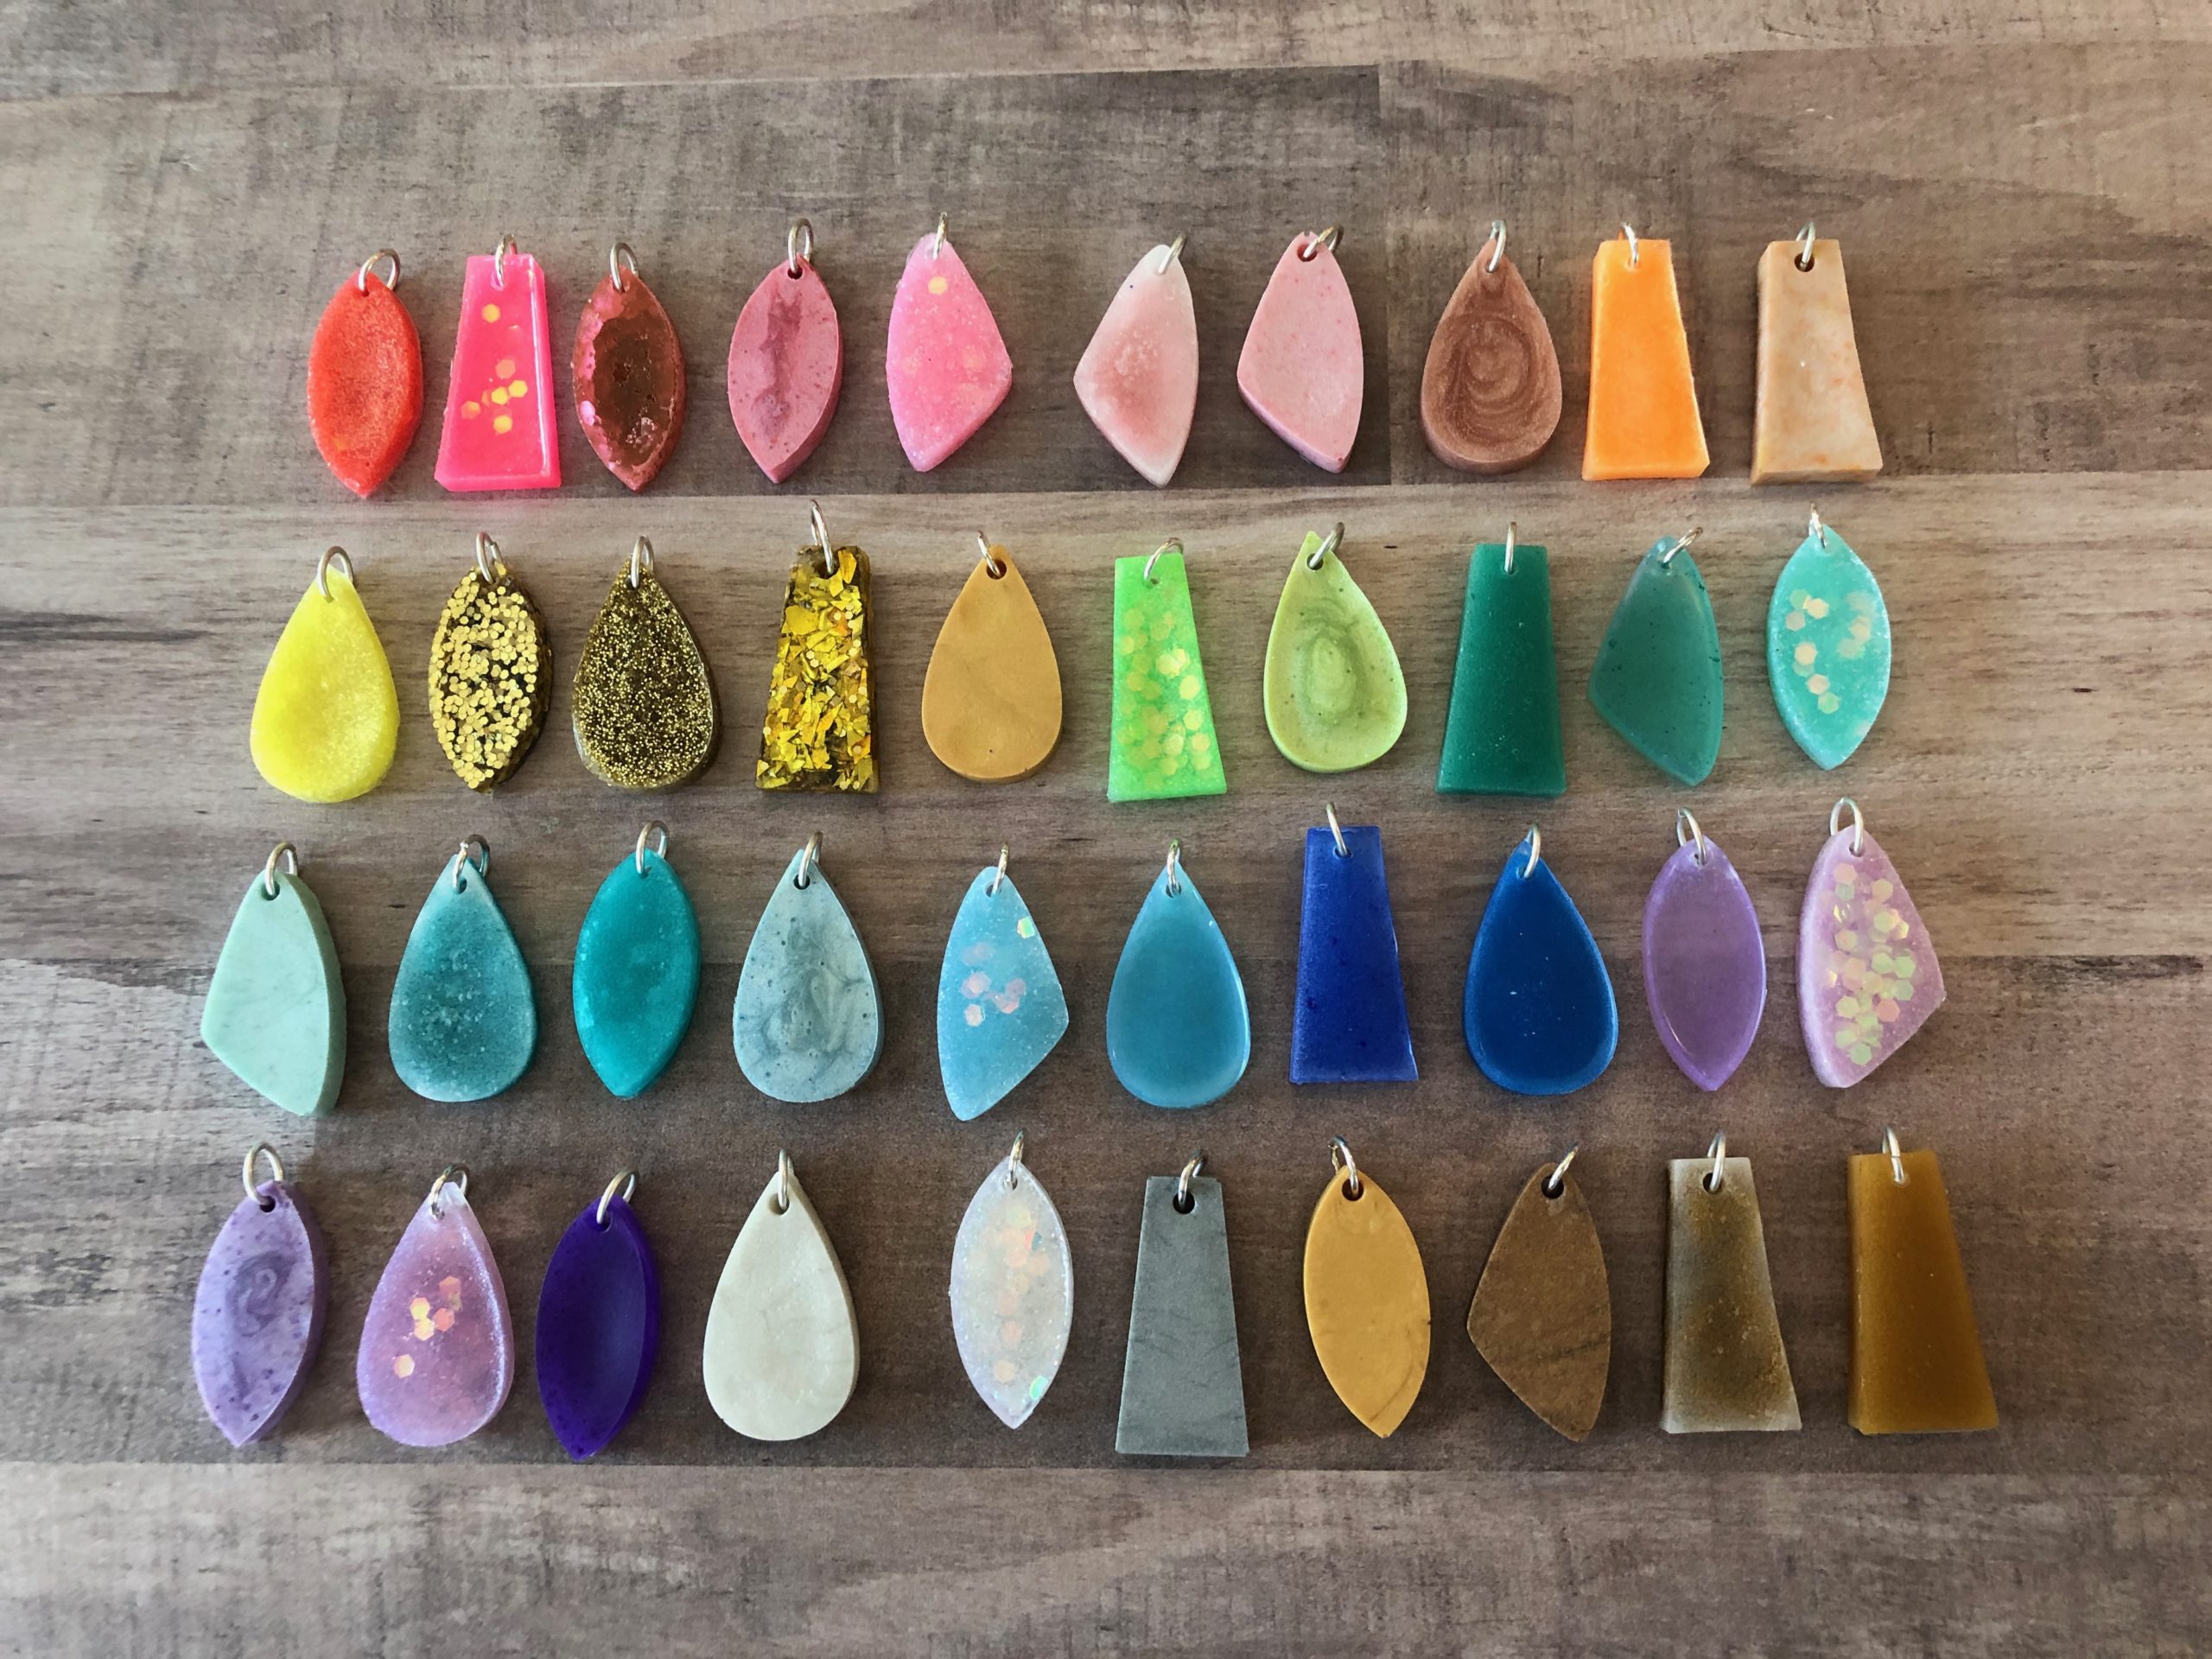
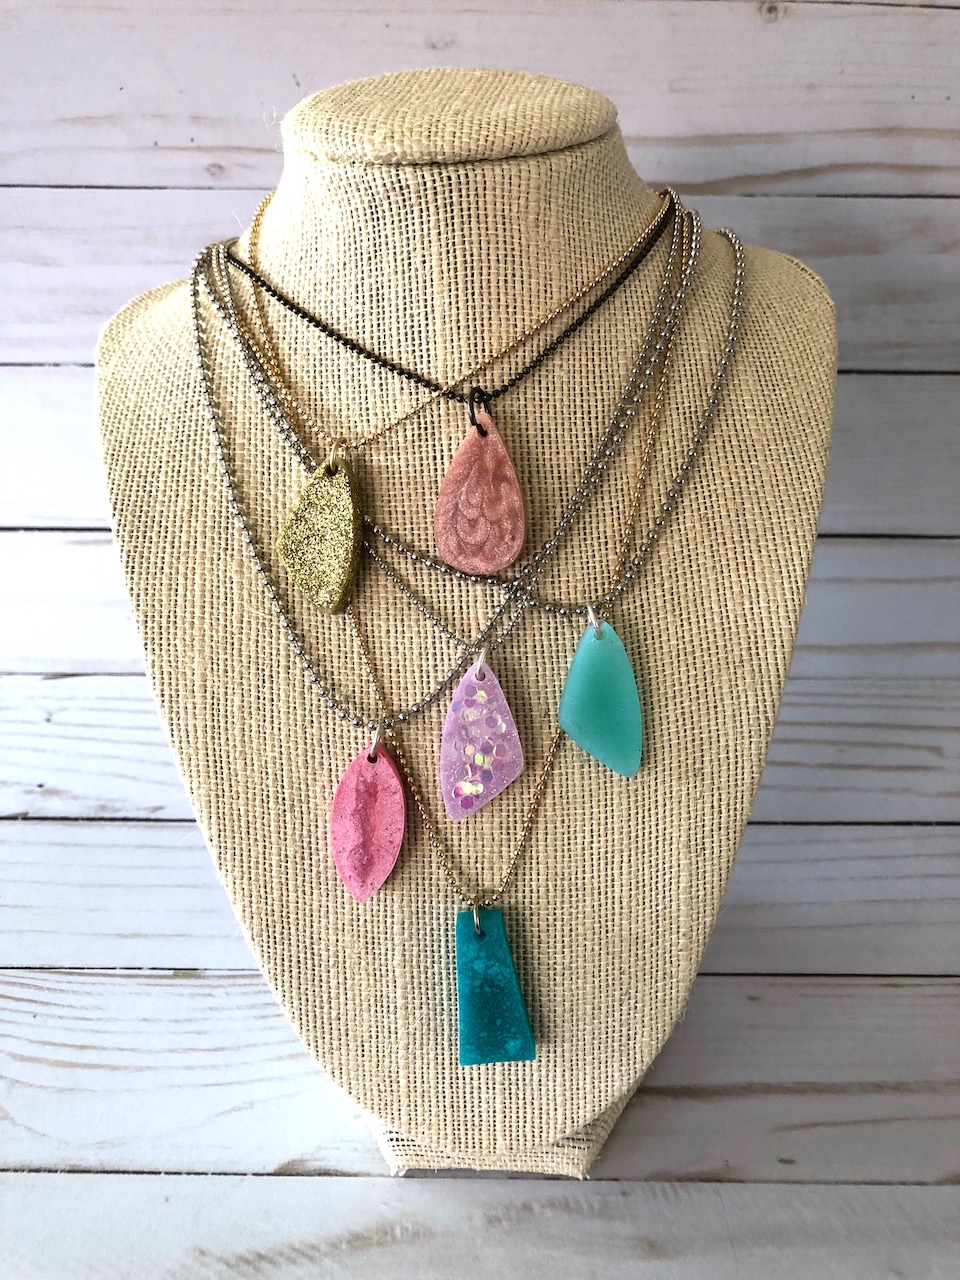
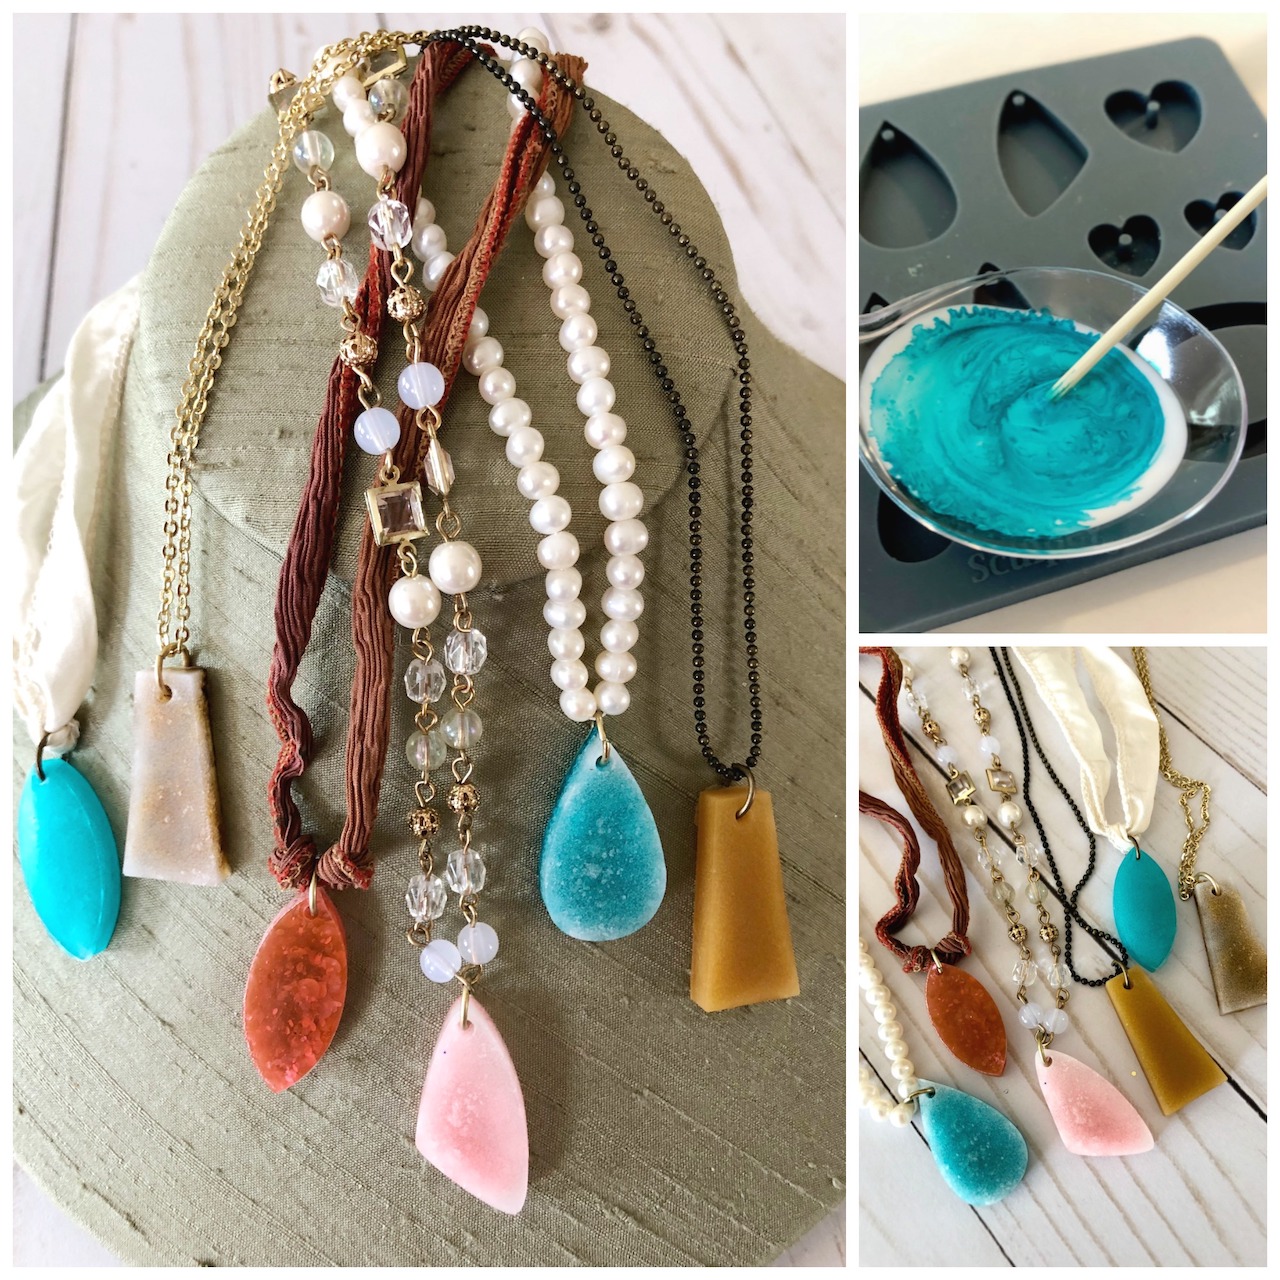
Design ideas for Liquid Sculpey Pendants is endless! You can create any color you want by using chalk pastels.
Click the Gear to view in High Definition!
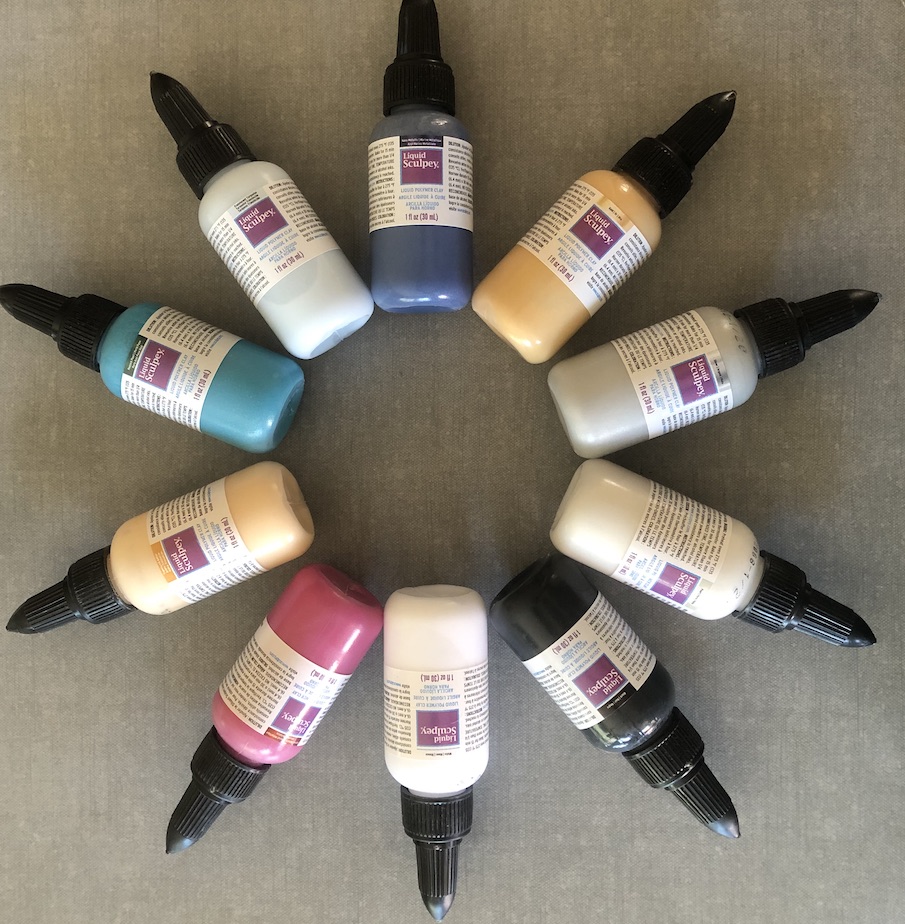
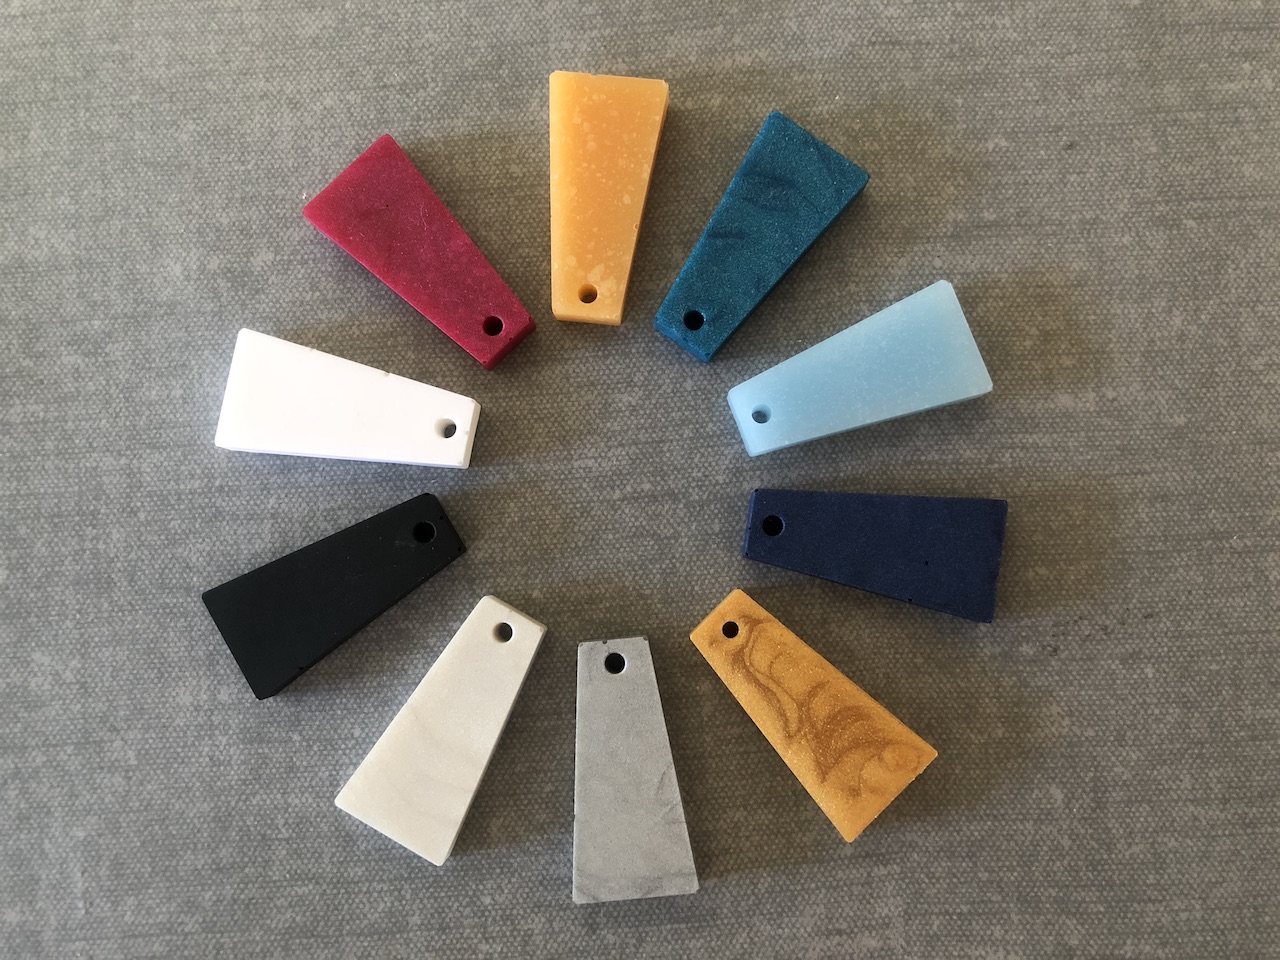
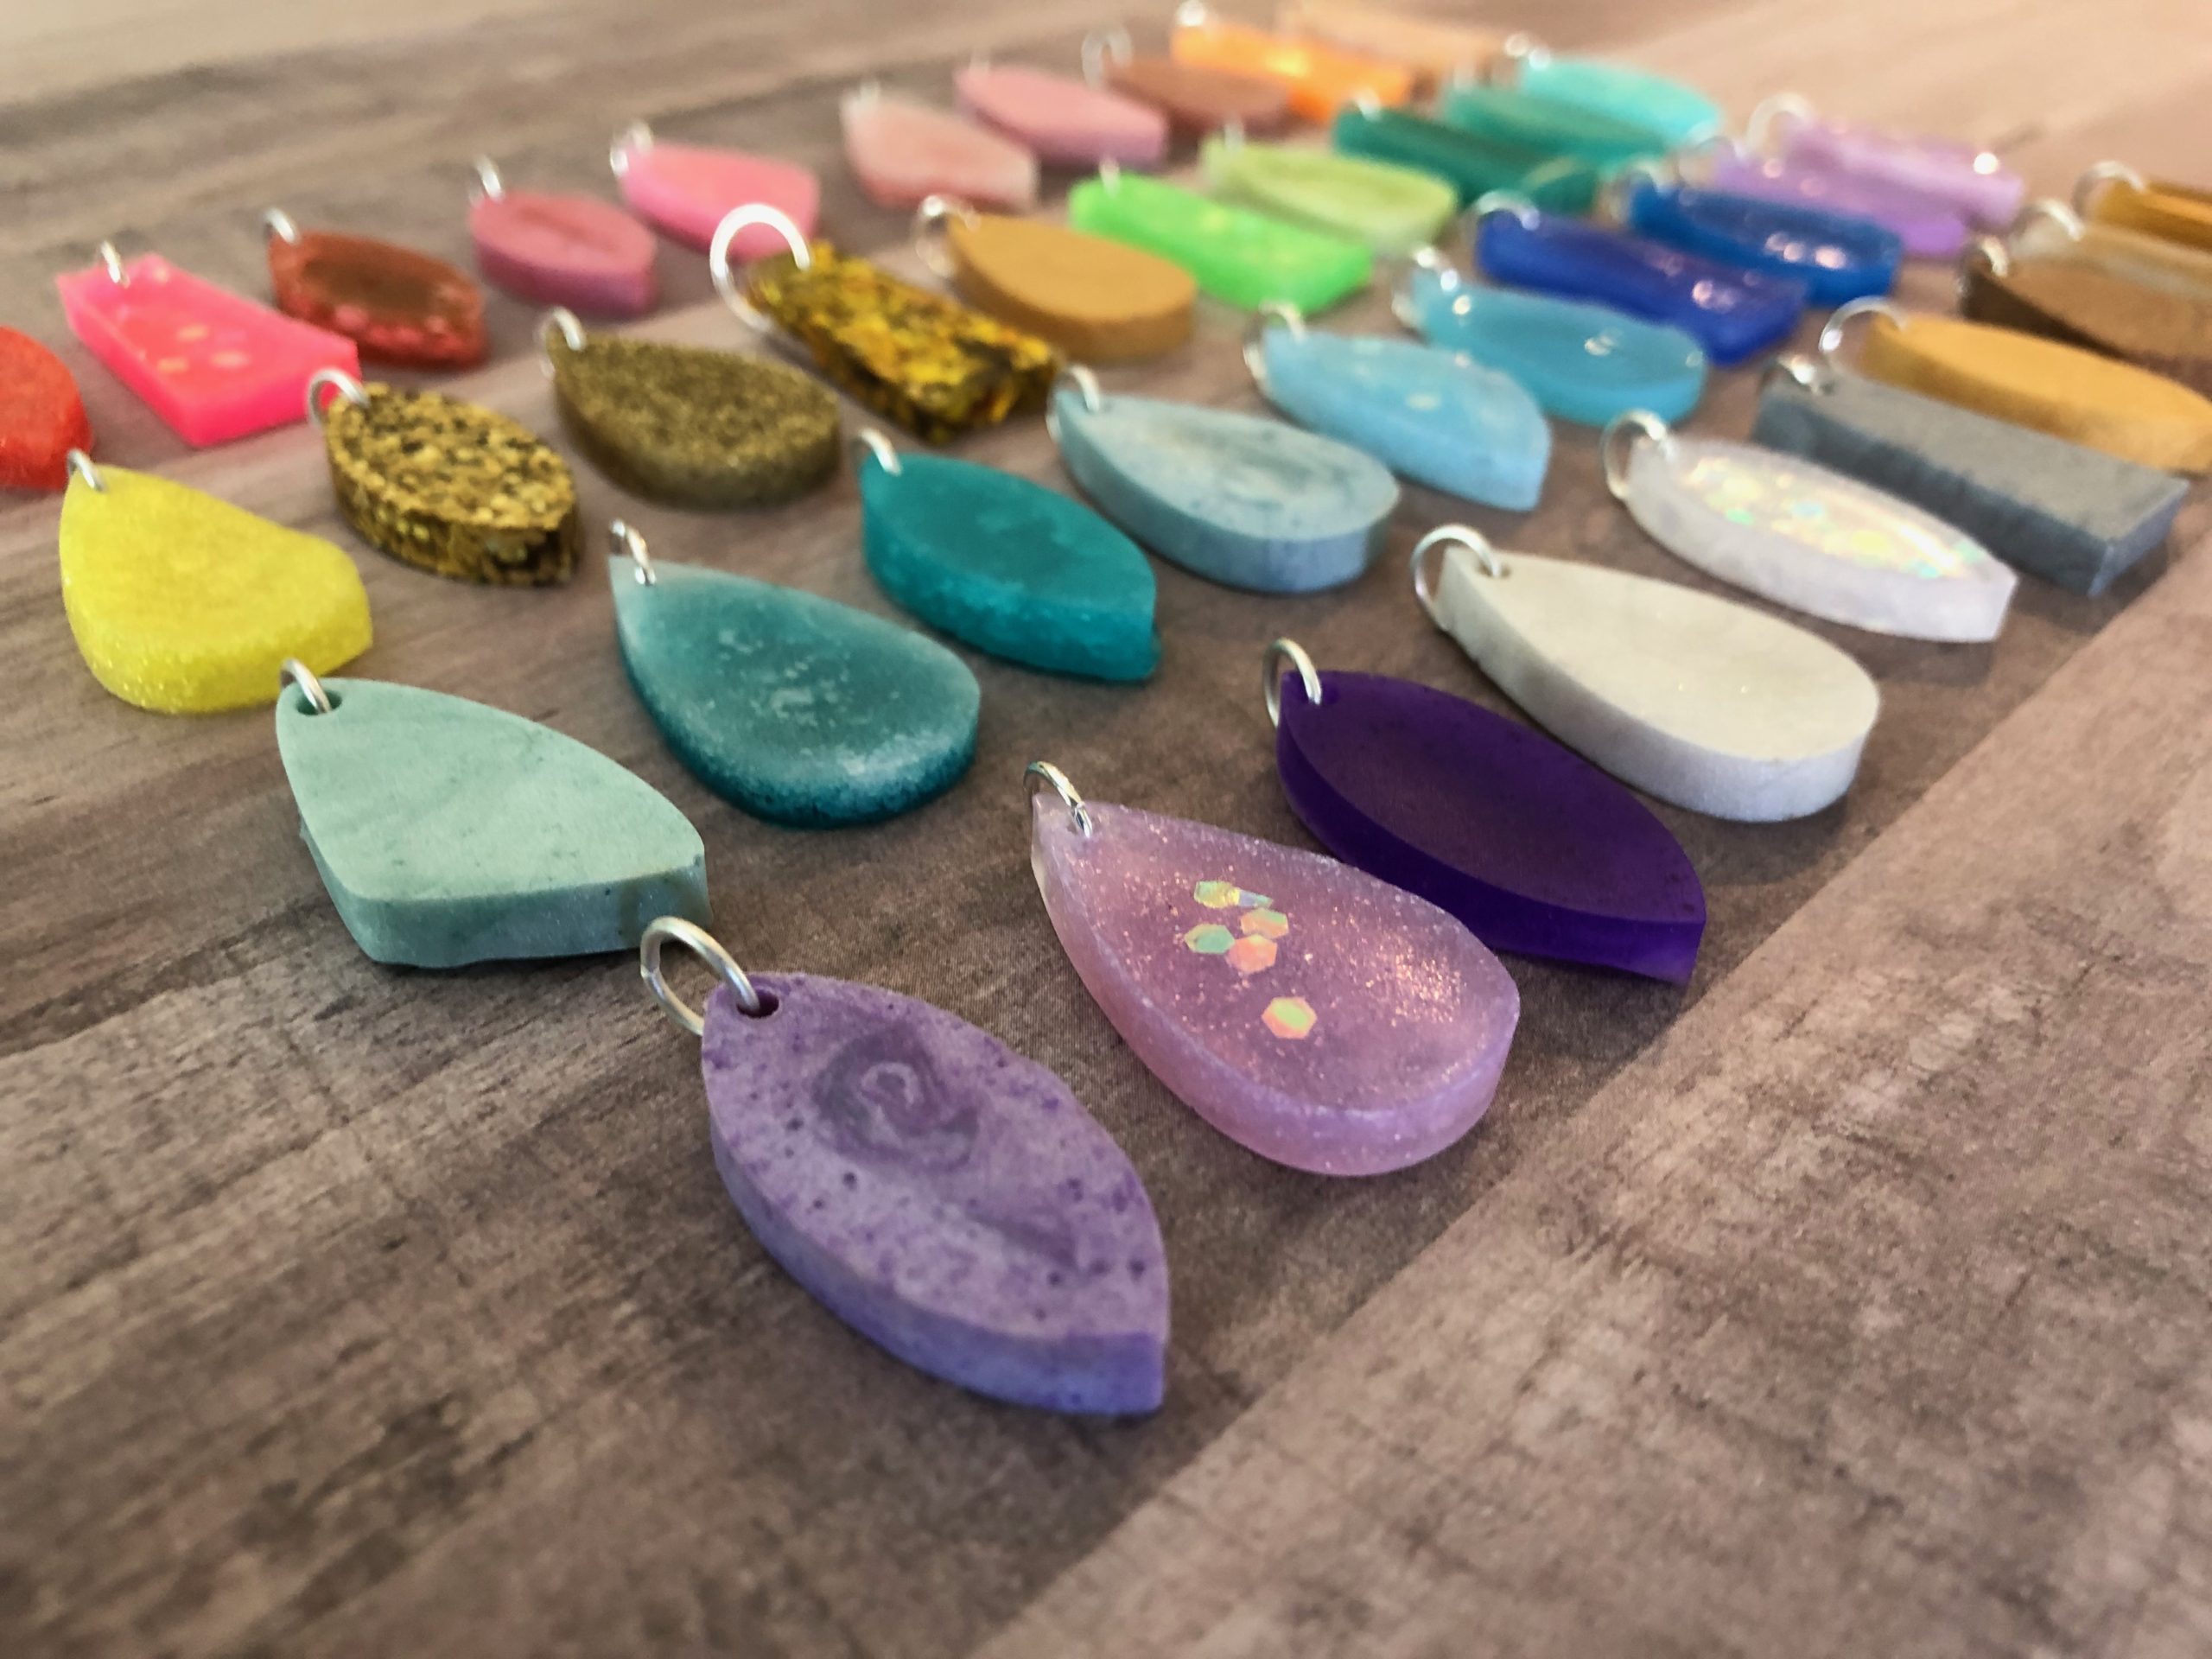
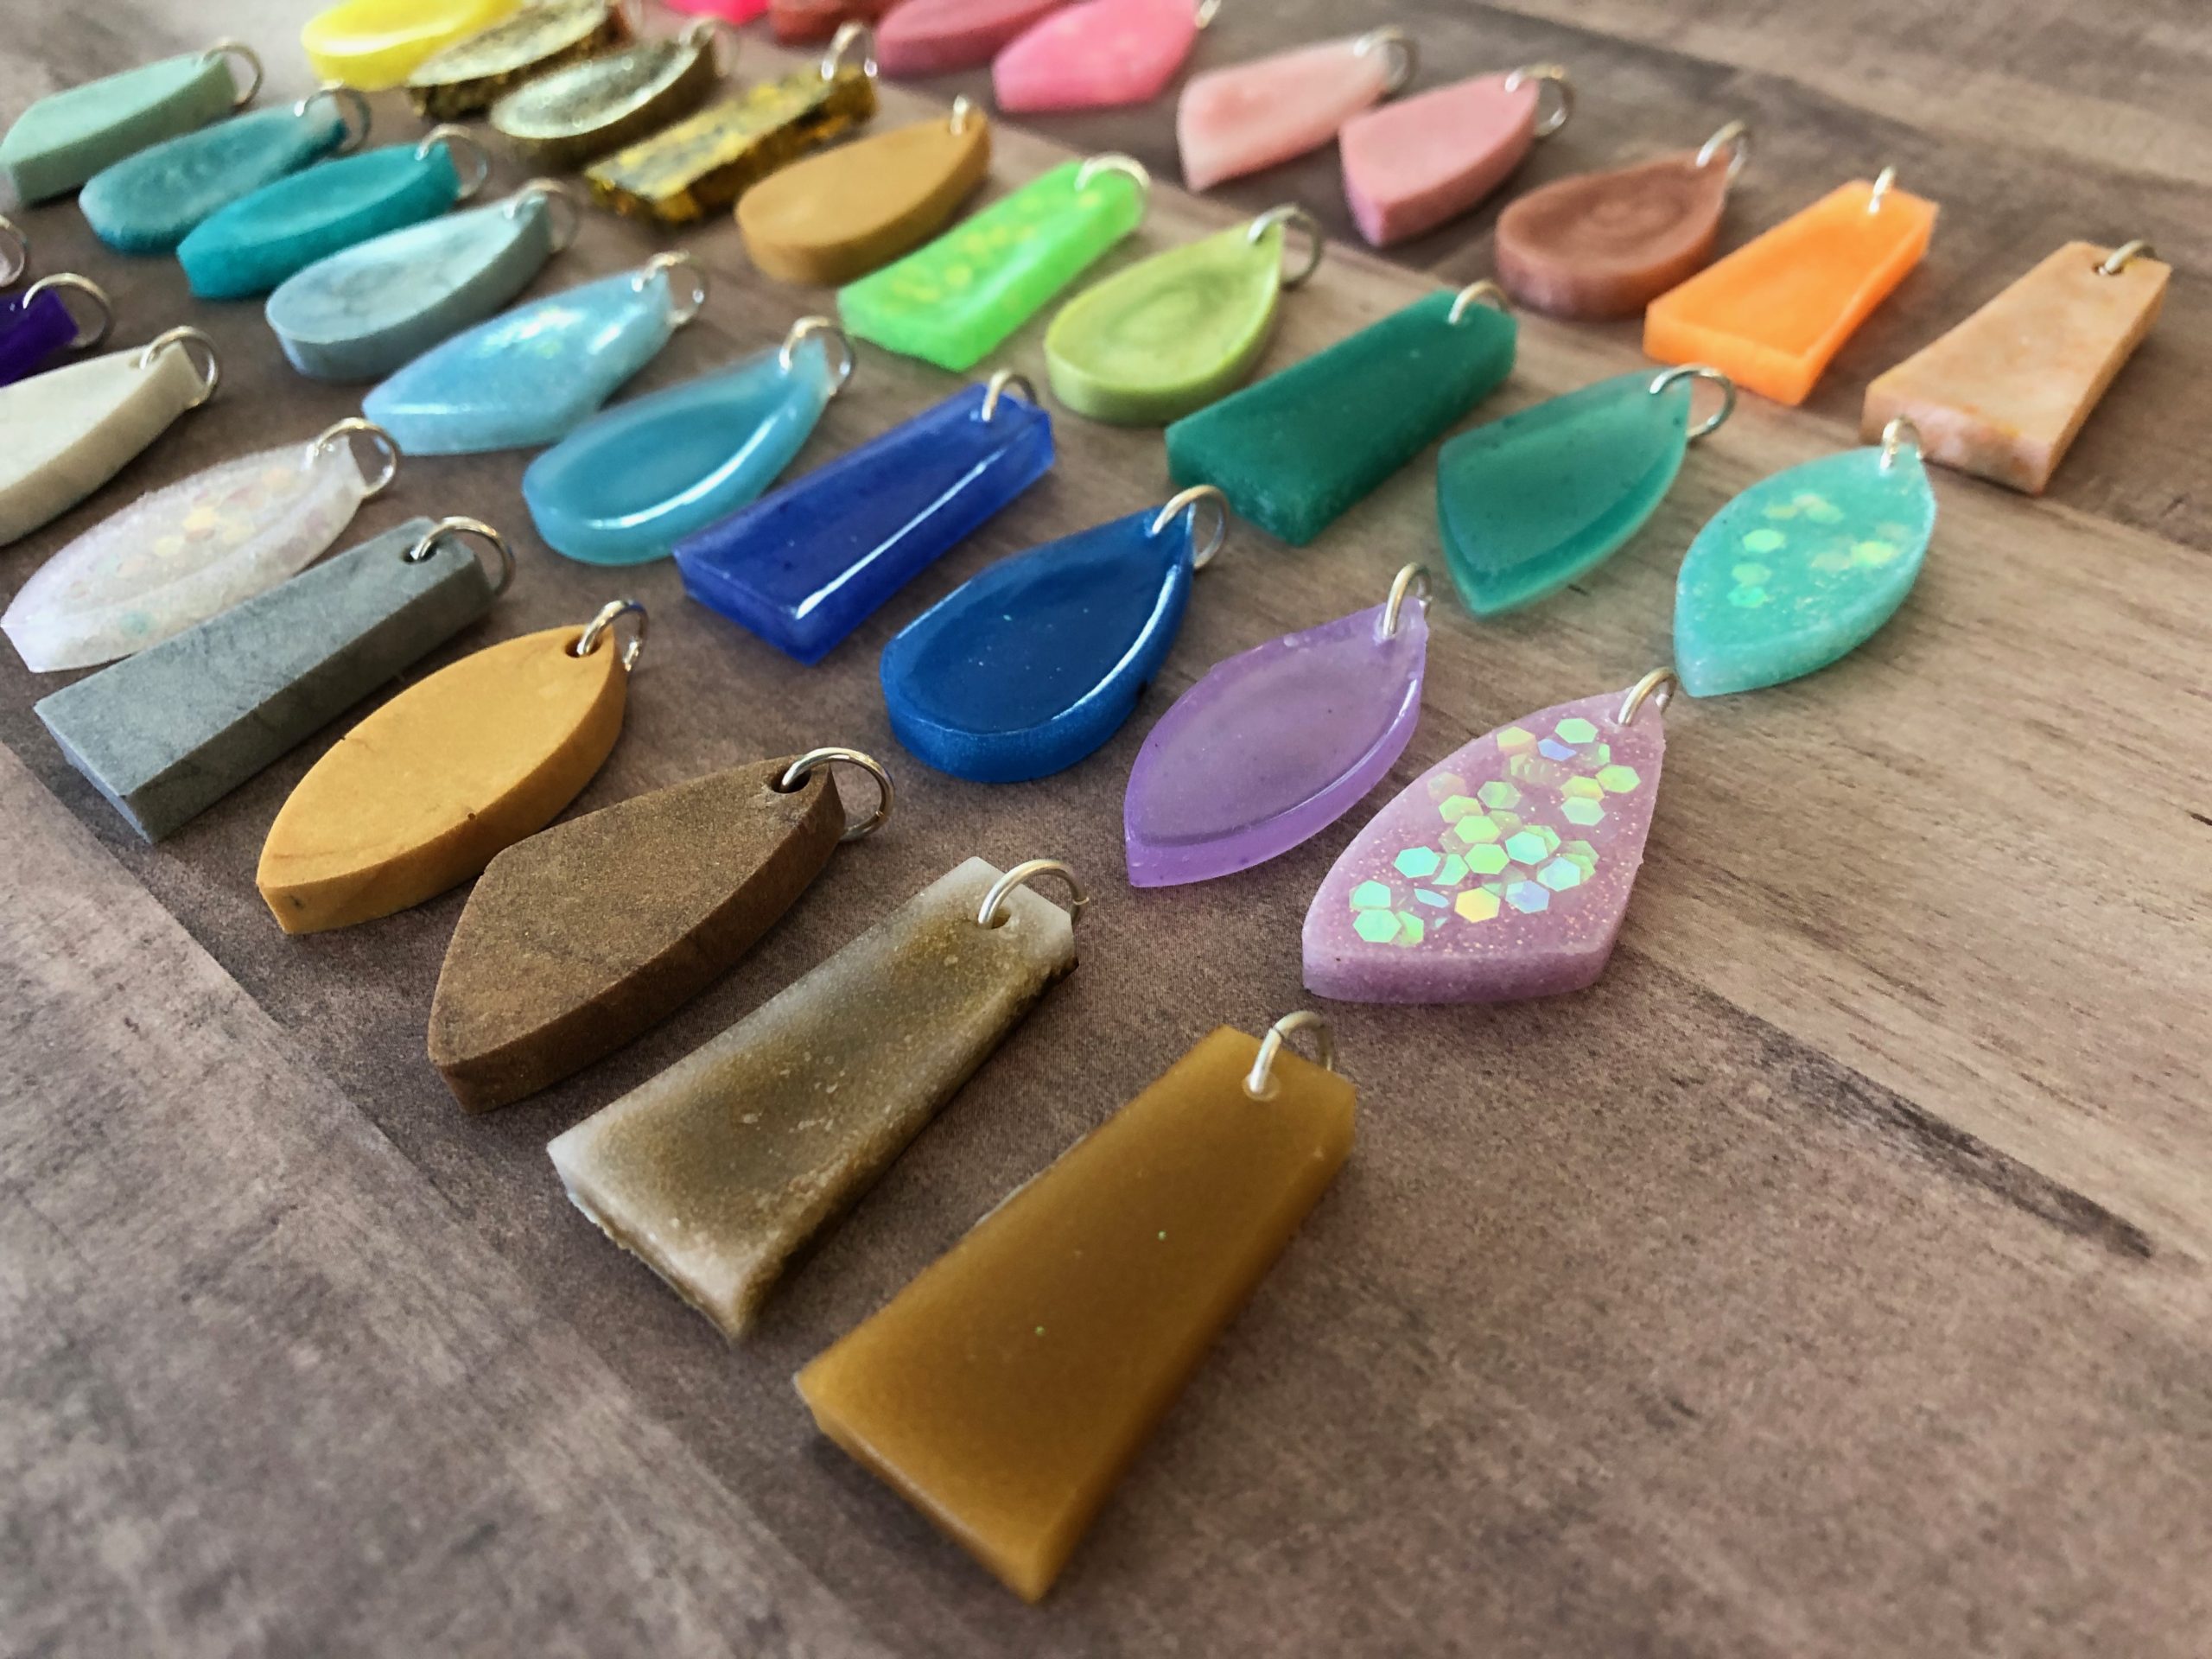
Liquid Sculpey comes in a variety of colors and finishes…like metallic and pearl.
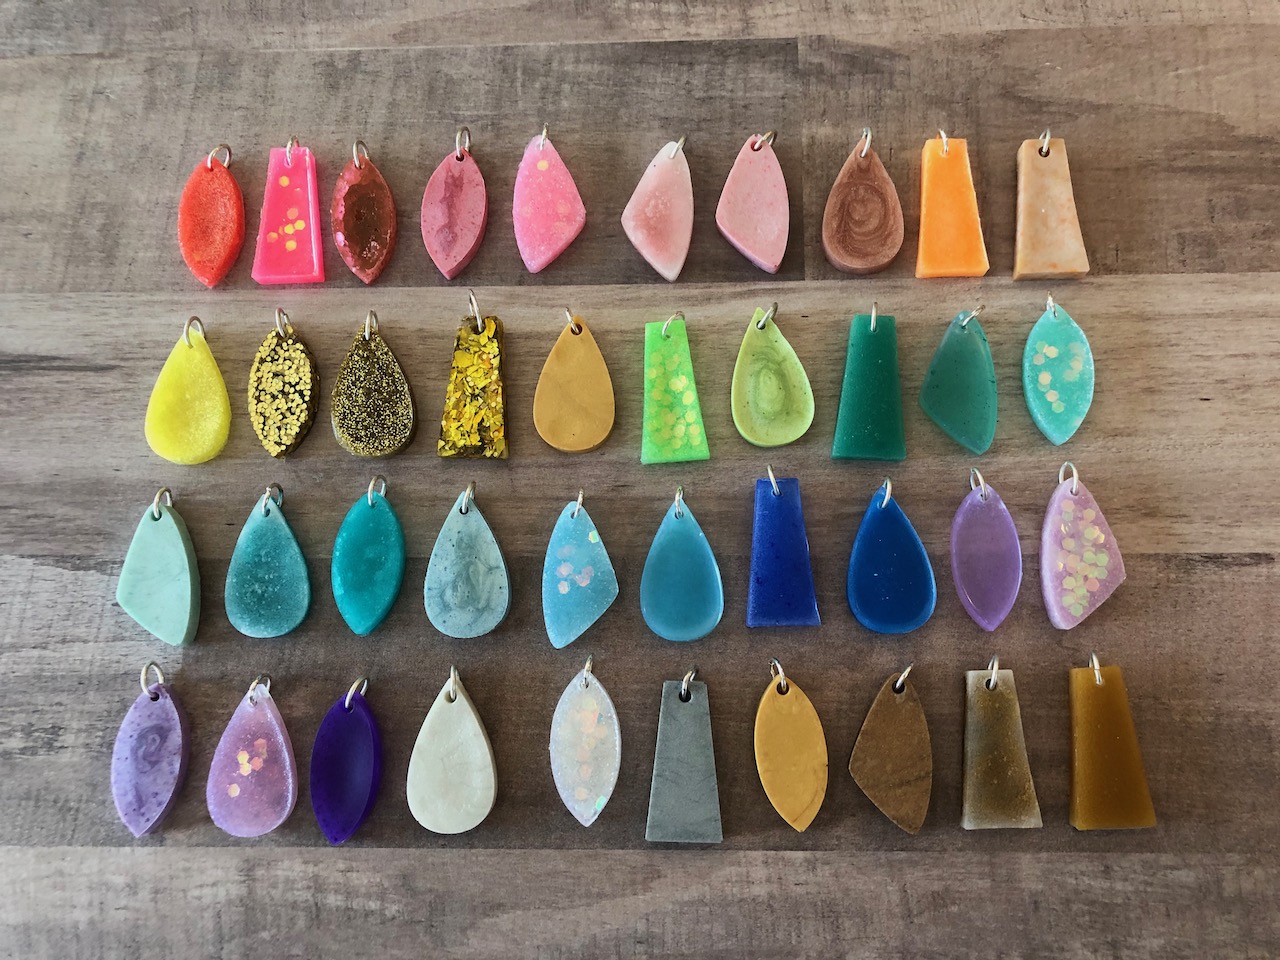
This is just a mini sample of the colors baked straight from the bottle. Our favorite thing to do is to mix in glitter and inks. We step-by-step show you how in the video.
Click the Gear to view in High Definition!
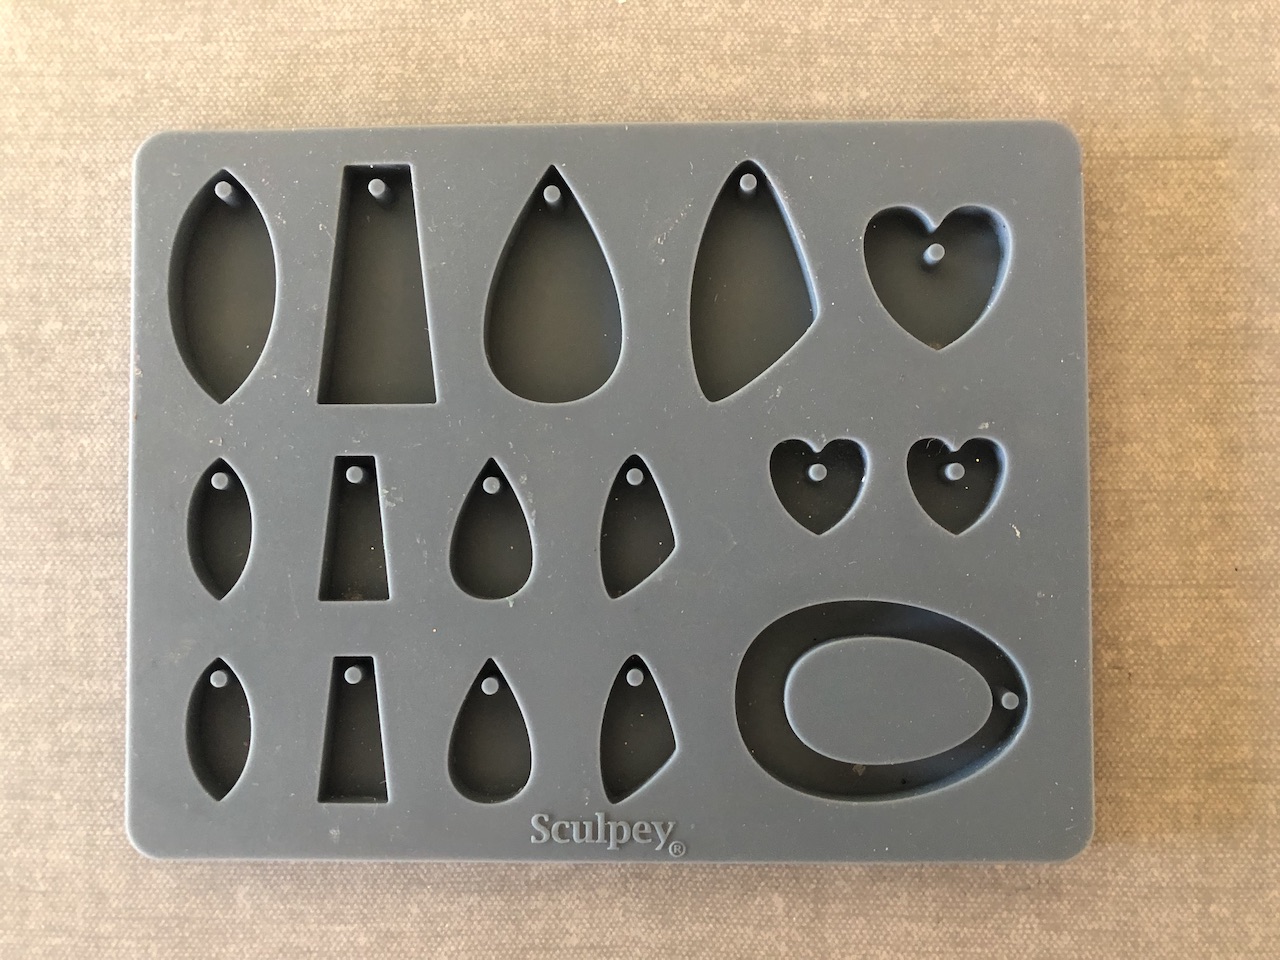
This is the jewelry pendant mold by Sculpey. You can match earring shapes to pendant shapes.
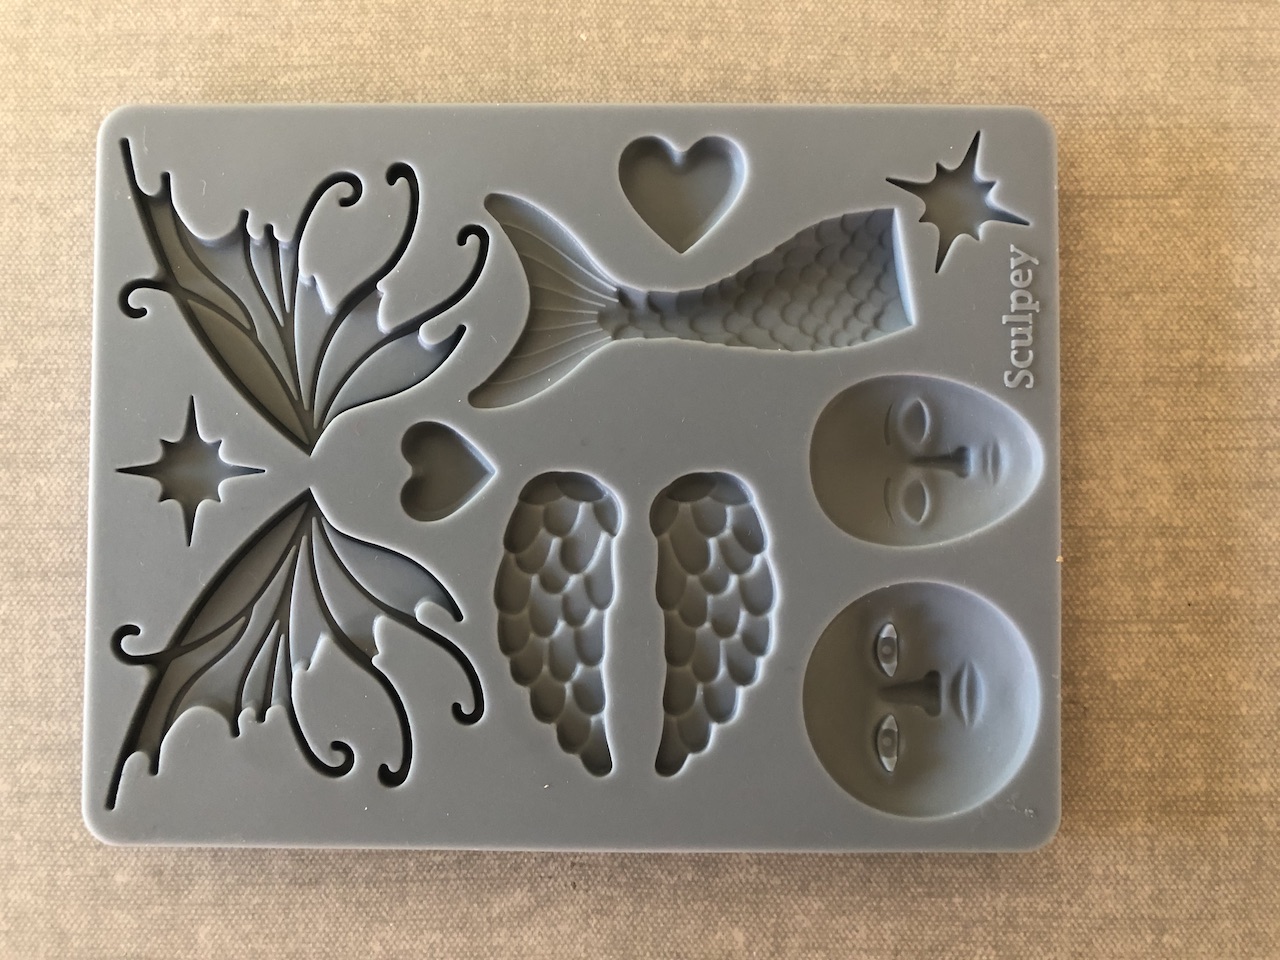
The Whimsy mold features everything from wings and mermaid tails to hearts and faces.
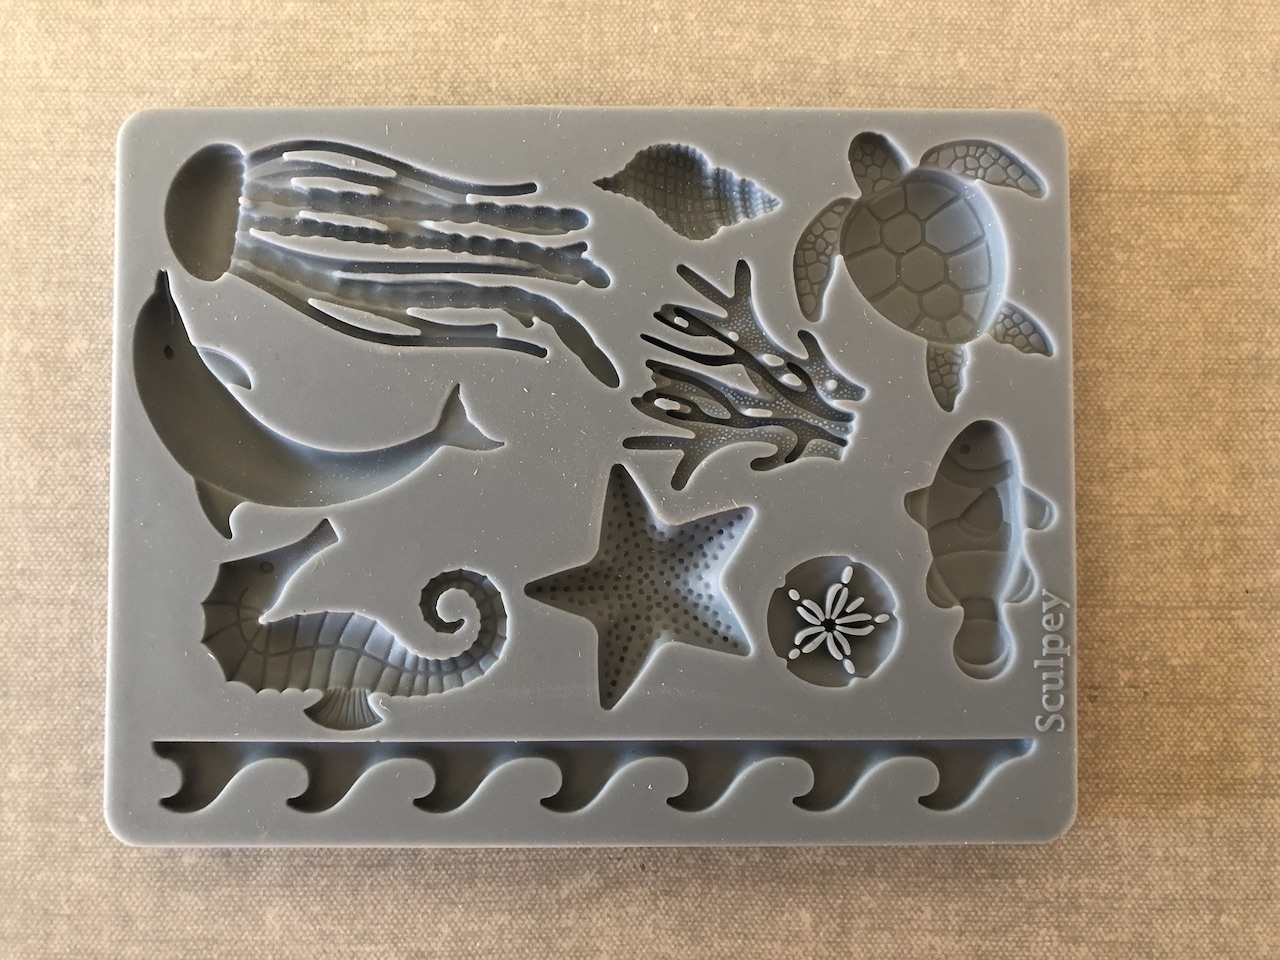
The Sea Life mold features 10 different marine designs.
Click the Gear to view in High Definition!
I love all the different designs and colors you can make. In the video we show you all the step by steps. In this blog post, we are also sharing all the steps to create pendants with Liquid Sculpey and Molds.
Click the Gear to view in High Definition!
Below we will be teaching 5 different techniques for creating beautiful pendants with Liquid Sculpey and the Jewelry Bakeable Mold. You can use chalk pastels, alcohol inks and glitter to create custom pendants.
- Liquid Sculpey Clear
- Liquid Sculpey Pearl
- Baking Sheet
- Toothpick
- Plastic Spoon
- Alcohol Inks
- Chalk Pastels
- Ultra-fine Glitter (color of choice)
- Chunky AB Clear Glitter
- Detail Scissors
- Jump Ring
- Chain
- Jewelry Pliers
Step 1: Please make sure your work area is covered and you are not working on an unprotected surface. We recommend working on the Sculpey® Work ‘n Bake Clay Mat, wax paper, metal baking sheet, or disposable foil. Uncured Liquid Bakable Sculpey may damage unprotected furniture or finished surfaces. Be sure to cover your crafting area appropriately.
Step 2: Gently stir the bottle of Liquid Bakeable Sculpey by rolling it on a table top.
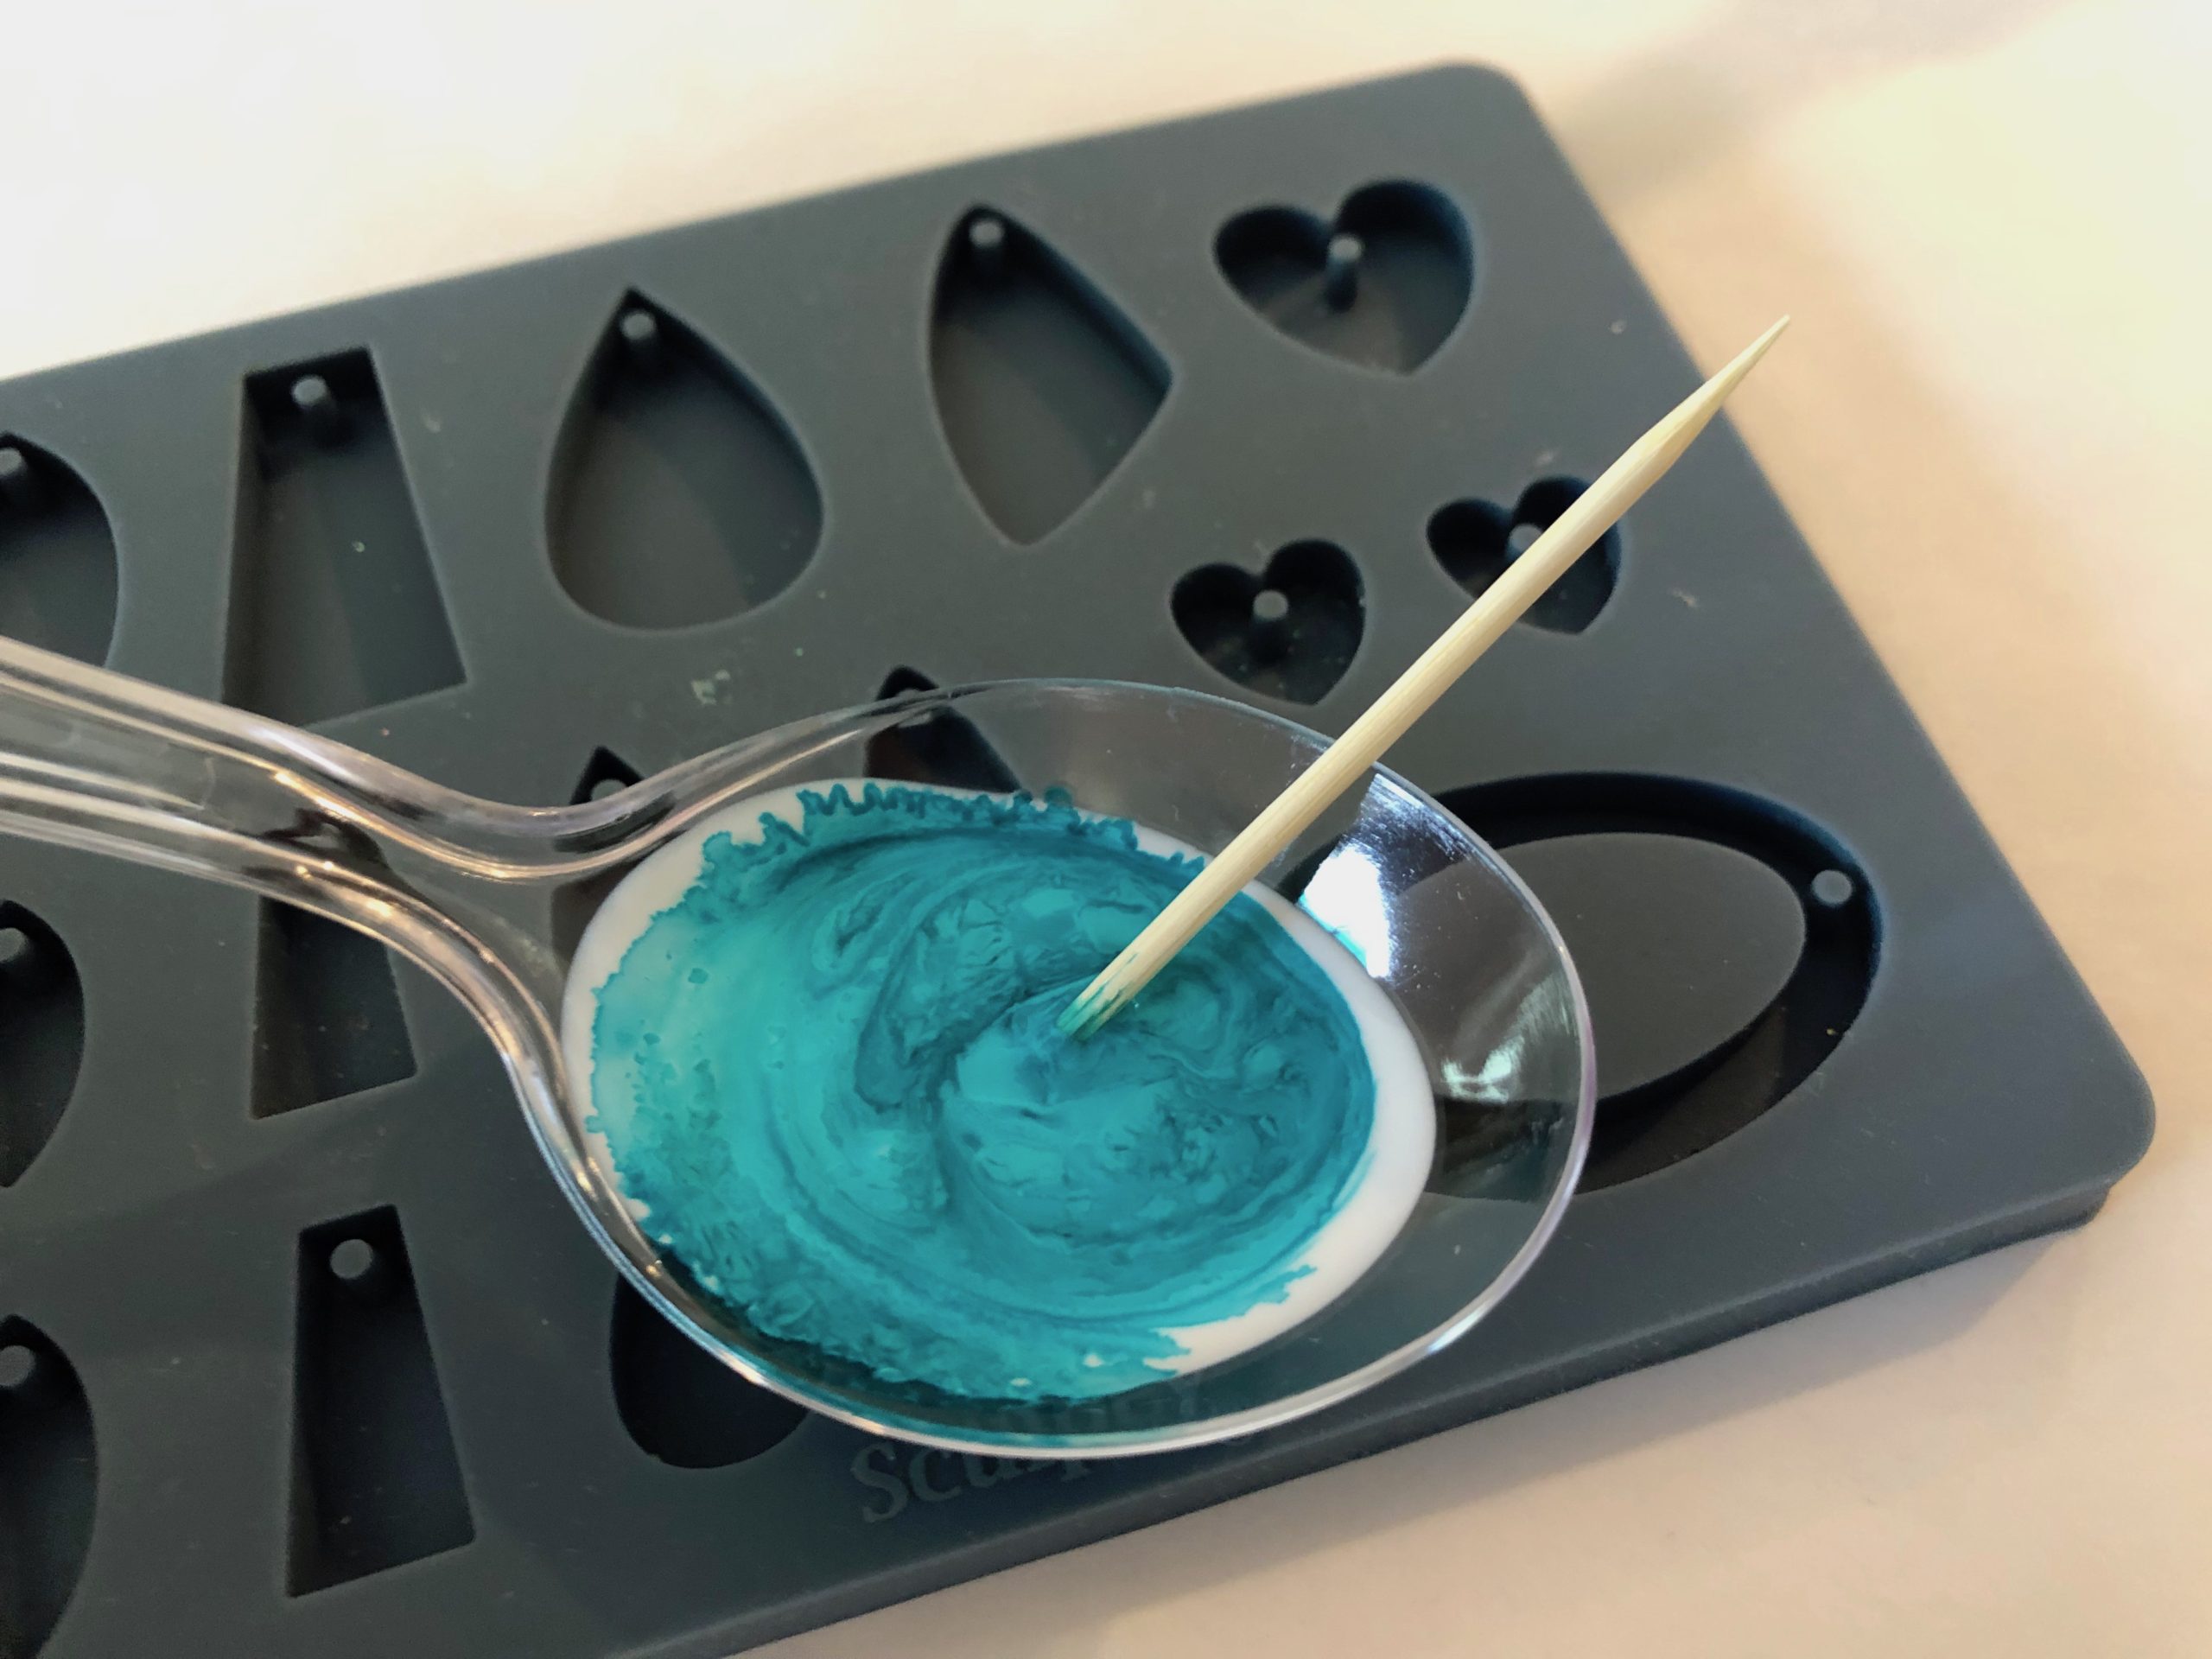
Step 3: Boho Alcohol Ink Pendants: Fill the plastic spoon with Clear Liquid Sculpey. Add 3 drops (or more) of alcohol ink. Mix with a toothpick to combine the ink and Sculpey. Mix just a little for a cracked look and completely mix for a more solid look. Pour into the well of a mold.
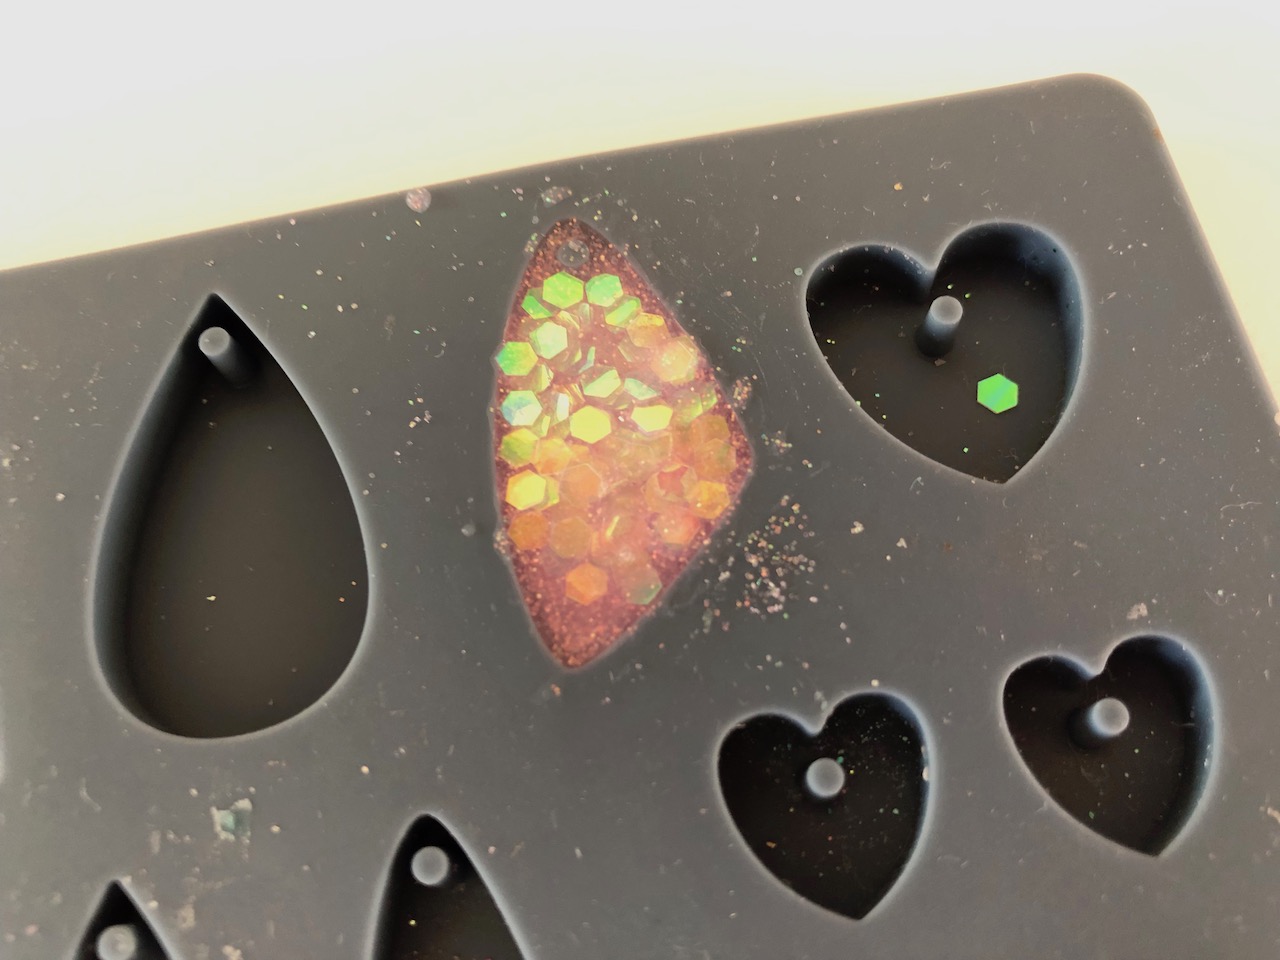
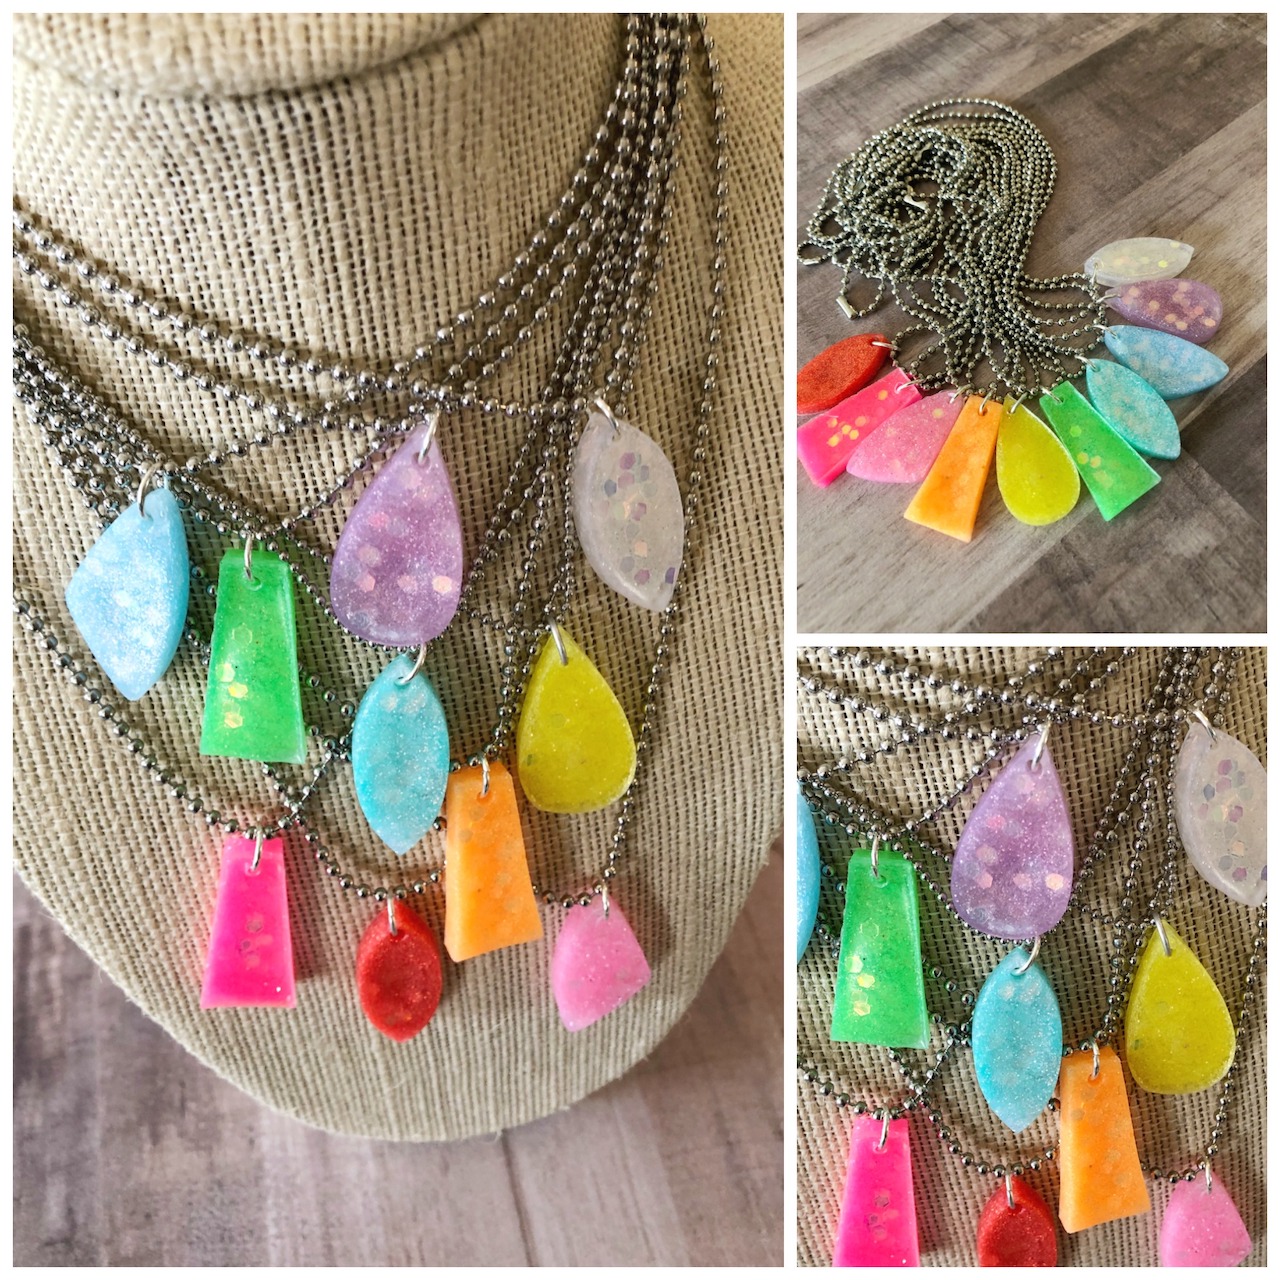
Step 4: Crystal Glitter Pendants: Add a small scoop of ultra-fine glitter to the well of a pendant shape on the mold. Add Clear Liquid Sculpey to the glitter and mix with a toothpick. Add more ultra-fine glitter to the well and mix again. Add the chunky AB clear glitter to the well and mix with a toothpick.
I love the bright pops of color with the glitter mixed in. 🙂
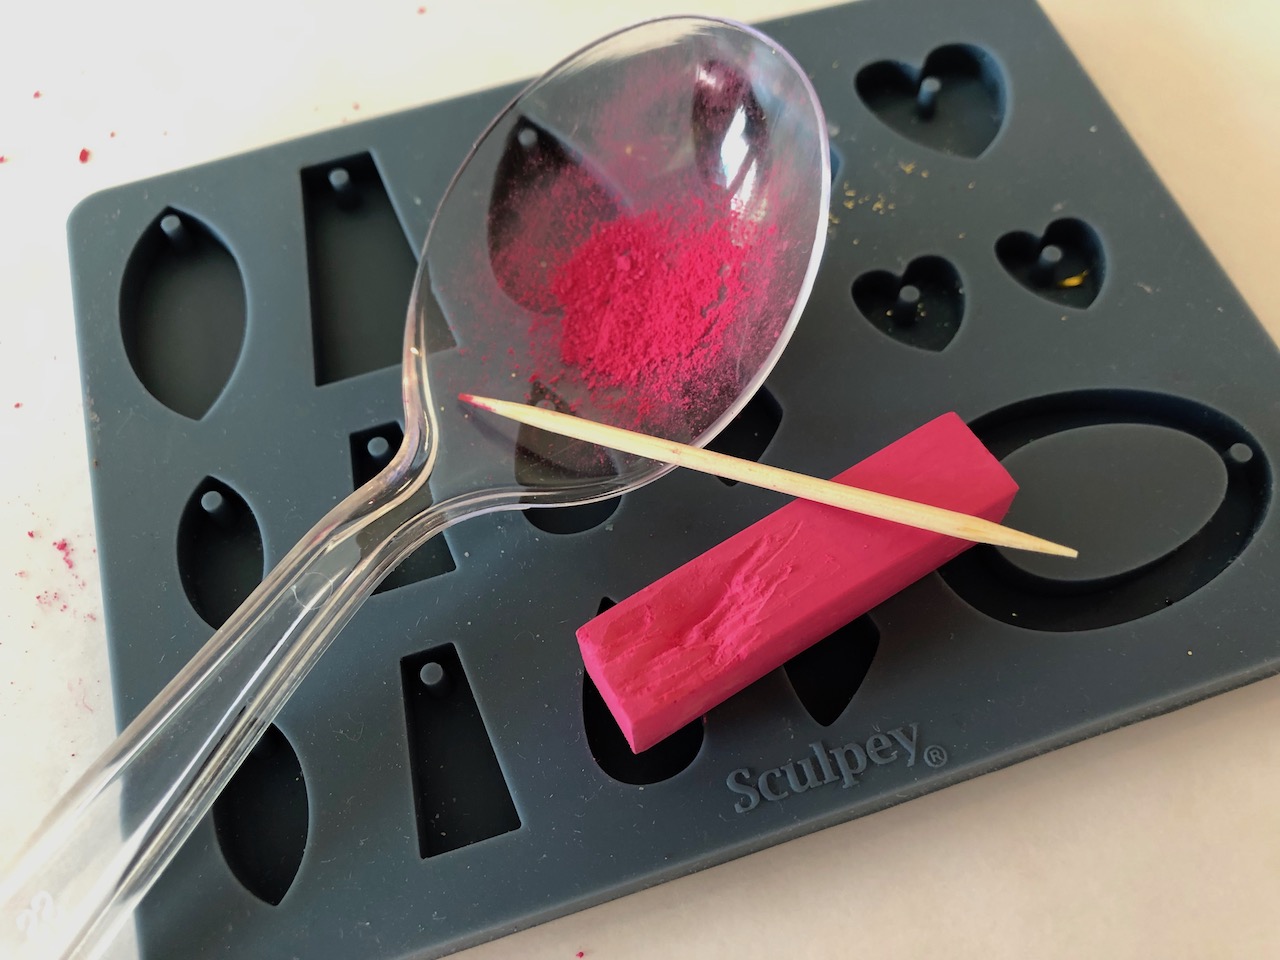
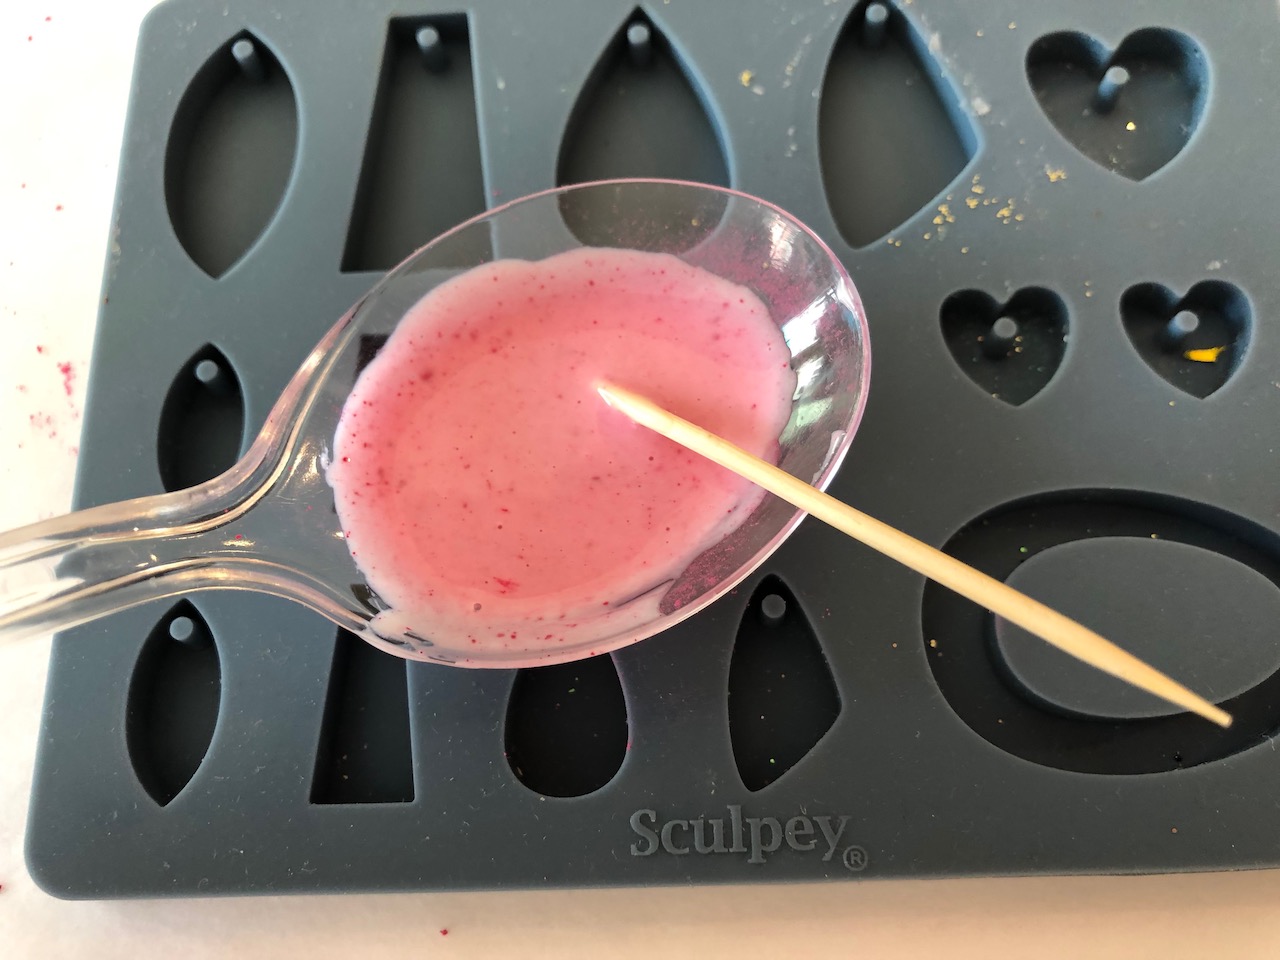
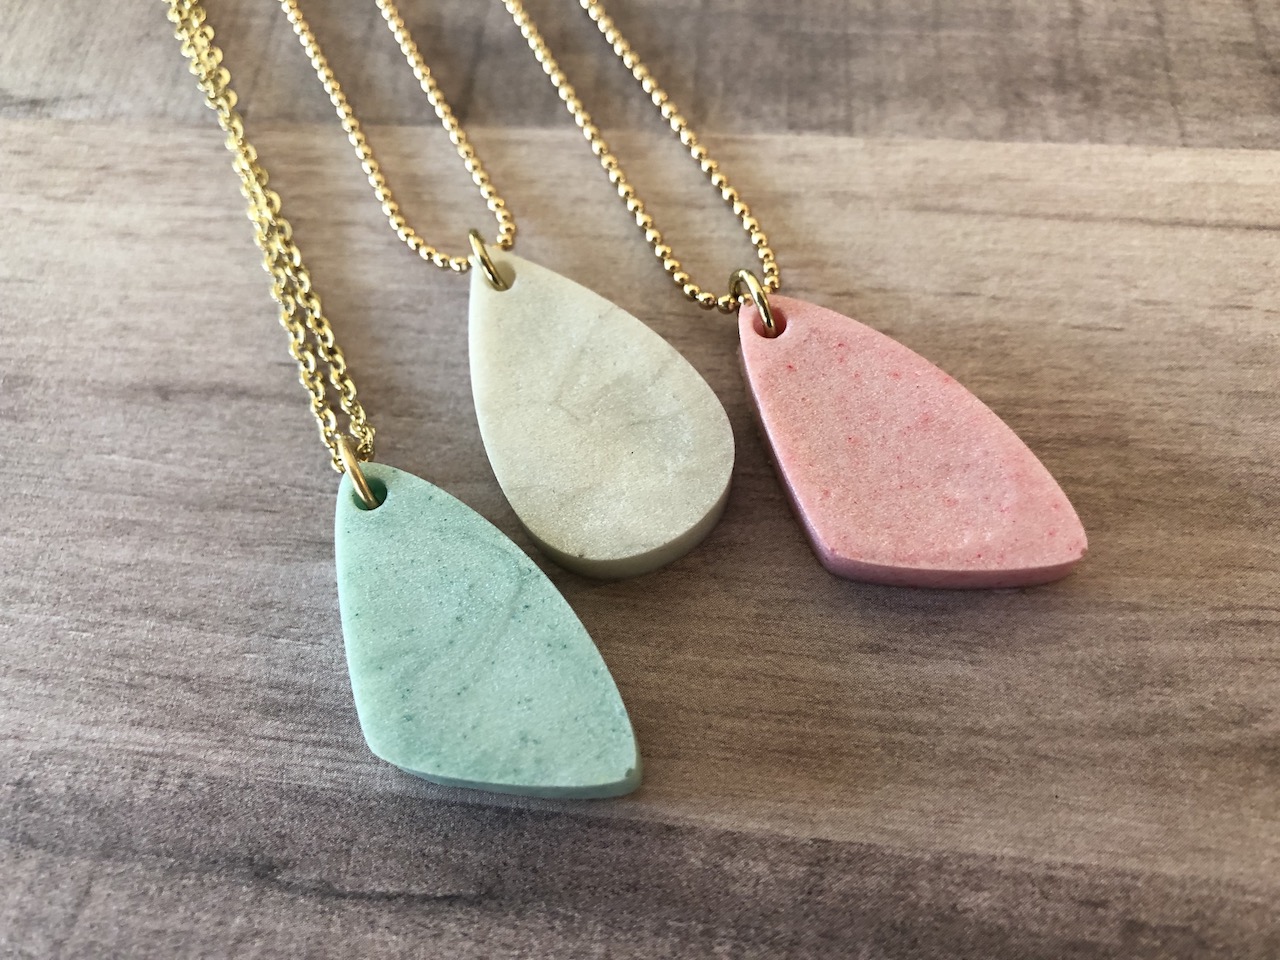
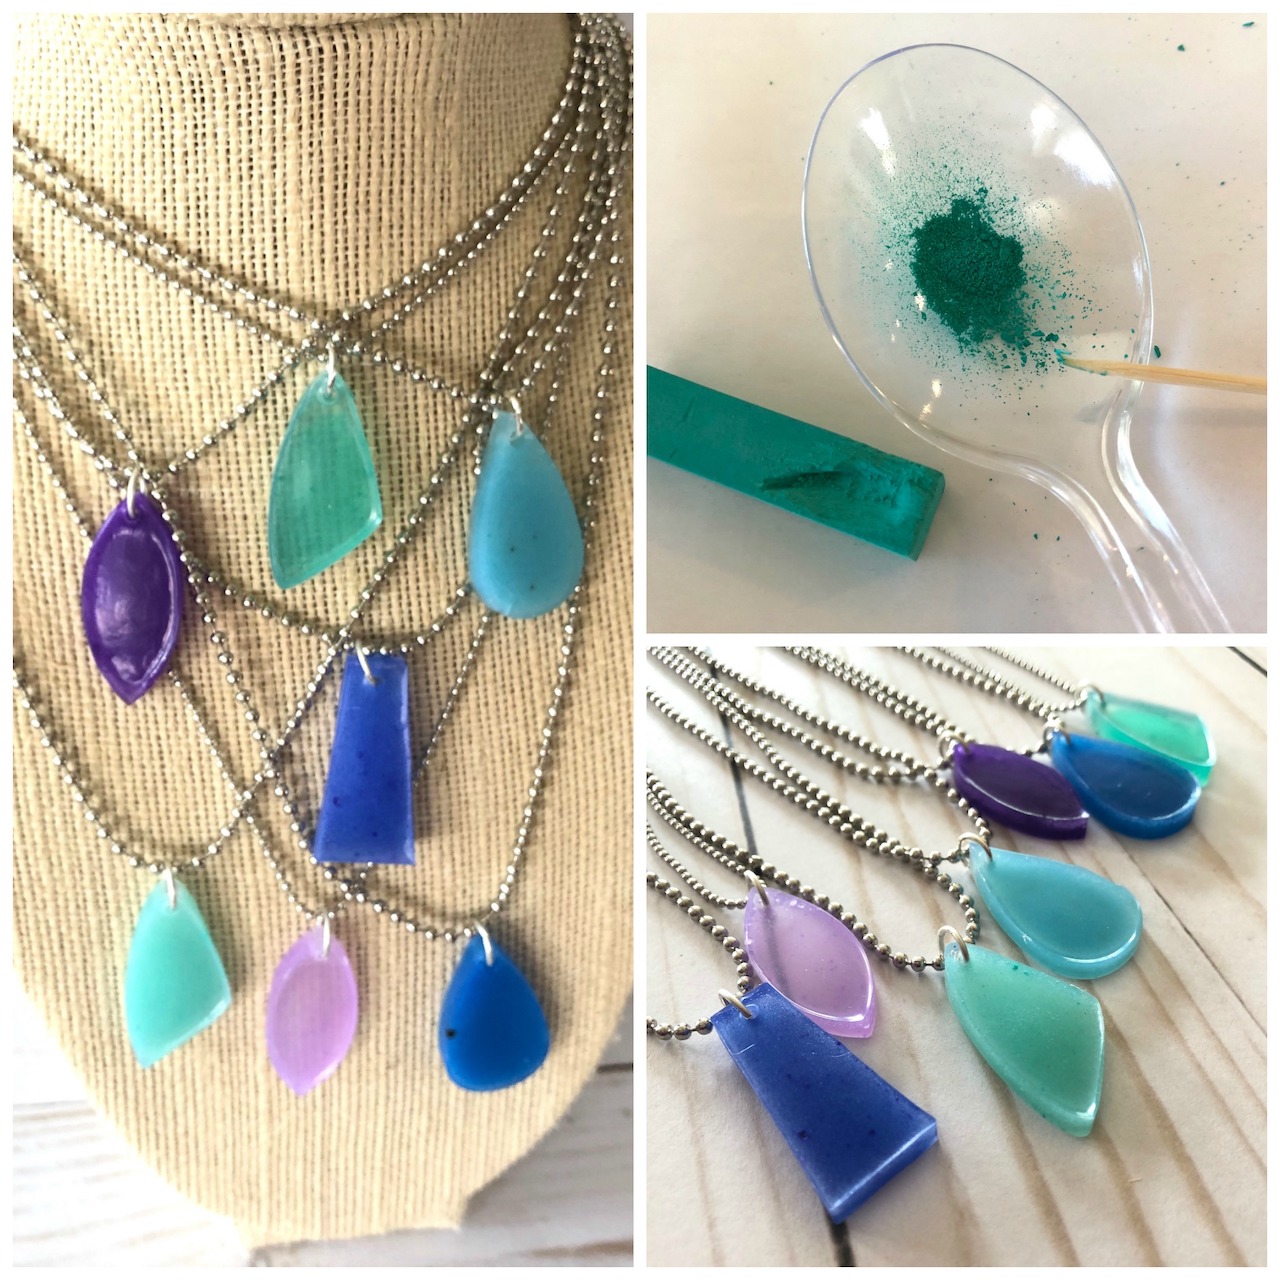
Step 5: Pastel Pearl Pendants: Use a toothpick to scrape a small amount of chalk pastels into the well of a spoon. Add Pearl Liquid Sculpey to the chalk pastels and mix with a toothpick. Pour into the well of a mold.
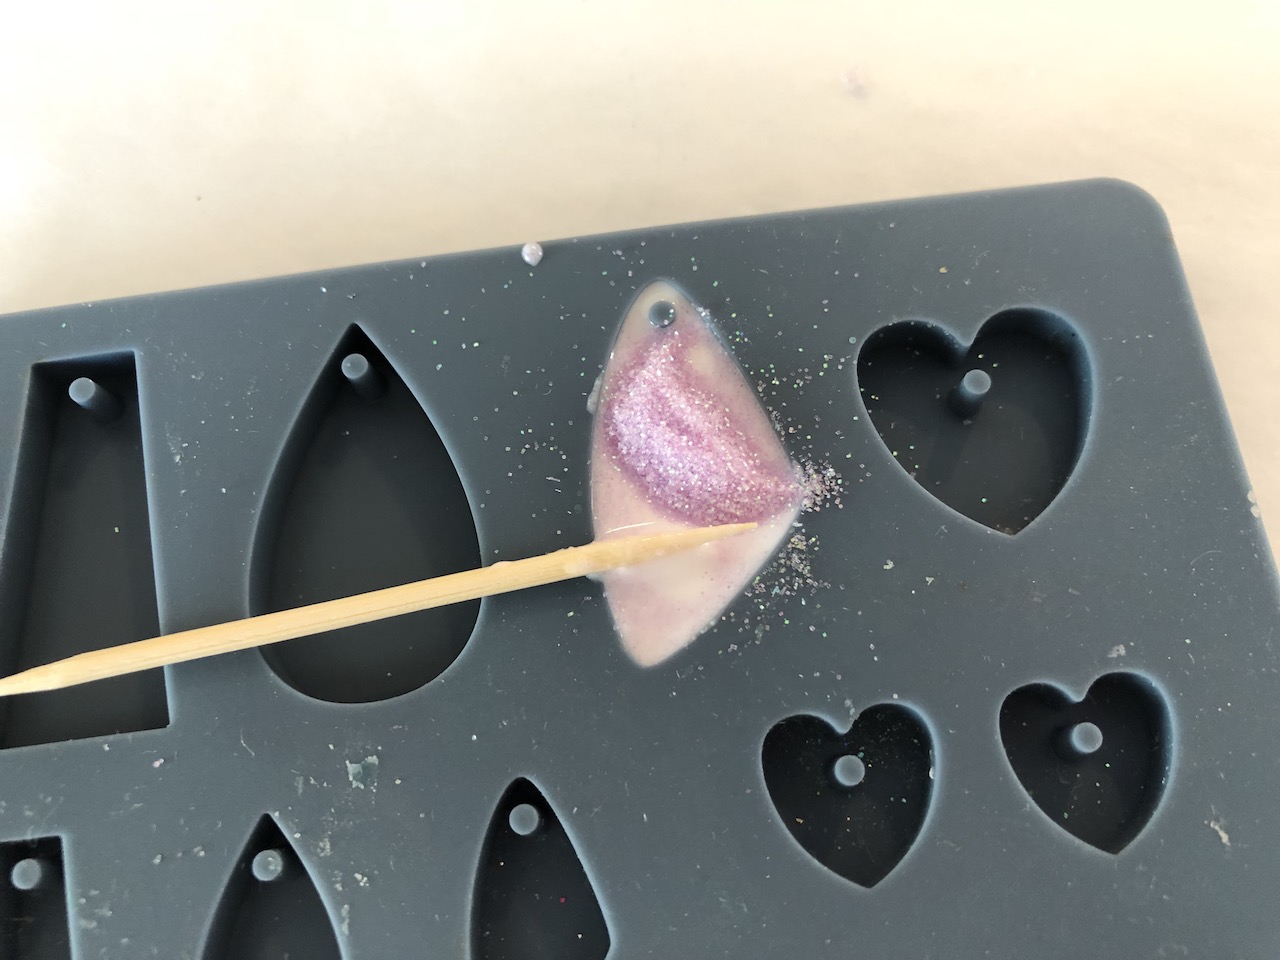
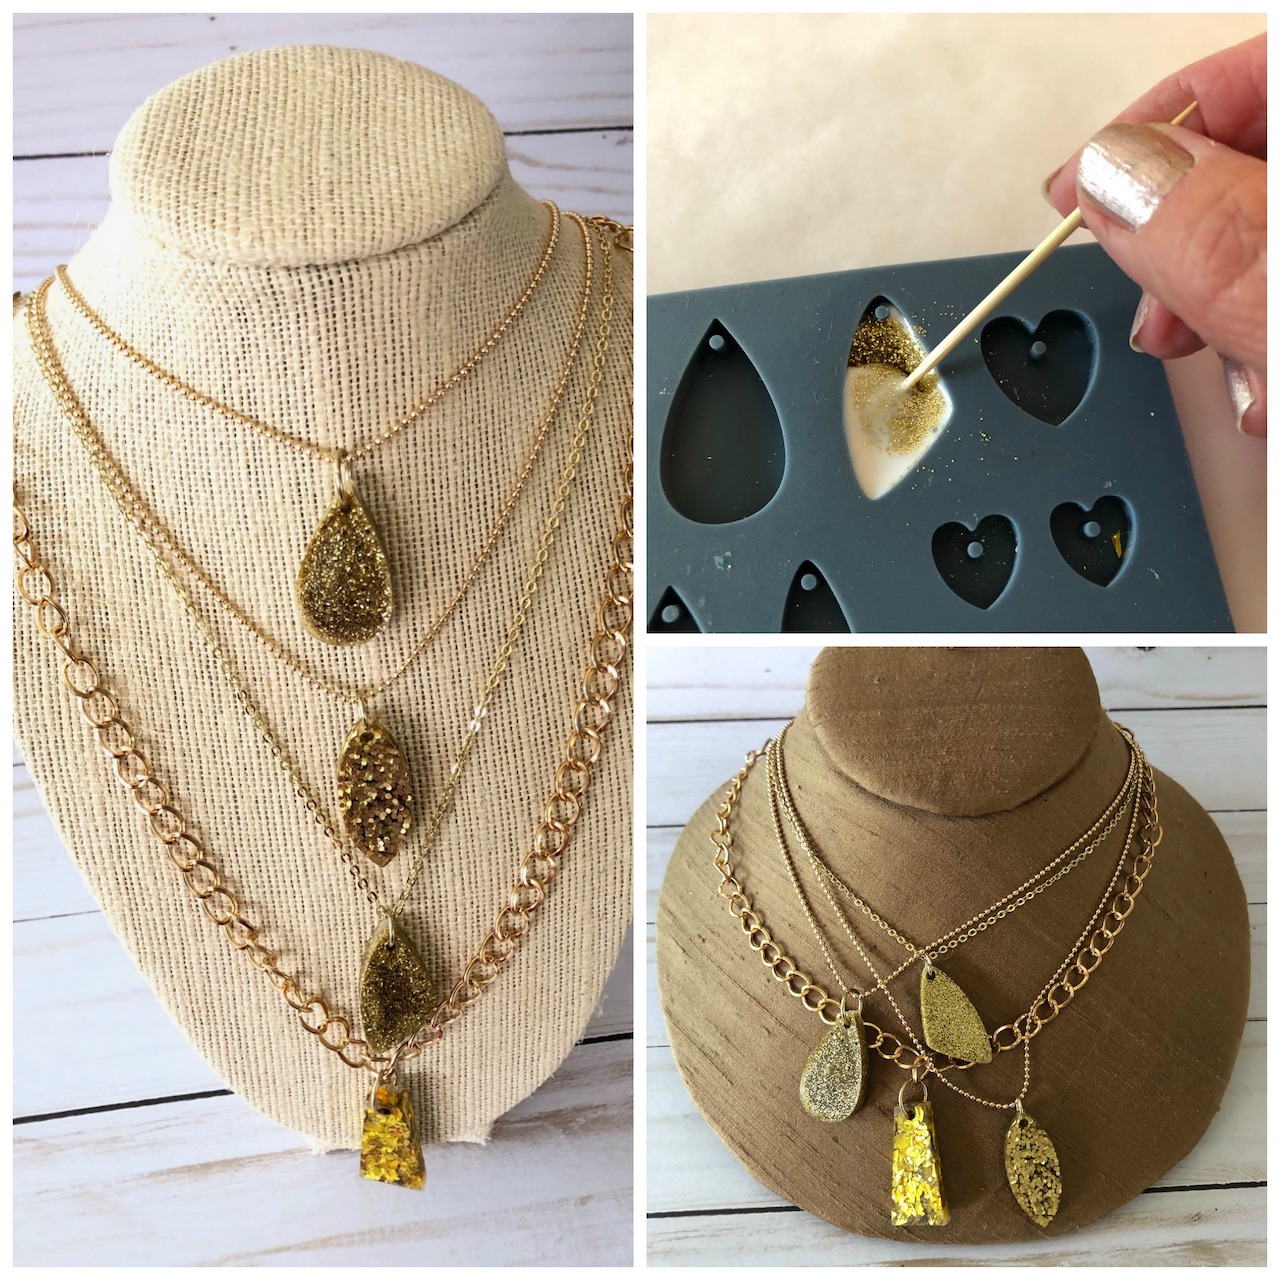
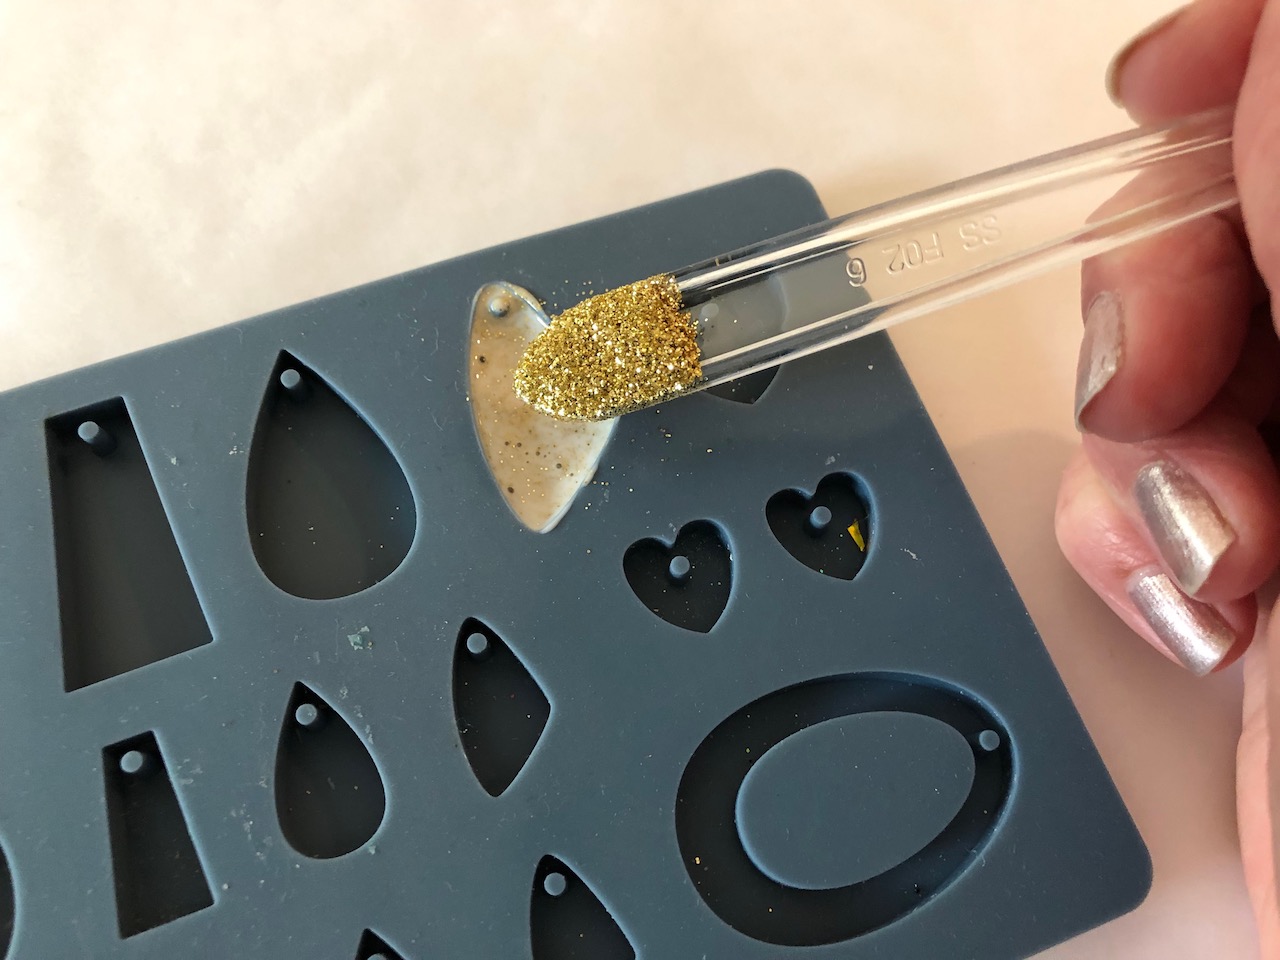
Step 6: Gold Glitter Pendants: (Note: You can use any color of glitter for this technique) Add a small scoop of ultra-fine glitter to the well of a pendant shape on the mold. Add Clear Liquid Sculpey to the glitter and mix with a toothpick. Add more ultra-fine glitter to the well and mix again. Pour into the well of a mold.
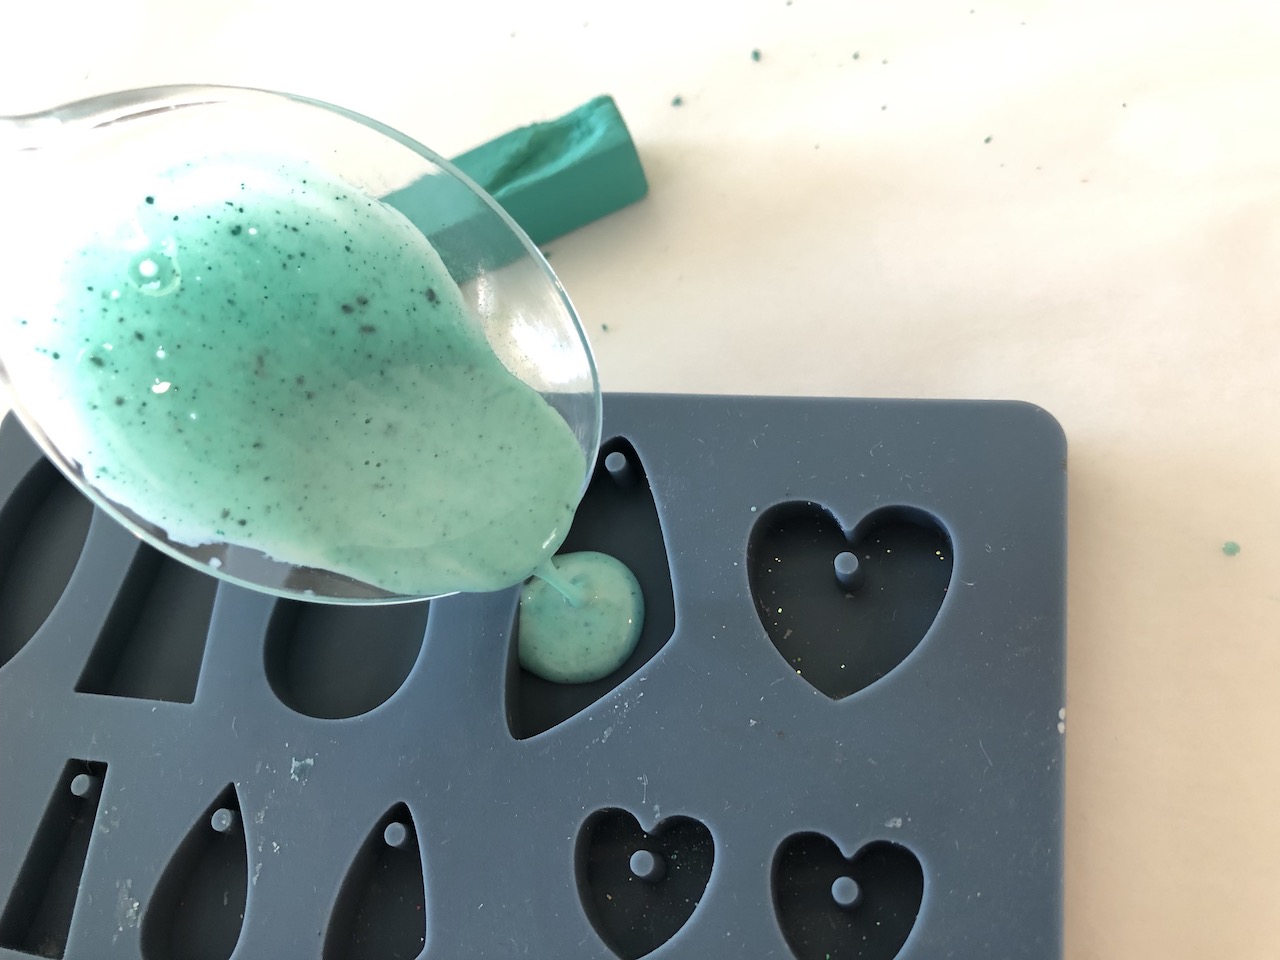
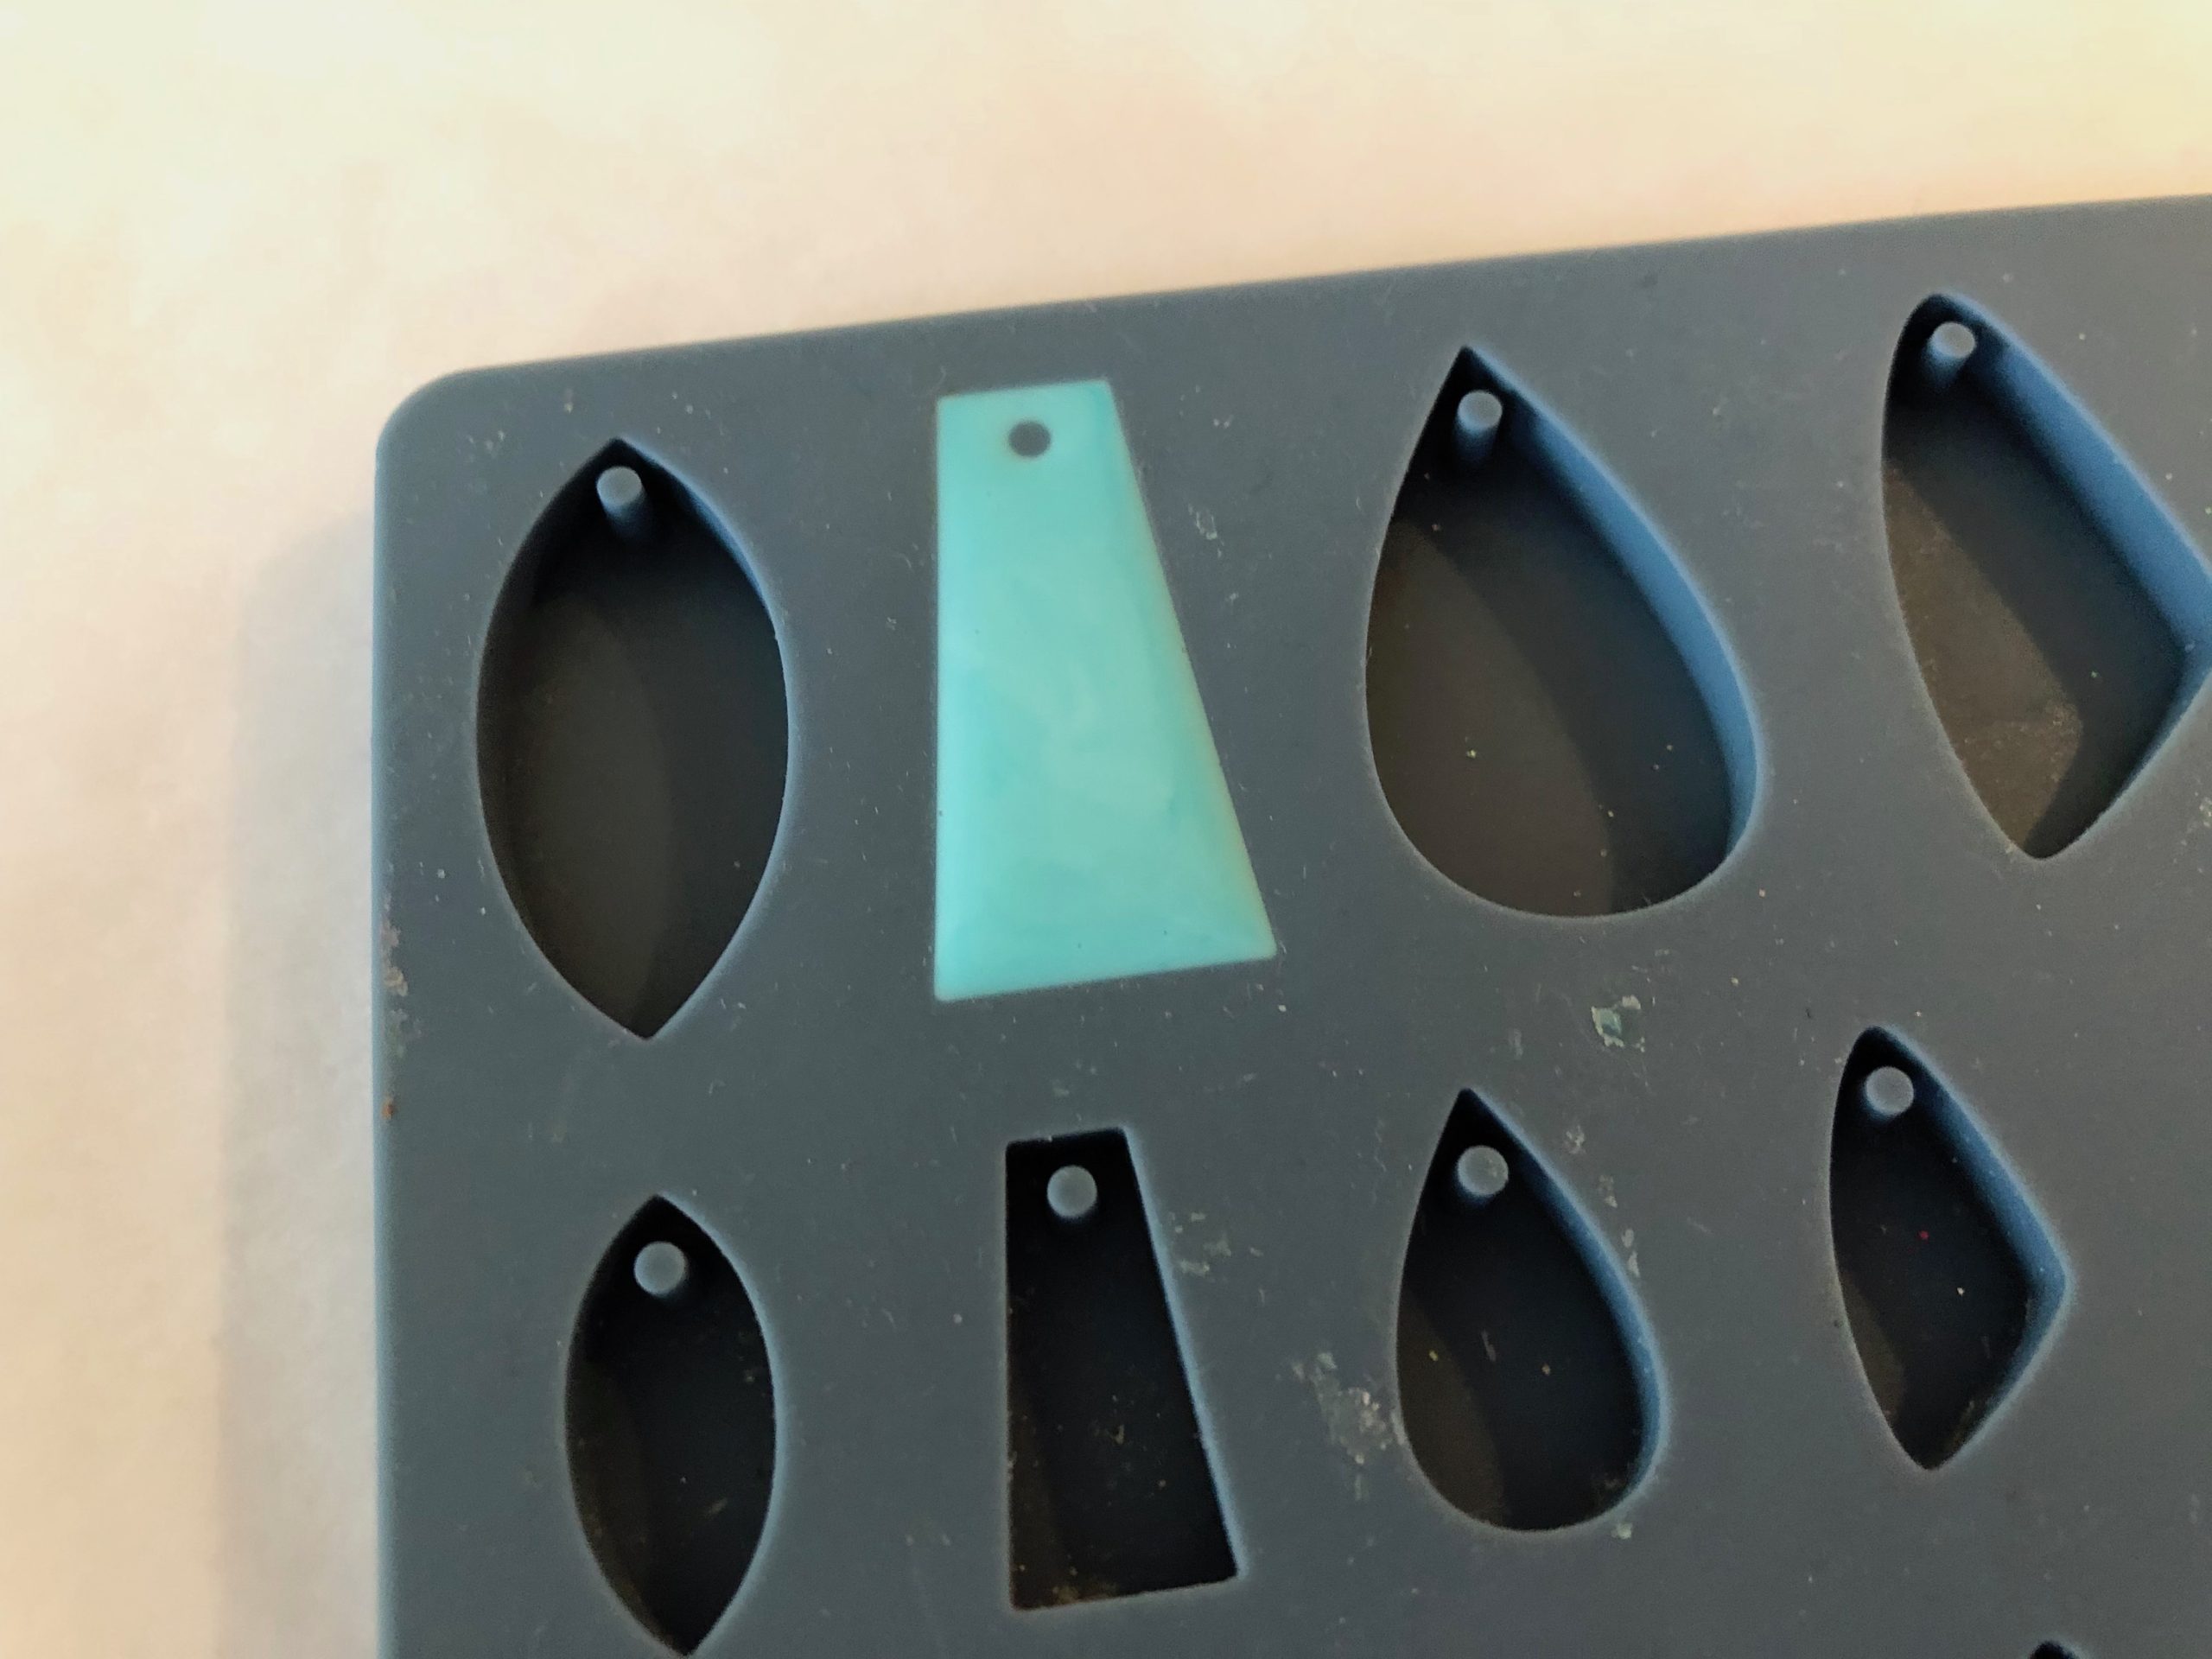
Step 7: Faux Sea Glass: Use a toothpick to scrape a small amount of chalk pastels into the well of a spoon. For sea glass, I like to use blues, greens and ambers. Add Clear Liquid Sculpey to the chalk pastels and mix with a toothpick. Pour into the well of a mold.
Step 8: Baking: Place the mold on a baking sheet. Preheat your oven. For Clear Liquid Sculpey bake at 300 ºF (149 ºC). For Pearl Liquid Sculpey bake at 275 ºF (135 ºC). Bake 15 min for every 1/4 inch (6.4mm) of thickness. Do not microwave.
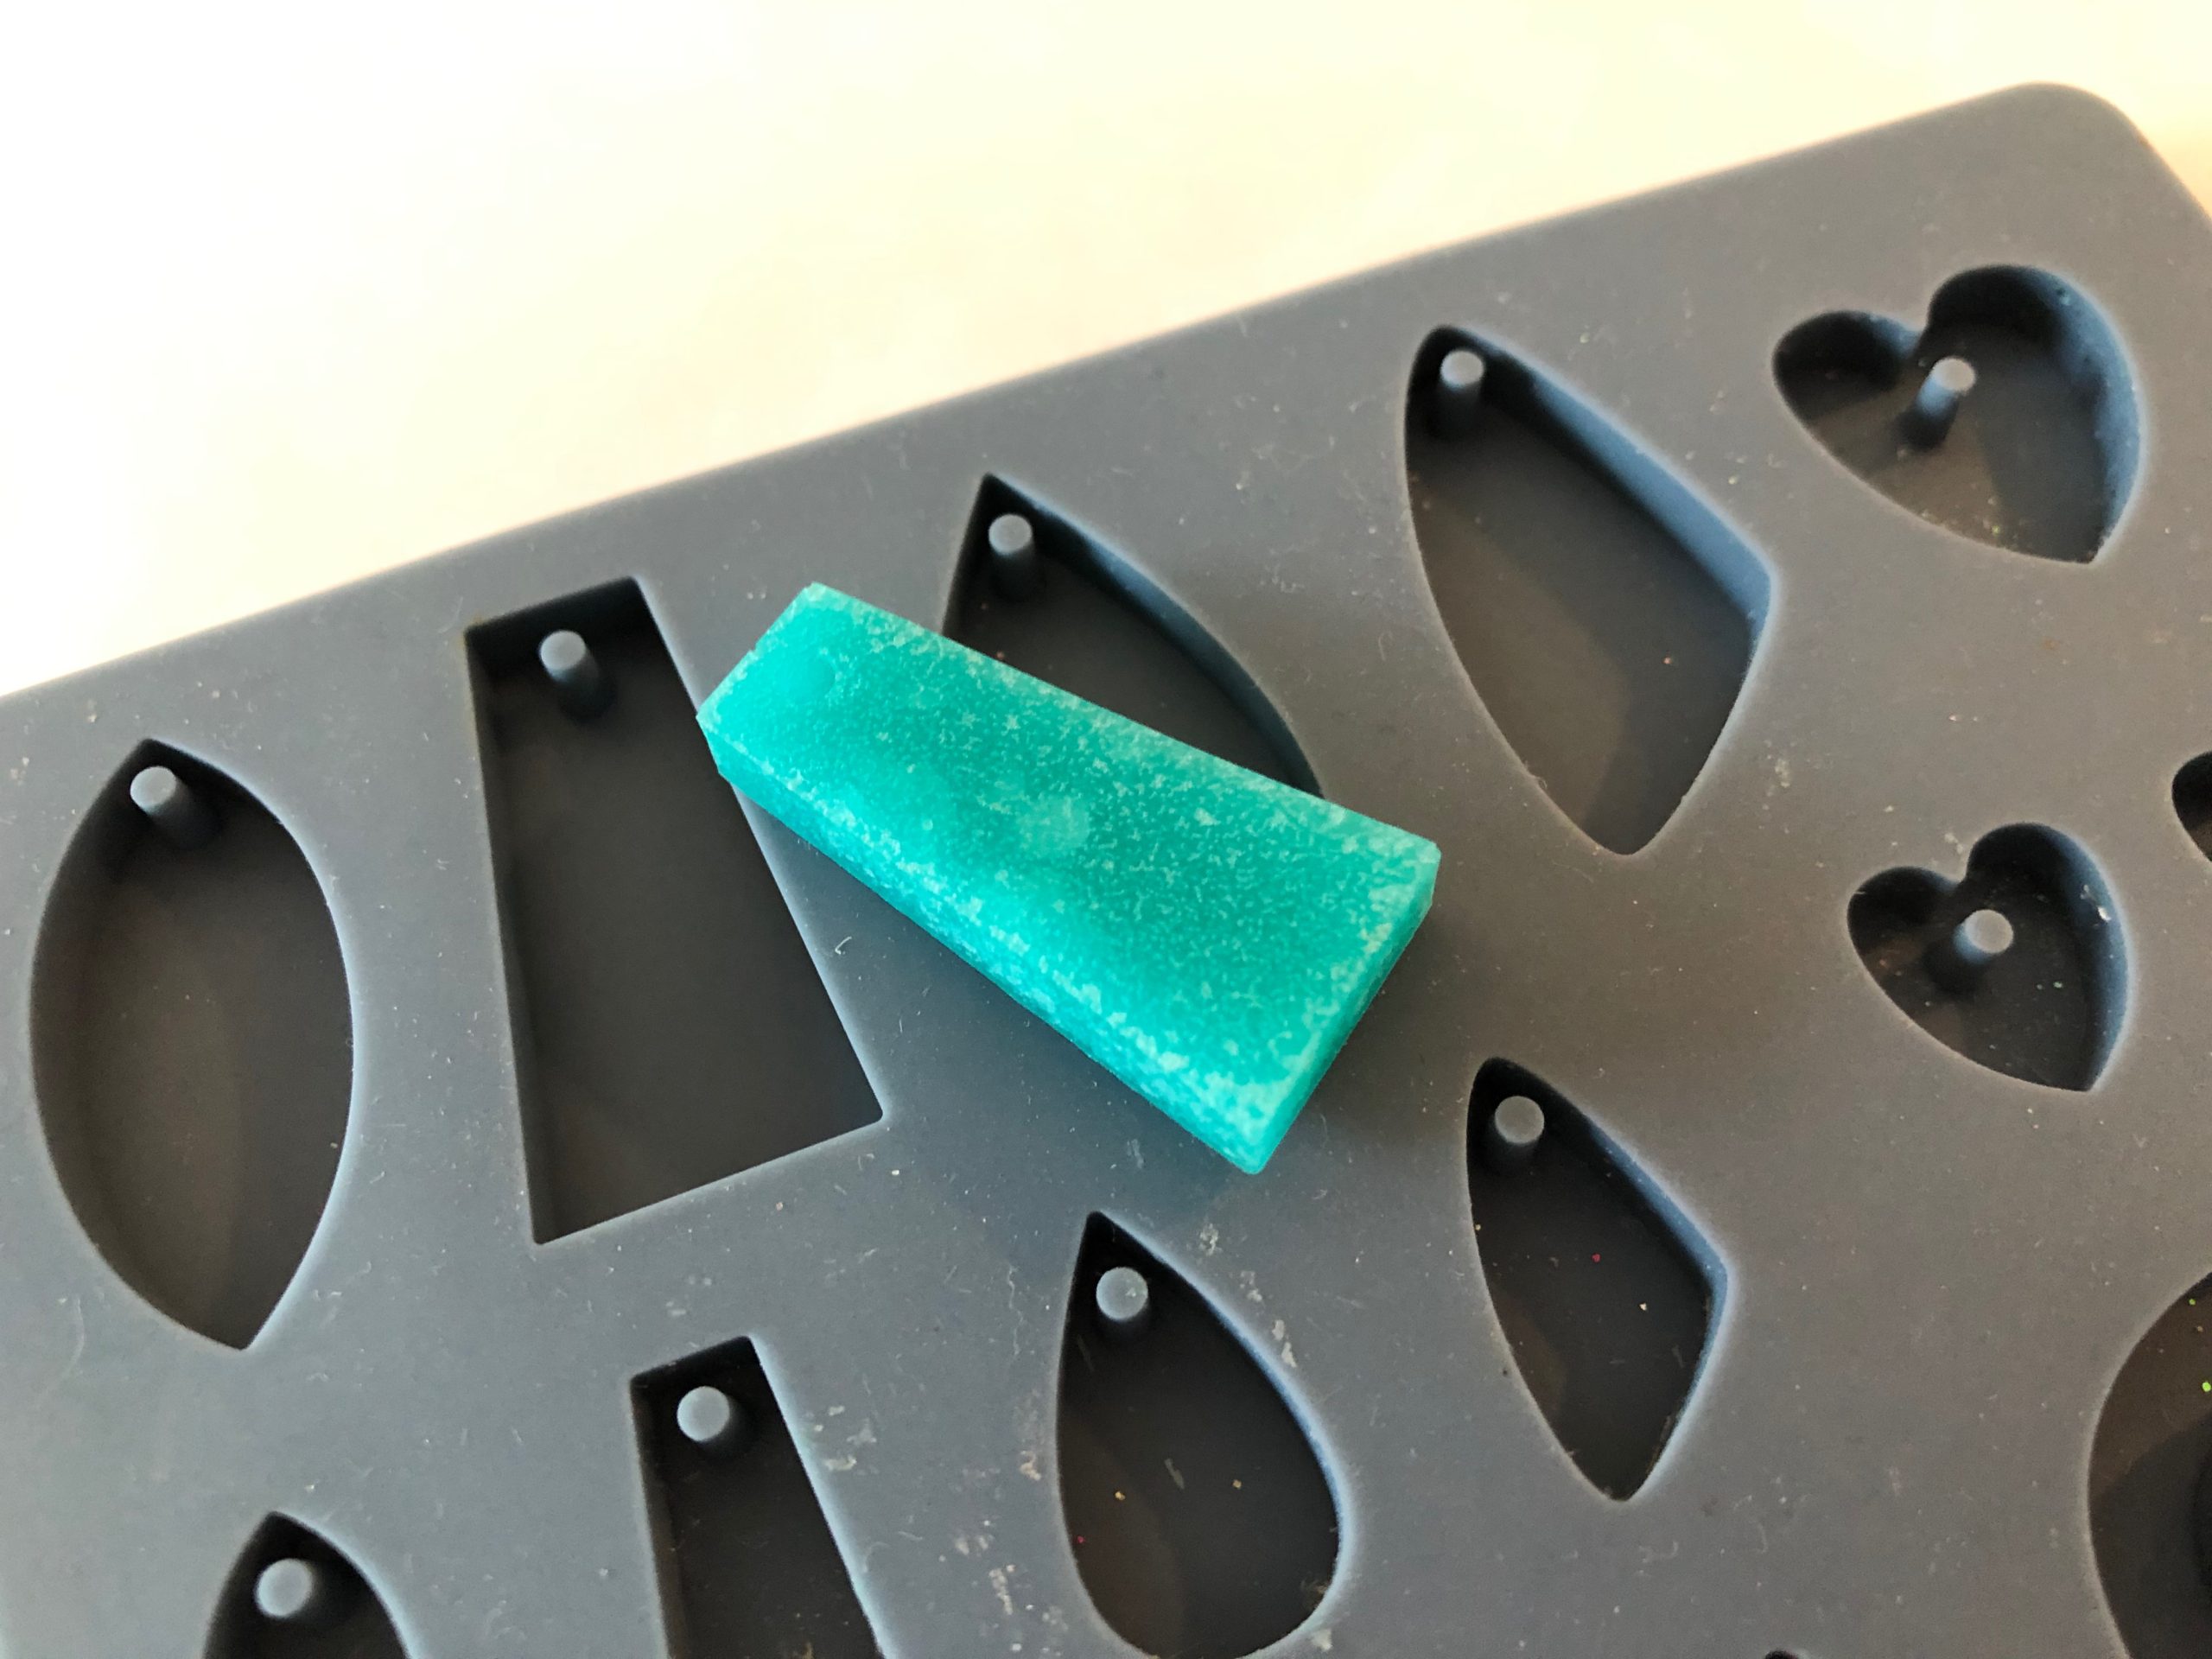
Step 9: Pop the pendant from the mold.
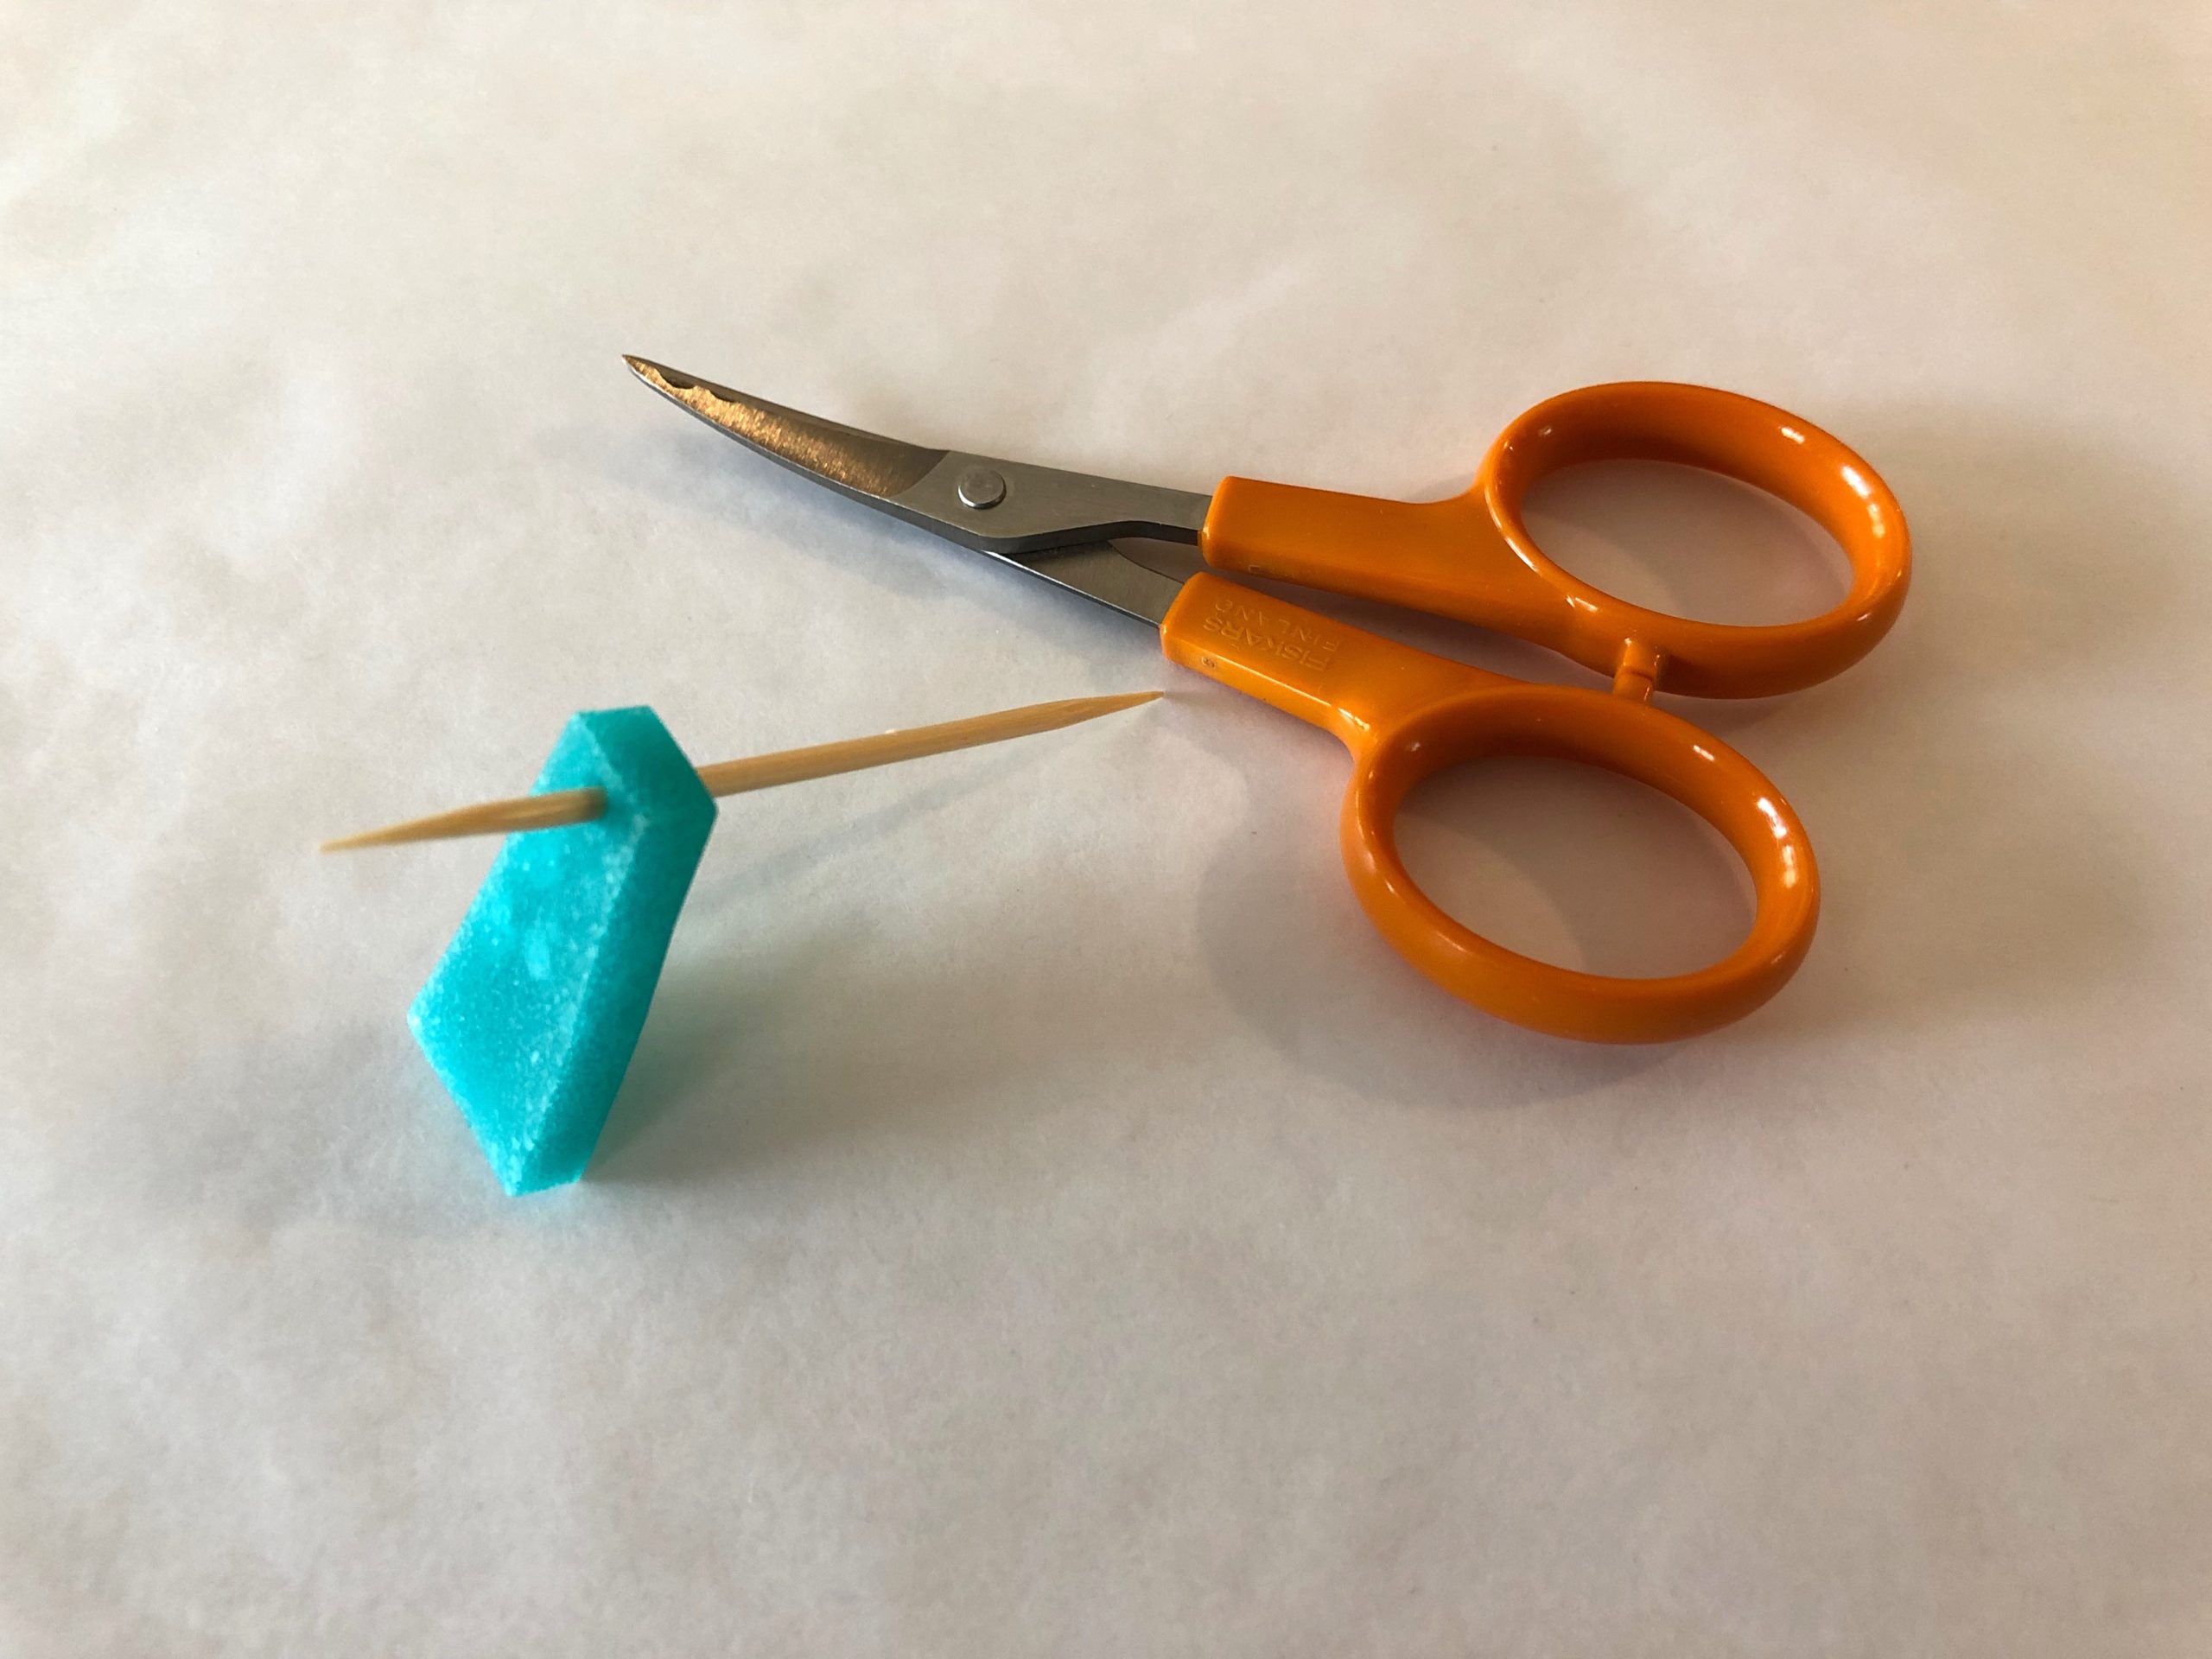
Step 10: Use detail scissors to trim any excess from the edges. Use the toothpick to pierce the hole if needed.
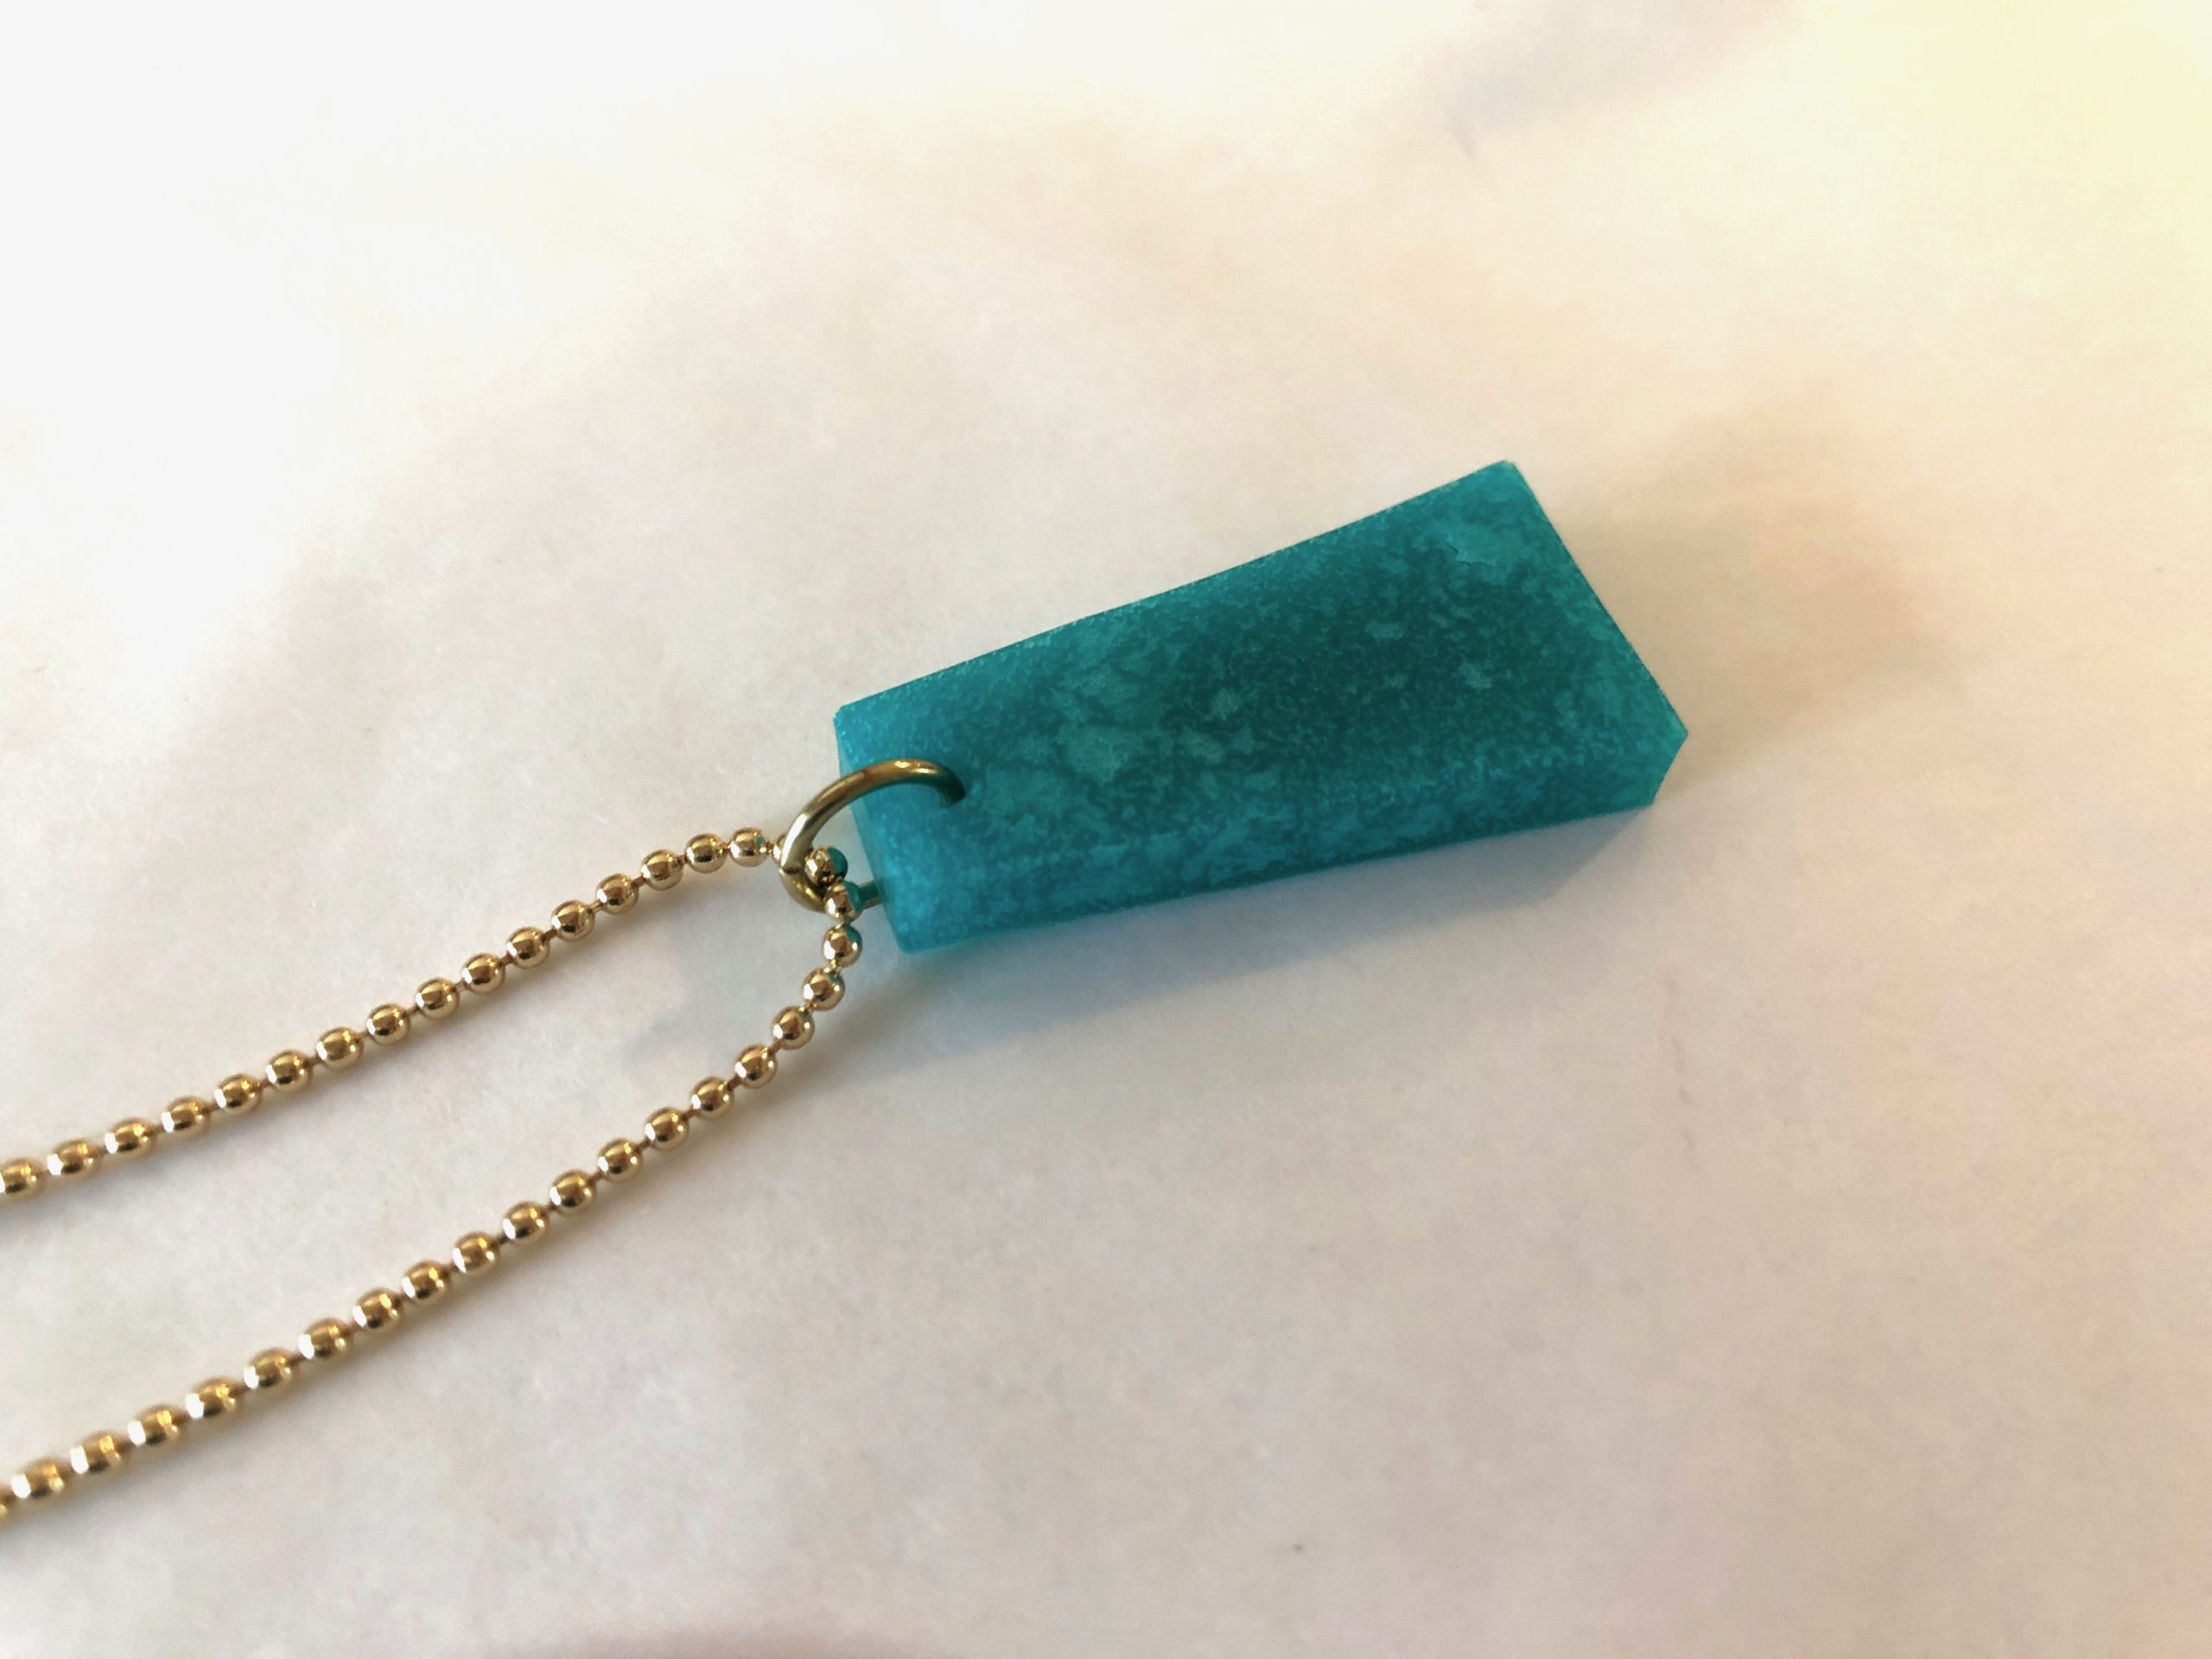
Step 11: Using pliers, attach a jump-ring through the hole and attach to a chain.
Click the Gear to view in High Definition!
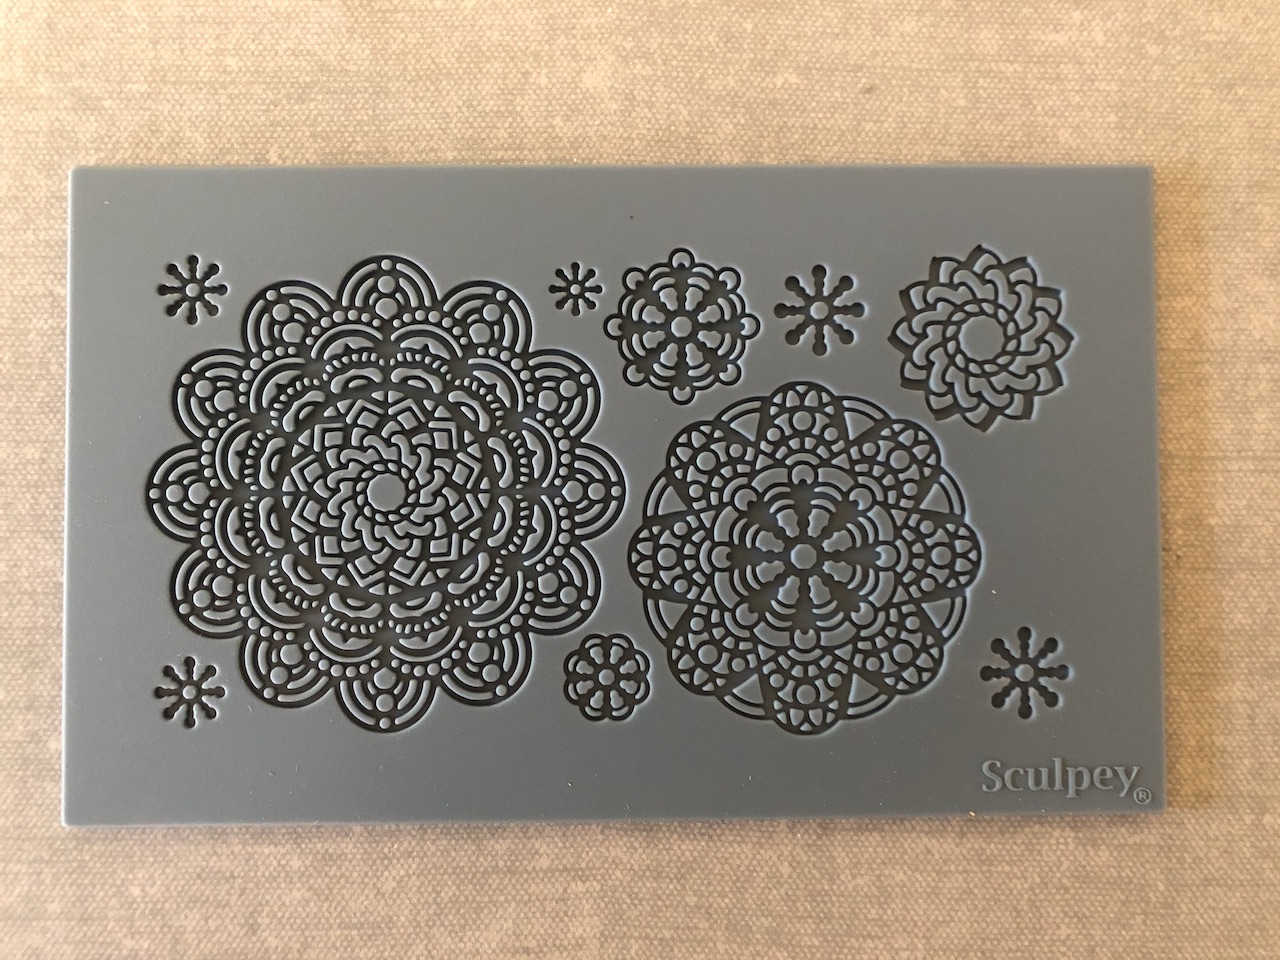
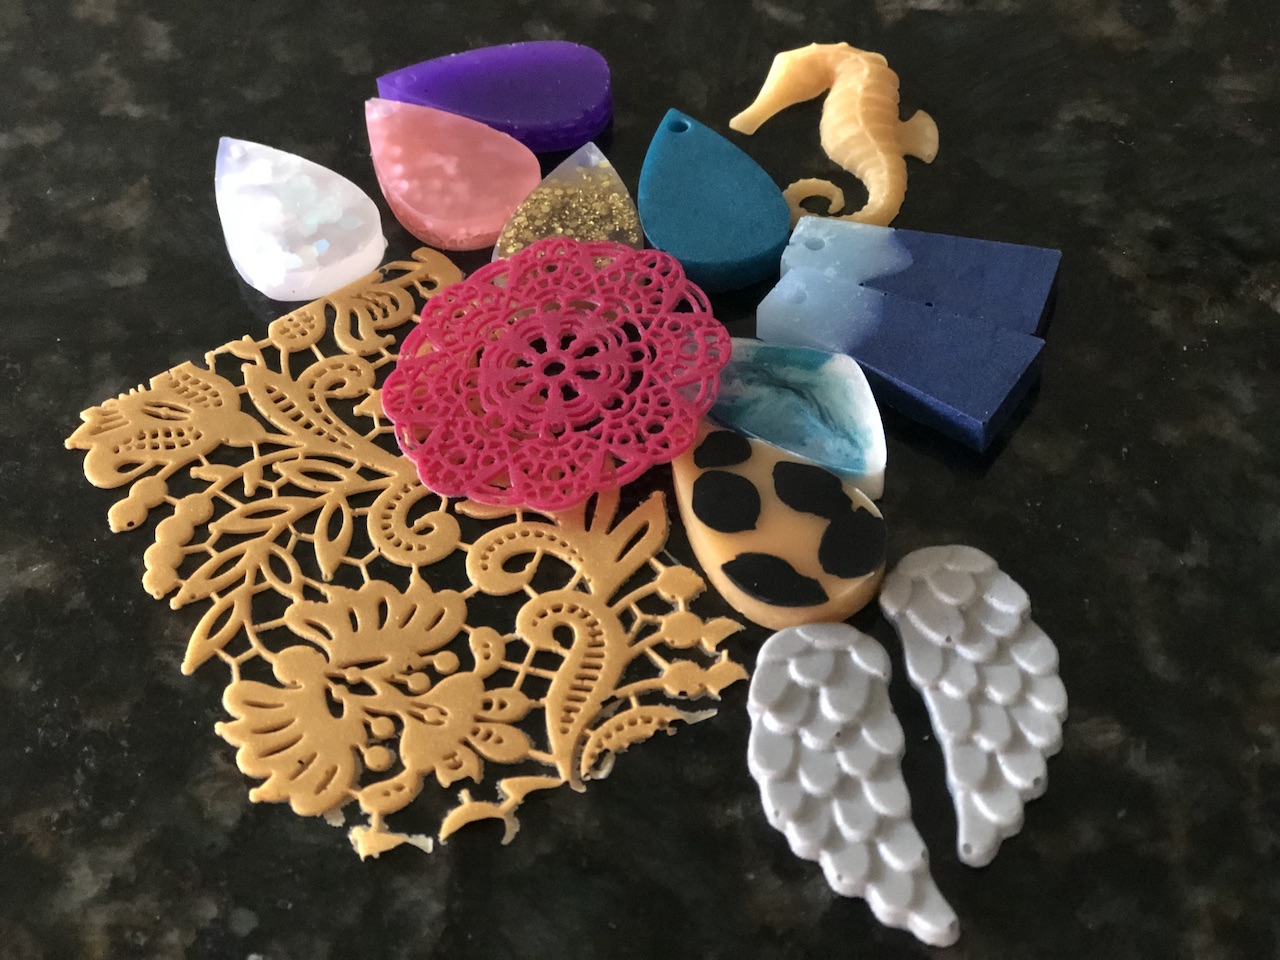
Sculpy also has flat filigree molds. This one is the Mandela Mold. These molds work with a squeegee and they create a lace like look.
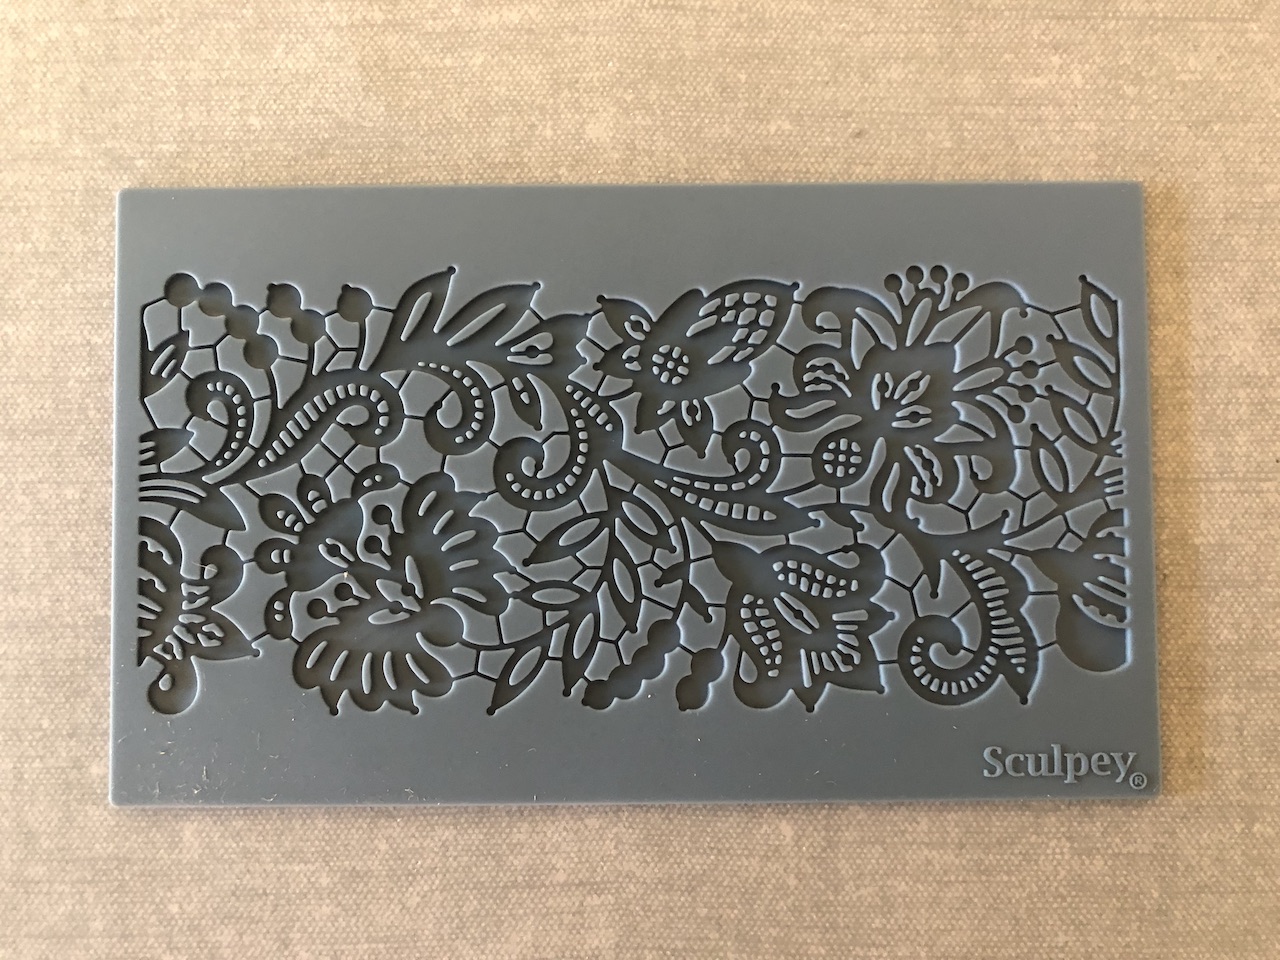
This is the lace mold. You can see how they work in the video above.
Watch the video on YOUTUBE!
Thanks for popping by! Drop me a comment if you have any questions. Pin, Like and Share. XO Cathie






Wow… Where have I been???!! These are SO cool🥰🥰🥰