(Originally HGTV and DIY)
Episode 504 – Take a Break Gift Basket
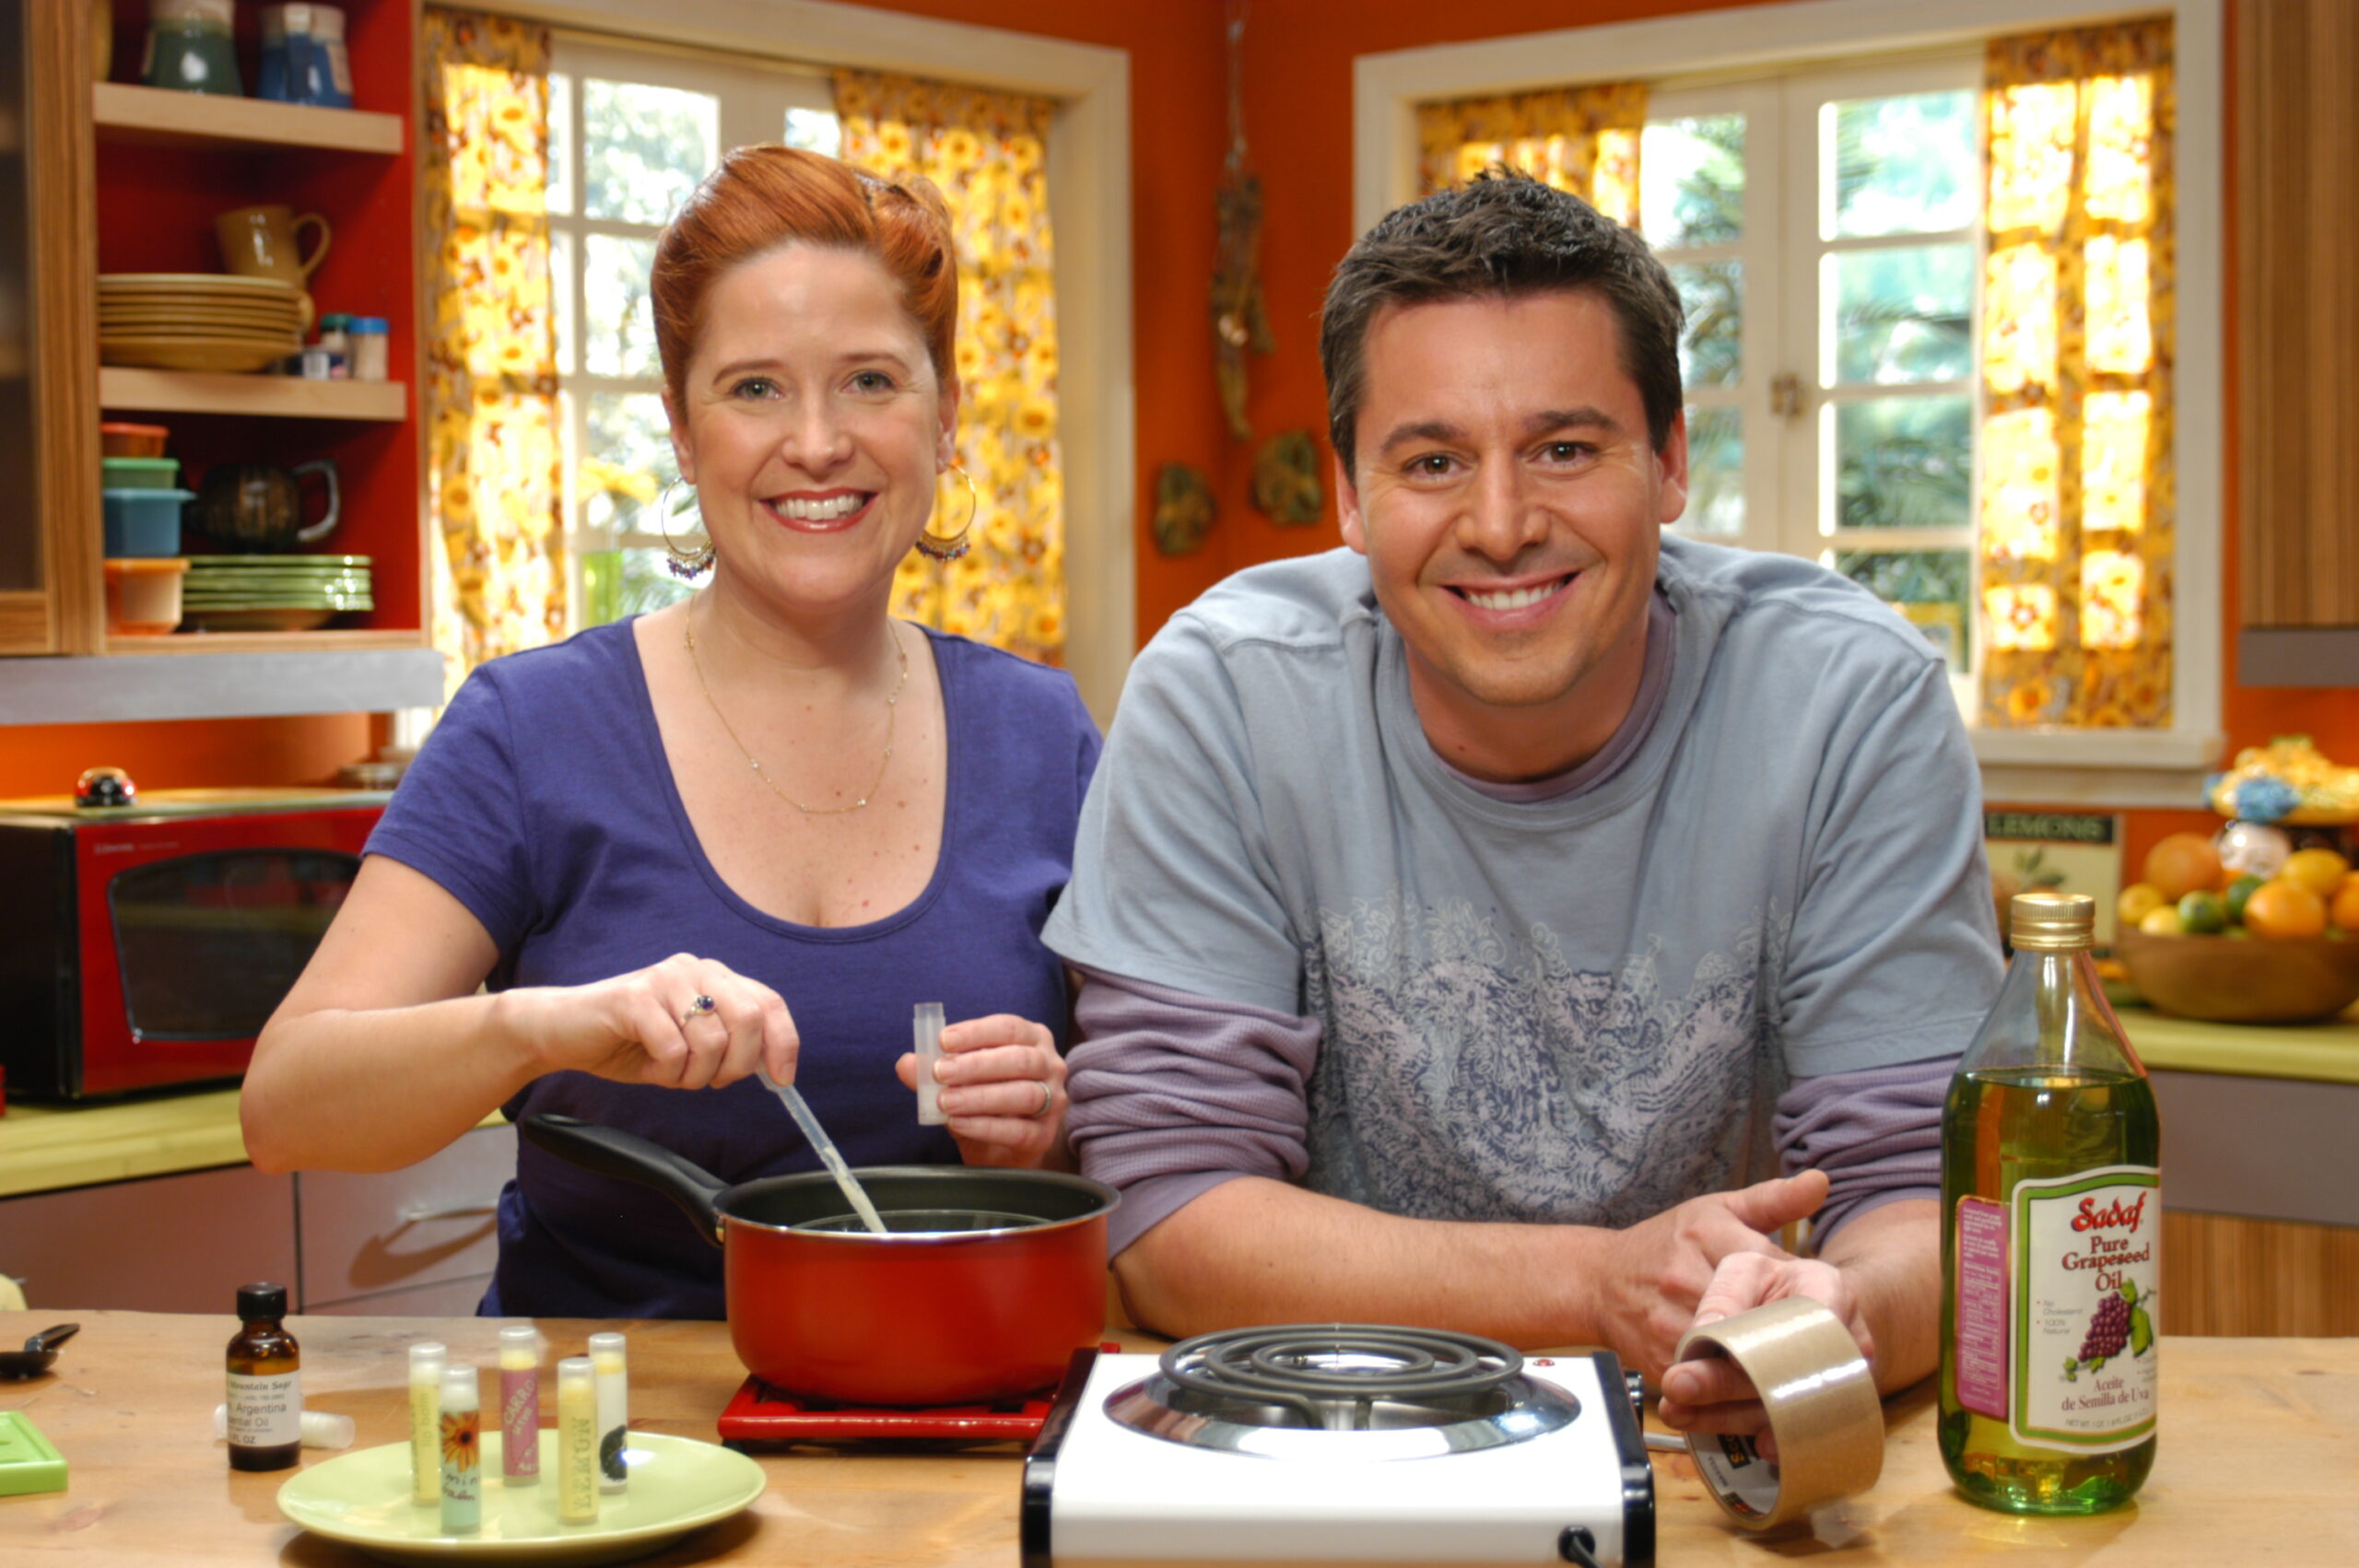
On this episode of Creative Juice we are making everything DIY Beauty and we are sharing great recipes for making homage soaps, lip balm, sugar scrubs and salt scrubs.
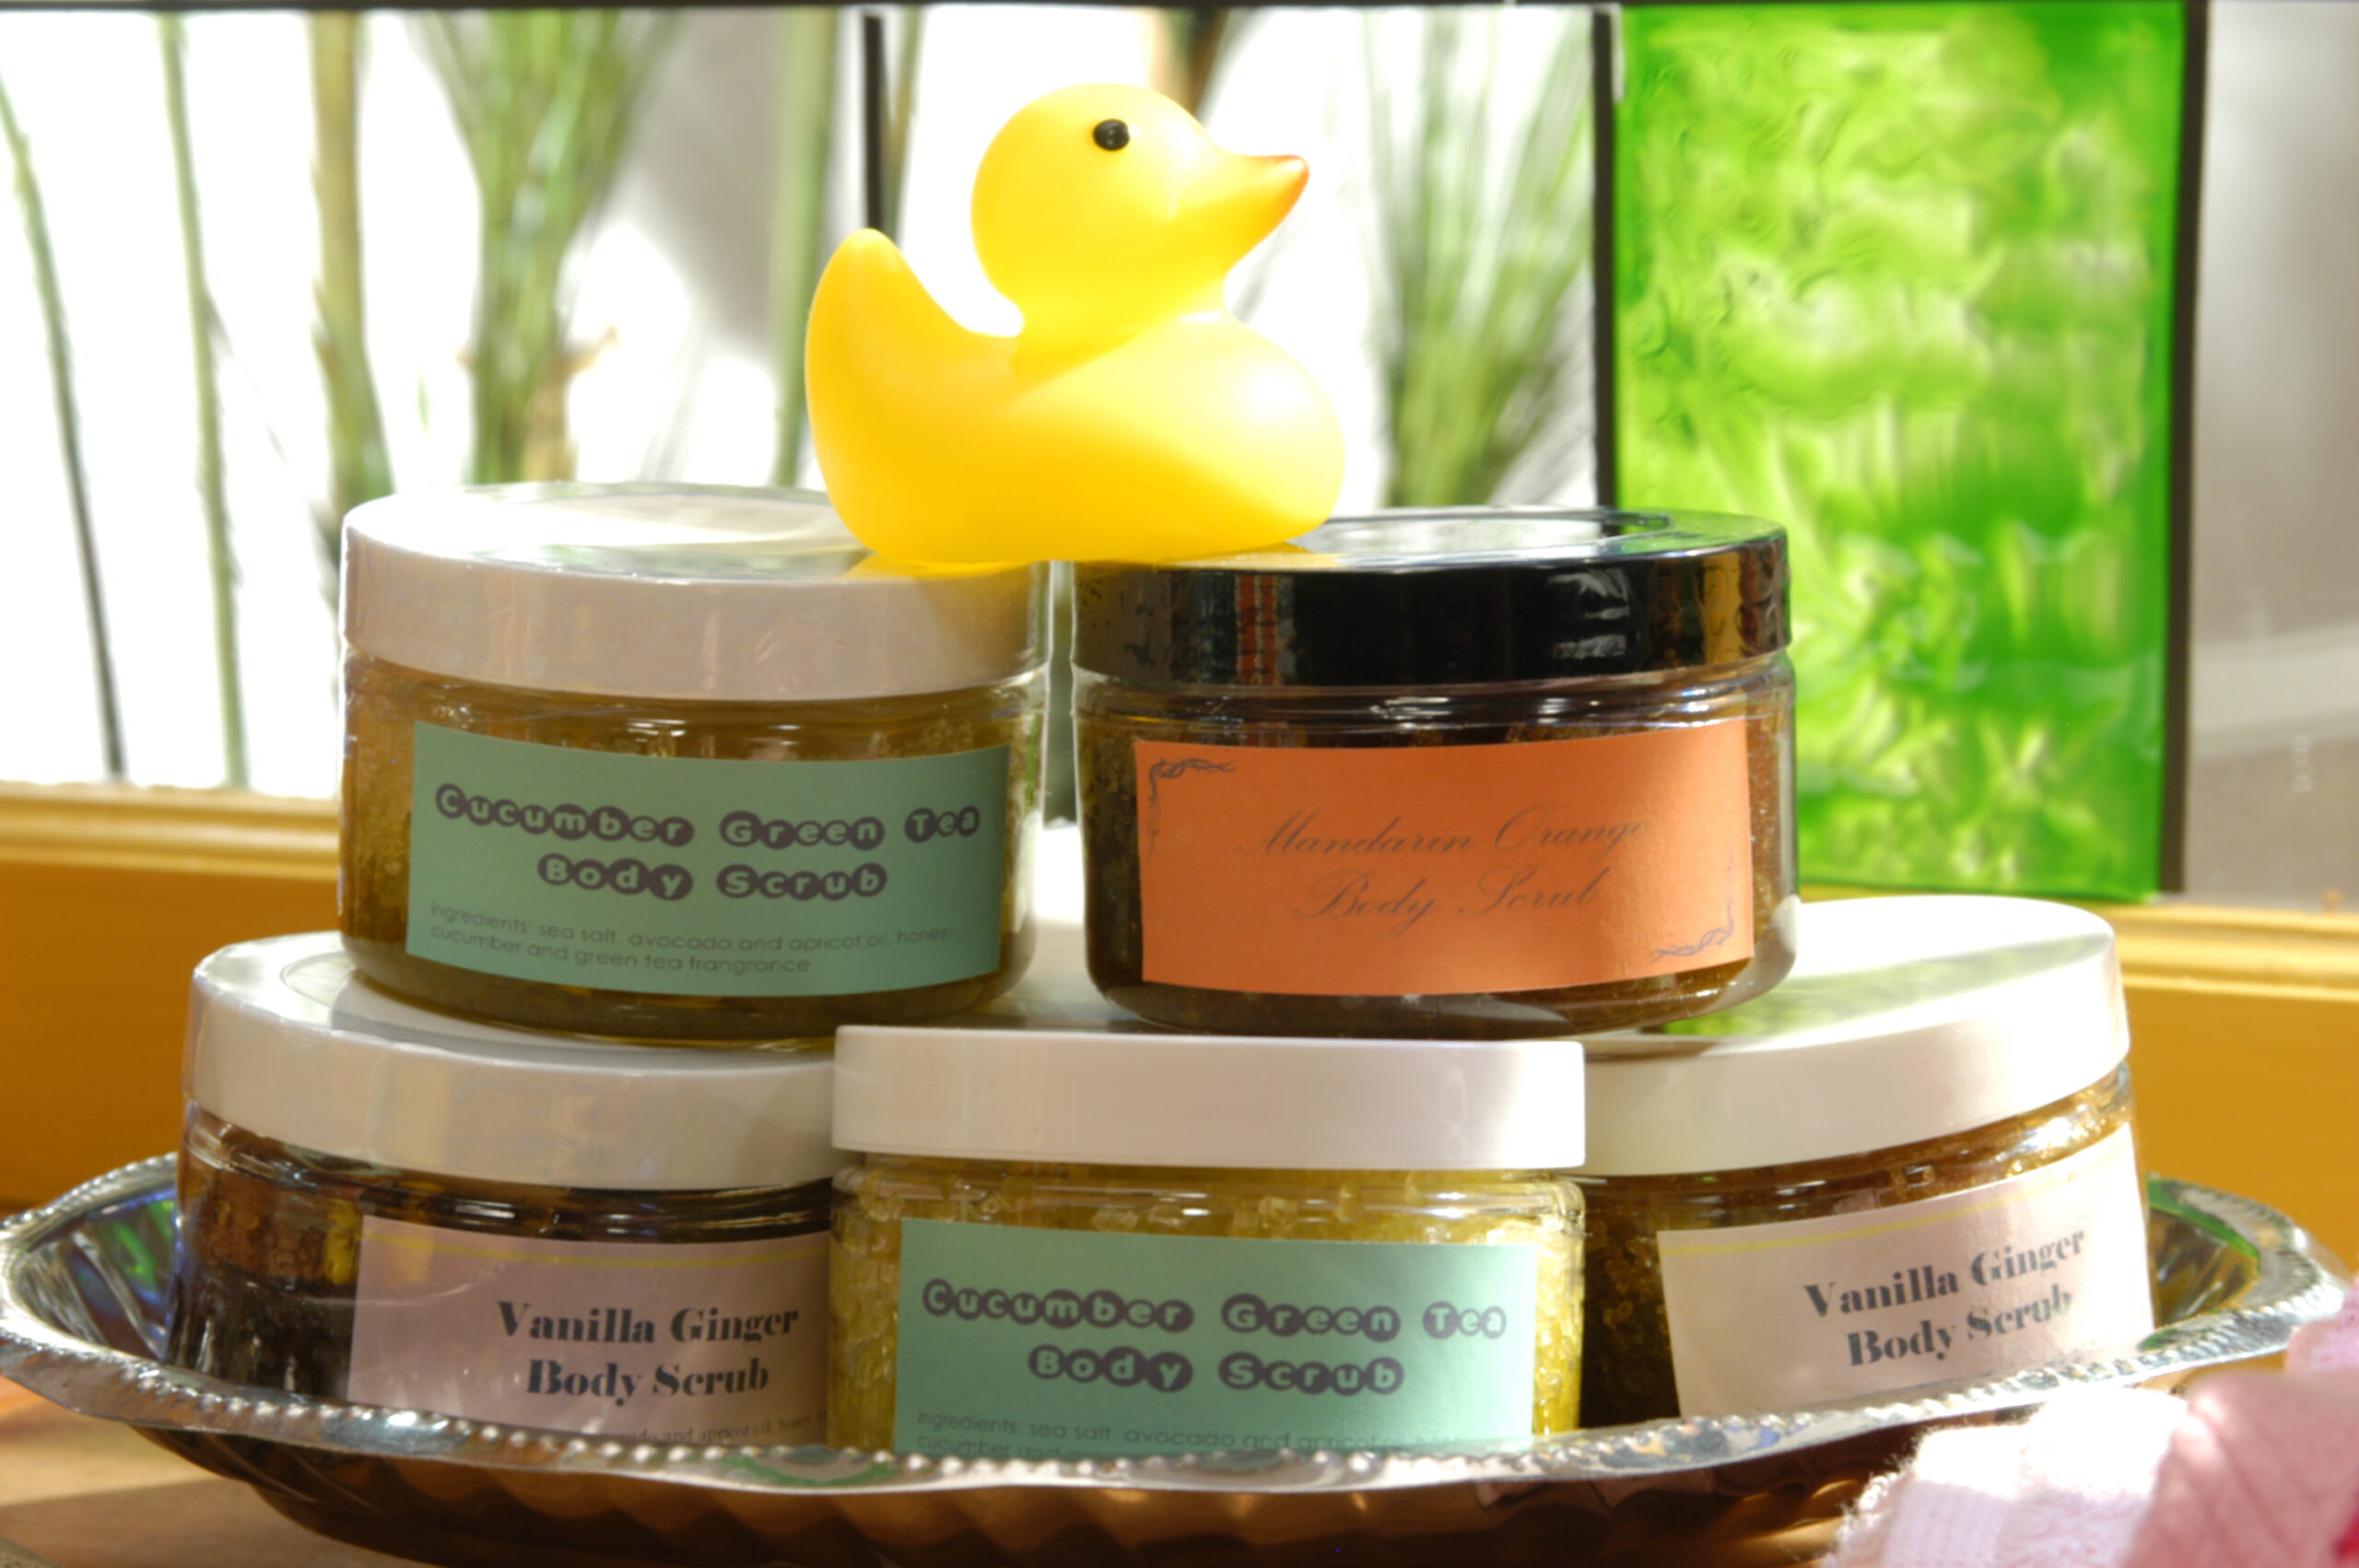
Home sugar and salt scrubs are amazing so great for your skin!
Sugar Scrub Ingredients:
2 cups turbinado (raw) sugar
1/2 cup avocado oil
1/4-cup apricot kernel oil
Essential or fragrance oils
(we used ginger and vanilla)
Honey
Plastic screw-top jar for storage
Jar lid liners (available at online homemade beauty products suppliers such as Majestic Mountain Sage)
Shrink bands sized appropriately for your jar
Embossing or heat gun
Steps:
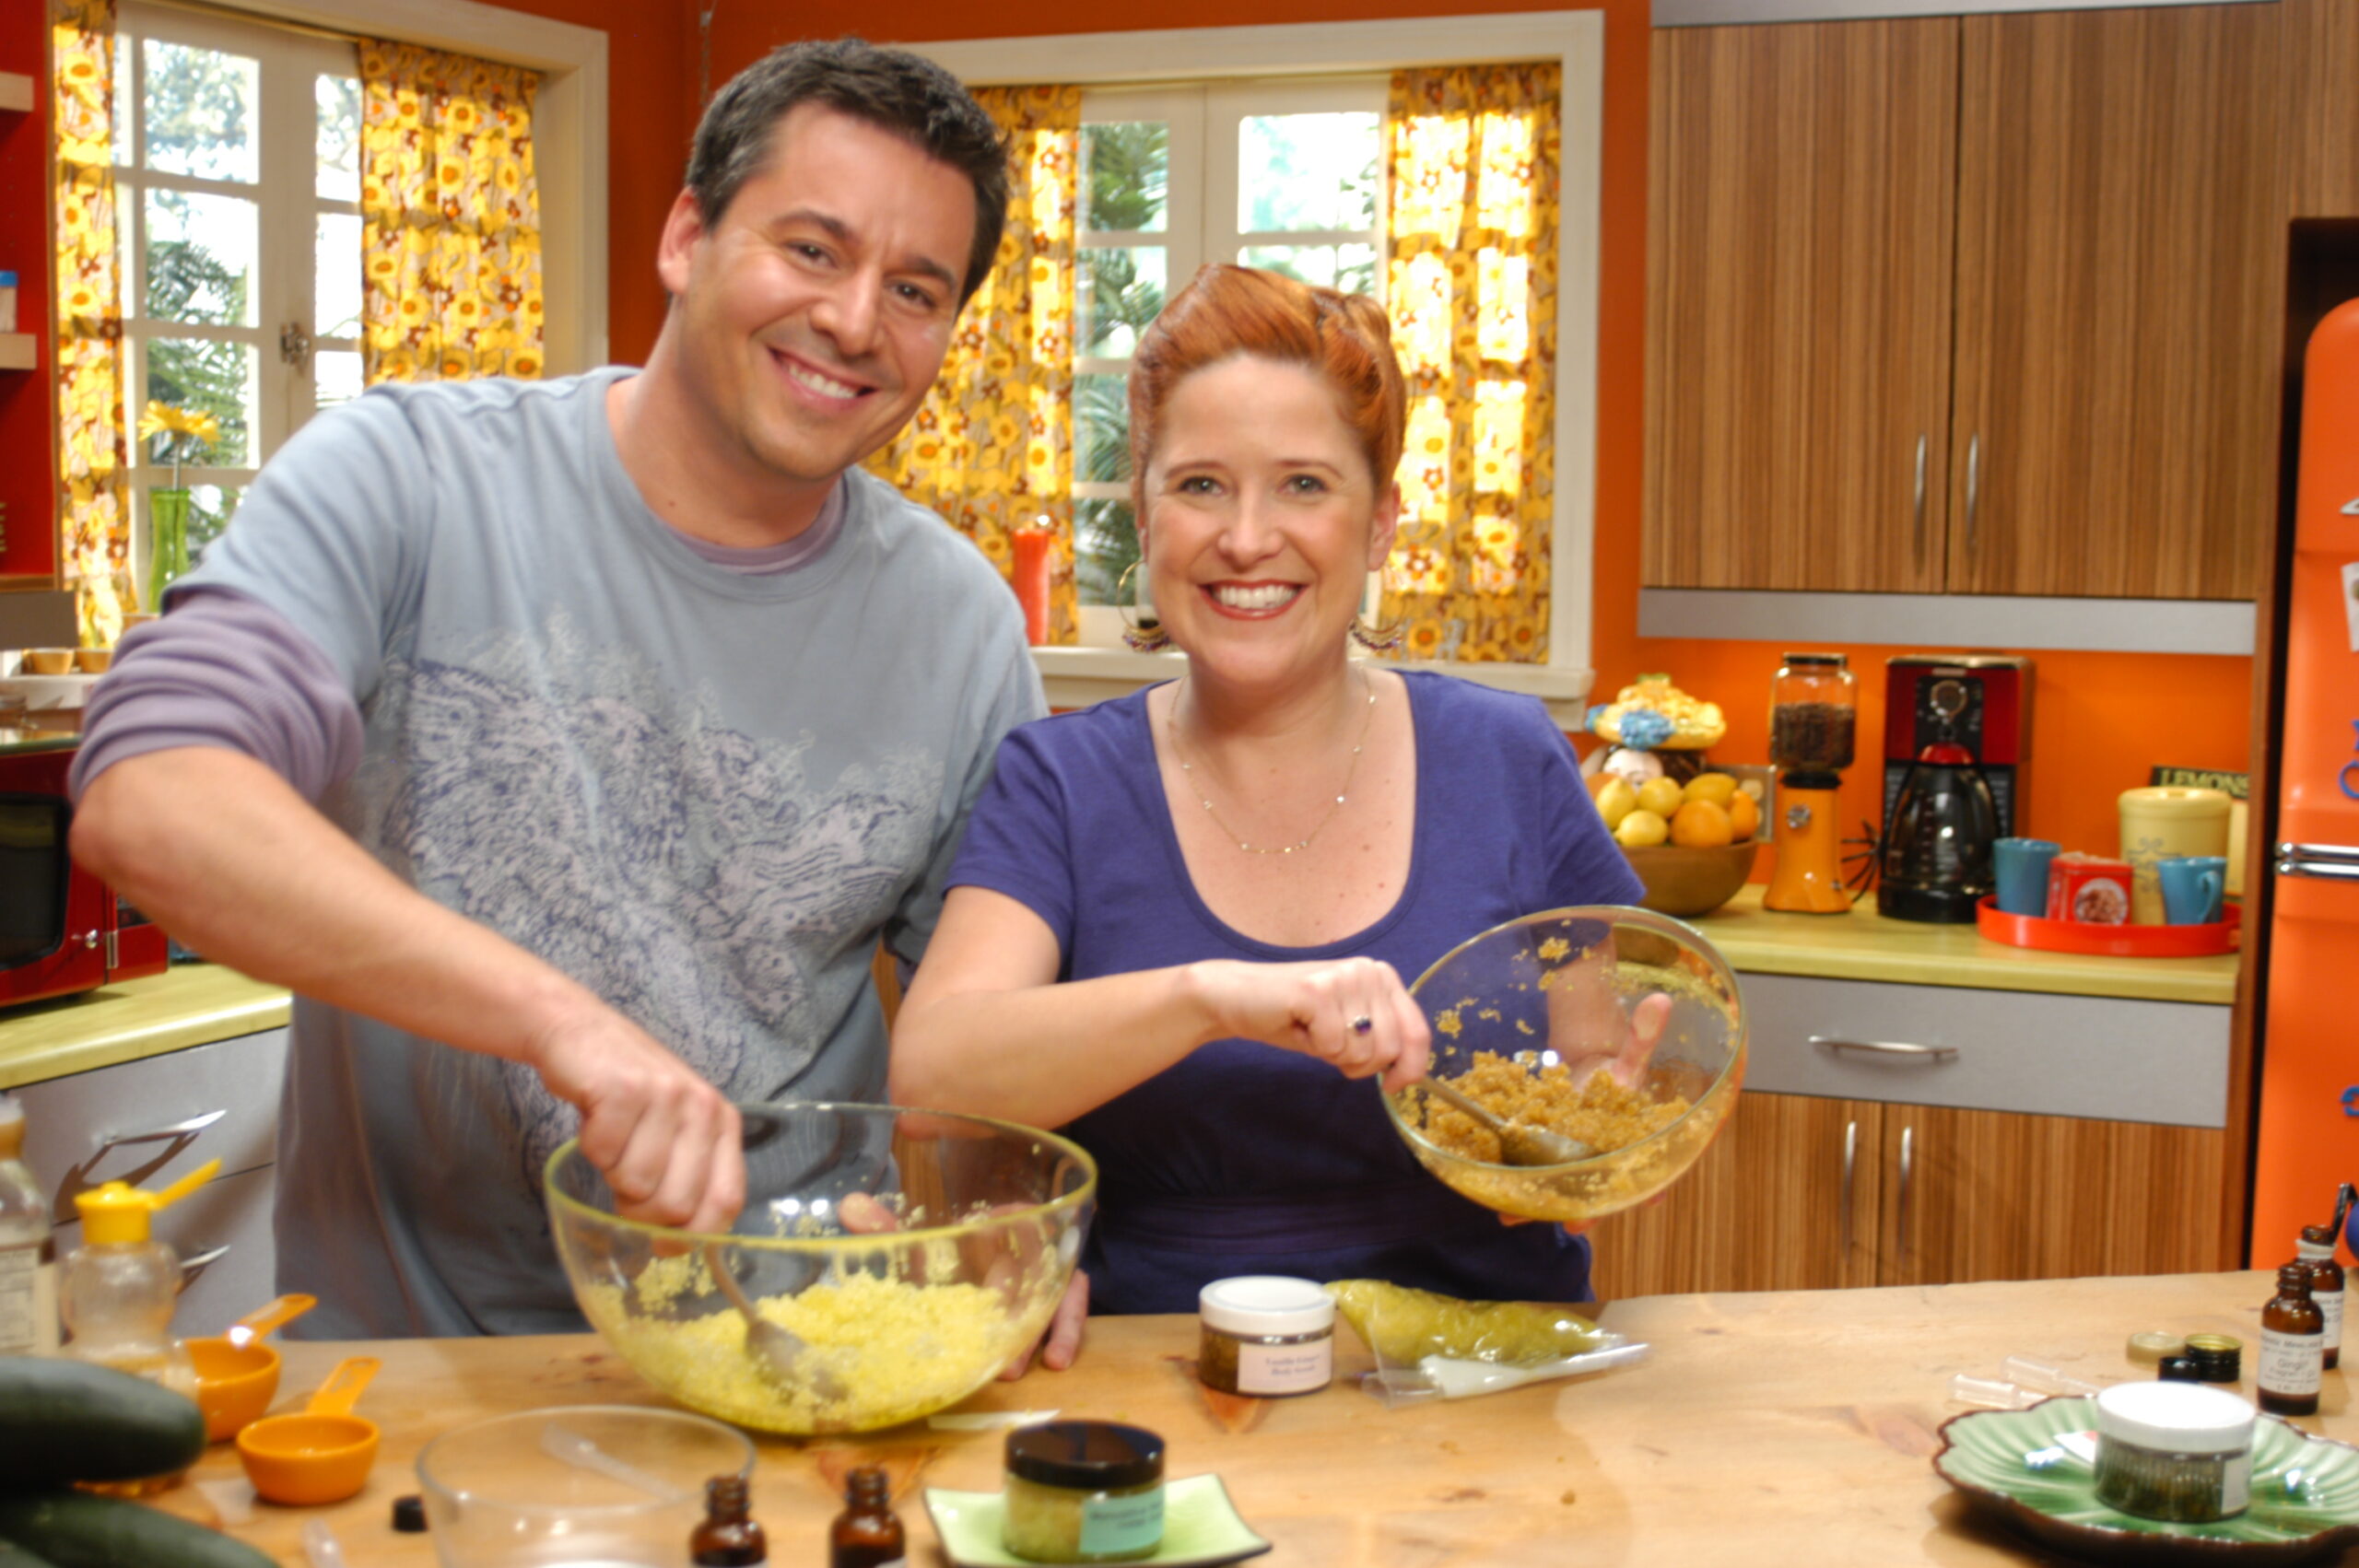
1. Mix sugar, oils, honey and several drops of essential oils. Stir into the sugar. Throw in dollop of honey, mix well.
2. Spoon into containers. This recipe makes approximately four 4-ounce containers.
3. Top with a jar lid liner and screw on the lid.
4. Print label text on sticker paper using a computer and printer.
5. Insert the jar through the shrink band sleeve. Apply heat with an embossing gun or other heat gun. The band will shrink and wrap around the jar to seal it.
When things get rough, fight back with our granular body scrubs! Let them do the dirty work for you!
Salt Scrub Ingredients:
2 cups coarse sea salt
1/2 cup avocado oil
1/4 cup apricot kernel oil
essential or fragrance oils (we used cucumber and green tea fragrance oils)
Honey
Plastic screw-top jar for storage
Jar lid liners (available at online homemade beauty products suppliers such as Majestic Mountain Sage)
Shrink bands sized appropriately for your jar
Embossing or heat gun
Steps:
1. Mix coarse sea salt, oils, honey, and fragrance or essential oils. Add a dollop of honey, mix well.
2. Spoon into containers. This recipe makes approximately four 4-ounce containers.
3. Top with a jar lid liner and screw on the lid.
4. Print label text on sticker paper using a computer and printer.
5. Insert the jar through the shrink band sleeve. Apply heat with an embossing gun or other heat gun. The band will shrink and wrap around the jar to seal it.
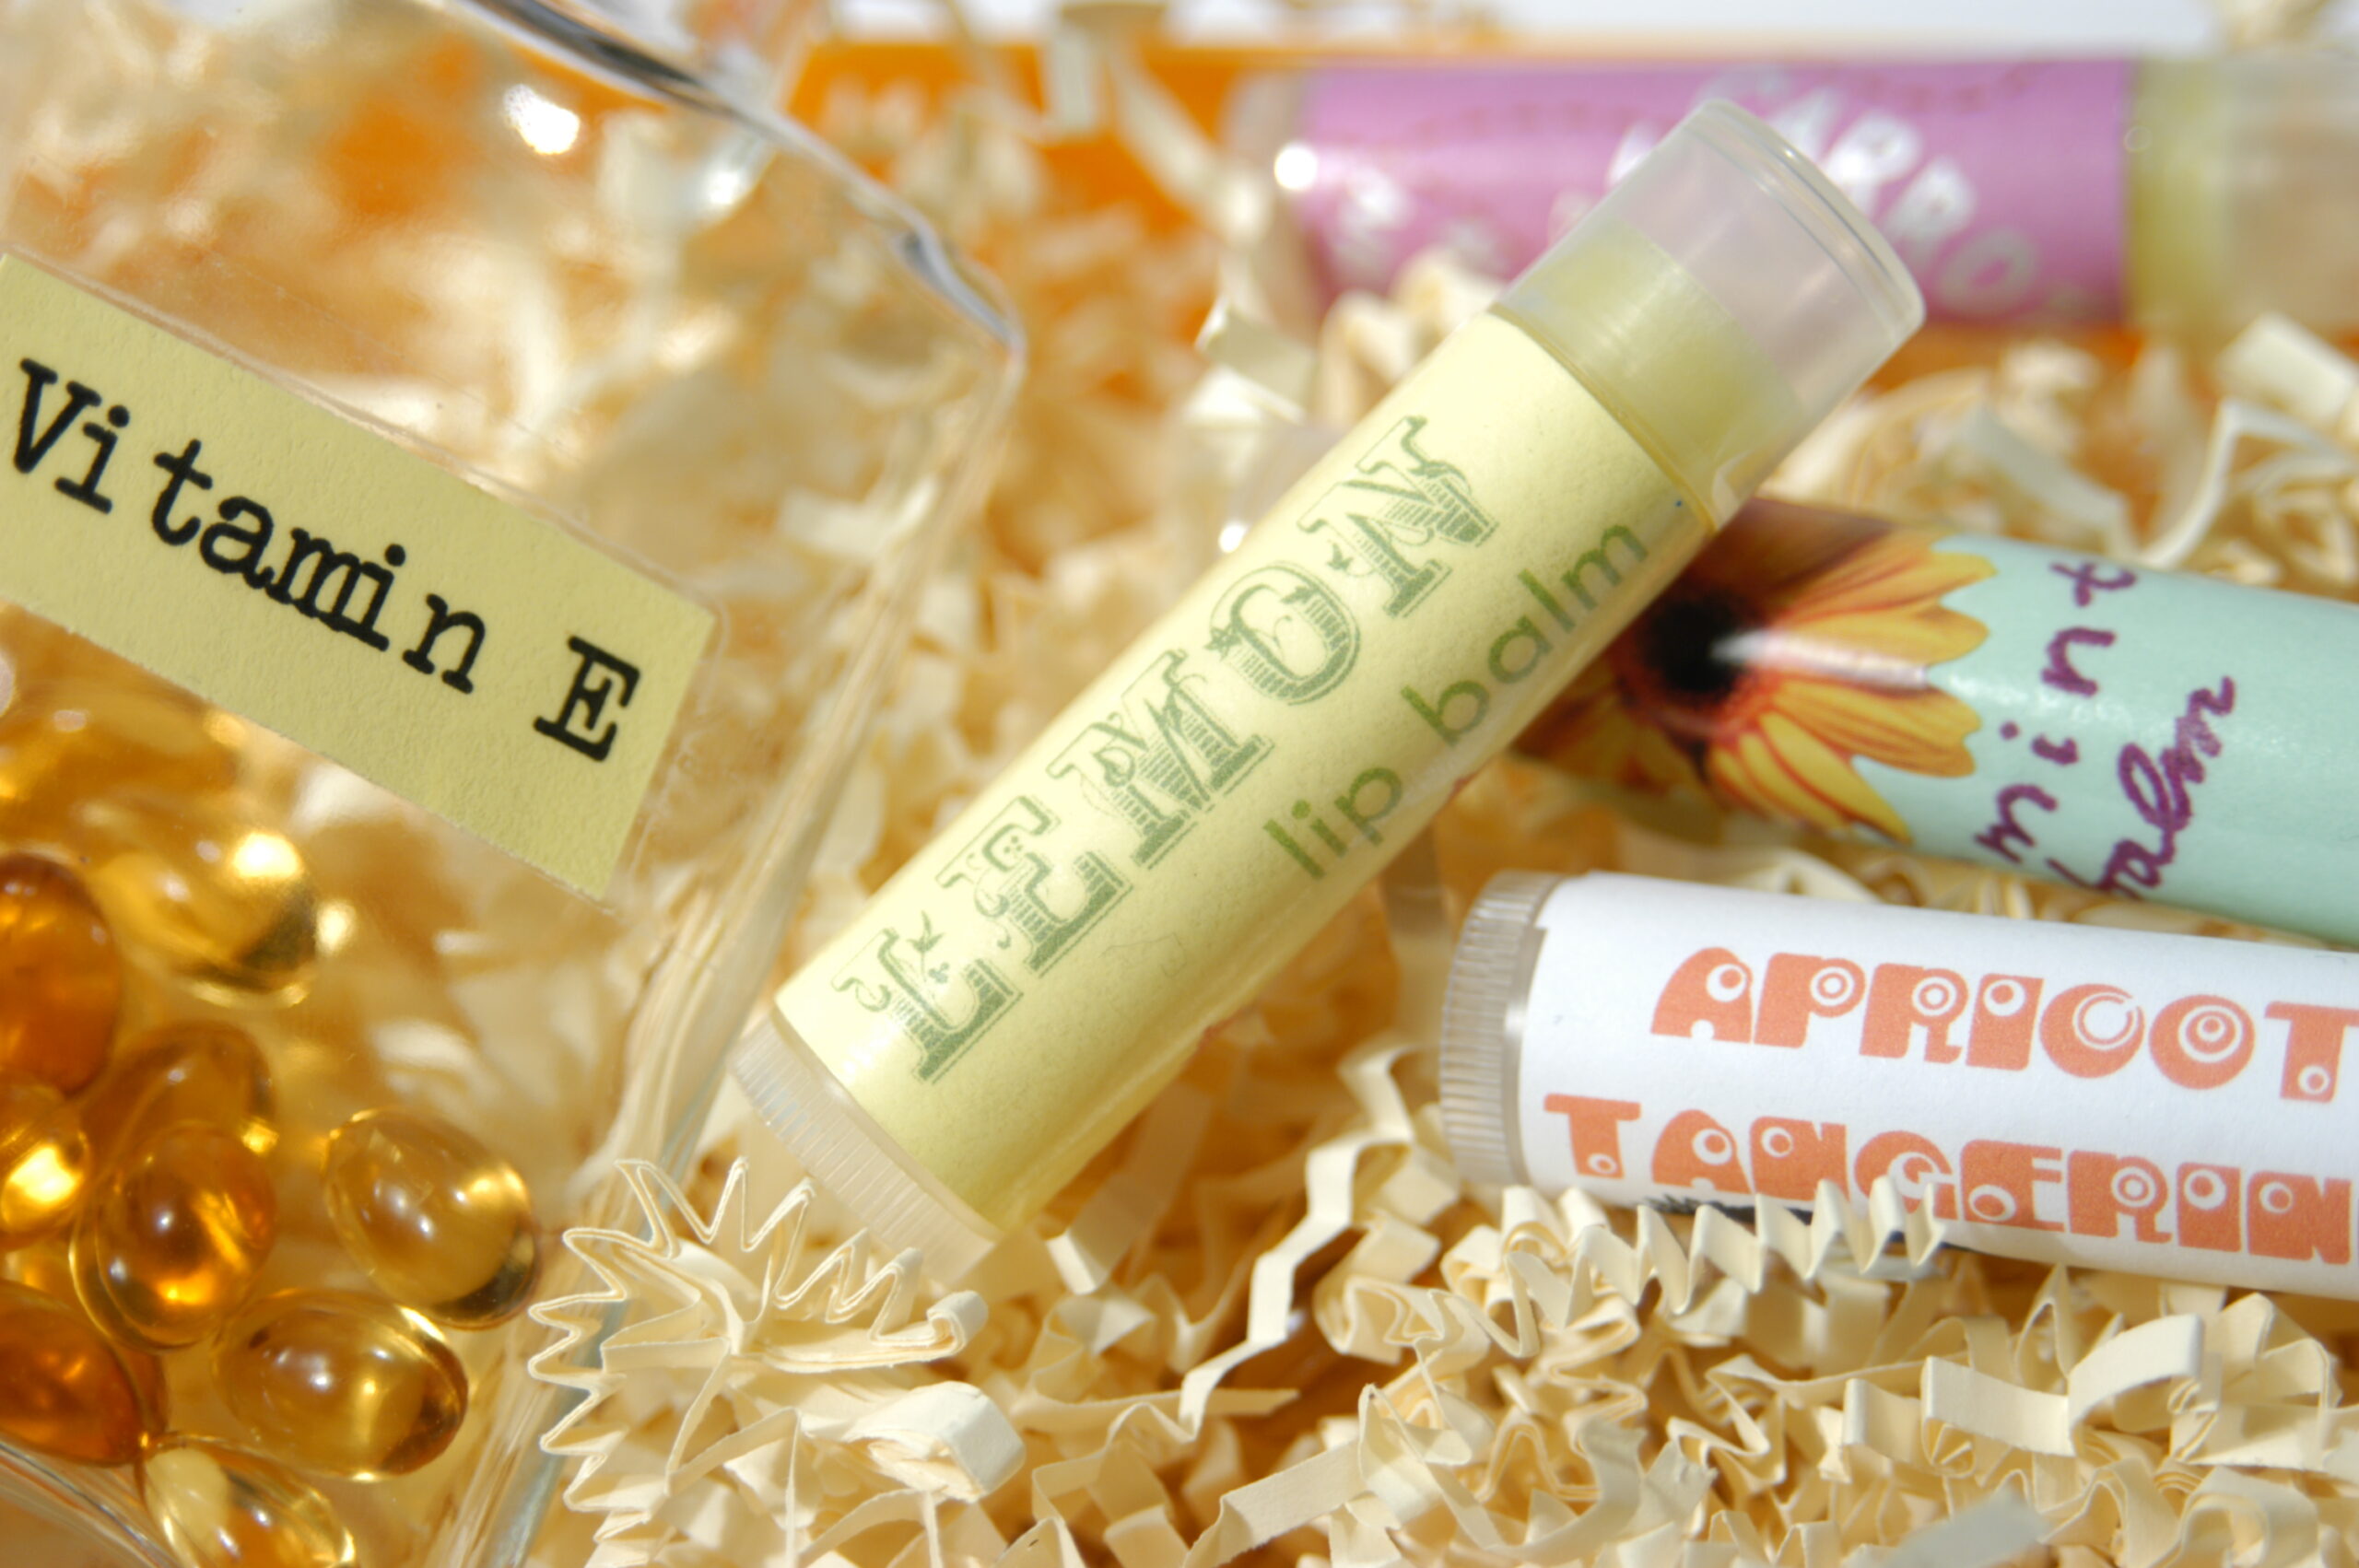
Pucker up! With personalized flavors and labels, homemade lip balm will give you a reason to smile.
Supplies:
2 tsp Beeswax
2 Tbsp plus 1 tsp oil (grape seed, olive, avocado or hemp)
1 tsp Honey
Vitamin E capsule
Essential oil or cake flavorings
Lip balm containers
Disposable plastic pipettes
Packing tape
Optional: Old Lipstick
Optional: lip balm filling tray
Steps:
1. Use a double boiler (we use a medium sized glass bowl placed in a saucepan partially filled with boiling water) and melt the beeswax together with the oil of your choice over low heat. Use caution, as wax is a highly flammable substance.
2. Remove from heat and whisk in honey and the oil from vitamin E, until there are no clumps. Open the vitamin E capsule with a pin or scissors. Optional: add a shaving or two of lipstick to create a sheer lip color.
3. Let cool, but not harden, before adding approximately five drops of the essential oil or flavor of your choice. Use only essential oils! Lip balms will be in contact with your mouth and fragrance oils do not taste good and should not be consumed.
4. Pipette into containers until hardened. Try not to move them until they are set. Lip balm containers can be found on-line.
5. Make paper labels and apply to the tubes with packing tape. Packing tape is the same width as the lip balm tubes.
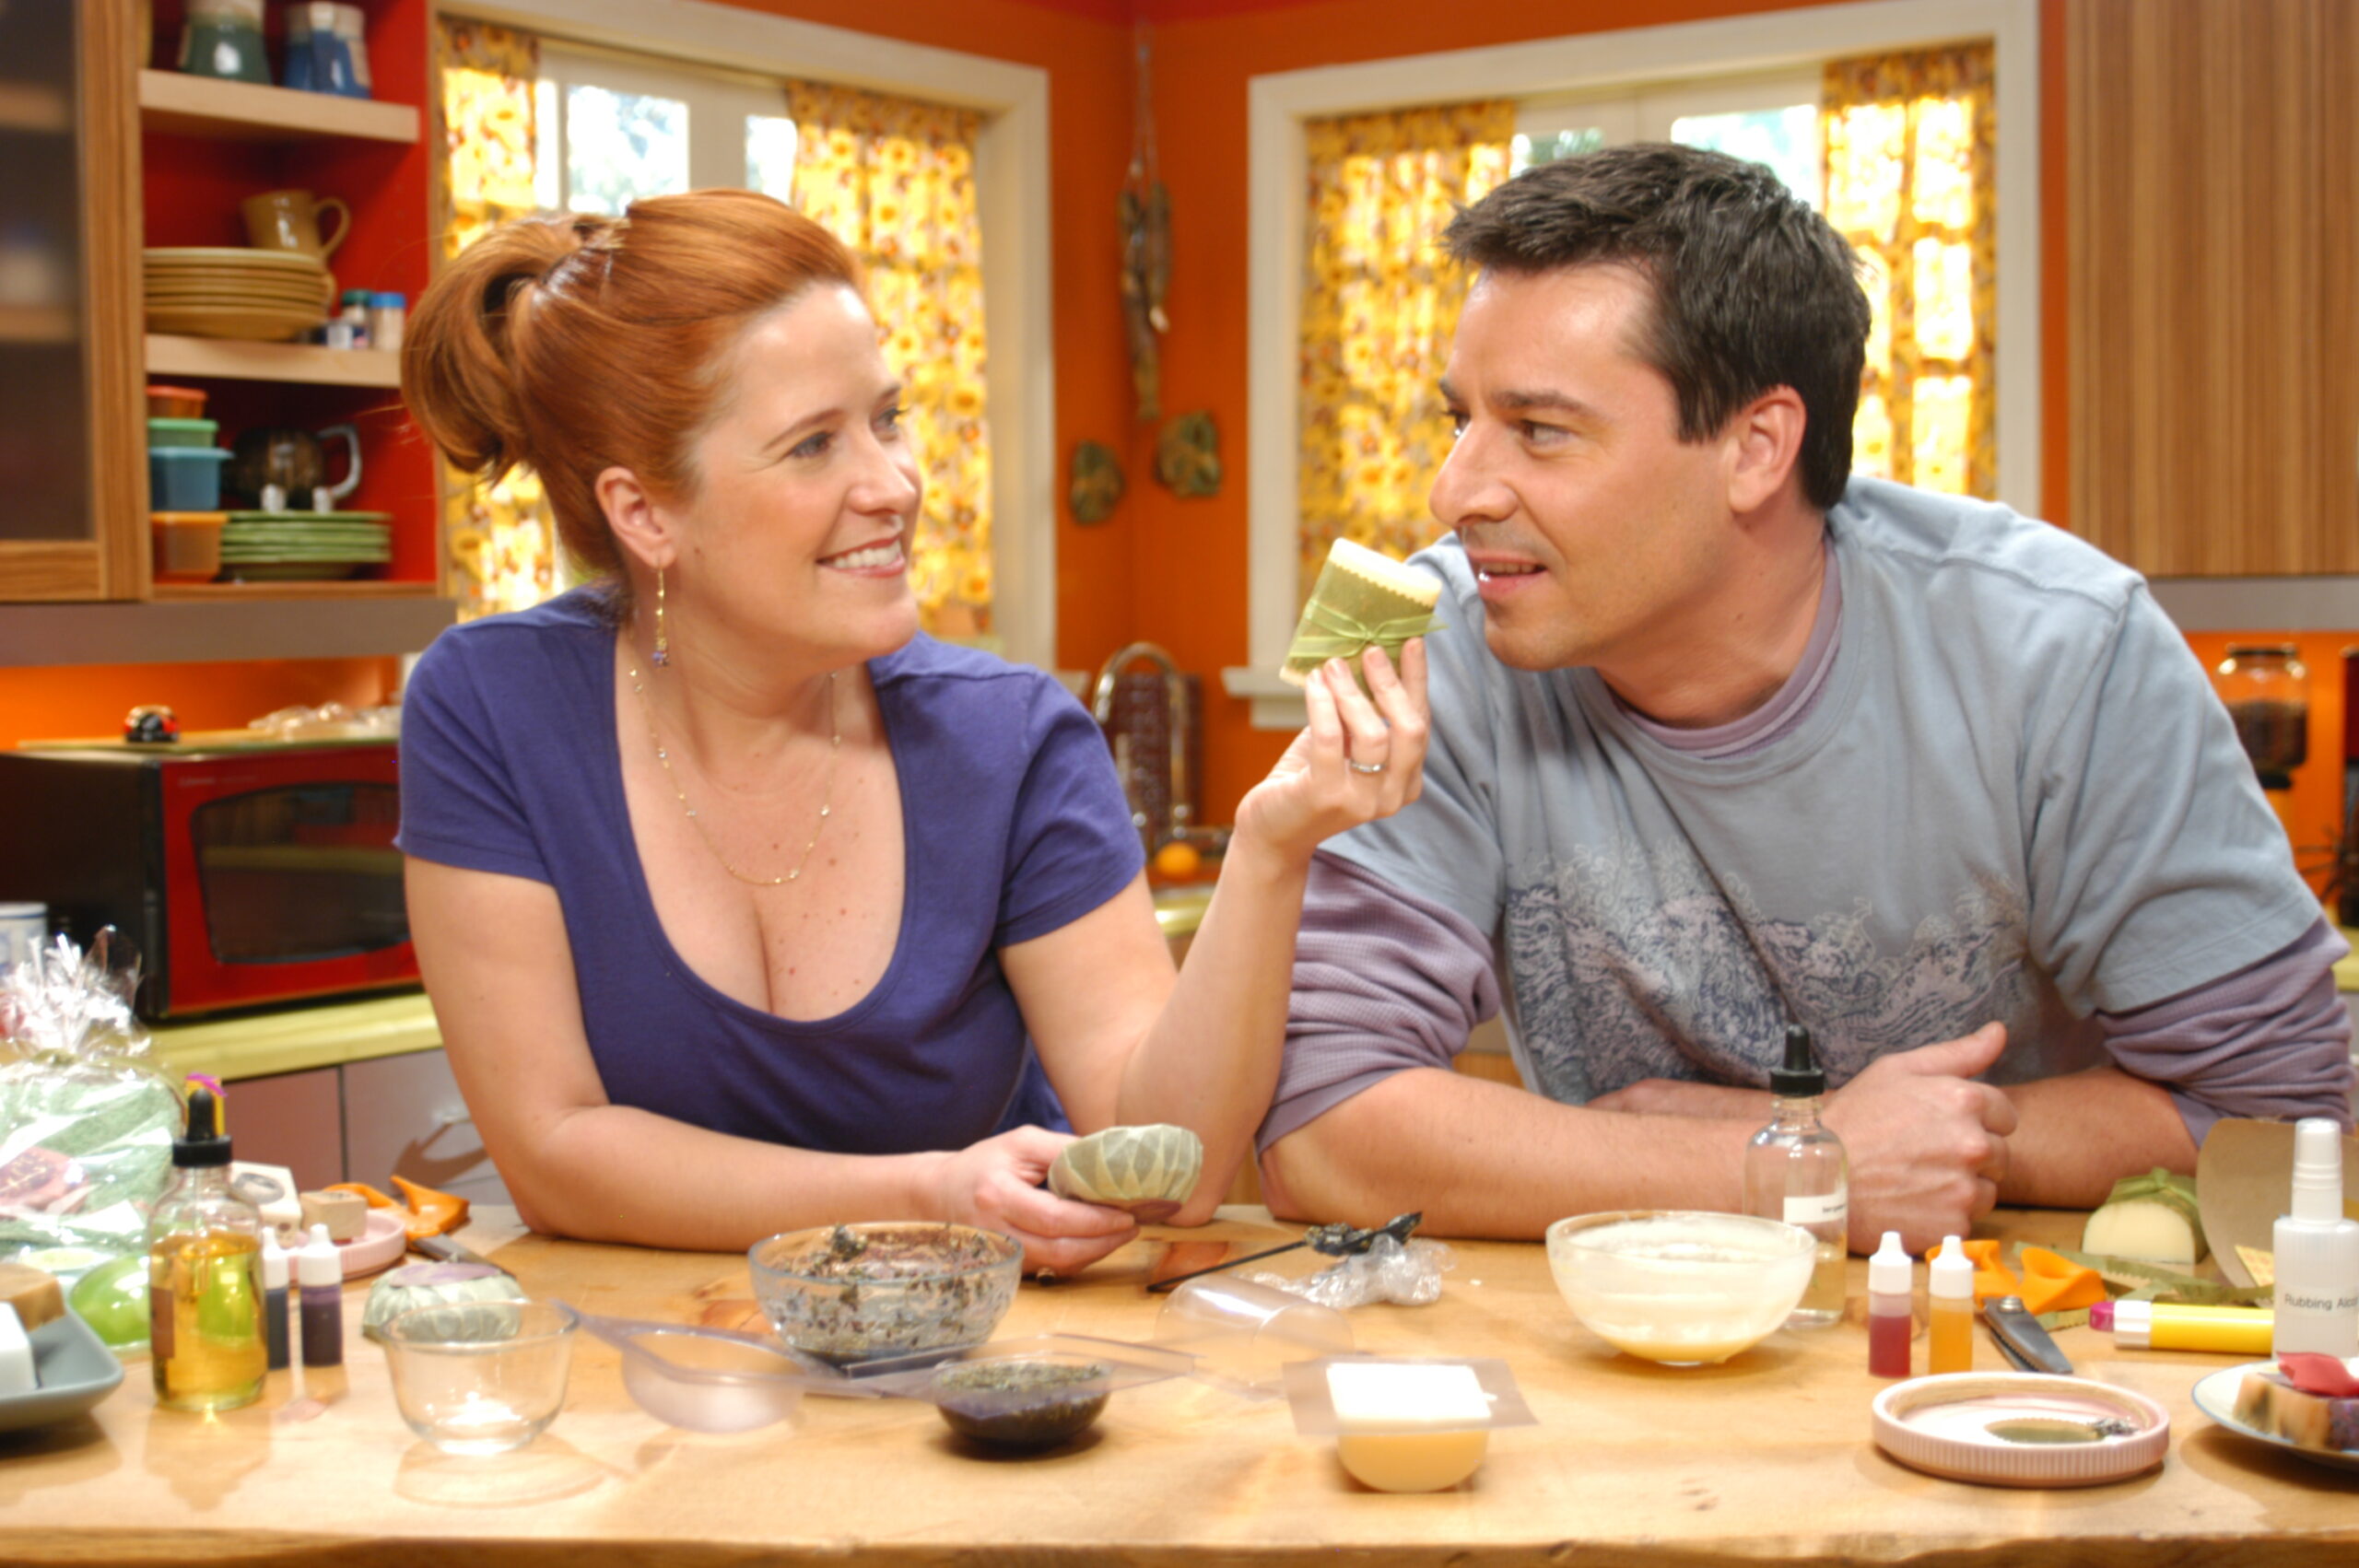
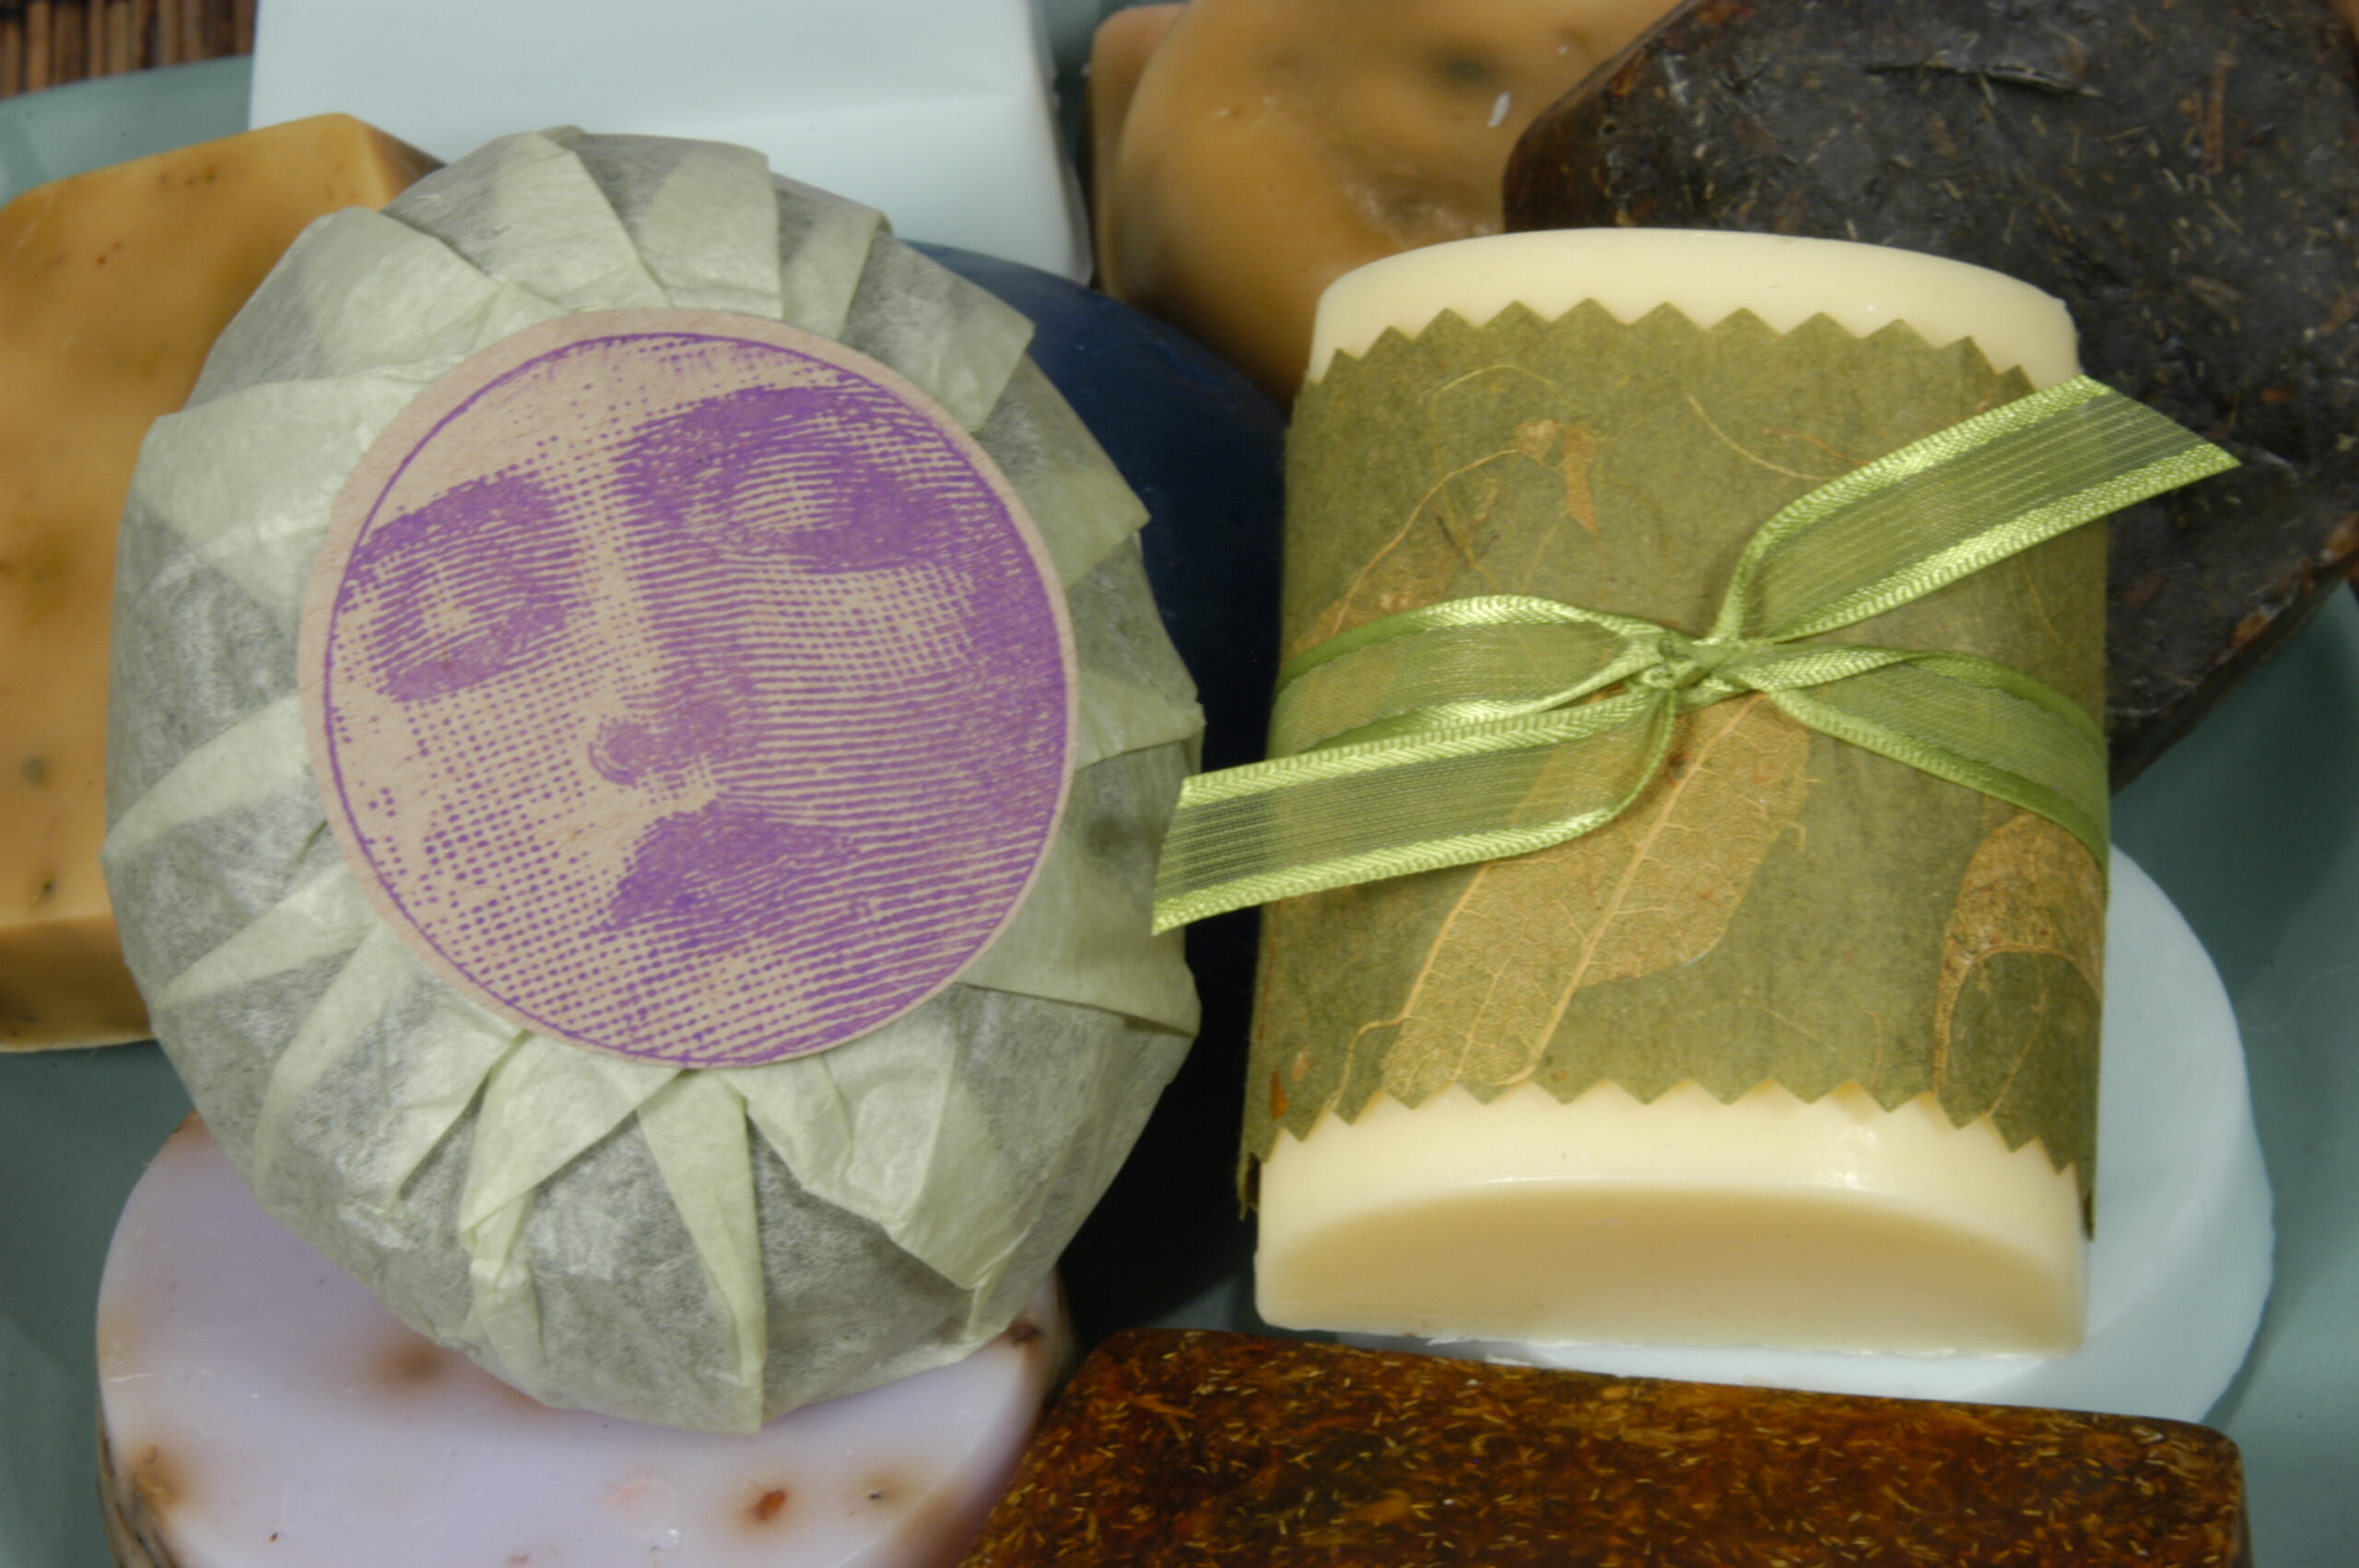
Break the mold with countless combinations of scents, colors, and additives to give handmade glycerin soaps some personal style.
Supplies:
One pound of melt-and-pour glycerin soap base
Essential oil
Optional: Additives such as lavender, peppermint, etc.
Optional: Glycerin soap colorant
Bar Mold
Spray bottle with rubbing alcohol
Plastic cling wrap
Microwave
Medium glass bowl
Steps:
1. Cut up a 1-pound brick of glycerin soap base into 2 inch cubes. Place the melt and pour soap cubes in the glass bowl, cover with plastic cling wrap to keep the excess moisture from evaporating. Melt the base on high for one minute and stir until all cubes are melted.
2. Add a few drops of colorant (if desired), and additives (if desired) to the melted soap and blend well. Add several drops of essential oil to the soap.
3. Pour the soap into your molds – and spray the top with rubbing alcohol to get rid of any excess bubbles. Allow the soap to harden/set for a few hours. Pop out of the mold.
4. Package by adding a paper sleeve cut with decorative scissors, inserting the soap into a cello bag, or wrapping the soap completely in tissue paper. Embellish paper labels with ribbons, stickers, and rubber stamps. Attach to the soaps.
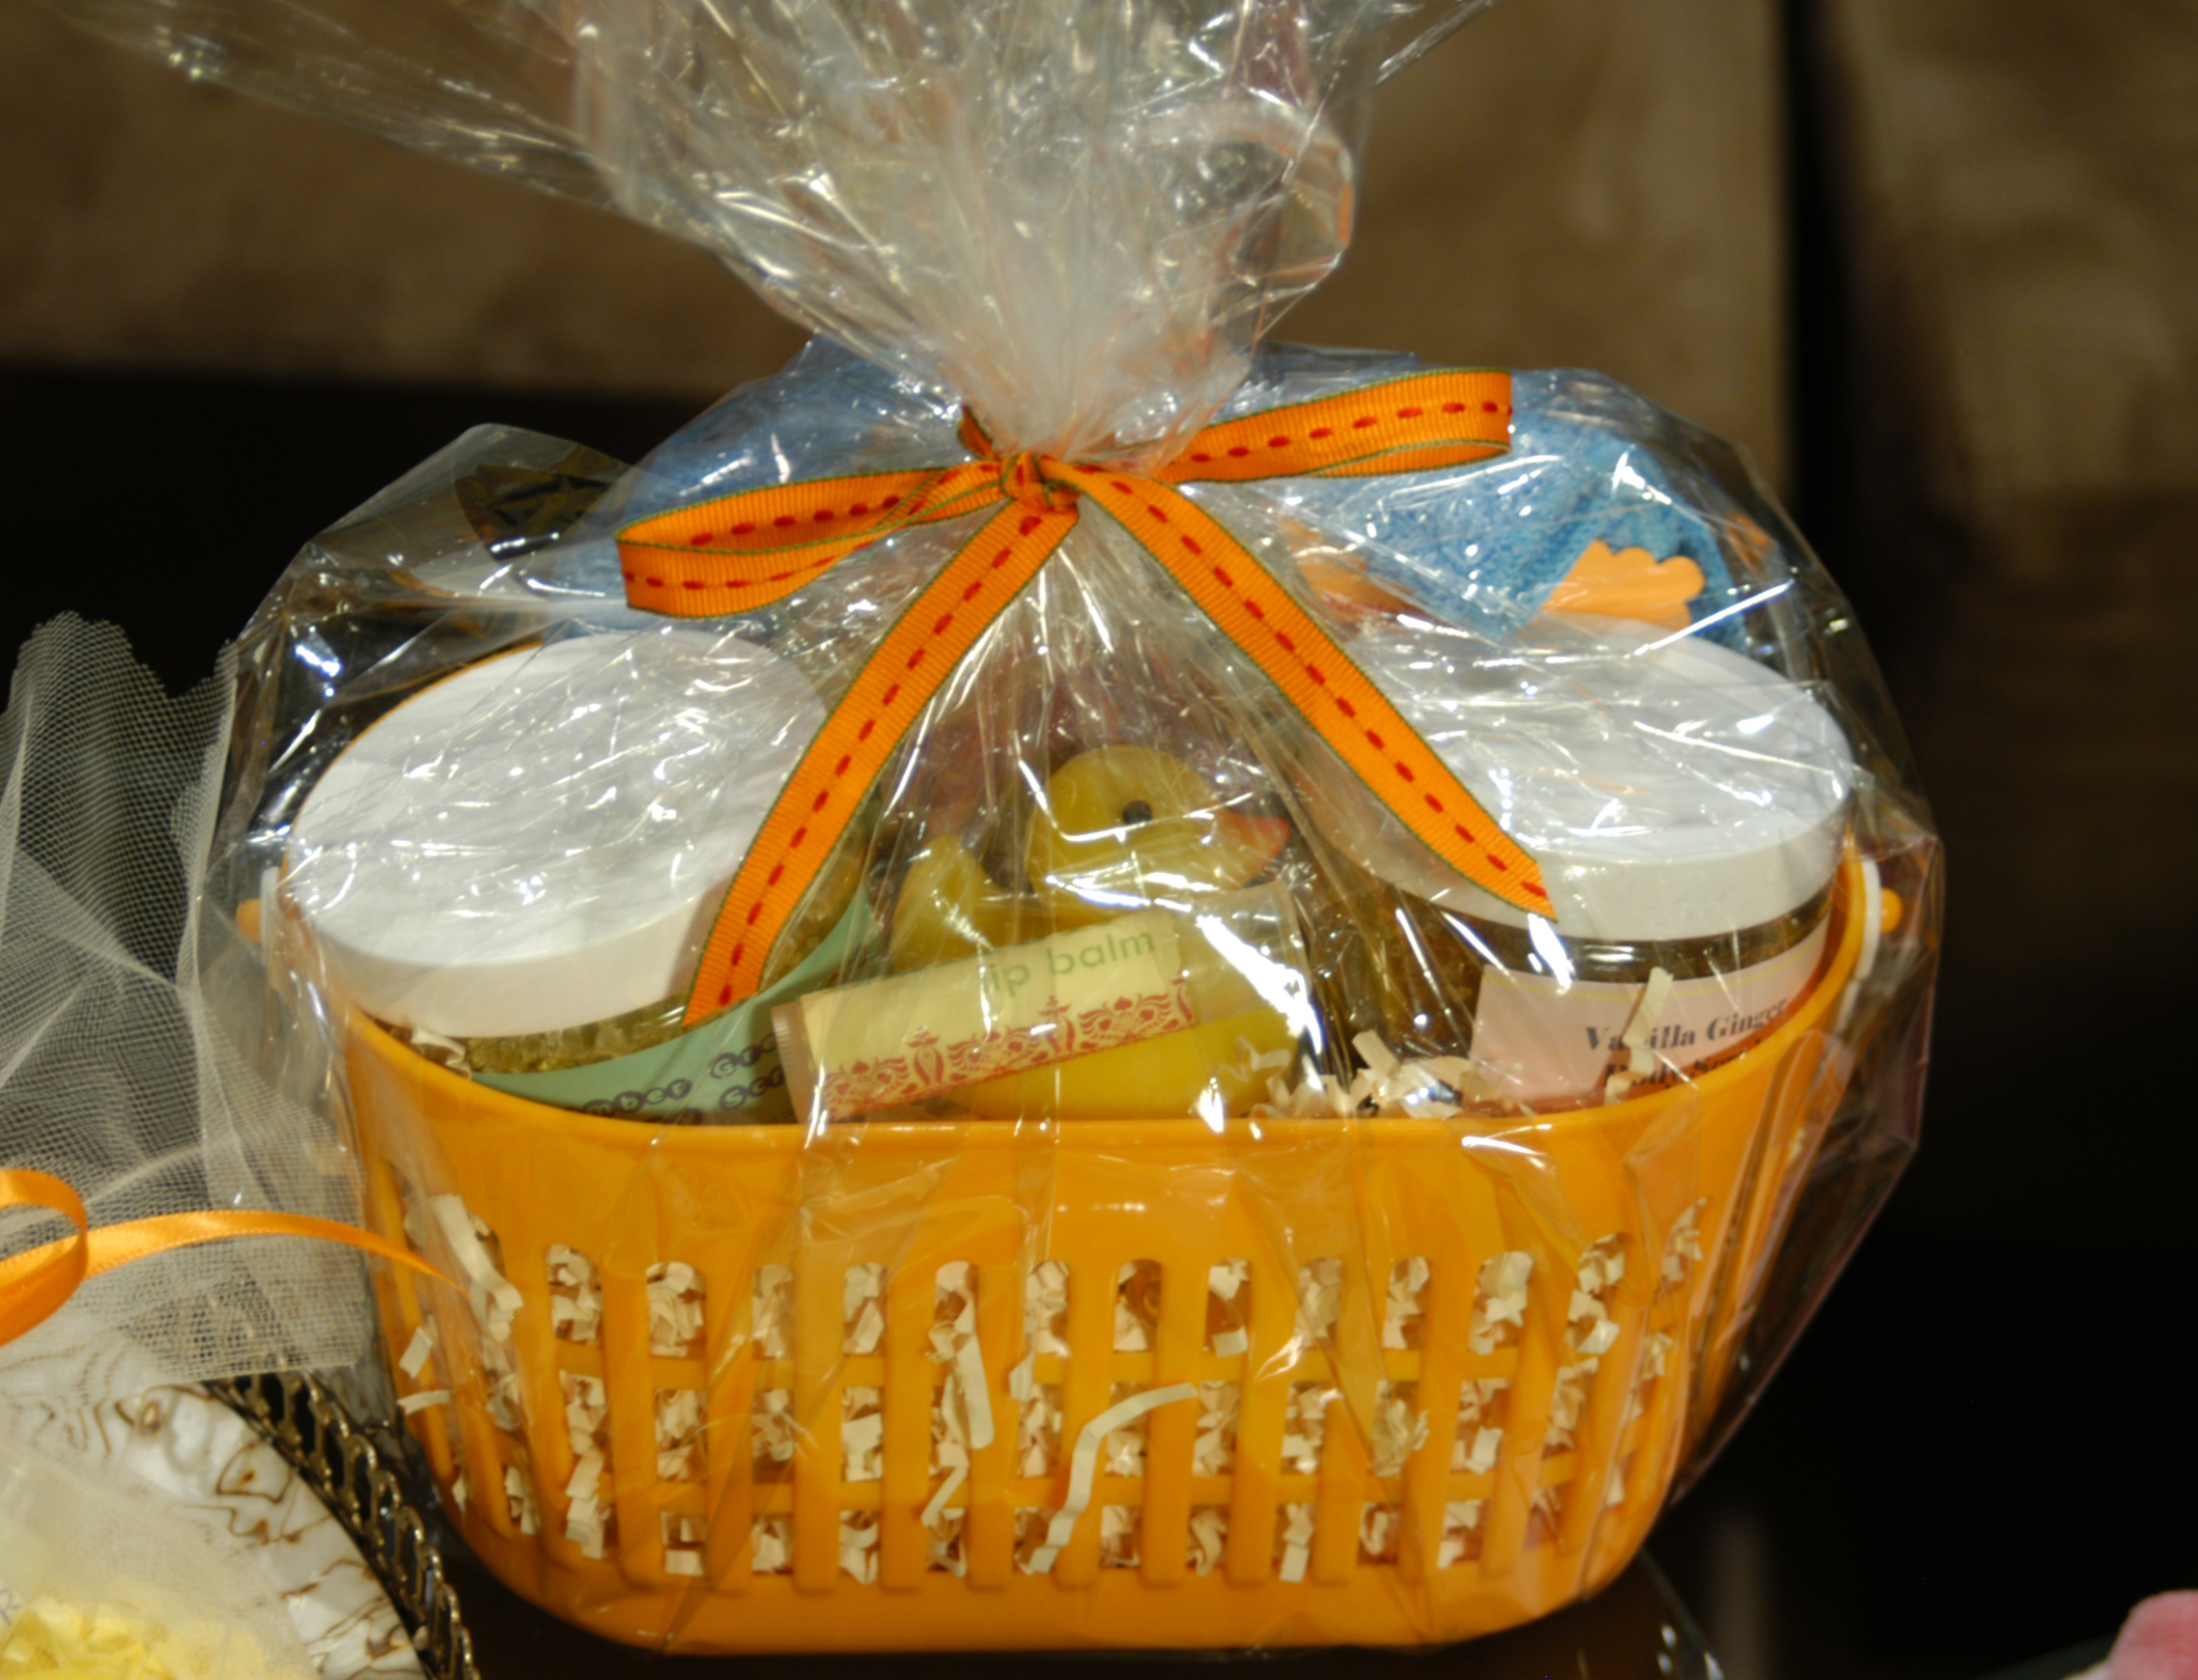
Keep all your new beauty items for yourself or package them up in a gift basket!
Thanks for stopping by! Watch Creative Juice on Discovery+! Please Pin, Like and Share! xoxo Cathie
