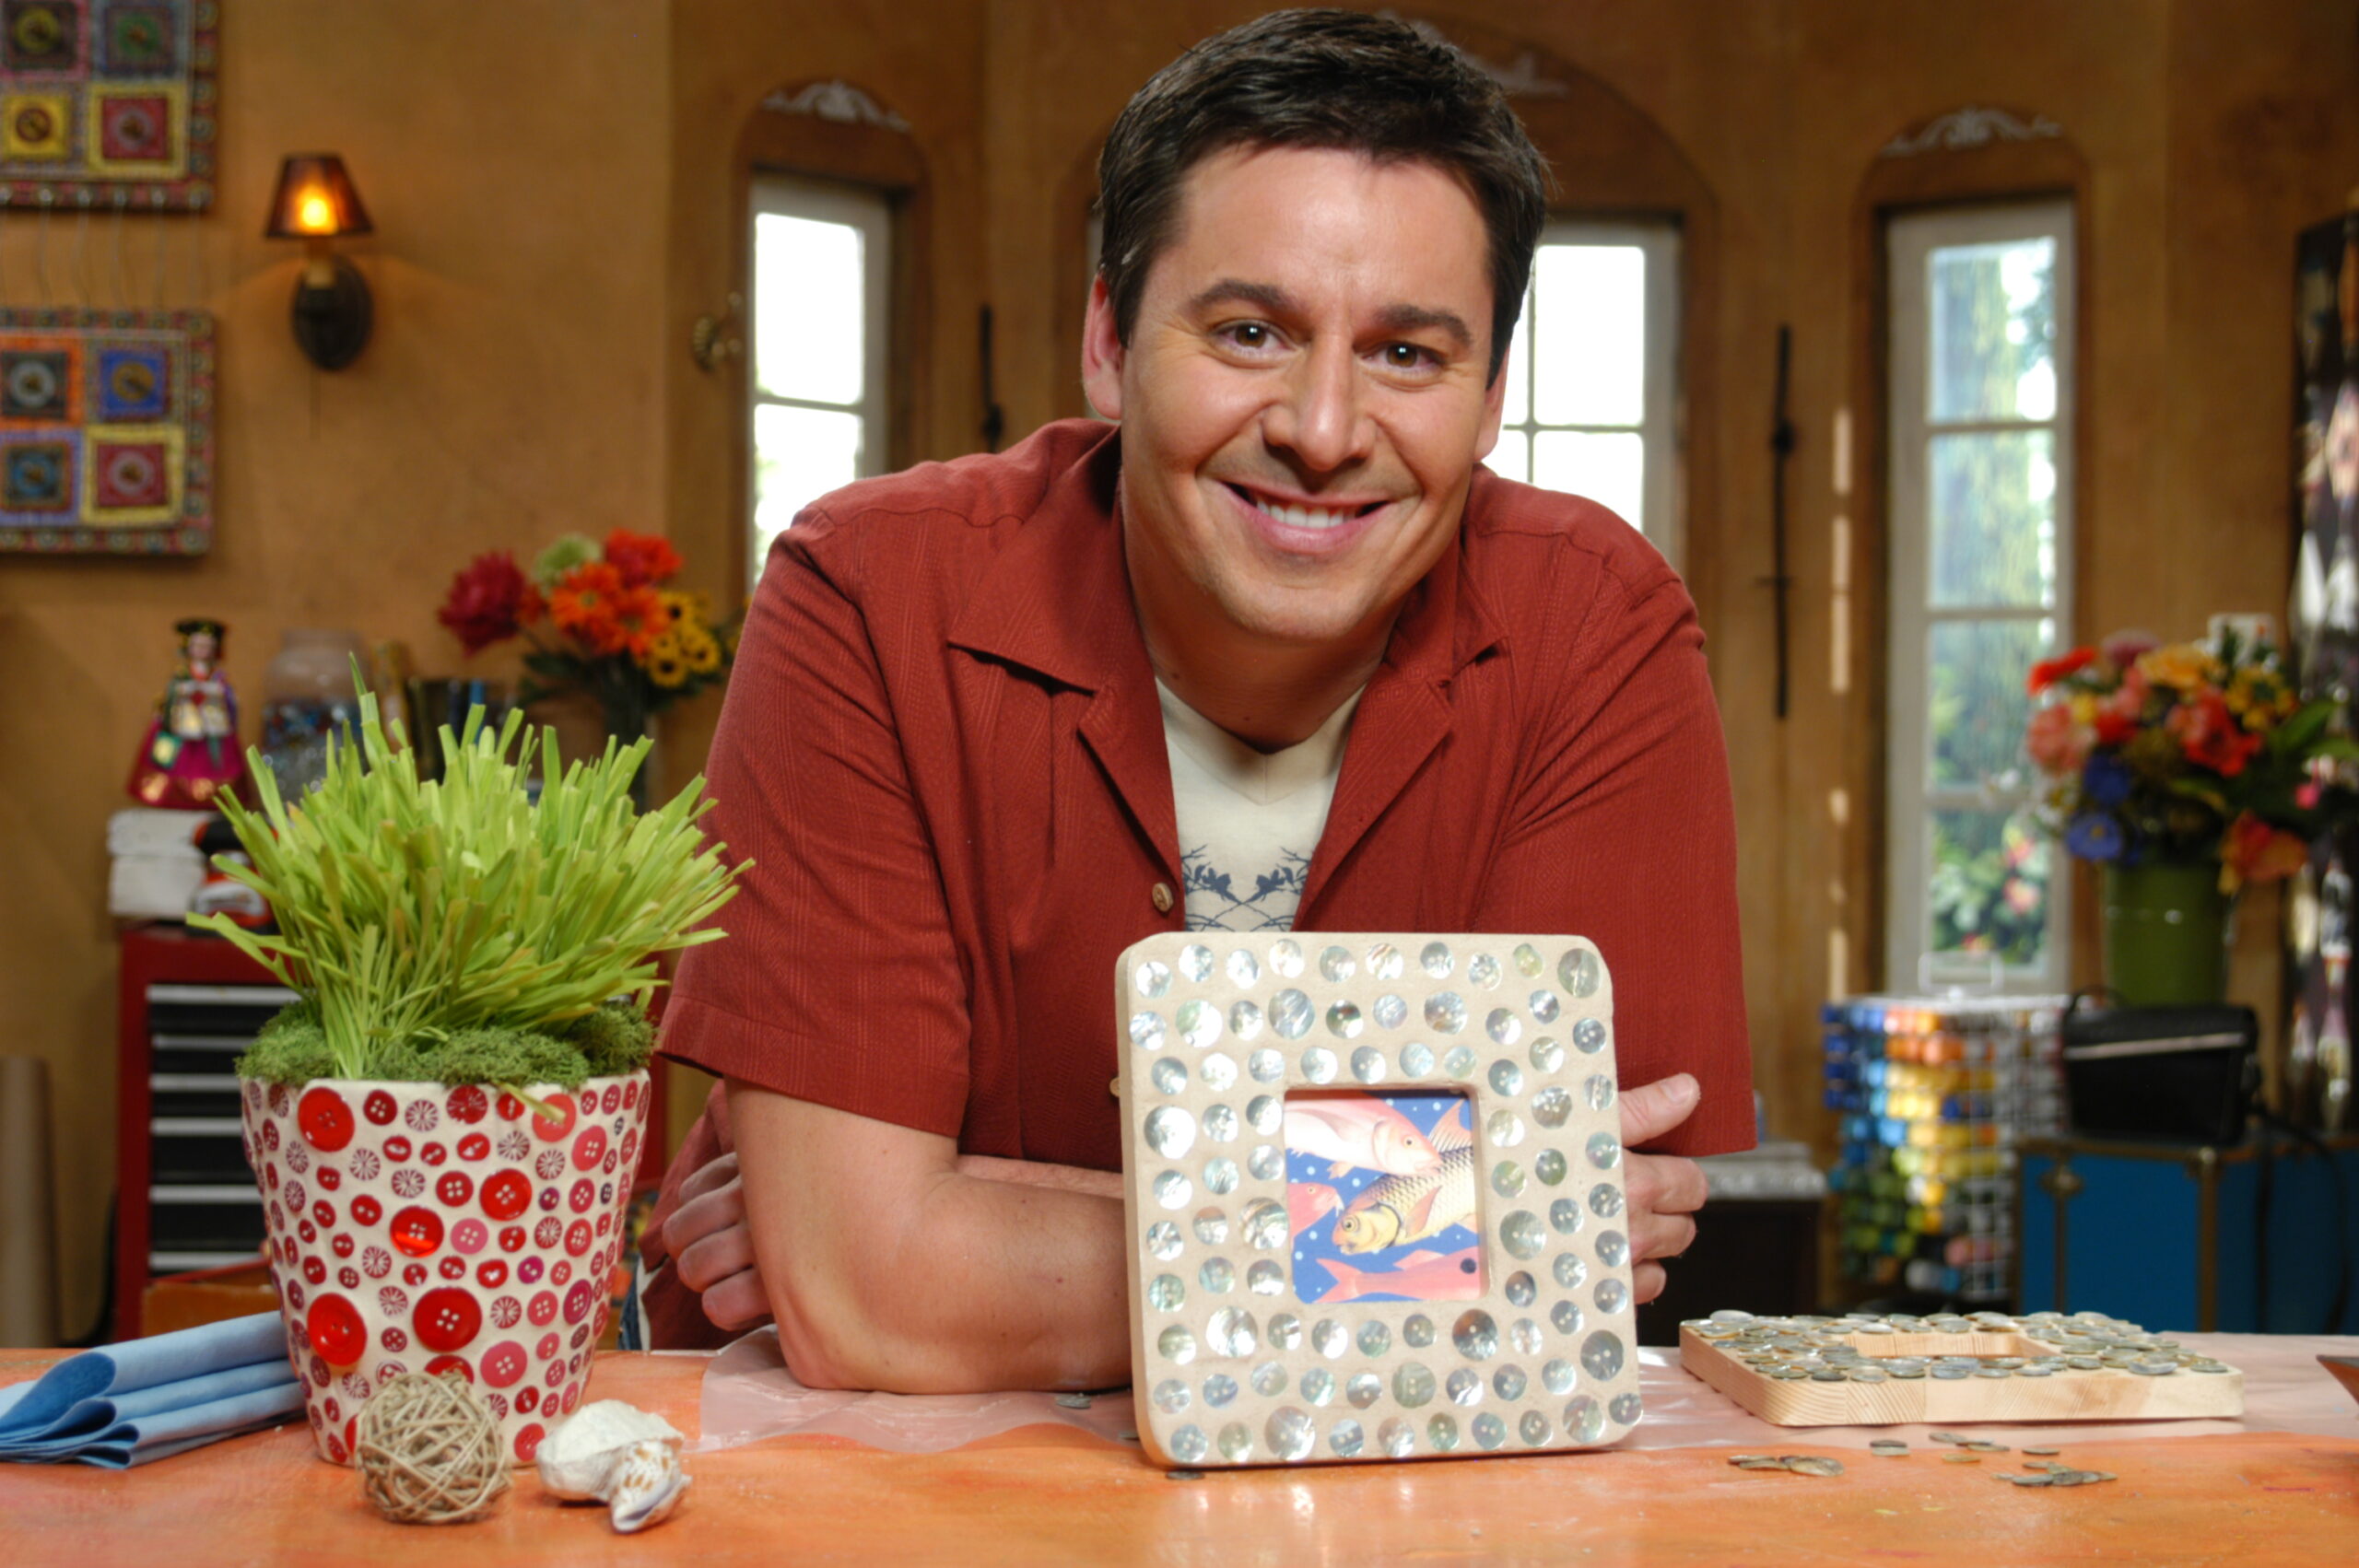
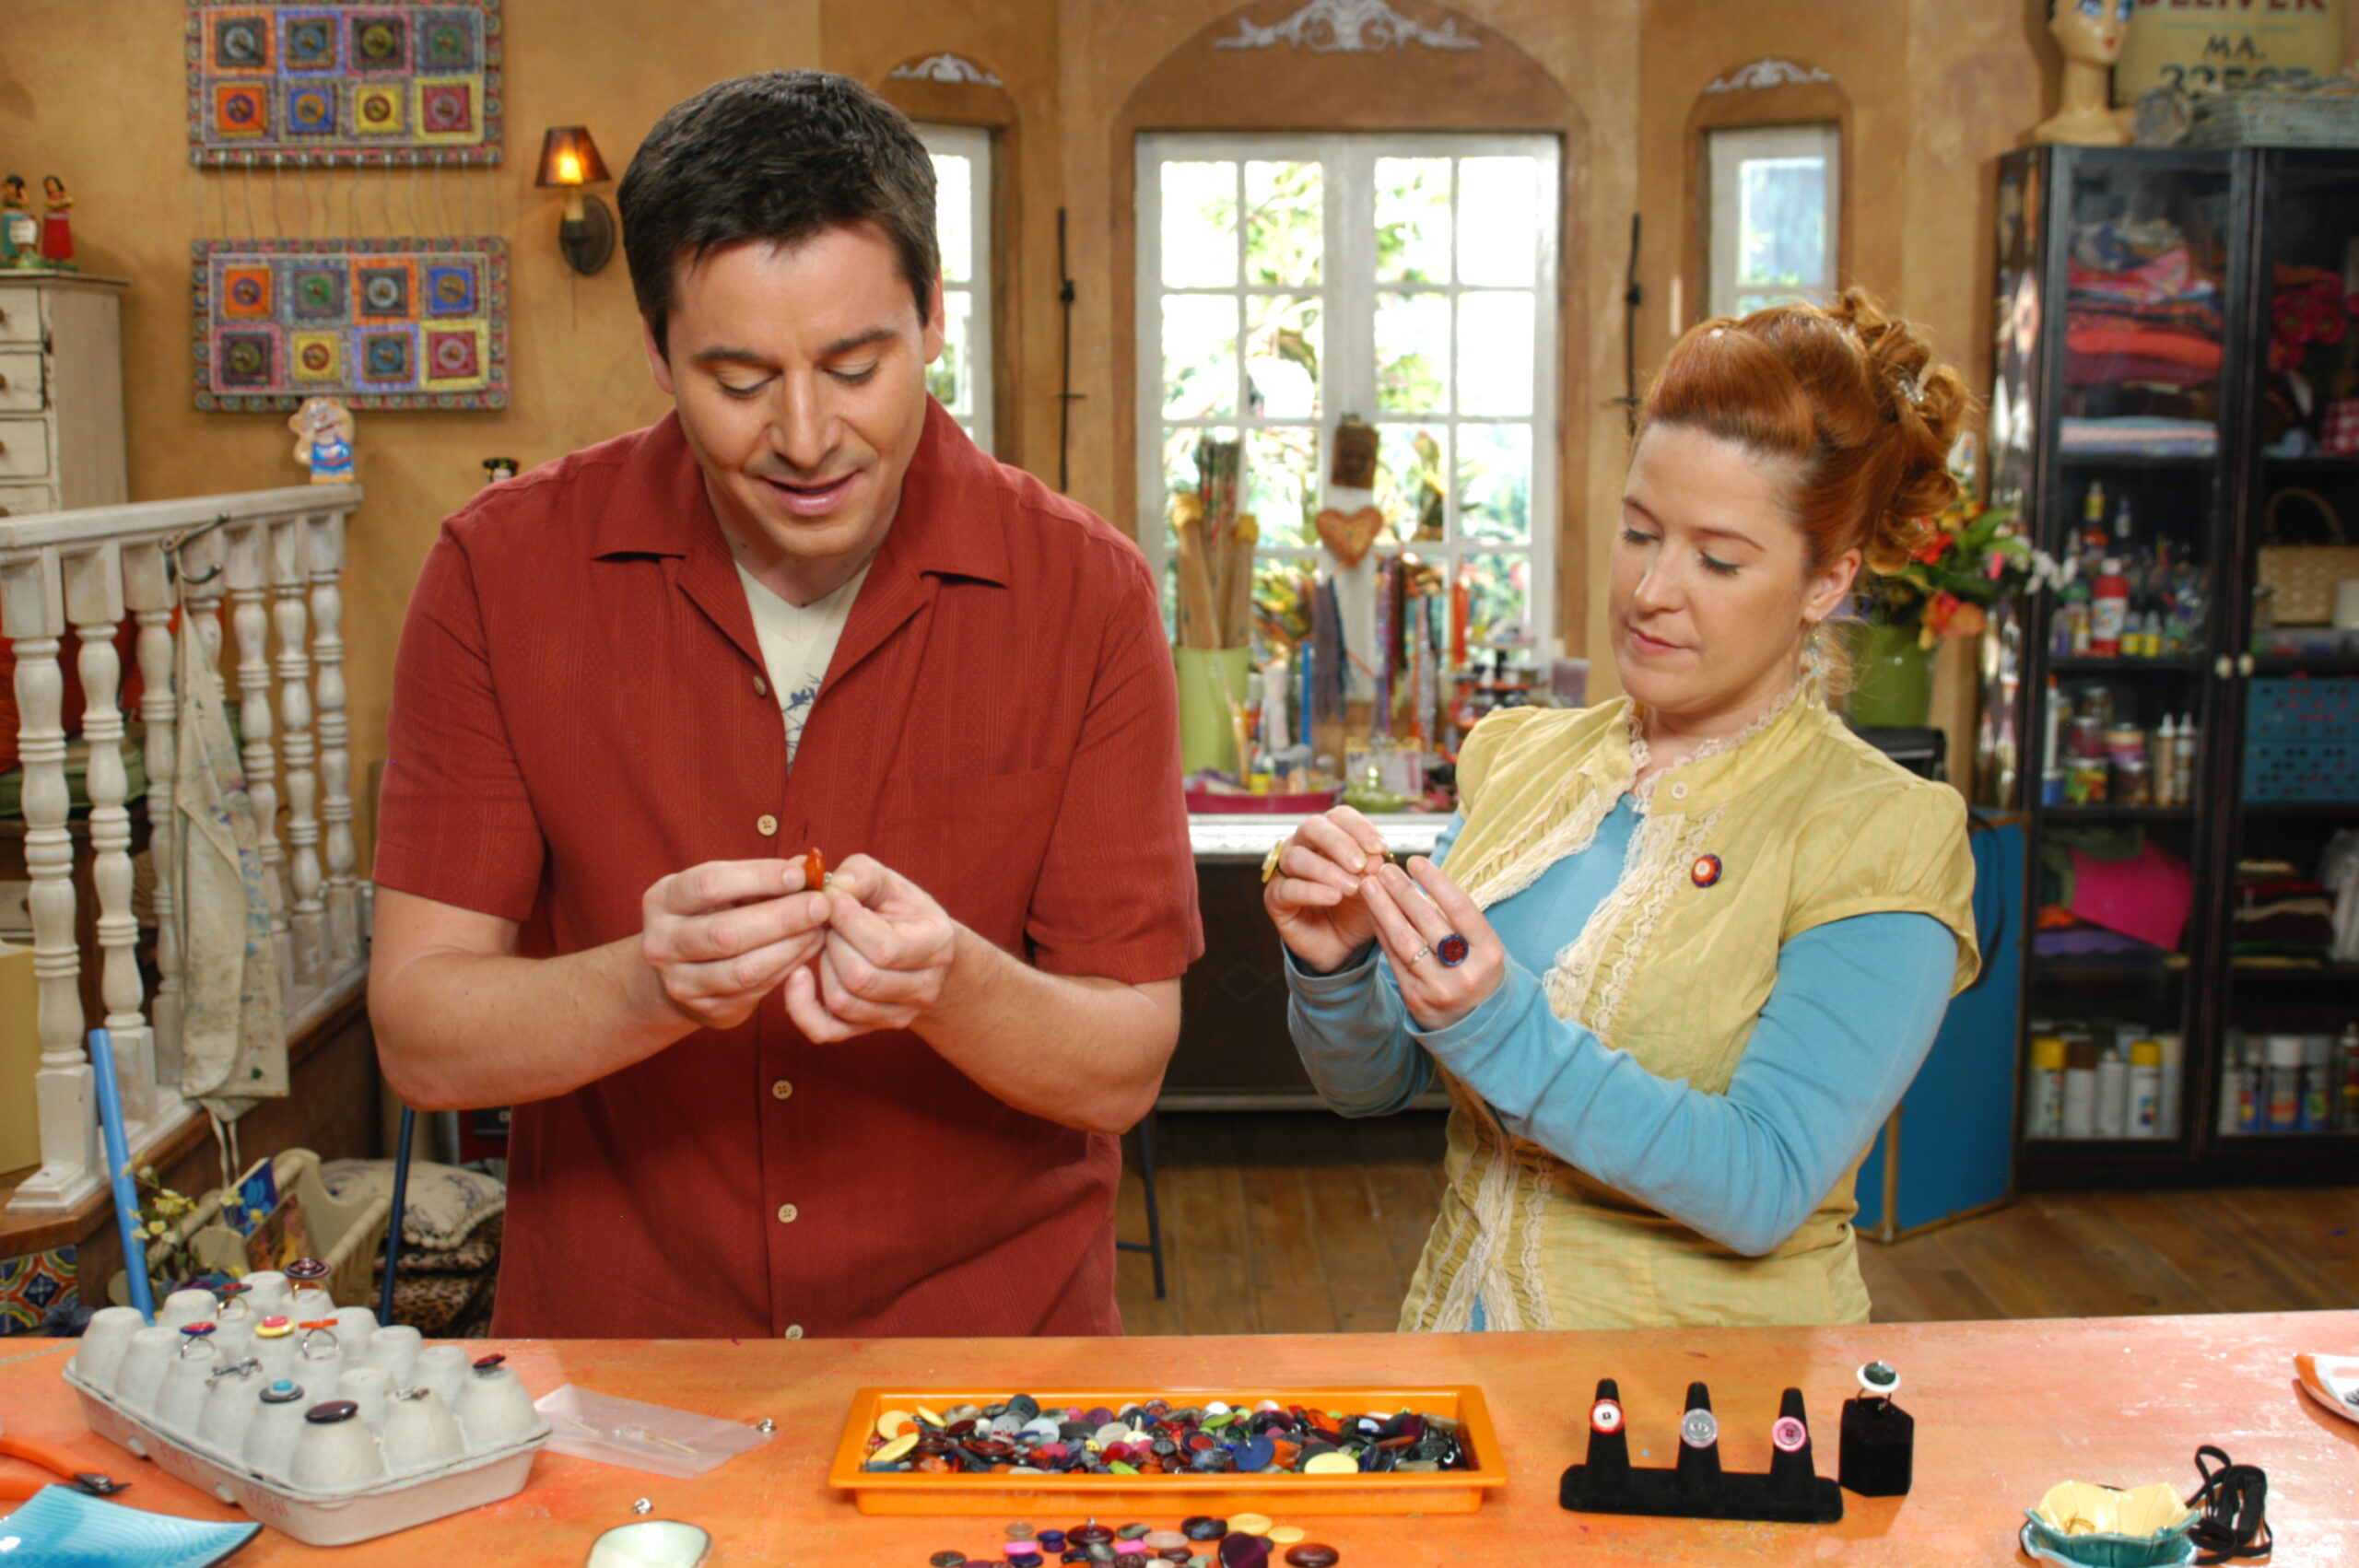
Button up……because we have some crafty new uses for buttons on this episode of Creative Juice. We are turning boring buttons into fashionable accessories, making beautiful floral embroidered cards that your friends and family will love, and turning a plain old picture frame into a button mosaic beauty. Watch Creative Juice on Discovery Plus.
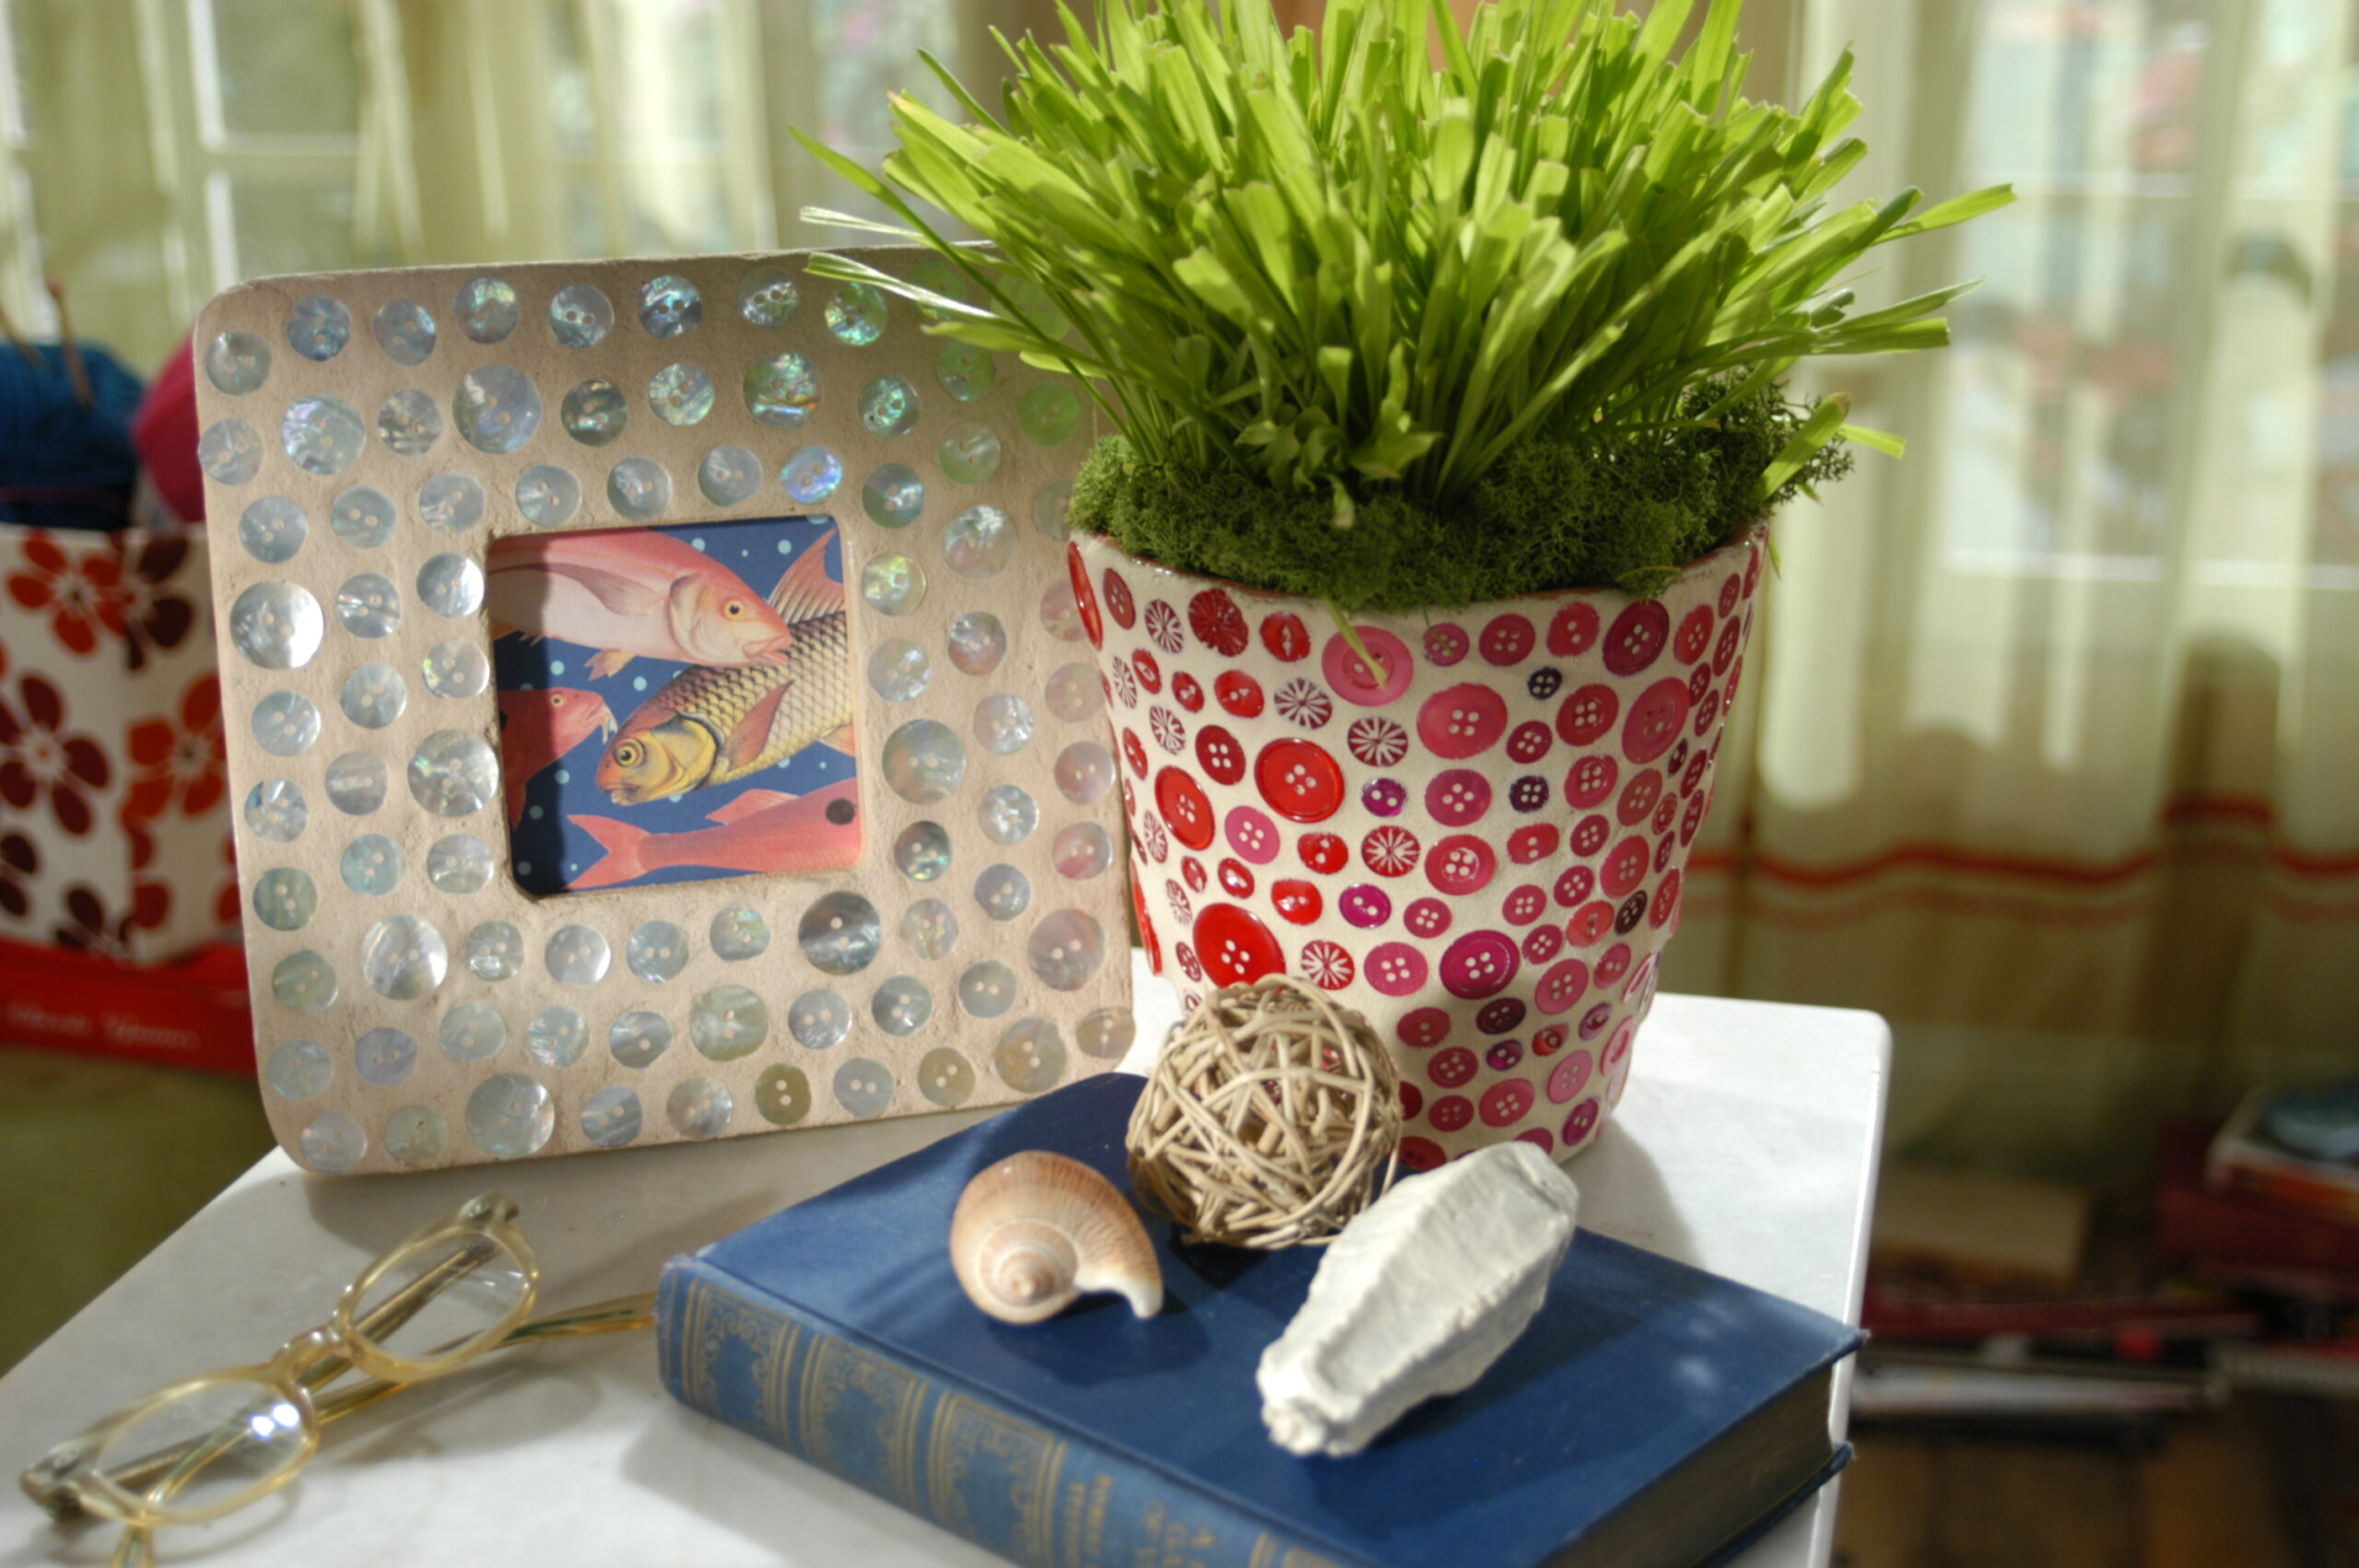
Button Mosaic can be done on pots, frames, dollar store blanks…. etc.
The right kind of button can brighten up anything, including an ordinary picture frame. Add a little grout and some paint and your frames will look fabulous in no time.
Supplies:
Blank frame
Buttons – large lot
E6000 glue
Ultra fine grout in whatever color you want
Rubber gloves (optional)
Sponge
Small bucket of water
Craft paint
Paintbrushes
Putty knife/plastic knife
Bamboo Skewers
Steps:
This can be done on a frame, small clay pot, tea tray etc.
Glue the buttons to the base of the frame with E6000 glue in a random pattern. Try not to apply too much glue, so that it doesn’t smoosh through the holes and plugs them up. Using a bamboo skewer to apply the glue helps. Allow to dry.
Mix the grout as per the manufactures instructions. (add water to the grout until it is the consistency of a thick milkshake) (jpg) Wearing rubber gloves – spread the grout over the buttons and frame using the edge of a plastic knife. Work the grout in between the buttons and let it set up.
Use a damp sponge to wipe away the excess grout until the tops of the buttons are clear of grout. (you can also use a dampened paint brush) Allow to dry.
Add craft paint to the sides of the frame and allow to dry.
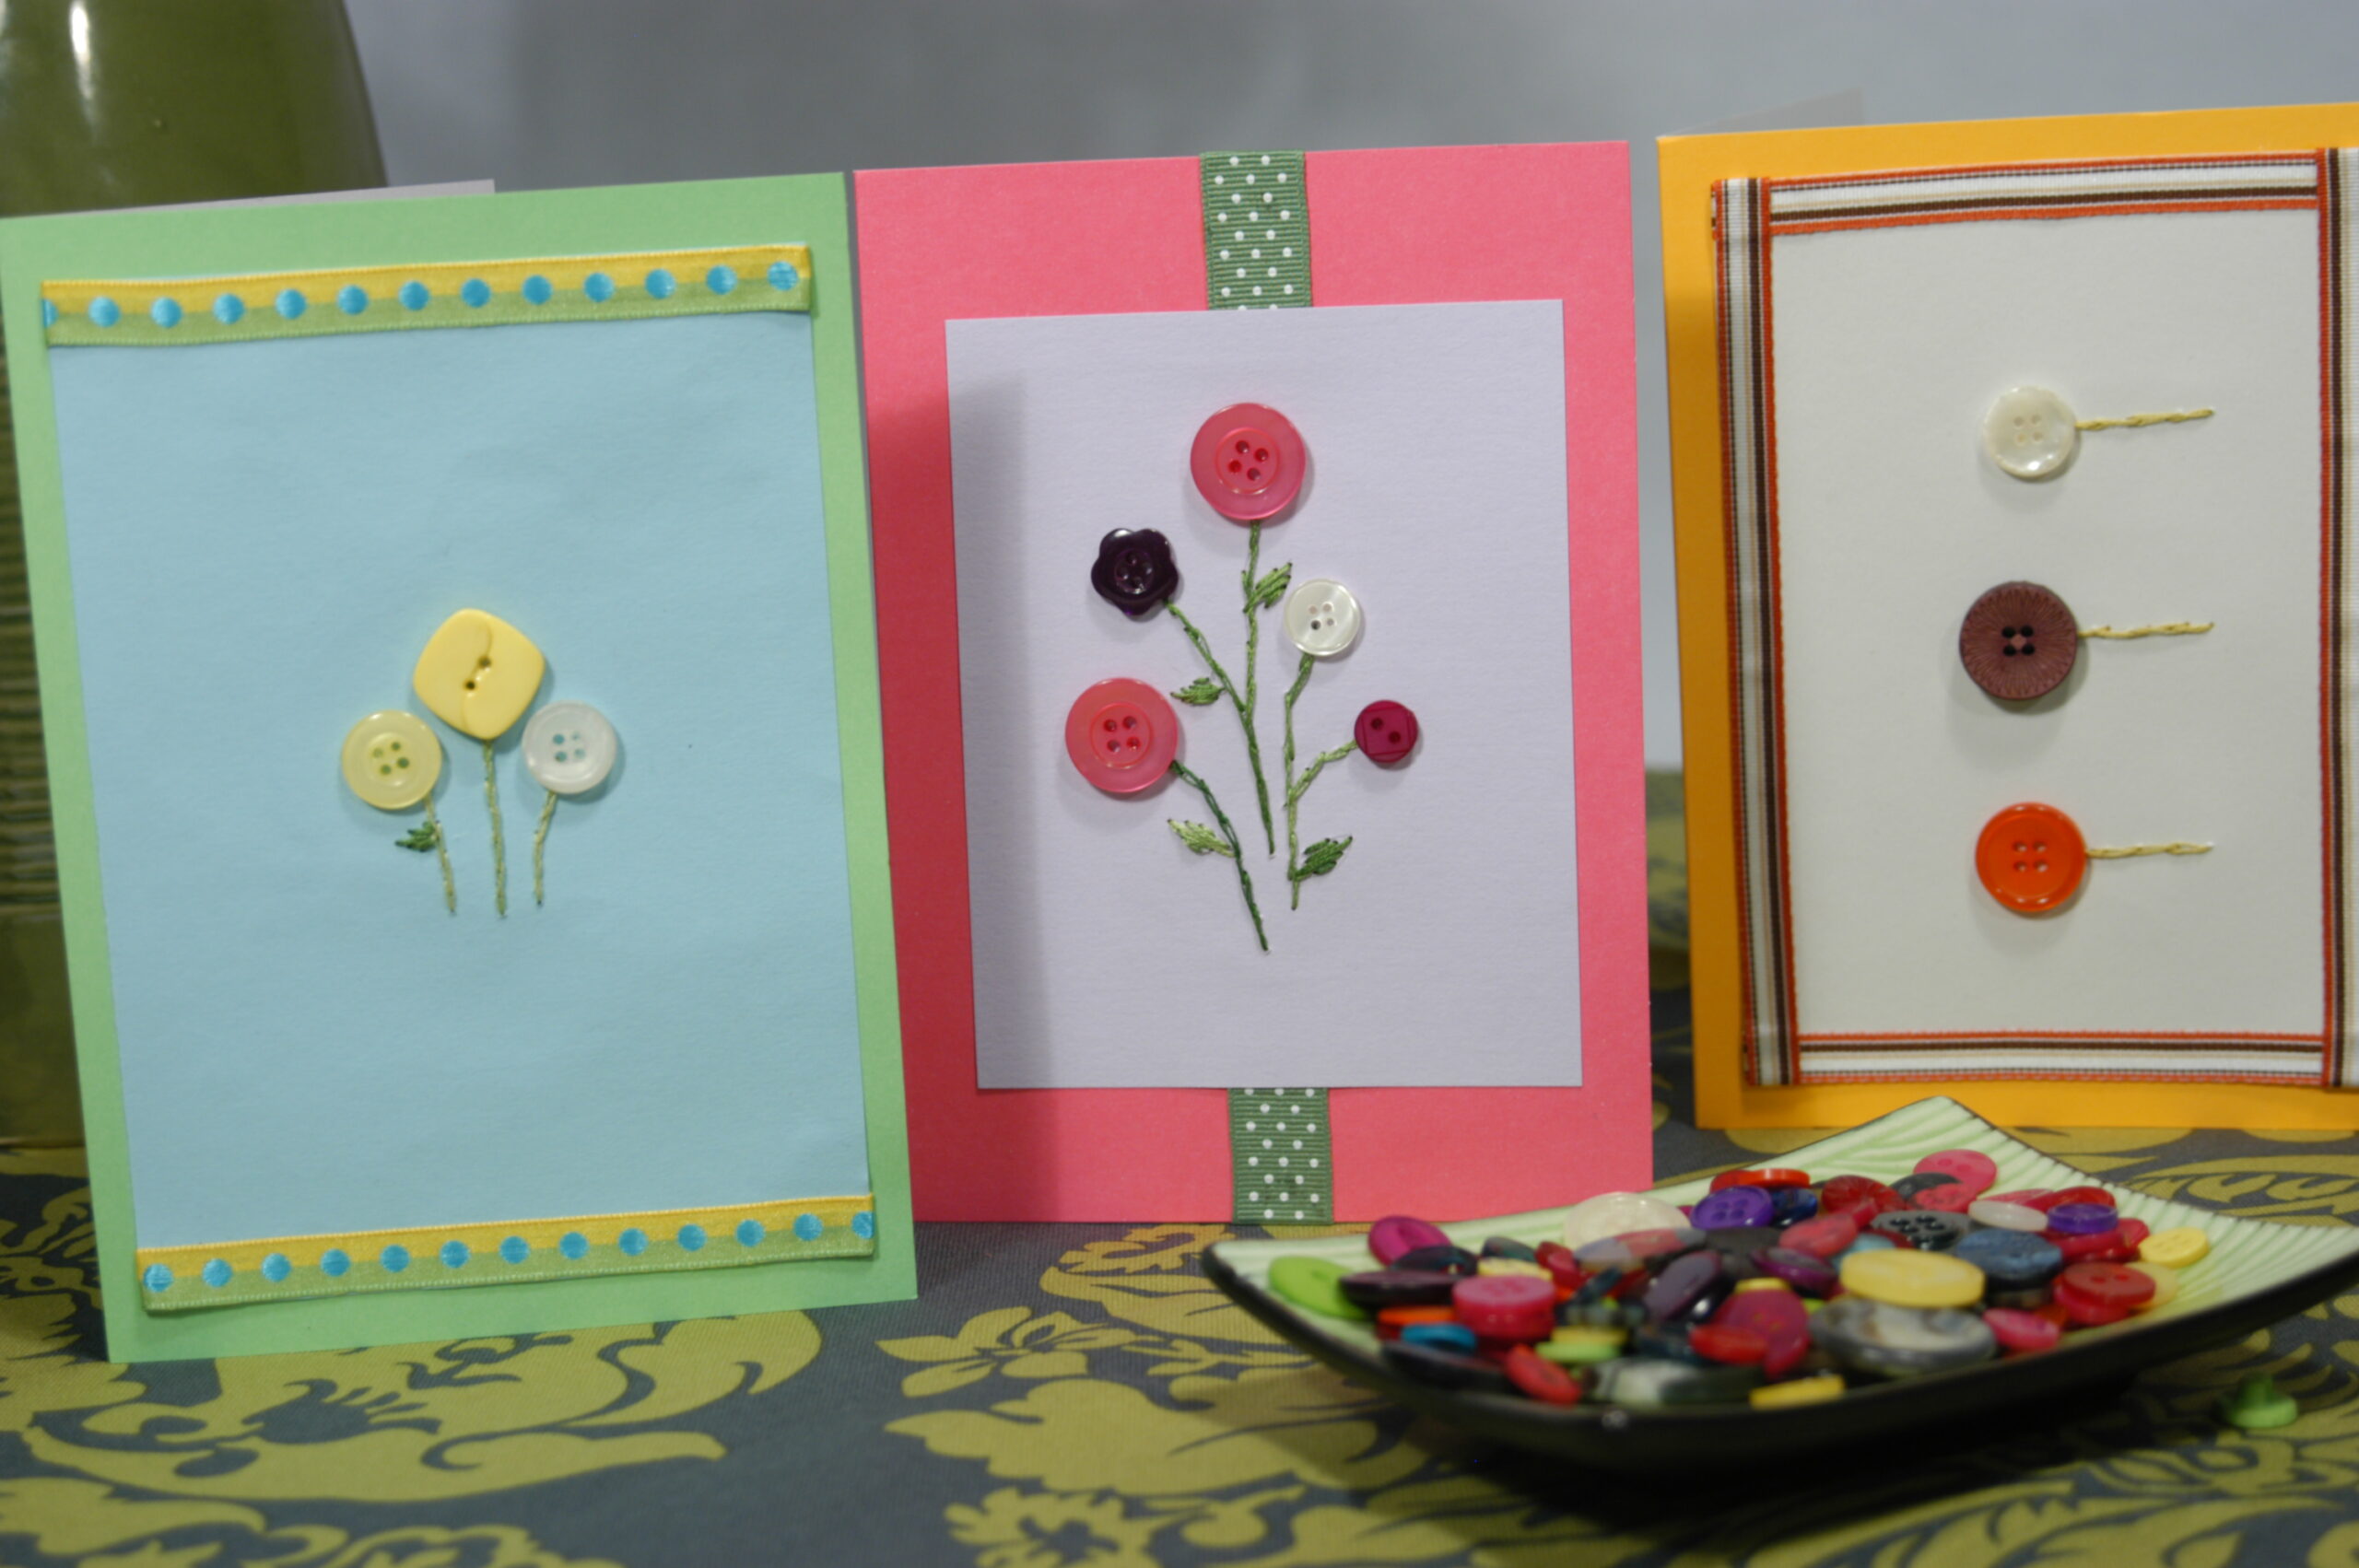
Add some button flair to your letters with these embroidered button flower cards. You’re sure to get a big response with these handmade cards.
Supplies:
Card blanks
Card stock
Fun Buttons
Small needle
Embroidery floss
Scissors
Paper glue
Embellishment glue
Pencil
Steps:
- Trim the card stock to slightly smaller than the blank card.
- Decide on a design plan and place the buttons where you want them. Use a pencil to lightly pencil in the stems of the flowers.
- Separate the embroidery floss in half and thread three strands of the floss onto your needle. Make a very small knot on the end and begin working on the backside working to the front of the paper. Stitch over the pencil lines with a running stitch. Add leaves if desired with a satin stitch.
- Add some ribbon at the top and bottom of the card, using tacky glue.
- Center the stitched paper over the blank card and glue in place.
- Glue the buttons in place. (for more security, give the buttons a quick stitch)
Create button rings and pins! Old buttons are the key ingredient to these fun and distinctive rings and pins.
Elastic Button Rings
Supplies:
3 inch piece of black 1/2 inch wide elastic
2 Fun Buttons different sizes
Embroidery floss
Needle
Scissors
Pin
Steps:
- Layer the buttons on top of each other with the small one on top.
- Using the embroidery floss stitch the buttons to the center of the elastic.
- Sizing the ring: Wrap the elastic around your finger and pin the seam where it fits most comfortably. Stitch (by hand) the ring together.
Glue Button Rings
Supplies:
1 adjustable ring blank
2 – 4 Fun Buttons different sizes
E6000 glue
Scrap of waxed paper
Small cardboard box
Steps:
Cut a small slit in the cardboard box (or egg carton) and place the band part of the ring in the slit. (this will also be a drying rack). Layer the buttons on top of each other with the smallest one on top, glue in place using E6000 glue. Allow to dry.
Button Pins
Supplies:
1 Pin back
6 Fun buttons different sizes
E6000 glue
Scrap of waxed paper
Small cardboard box (or egg carton)
Steps:
- Layer the buttons on top of each other with the smallest one on top, glue in place using E6000 glue. Allow to dry on a piece of waxed paper.
- Separate the pin from the pin back. Cut a small slit in the cardboard box (or egg carton) and place the pin back in the slit. (this will be a drying rack) Glue the button stack onto the pin back base. Allow to dry.
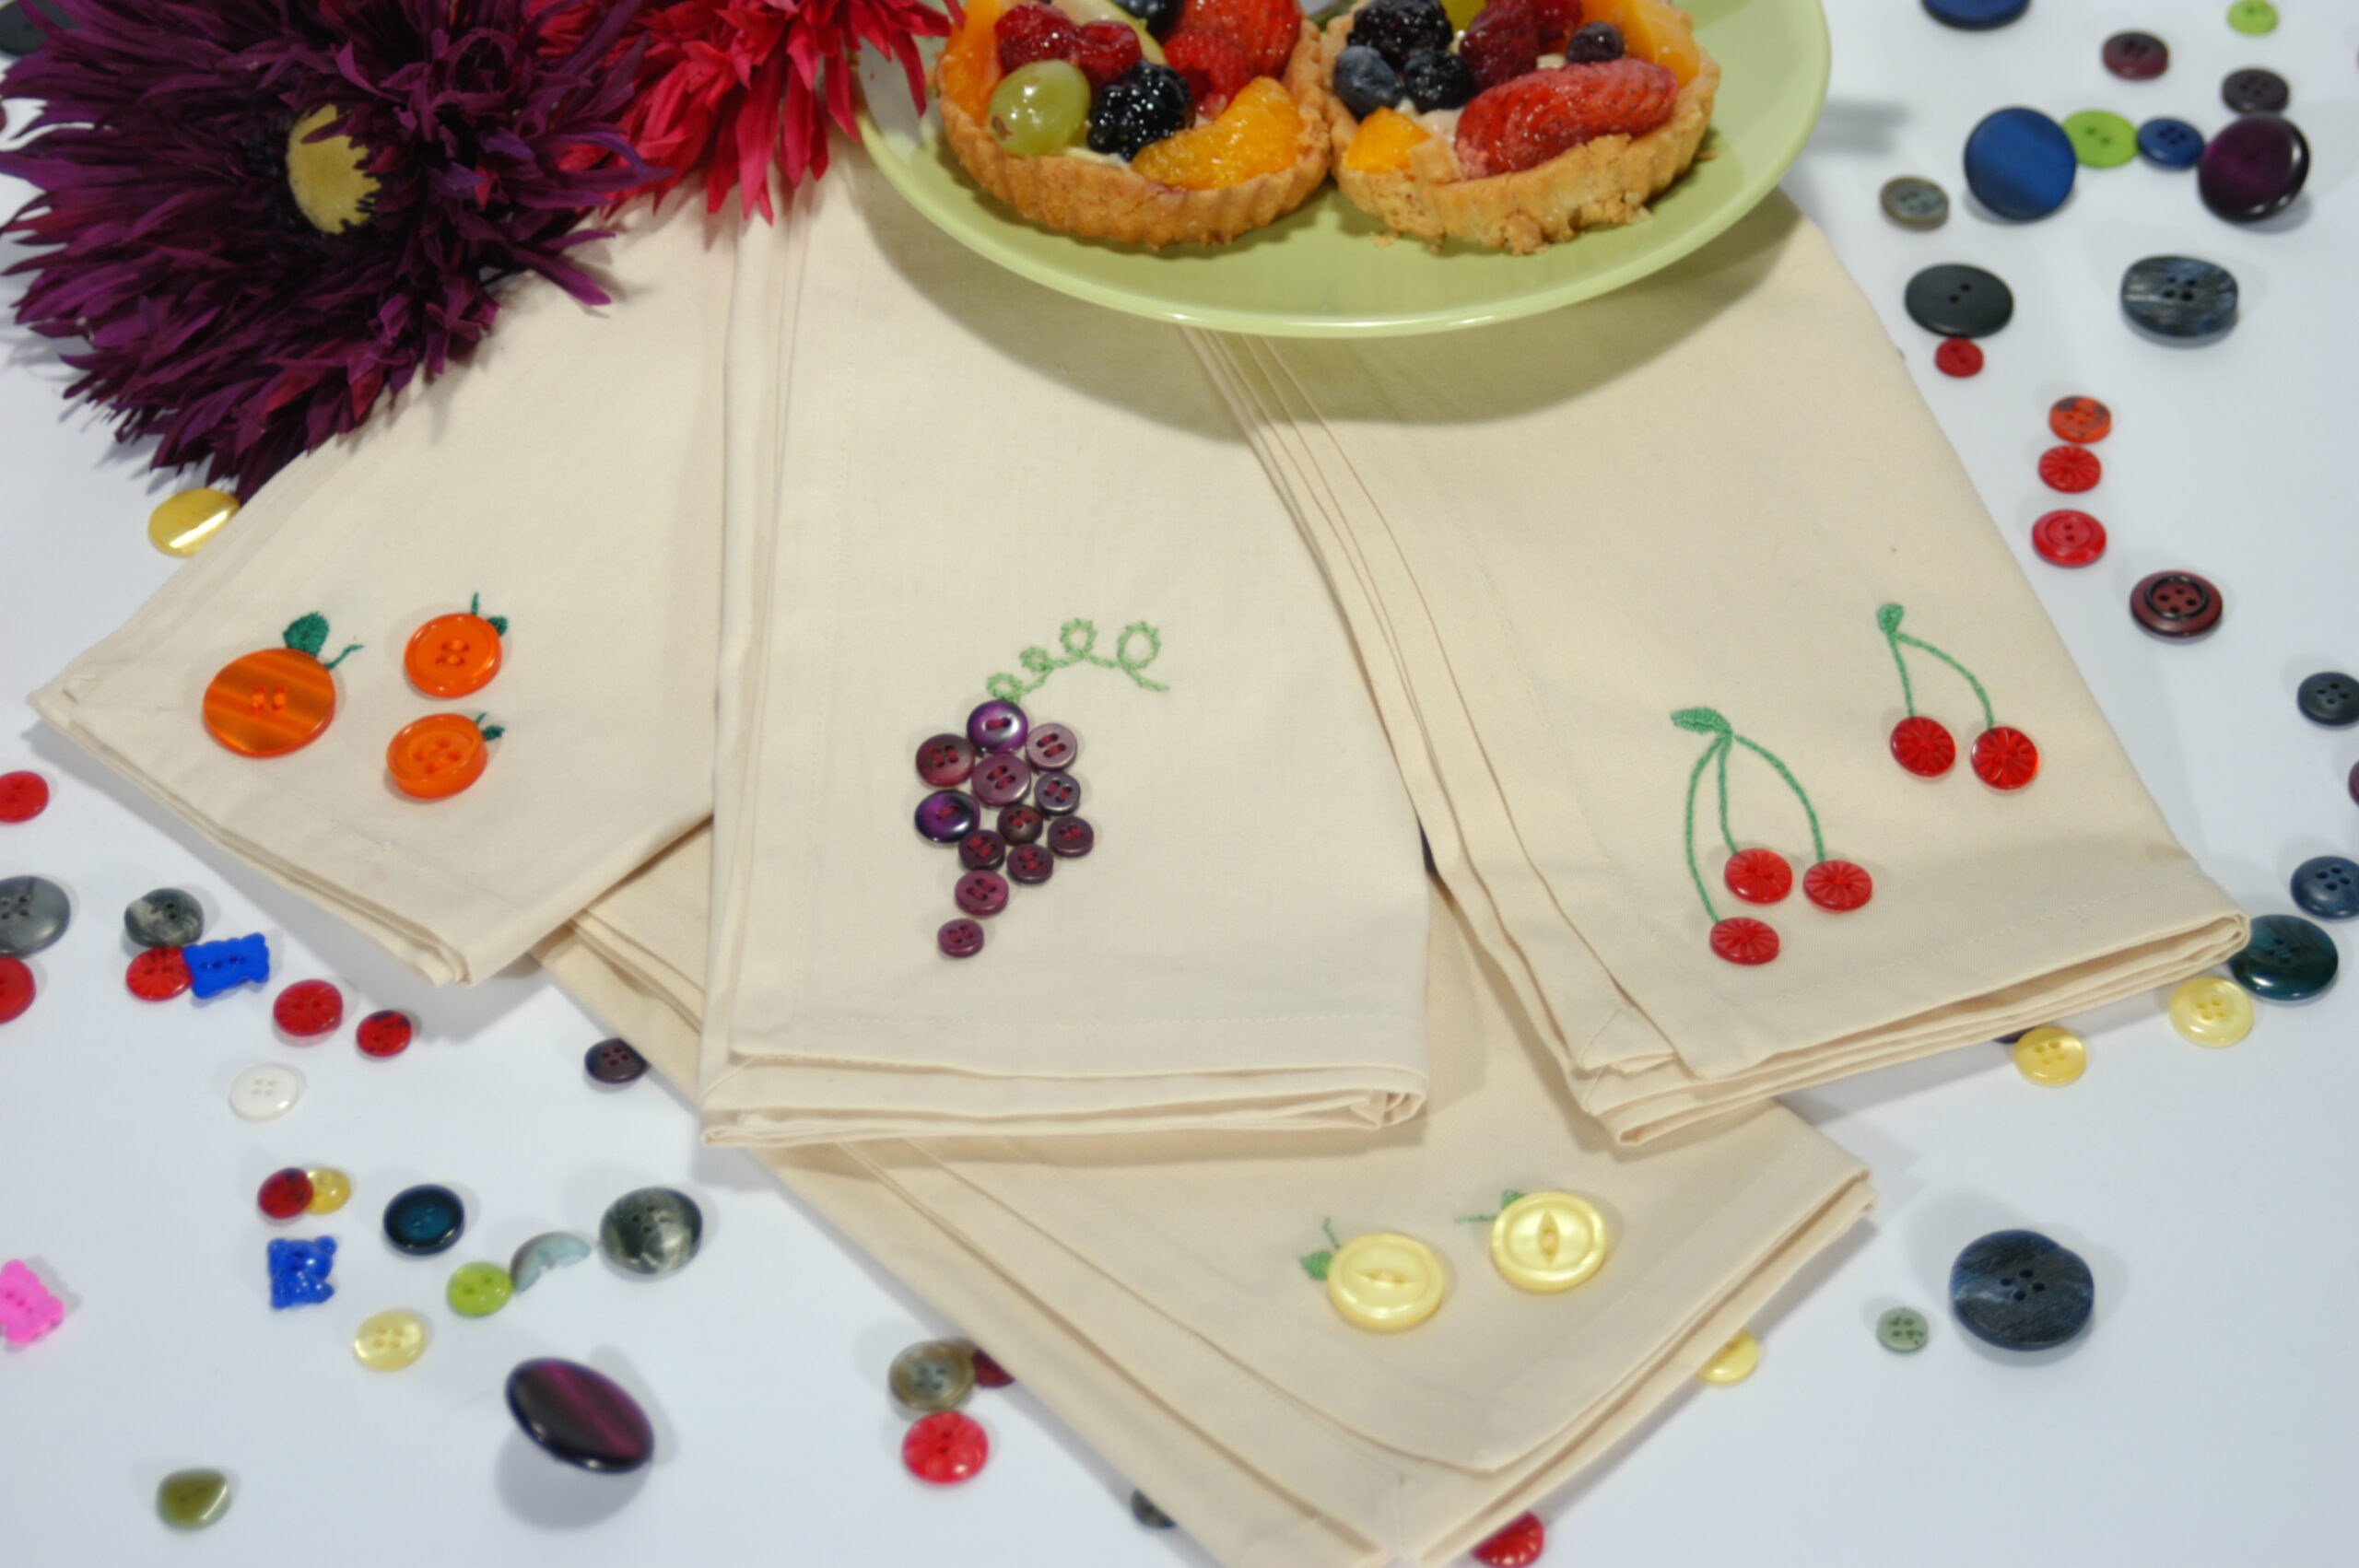
Sweeten up your drab napkins with colorful buttons and a couple quick stitches. The possibilities are truly appetizing!
Supplies:
Random buttons
Green embroidery floss
Embroidery needles
Small embroidery hoop
Scissors
Linen Napkins
Ideas for buttons: 2 small red buttons = cherries, 6 small purple buttons = bunch of grapes, 1 med orange button = orange, 2 small yellow buttons = lemons.
Steps:
Attach the fabric to the embroidery hoop
Separate the embroidery floss – so that you are working with half the strands. Working on the corner of the napkin stitch the buttons in place.
Adding the stems and leaves: Use a simple running stitch to create the stems and satin stitch to create the leaves.
Thanks for stopping by! Please like, pin and share the projects you love for the future! \
xoxo cathie


