 Everything’s letter perfect on this episode of “Creative Juice.” We are creating floral letter monograms to liven up a boring door. Ordinary clothes hangers are getting a makeover with Paint and Mod Podge. In the kitchen, we are sharing a recipe for homemade alphabet soup with letter croutons. And we wrap up this episode with a quick lesson on pacific cloth and make heirloom silver storage bags.
Homemade Alphabet Soup Recipe:
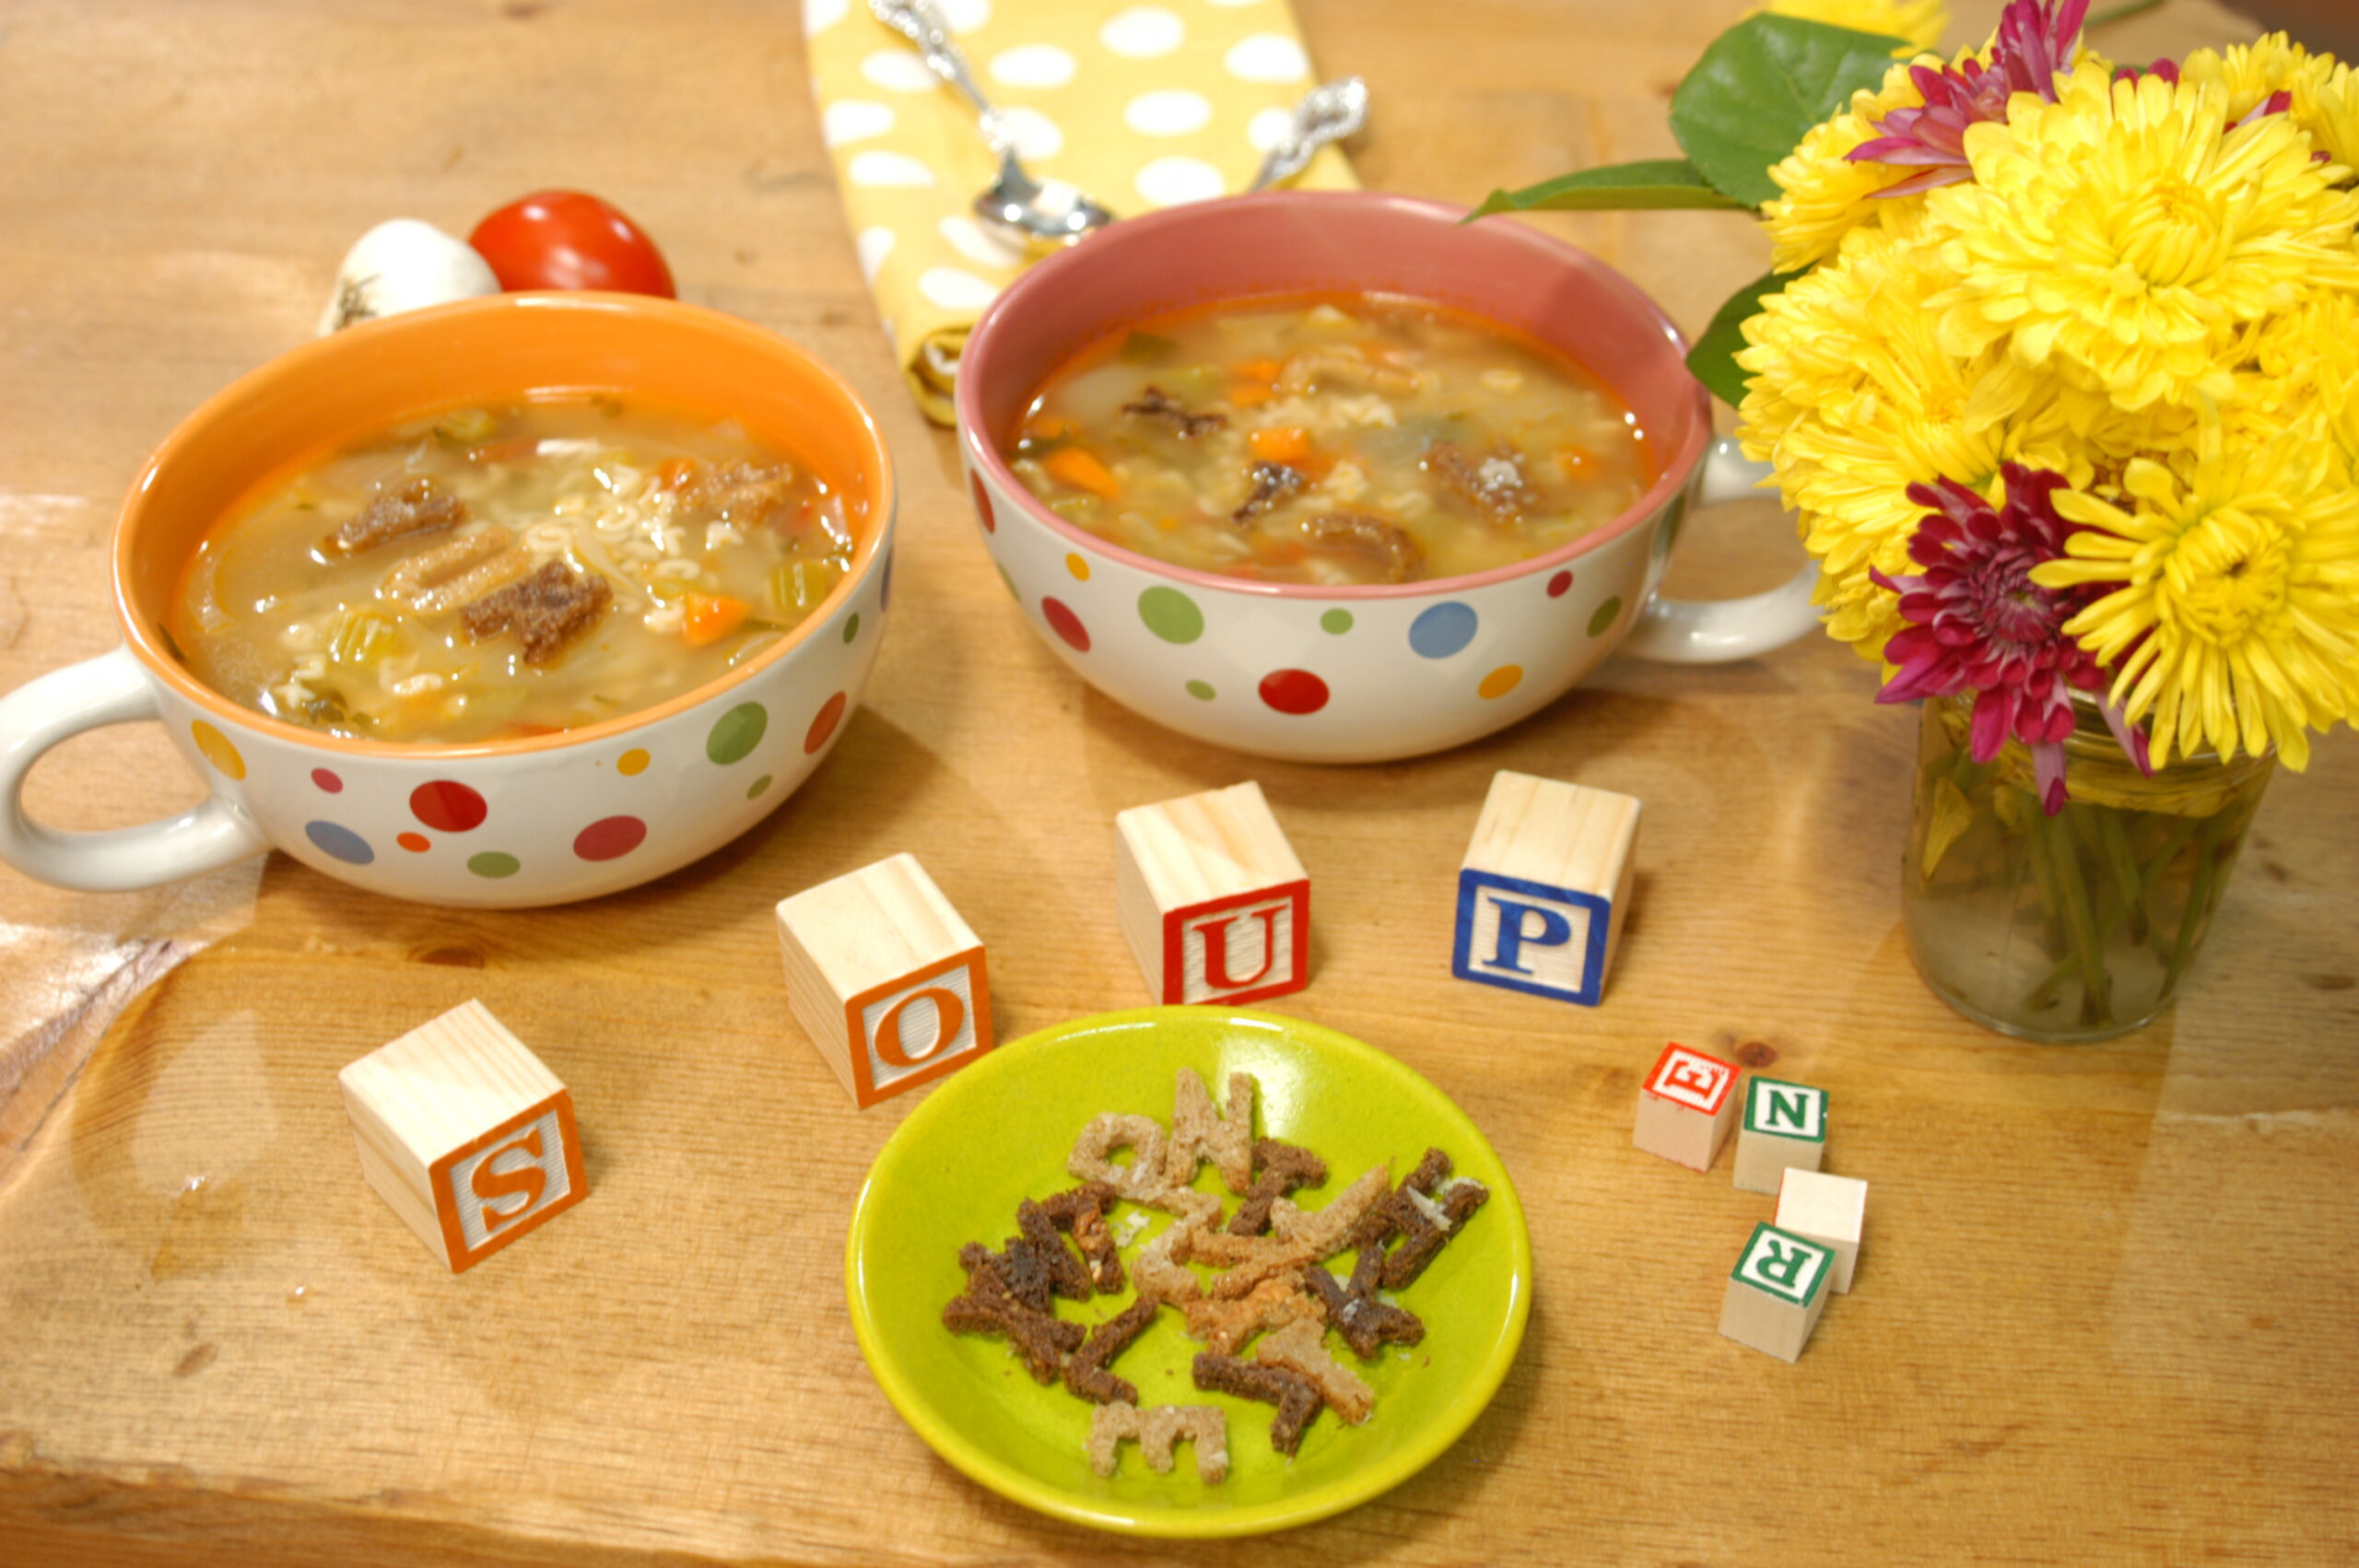
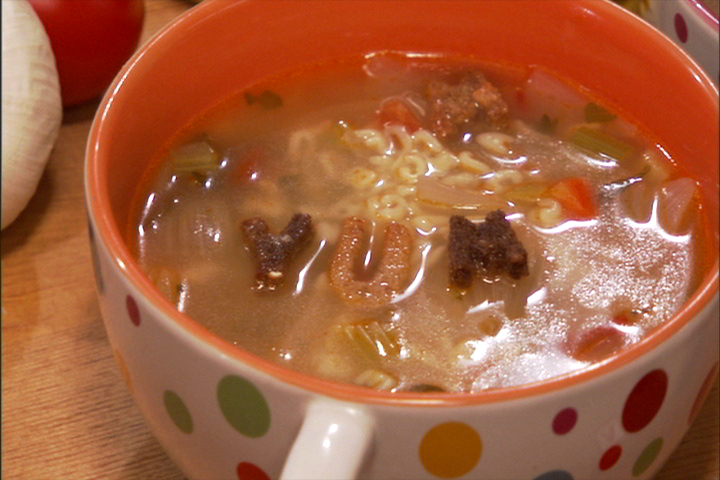
Grab your spoons! We’ve got the perfect after school snack: hot and steamy alphabet soup with crunchy letter shaped croutons.
Ingredients:
1 cup alphabet pasta
2 tablespoons vegetable oil
2 onions, peeled and cut into eighths
2 large carrots, peeled and cut into chunks
3 ribs celery, cut into chunks
3 ripe plum tomatoes, cut into chunks
1 large clove garlic, peeled
1 small bunch fresh Italian parsley, loosely chopped
4 sprigs fresh thyme
1 bay leaf
1 teaspoon pepper
Salt to taste
2 cups water
2 quarts low sodium chicken broth
Steps:
Heat the oil in a large saucepan. Add the vegetables and cook until they are soft (about 6 min). Add the garlic and cook for about 2 minutes.
Add all the remaining ingredients except for the pasta and reduce the heat to medium-low and simmer, covered for 1 hour.
Remove garlic clove, bay leaf and thyme sprigs (or discard as you serve).
Add the alphabet pasta, stir well, and simmer until the pasta is cooked (10-15 minutes) Serve immediately.
Homemade Letter Croutons
Small letter cookie cutters
Several pieces of whole wheat cocktail bread
2 Tablespoons butter (melted)
¼ – ½ cup grated parmesan (finely grated)
Steps:
Cut letters from bread. (if the letters don’t come right out of the cutter, use a popsicle stick to pop them out)
Mix melted butter and parmesan cheese.
Place aluminum foil on cookie sheet. Place letters on foil. Brush mixture on each letter. (brushing the butter on the bread before they are cut will make the bread to soft to cut with cutters)
Toast at 250 degrees for 5 minutes. Flip and toast for 5 more minutes.
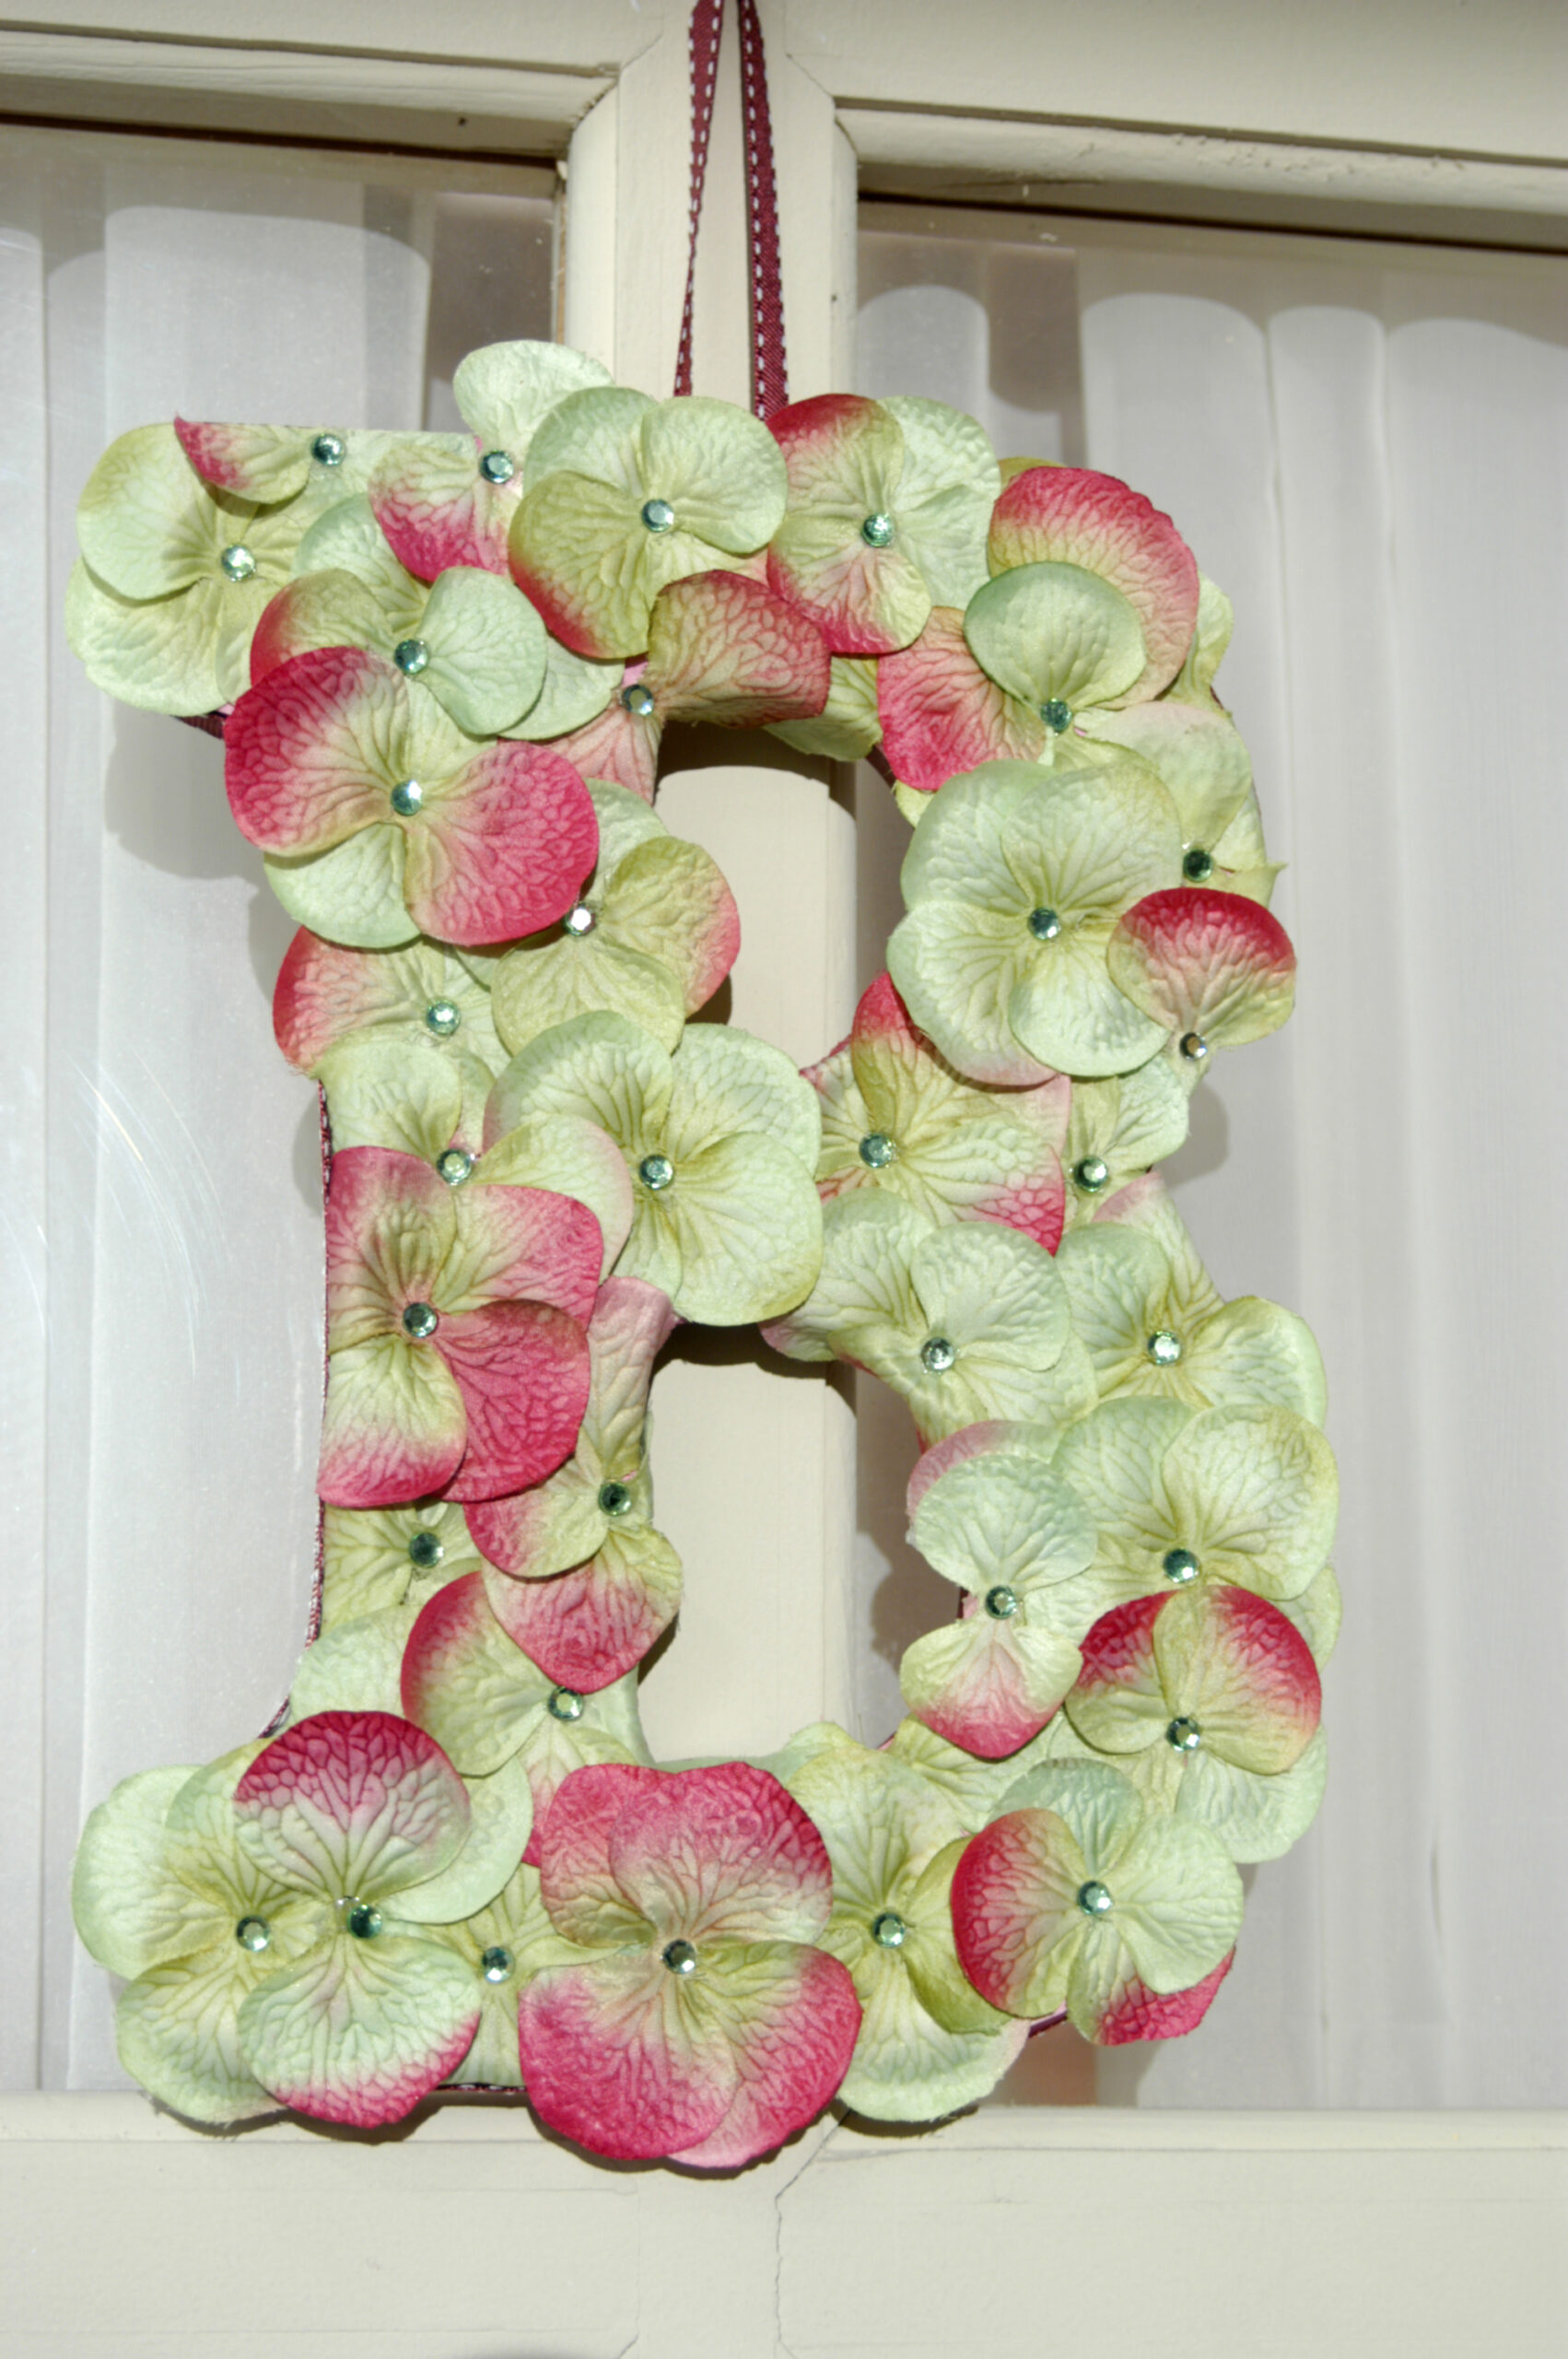
Spruce up your front door with a wooden letter decorated with silk flowers and floral print craft paper.
Supplies:
6” Wood letter of choice
fine grit sandpaper
White craft paint & paintbrush
Floral print scrapbook paper
Glue stick
Hot glue
1 large silk hydrangea
1/4” decorative ribbon (enough to go around your letter + 10”)
Small rhinestones
Letter Steps:
Using fine-grit sandpaper, sand the top of the letter. Paint the letter with craft paint any allow to dry.
Trace the letter onto the backside of the scrapbook paper. (jpg) Cut out the tracing and use a glue stick to attach the paper to the front of the letter. Use your fingers to press out any air bubbles.
Break apart the silk flower so you have lots of little petals. Use hot glue to attach the petals to the top of the letter. (You can glue them in a random pattern or all over the letter) Add rhinestones for decorative effect.
Cut 10” off your decorative ribbon (This will be your hanger) Turn the letter over and attach the ribbon hanger by forming a u shape with the ribbon and hot gluing the ends down.
Add the remaining ribbon around the outer edge of the letter.
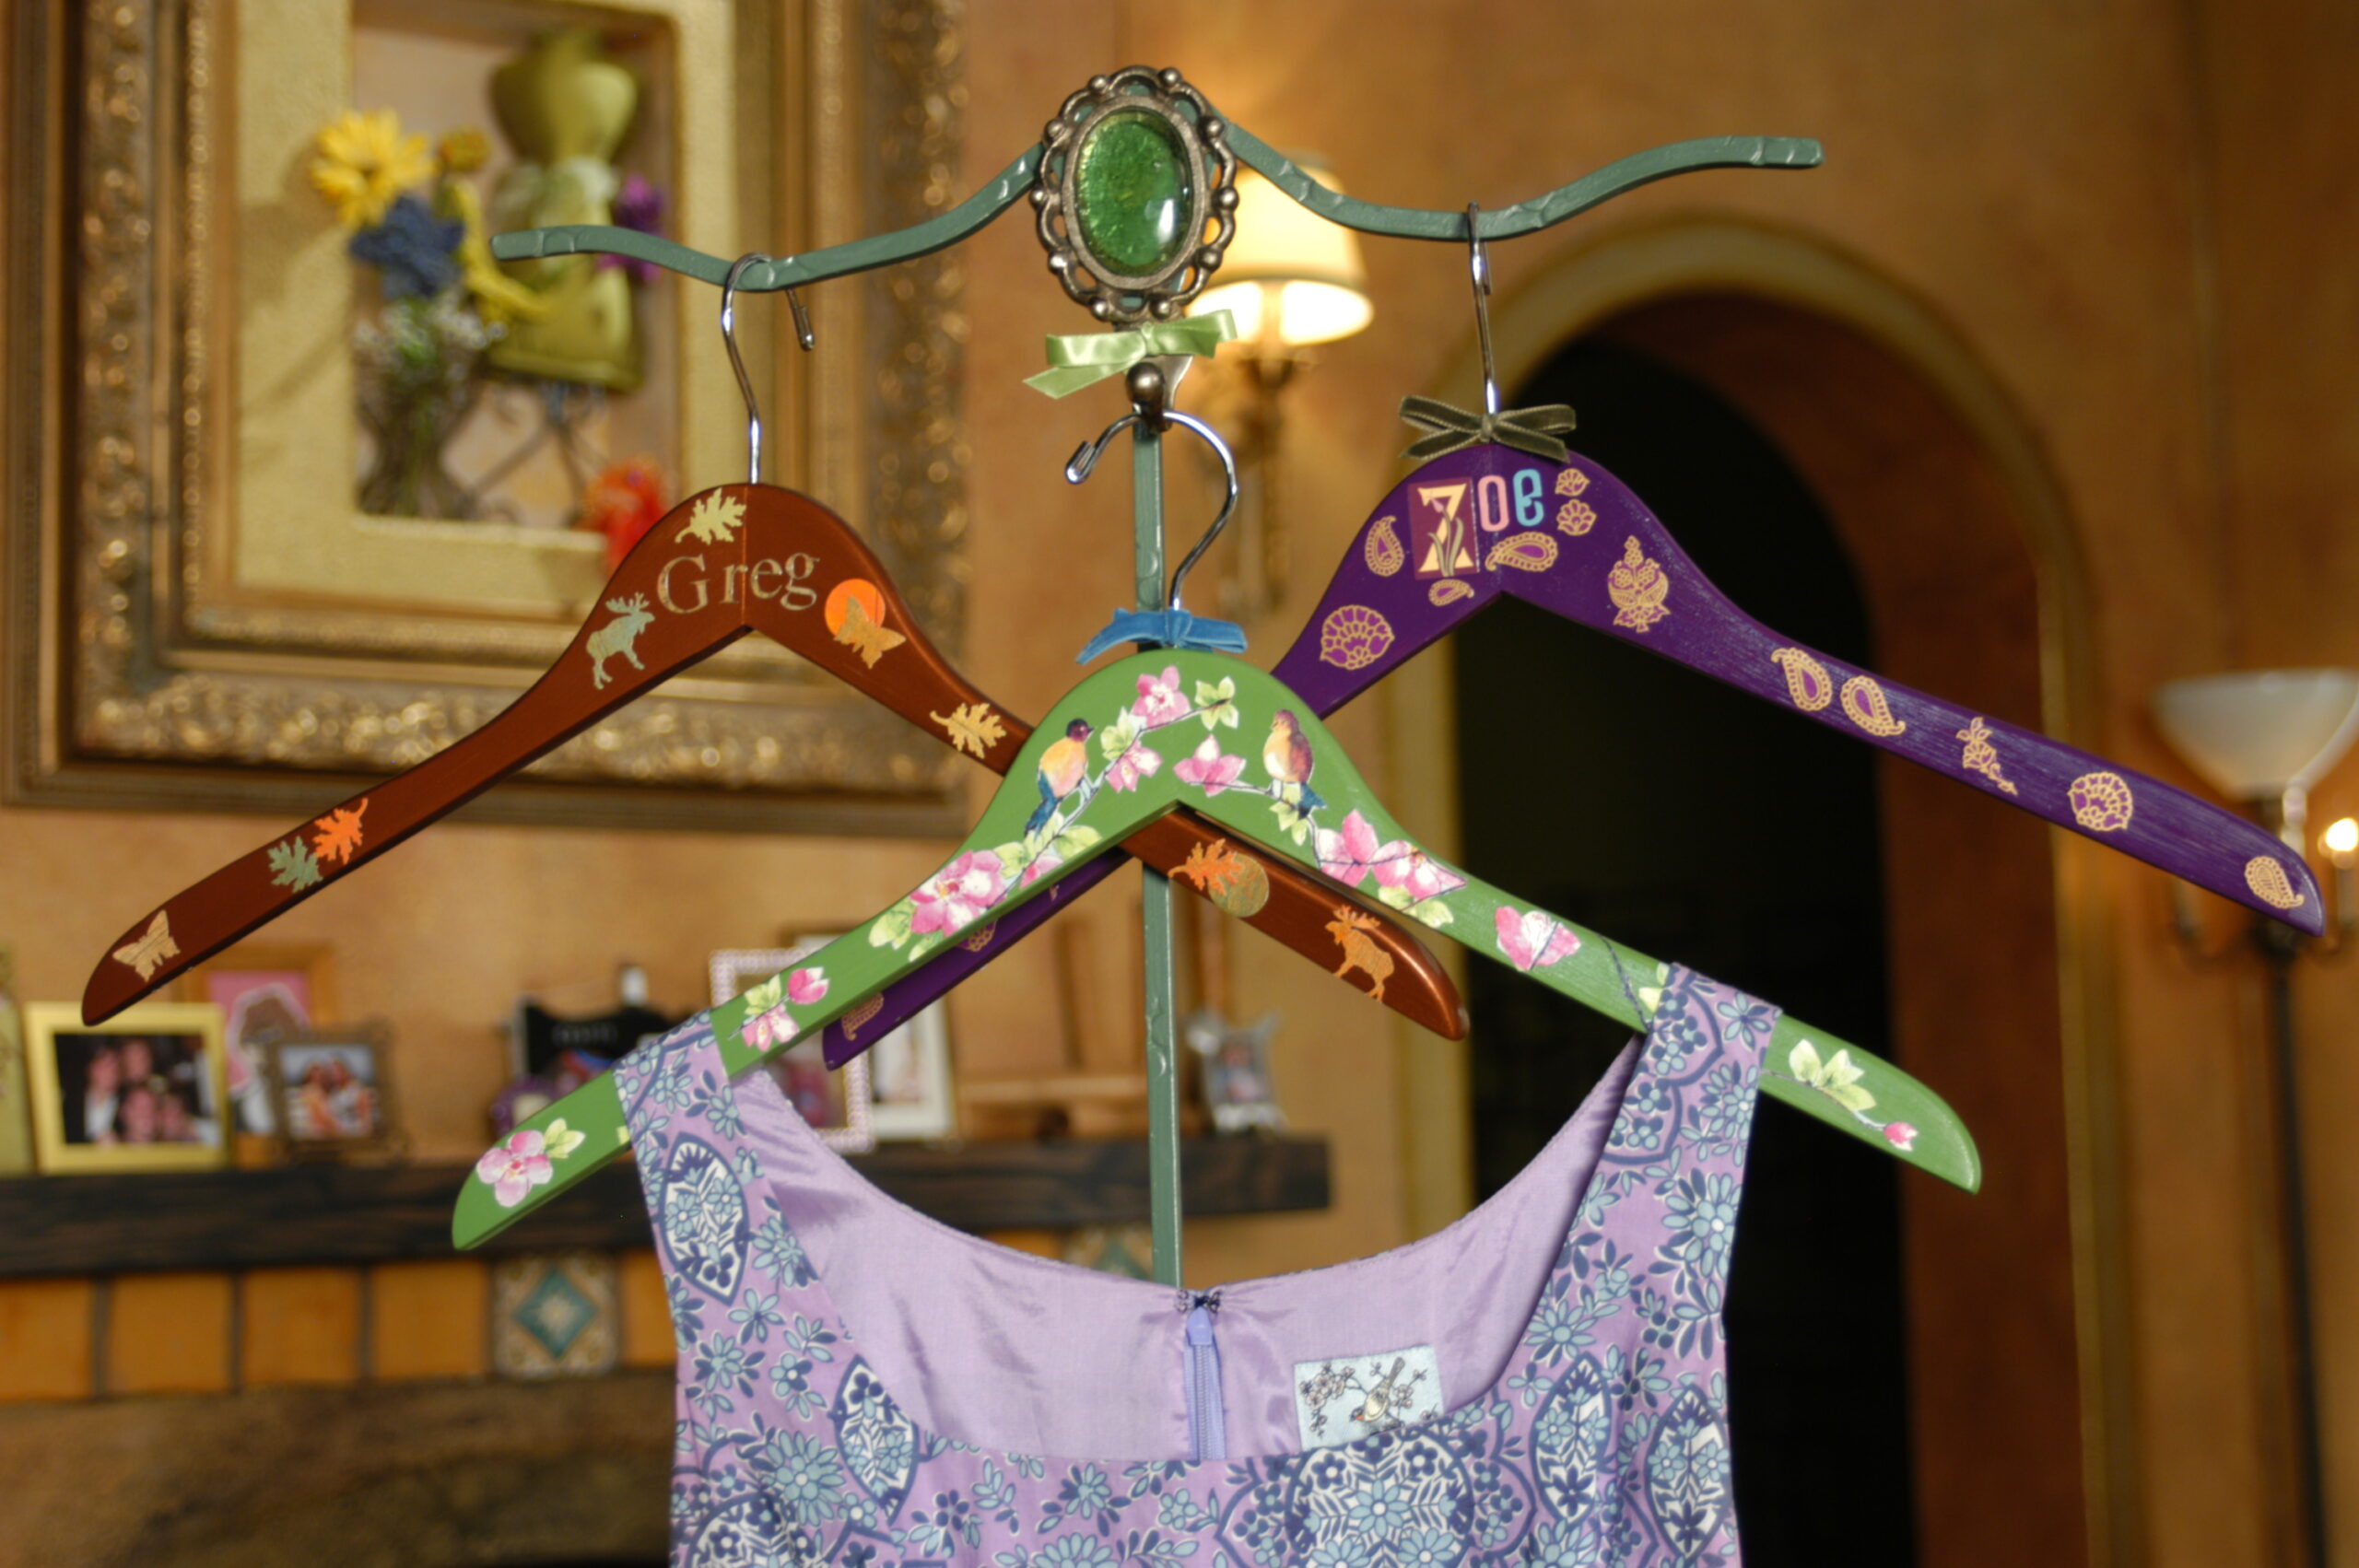
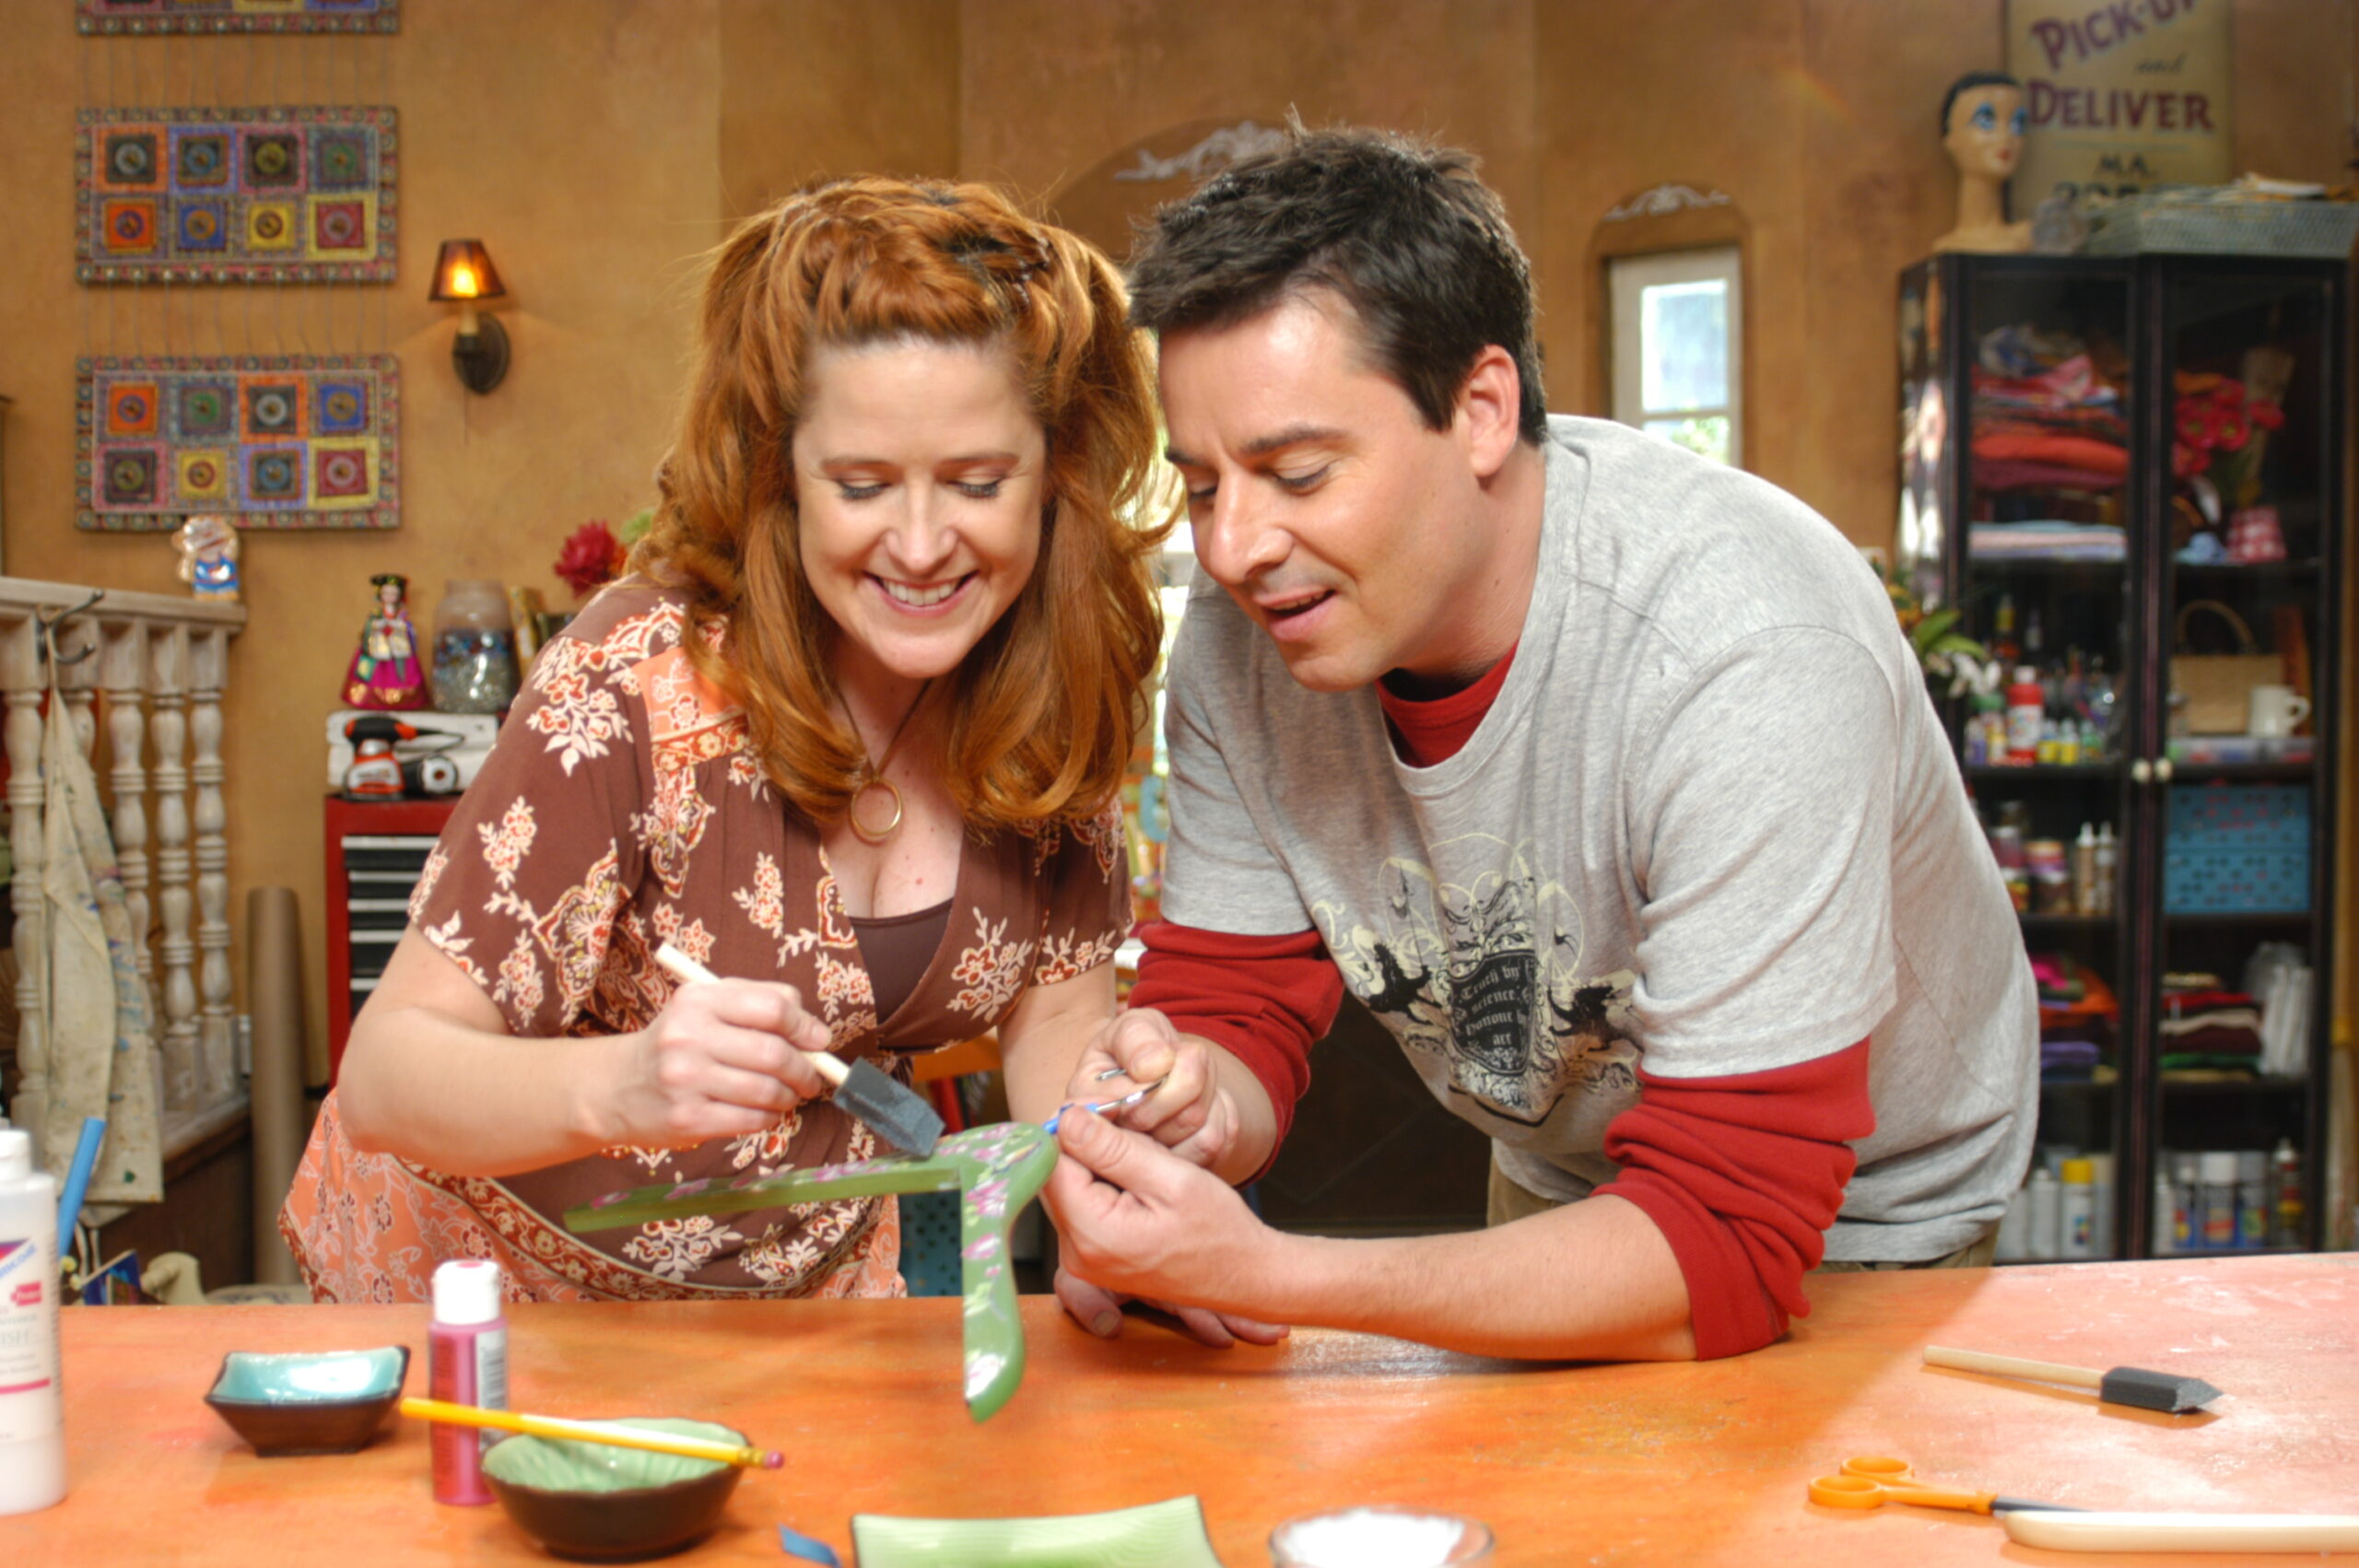
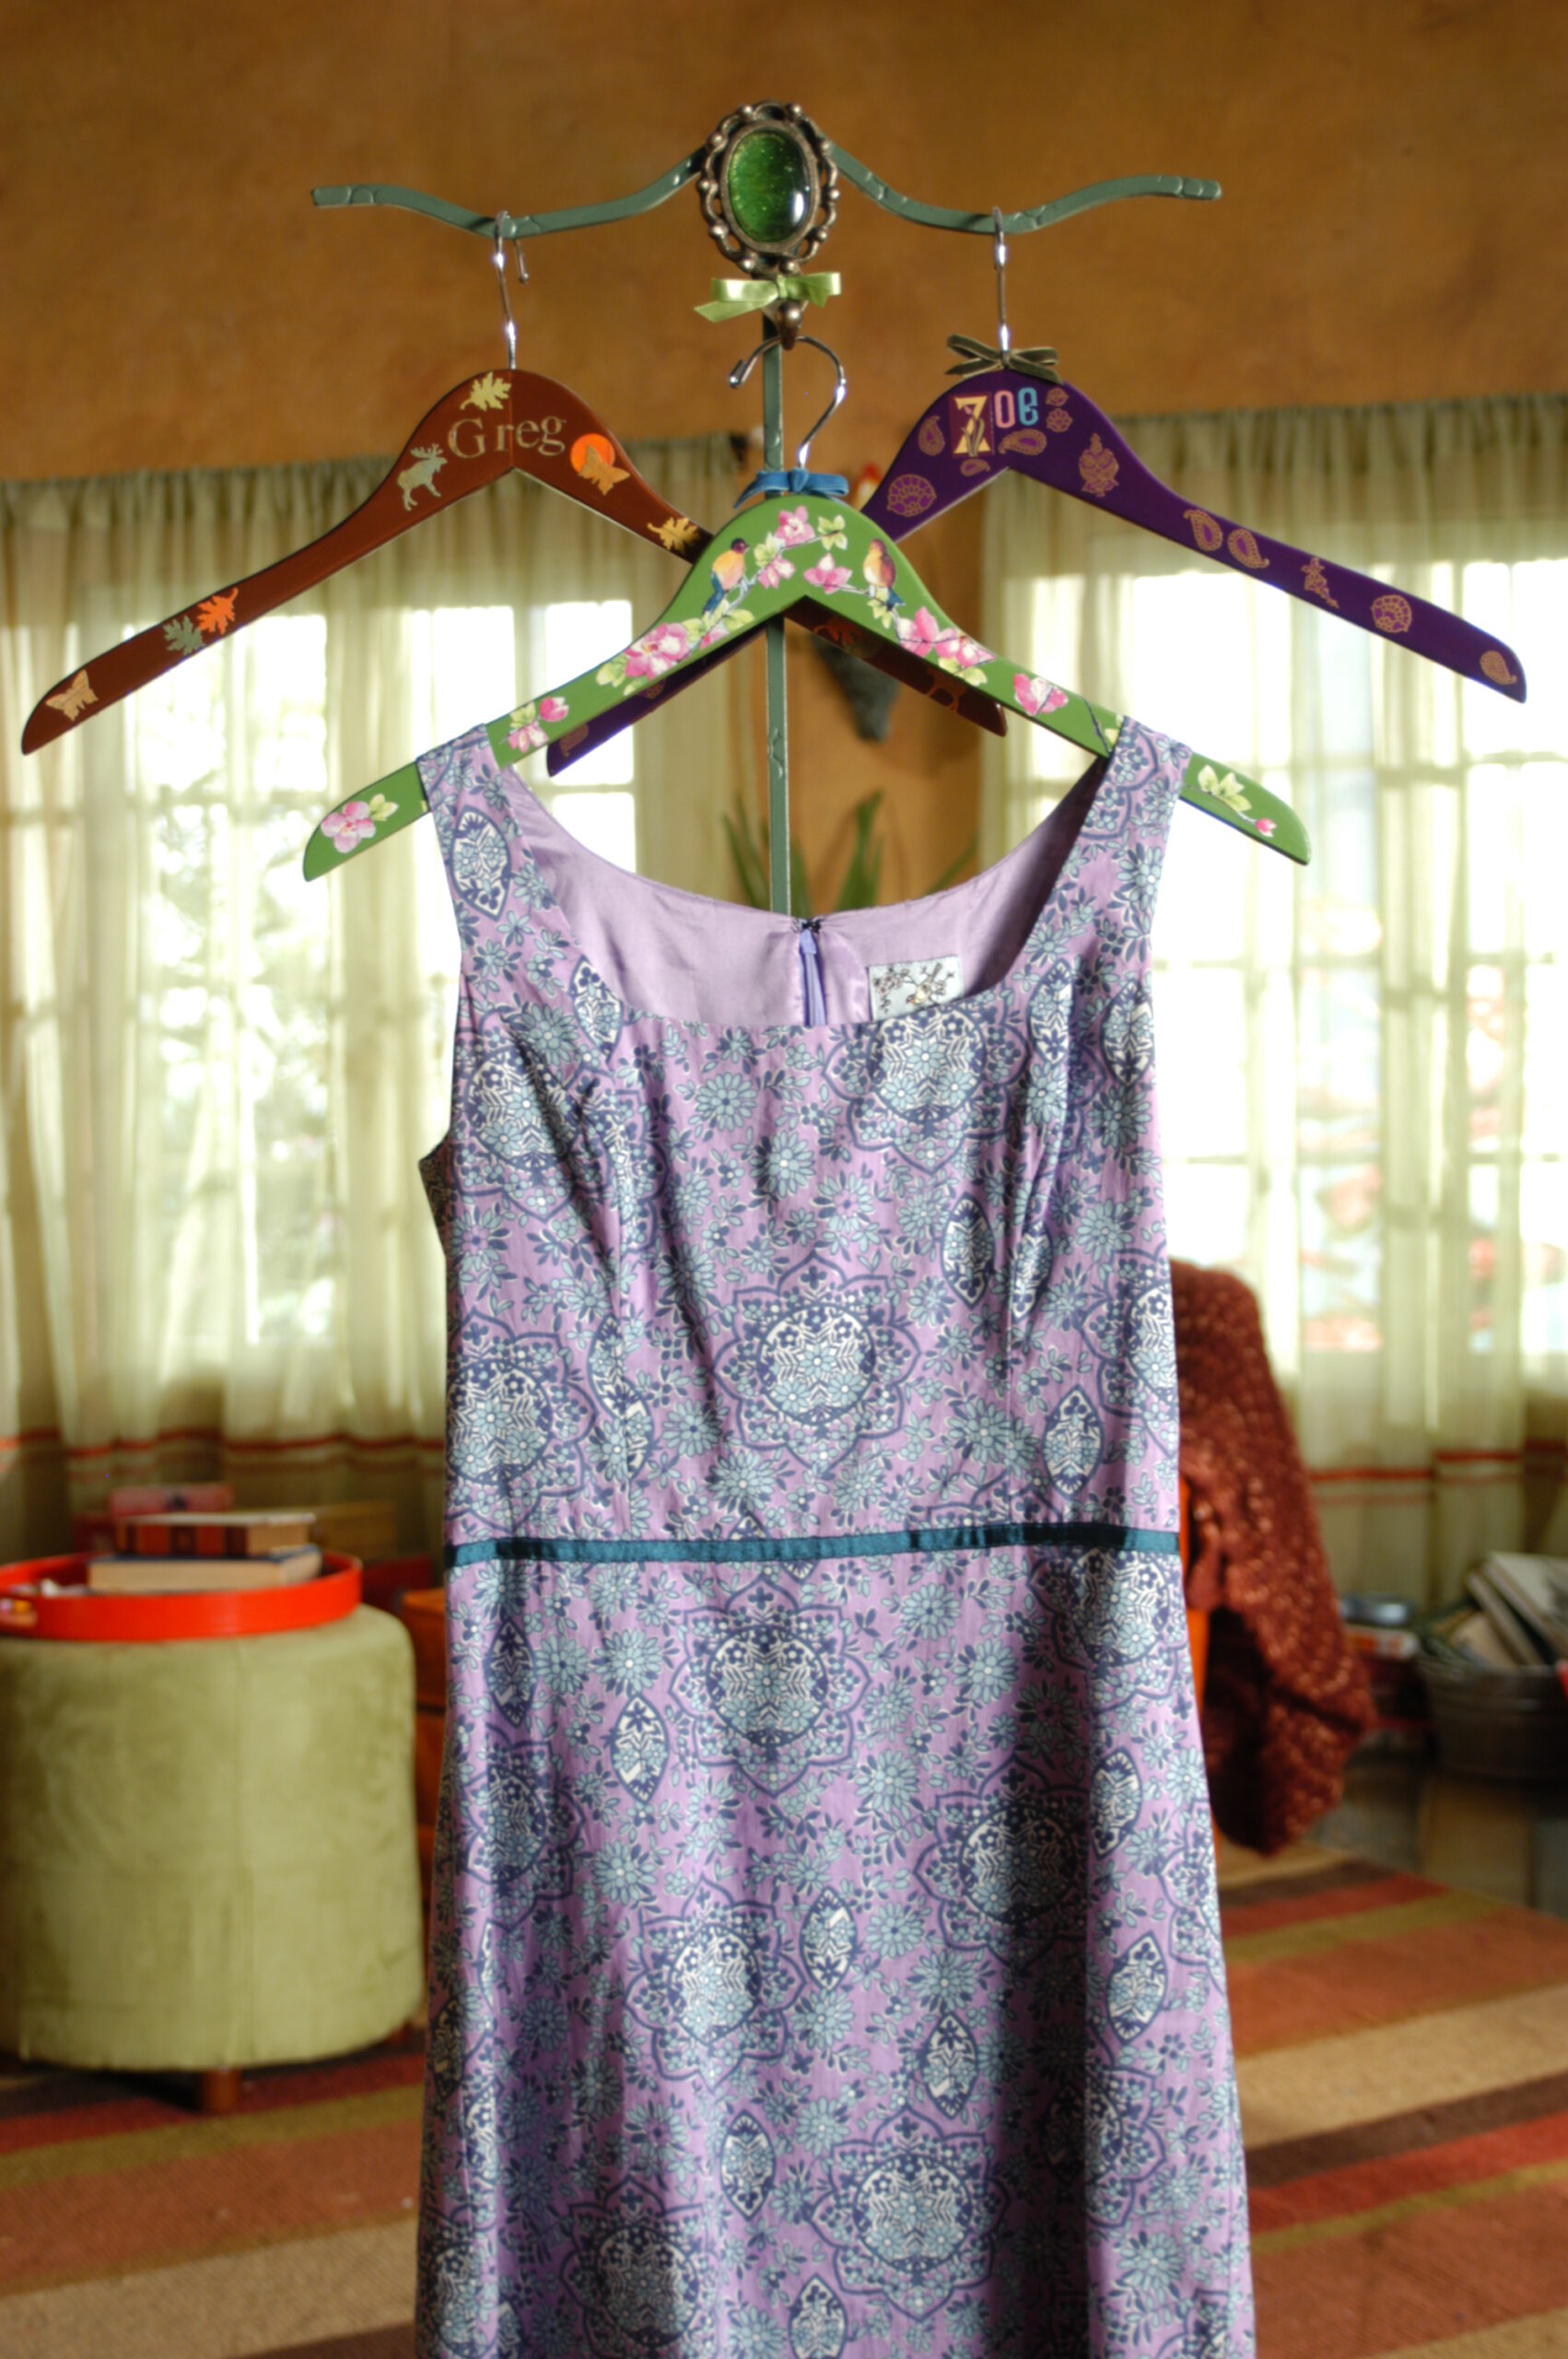
Customize your coat hangers with letters, designs, and images. It’s a great way to get your kids to have fun picking up their clothes!
Supplies:
Wooden clothes hanger
Light grit sand paper
Craft paints & brushes
Spray Varnish (or any type of varnish)
Small paper image
Mod Podge
Masking tape
Scrap ribbon
Small rhinestones
Gem-Tac glue
Steps:
Lightly sand the clothes hanger and wipe away and dust with a damp cloth.
Paint the hanger on both sides with craft paint and allow for drying. Add additional paint colors and designs by painting stripes, polka dots, wiggles, etc. Try different sized paintbrushes for various effects.
Apply Mod Podge to the hanger and the backside of the small paper image and apply the image to the center front of the hanger. Apply a light coat of decoupage to the entire hanger to even it out. Allow to dry.
Tape off the metal hook (hanger part) and varnish the entire hanger. Allow to dry and remove the tape.
Add details: Tie a bow around the metal hook and use Gem-tac to attach small rhinestones to the hanger.
Add a personal touch to your kitchen with embroidered cloth bags that keep your silver looking its best. For this project we are using pacific cloth to prevent tarnishing.
Supplies
Pacific Cloth/Silver Cloth
Tailors chalk
Embroidery hoop
Embroidery floss in light grey
Embroidery needle
Sewing machine
Steps:
Pacific cloth or silver cloth is treated to prevent tarnish in silver and other precious metals.
Cut 2 squares of silver cloth (same size).
Tighten one piece of silver cloth in an embroidery hoop. With metallic embroidery floss, embroider initials, designs, pictures or anything else you want on that piece of cloth.
Sew a simple pillow case style bag out of the 2 silver cloth pieces. Sew around three sides of the bag and hem the opening.
