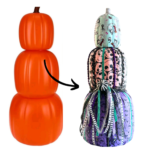
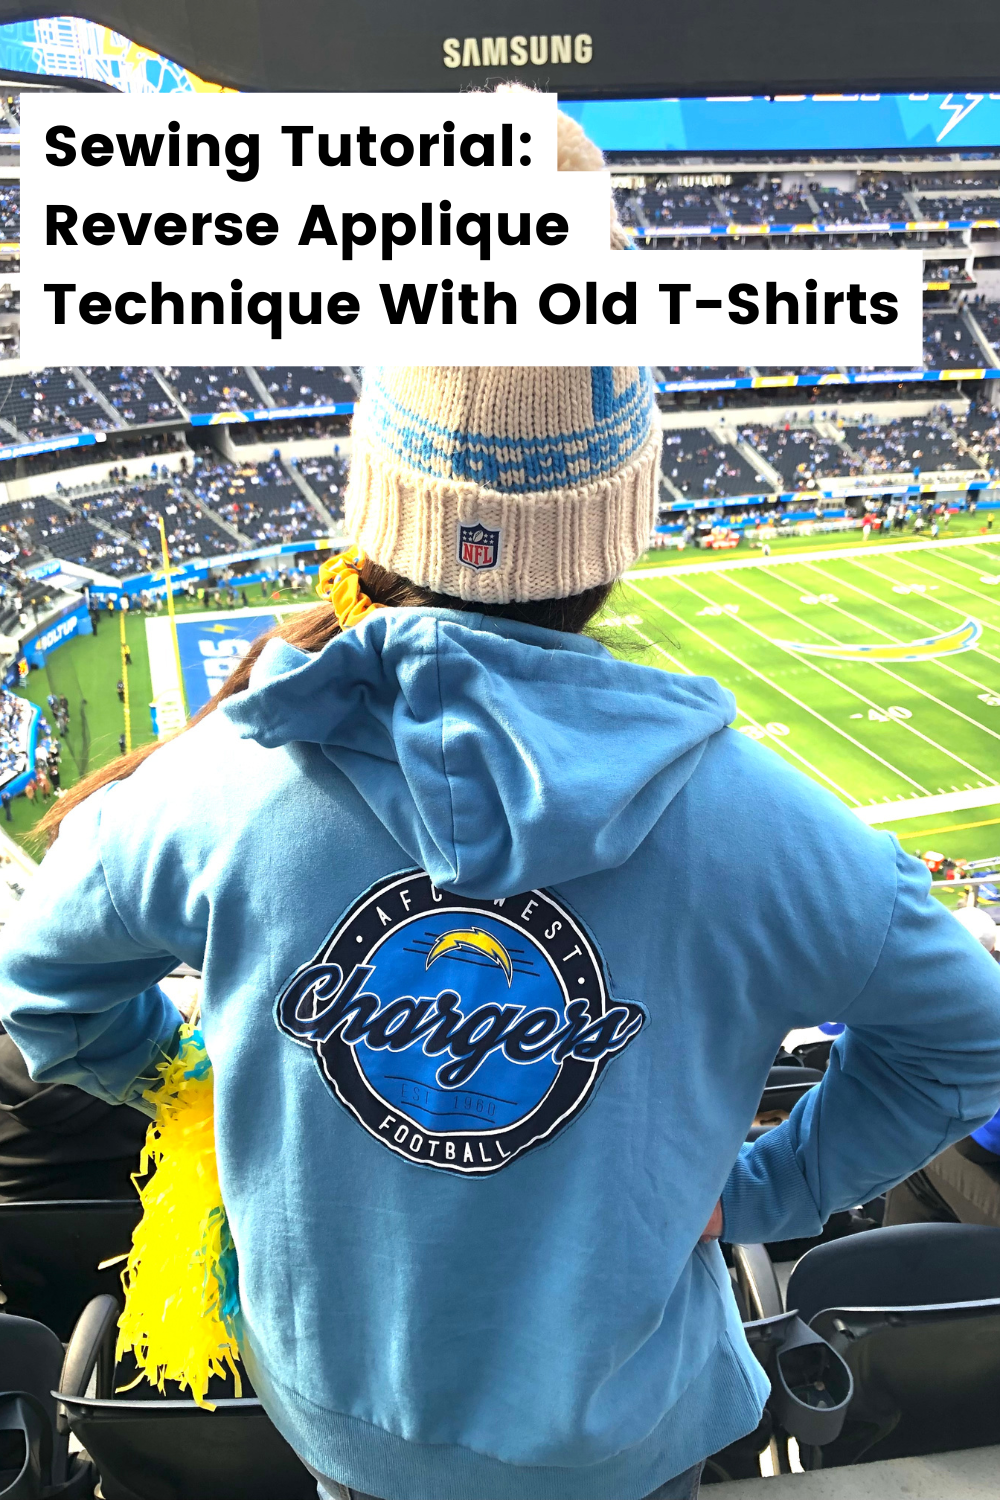
I needed a Game Day look for a Charger Game so I whipped up this hoodie with an old t-shirt that didn’t fit me anymore. Reverse applique is a technique where the top layer of fabric is cut away to reveal the fabric underneath, creating a design or pattern. Here’s a step-by-step guide on how to sew reverse applique.
Watch and Learn:
How to Sew Reverse Appliqué Game Day Hoodie with an Old T-Shirt
Materials Needed:
- Two layers of fabric (the top fabric and the fabric underneath)
- Scissors or a seam ripper (for cutting fabric)
- Needle and thread or sewing machine
- Pins or fabric adhesive (optional)
- Marking tool (like a fabric pen or chalk)
- Ruler (for straight lines)
- Iron
Step-by-Step Guide:
- Prepare Your Fabric Layers:
- Start by cutting both fabrics to the desired size for your project. The top layer of fabric will be the one you’ll cut, and the fabric underneath will show through.
- Cut the Design on the Top Fabric:
- Place the top fabric on top of the bottom fabric.
- Mark the design on the top layer of fabric using a fabric pen or chalk. This could be any pattern, such as a shape or an intricate design.
- Carefully cut the design out of the top layer using scissors. You can cut it in one large piece or in smaller parts, depending on the design. Make sure not to cut the fabric underneath.
- Pin or Attach the Bottom Fabric:
- After cutting, gently pin the bottom fabric underneath the top layer. Make sure the bottom fabric is centered in the areas where you cut out the top fabric.
- Sew Around the Cut Edges:
- Use a straight stitch, zig-zag stitch, or decorative stitch around the edges of the cut design to secure the two layers of fabric together. You can also use a contrasting thread color to make the stitching stand out.
- You can sew close to the edge or slightly inside the cut edge, depending on the look you want.
- Trim Excess Fabric (if necessary):
- After stitching, if there’s any excess fabric from the cut-out design on the back, trim it carefully to avoid any bulk showing through.
- Press the Work:
- Use an iron to press the reverse applique flat. Be careful not to press directly on the stitching if you want it to stay raised or add texture.
- Optional – Add Decorative Finishing Touches:
- If you like, you can add more embellishments or details with embroidery, beads, or more stitching.

Thanks so much for checking out this post! Please pin and share the posts you love! XOXO Cathie
(Visited 34 times, 1 visits today)