It’s Dinosaur Fossil Rock Making Time! Last weekend, we hosted an epic double classmates and friends party in our local park. It was a Unicorn and Dinosaur theme…. Sophia likes anything with teeth so she choose dinosaur for her portion of the party and Delilah loves unicorns, so she picked unicorns. Actually Sophia loves unicorns too… Who doesn’t. LOL

I knew, I wanted to have some activity stations for the kids. So I settled on making Dinosaur Fossils and Unicorn Crystal Collections. I’ll blog the crystal making station…. it was very popular.
The fossils were so easy to make. I tweaked a few recipes that I found online. I did not want to bake them because I wanted them to be soft enough for the kids to open them without tools. Small kids and hammers at a party sounded like a nightmare! They were hard on the outside and soft/crumbly on the inside. So if you are making the Dinosaur Fossils with the method I’m showing make sure you make them 5 days before you need them. I made 91 fossils and really needed about 150 of them.
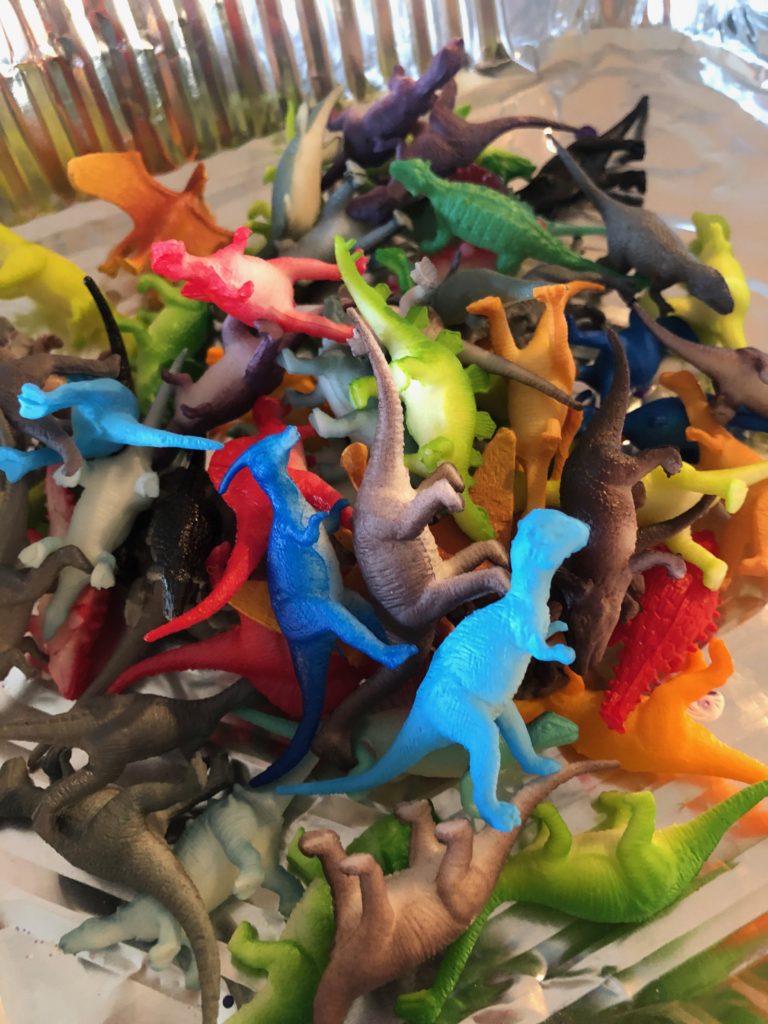
I purchased the small dinosaurs from Amazon and from the dollar bin at Target. You will need 1 per fossil and they should be on the smaller side.
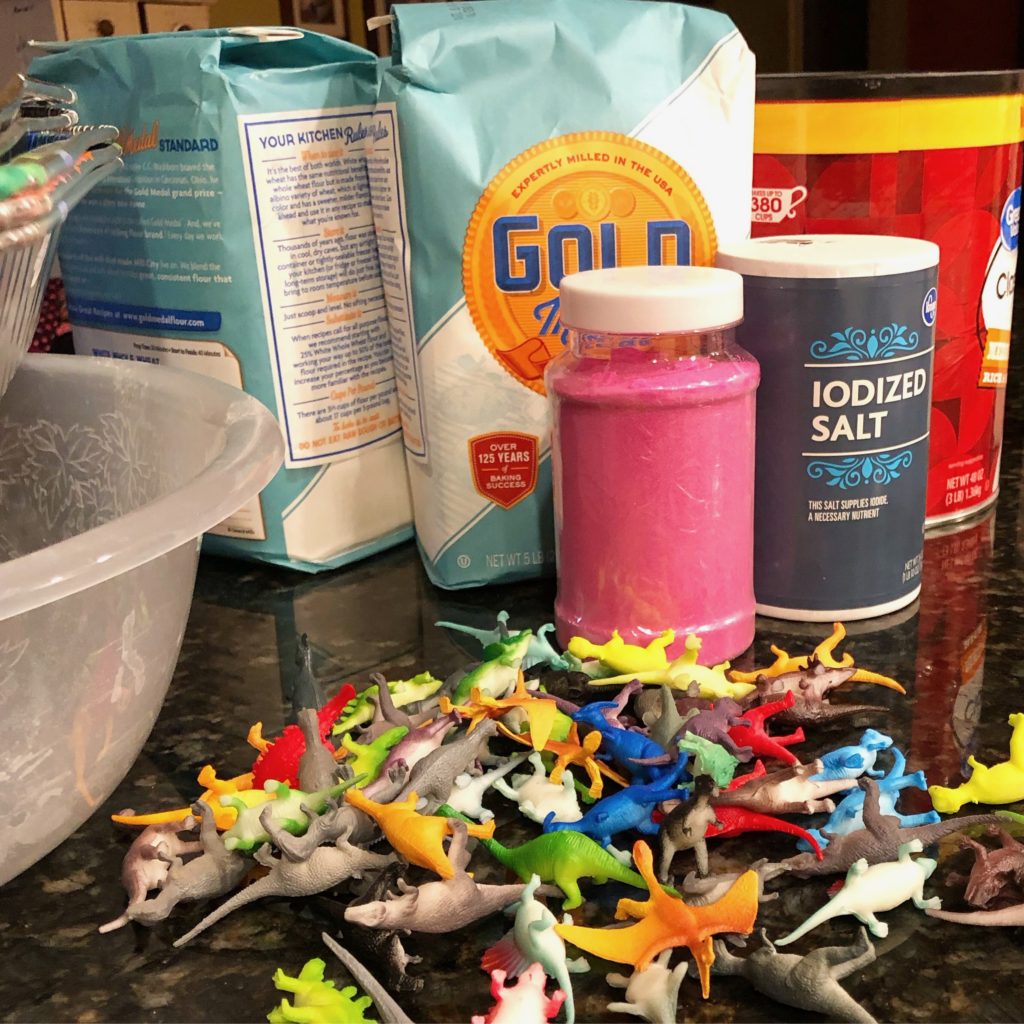
The supplies you need for Dinosaur Fossils is very minimal. I bought the giant bags of flour at my dollar store!
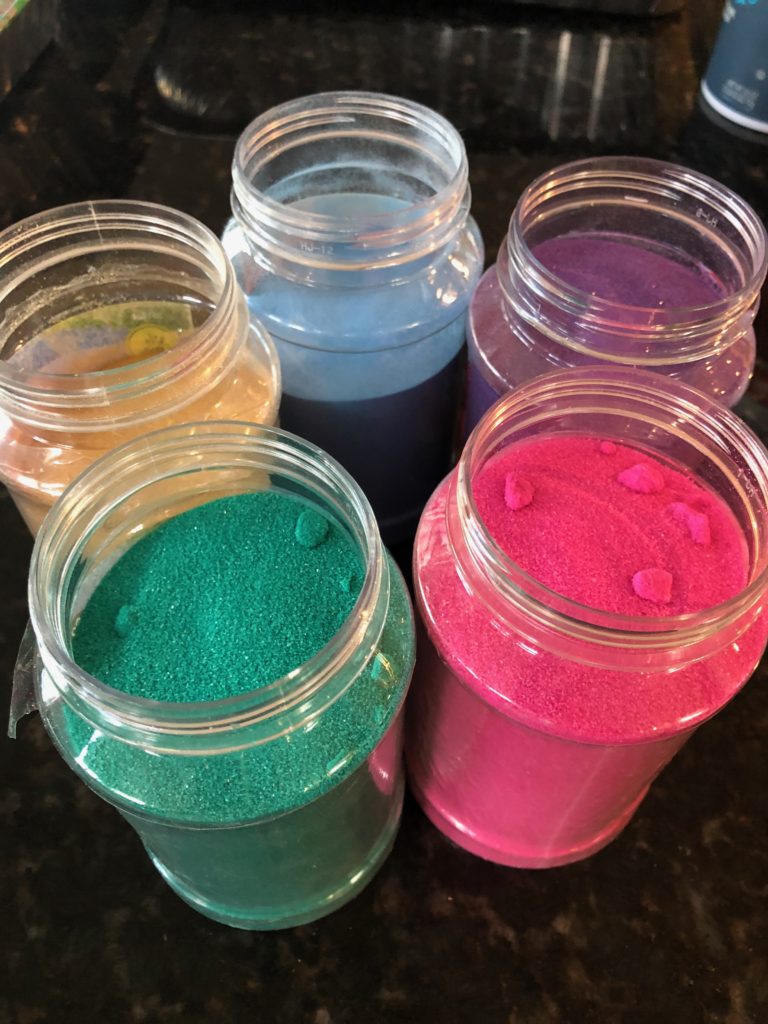
Materials: Yield 6 Fossils
- 1 Cup Flour
- 1 Cup Coffee Grounds
- 1 Cup Sand (I used colored)
- 3/4 Cup Table Salt
- 1/2 – 1 Cup Water

I used colored sand and I love how they turned out. The color isn’t super deep when dry but it’s enough to create variations and different tints.
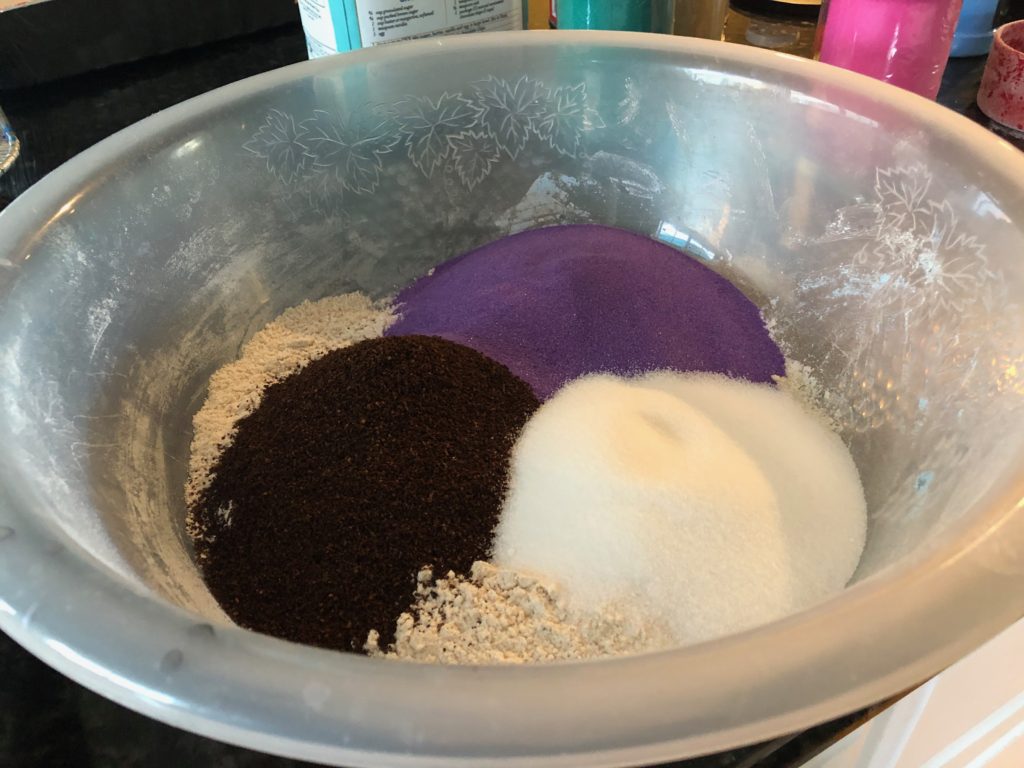
In a large bowl you will need to mix together the dry ingredients.
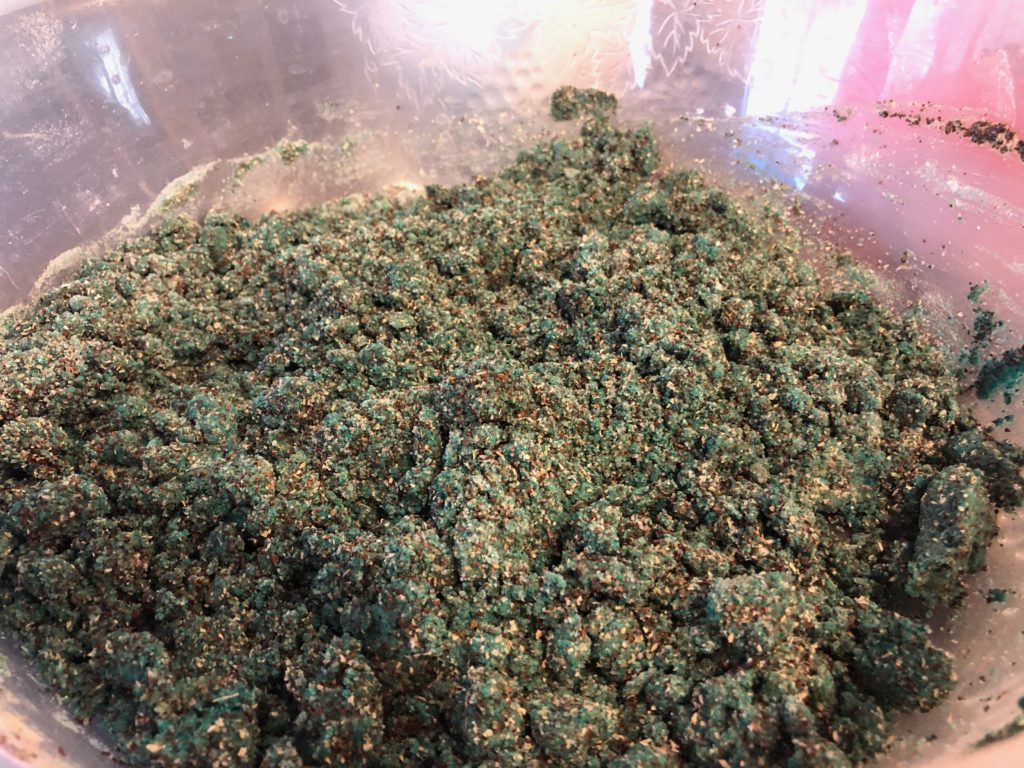
Begin adding water 1/2 cup at a time. Don’t use more than 1 cup of water. Mix until the dry ingredients are damp and NOT wet. The mixture should be crumbly and not soupy.
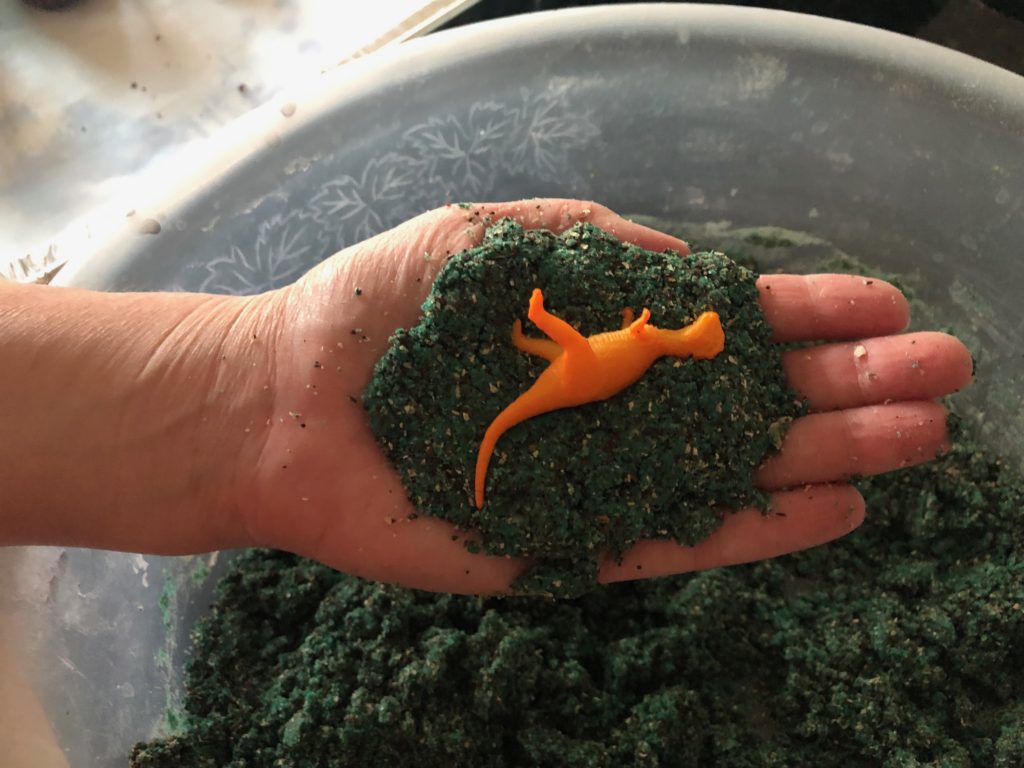
Create a small 1/2 egg shaped patty on the palm of your hand. Place a small dino in the center.
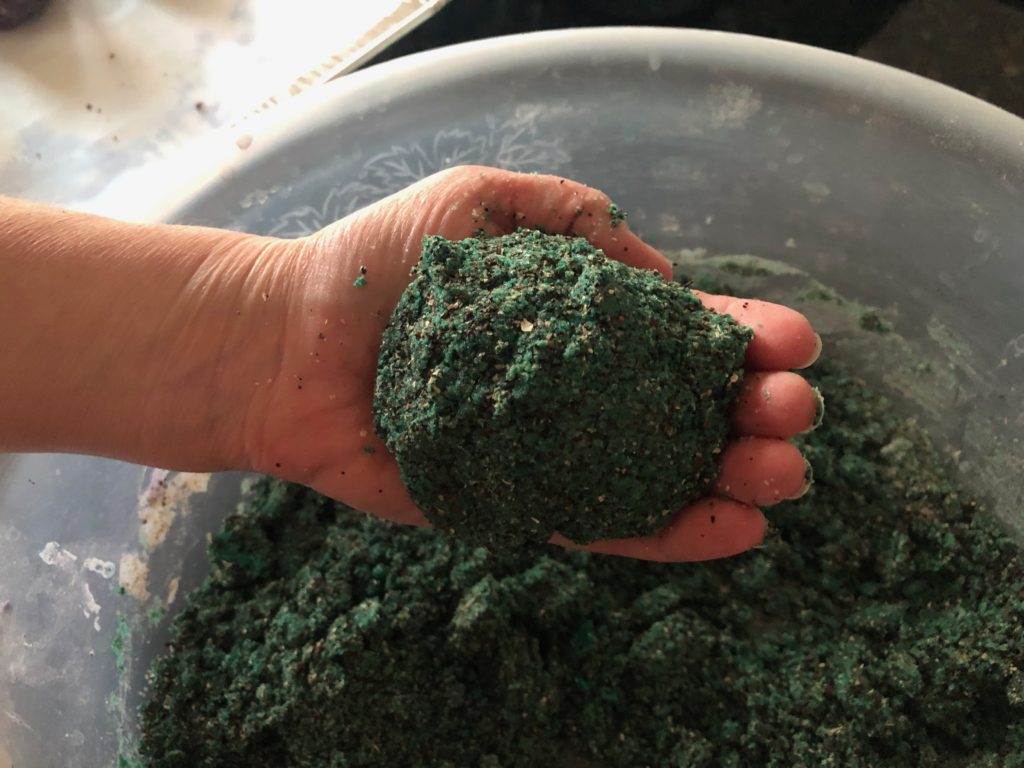
Add a topper clump of more fossil mixture to the cover the dinosaur toy.
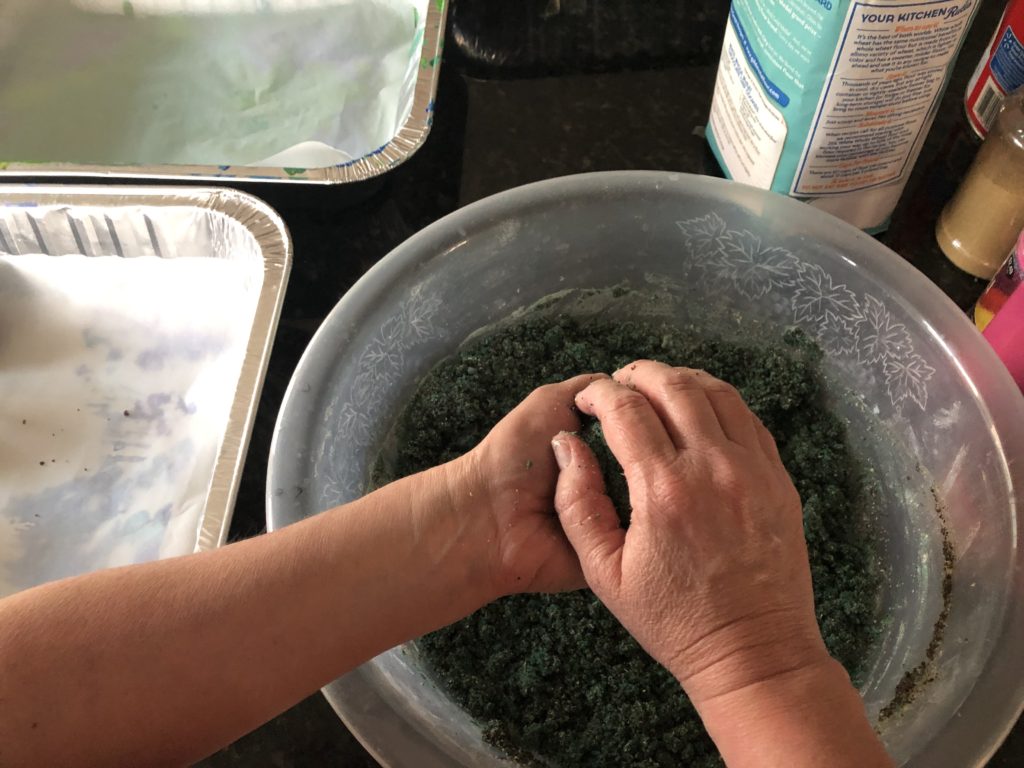
Form a ball / egg shape with both hands by packing the mixture together.
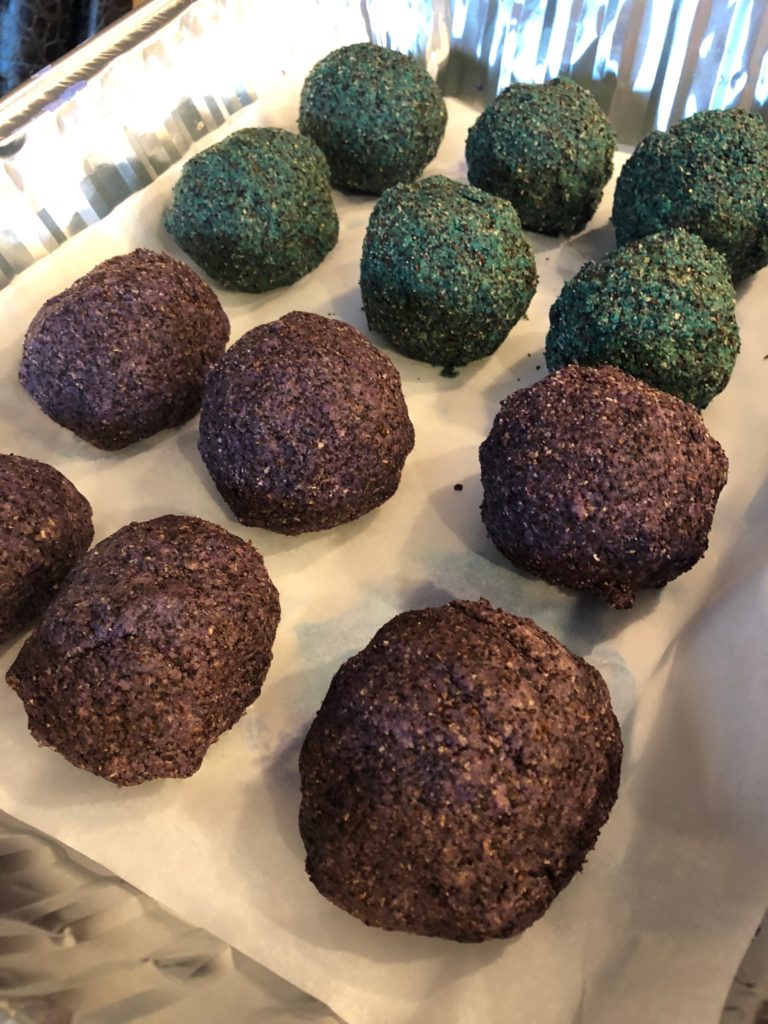
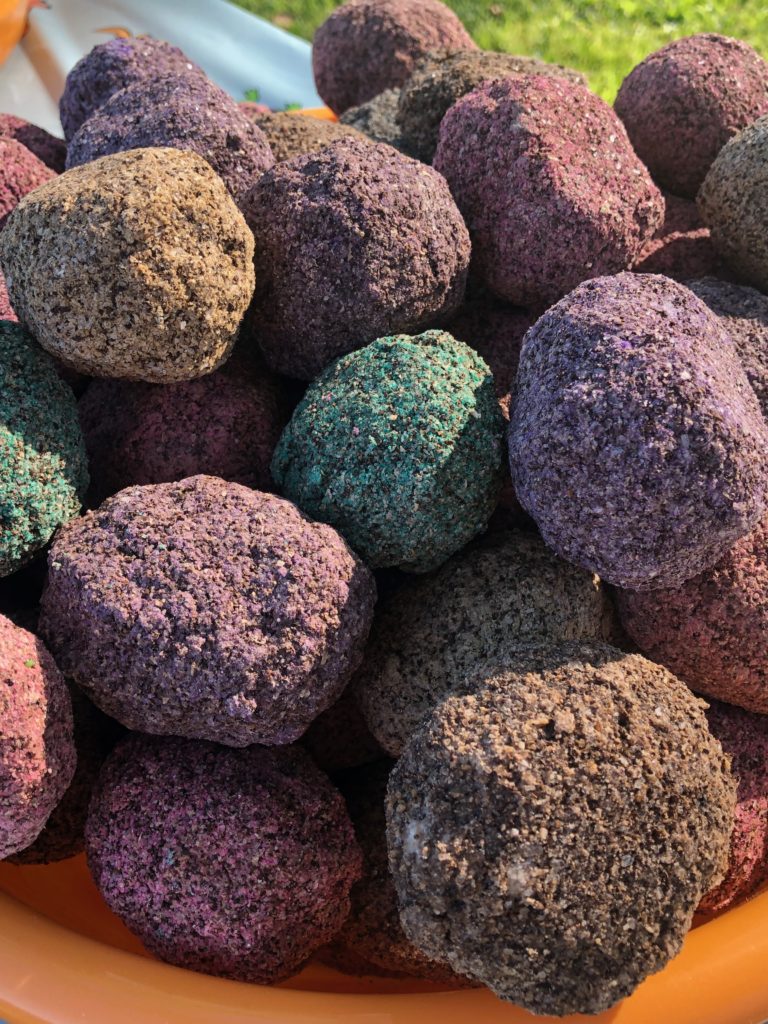
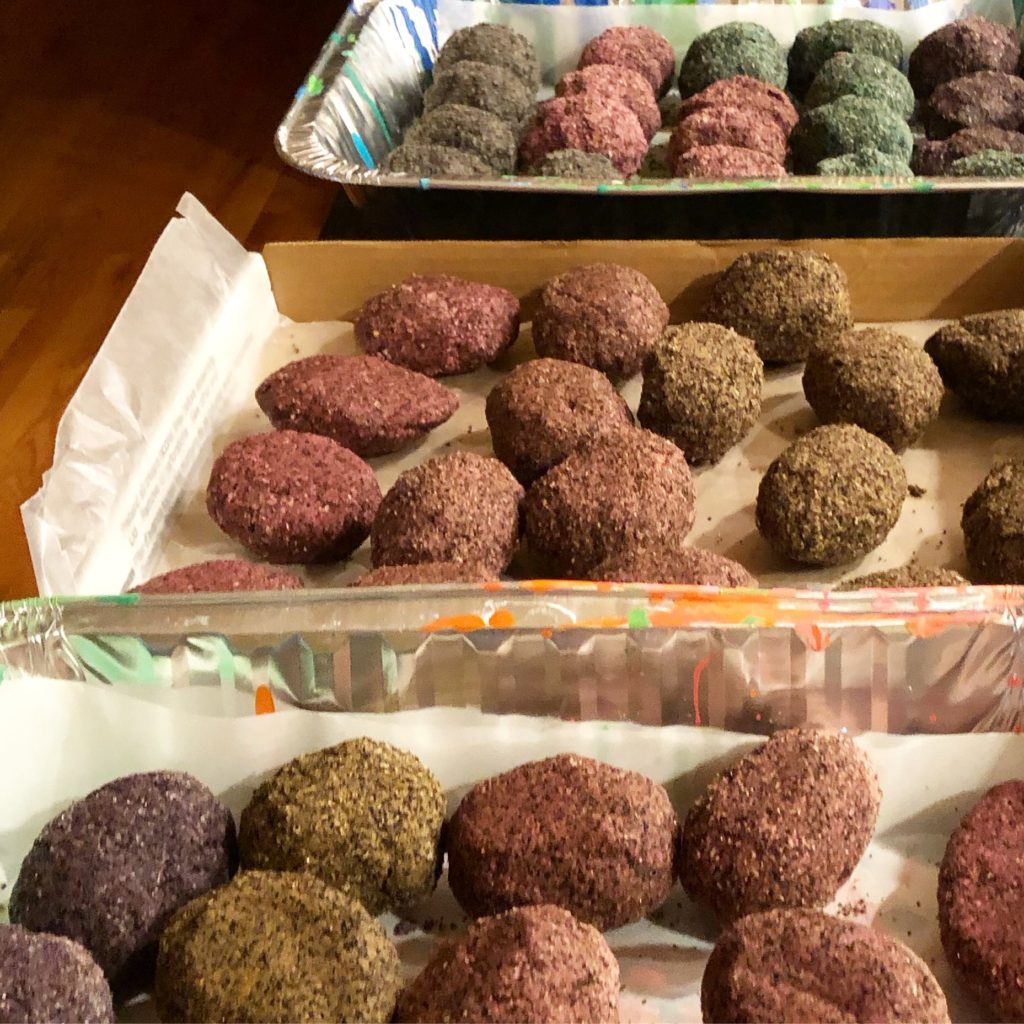
Place on a wax or parchment lined surface for drying. You can oven bake them on low……but the turn out too hard for my party taste. So, I prefer to let them air dry for 5 days. Each day I turned them (or flipped them) so each side had a chance to dry. I have a stack of used tin lasagna pans that I keep for projects like this and other crafty adventures. With the air dry method you don’t need tools to crack them open. Hands or a hard knock is all a kid will need.
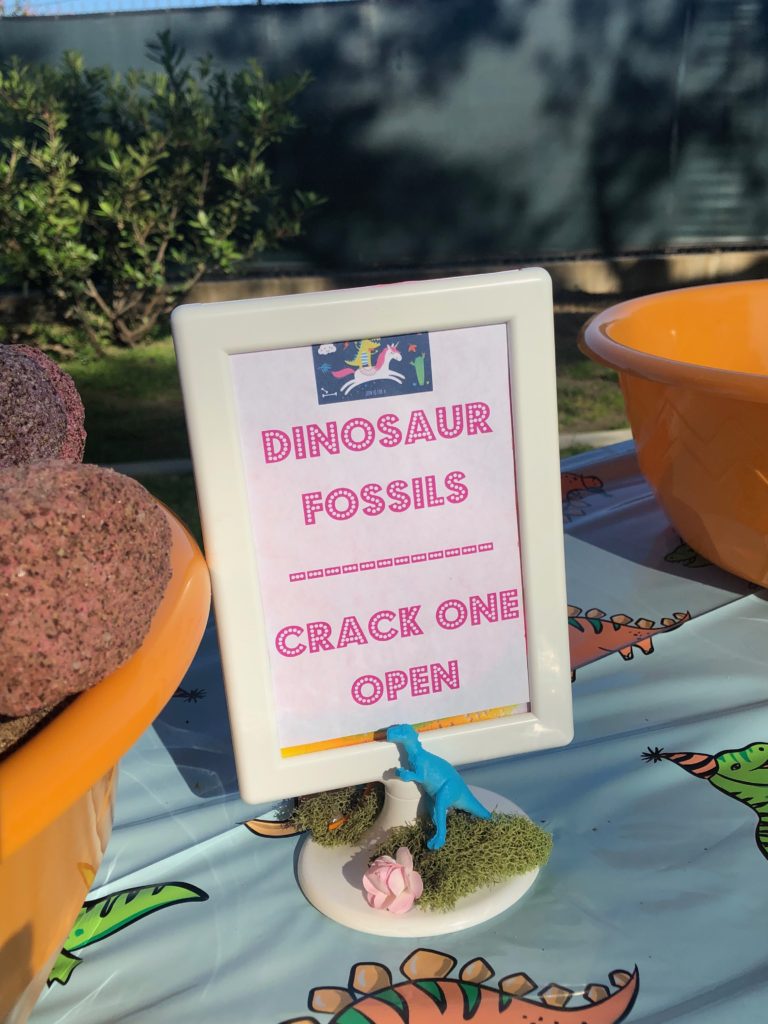
I made a little sign from an cheap Ikea frame. The dino table cloth came from target and the two large bowls were from Dollar King.

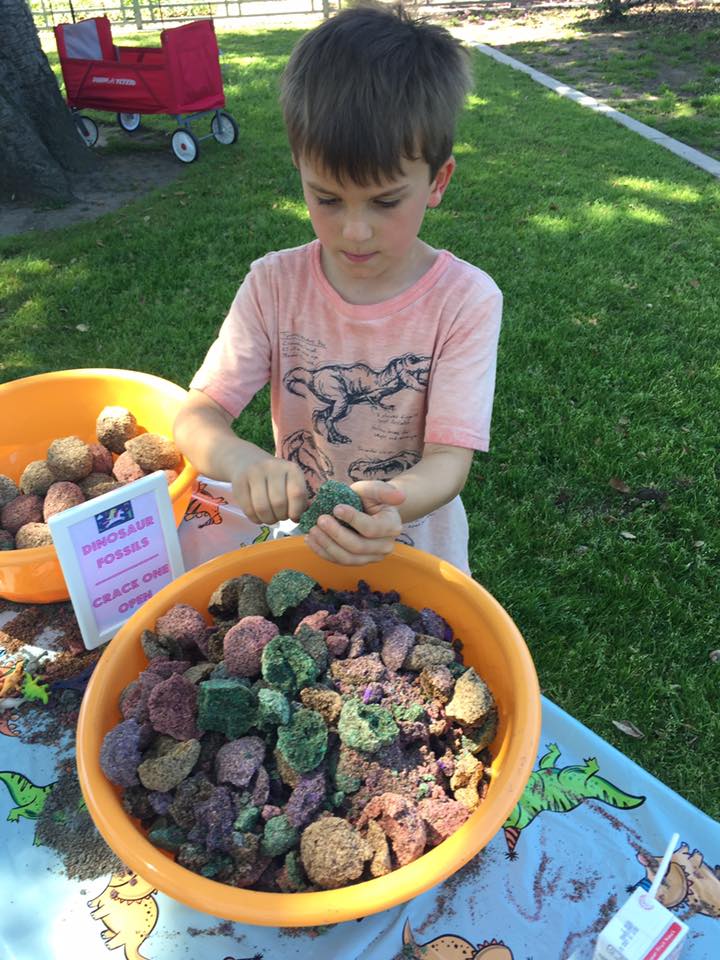
I can’t believe that was 90+ Dinosaur Fossils! I really needed 150. The kids went crazy for them. Boys and girls couldn’t get enough of them.
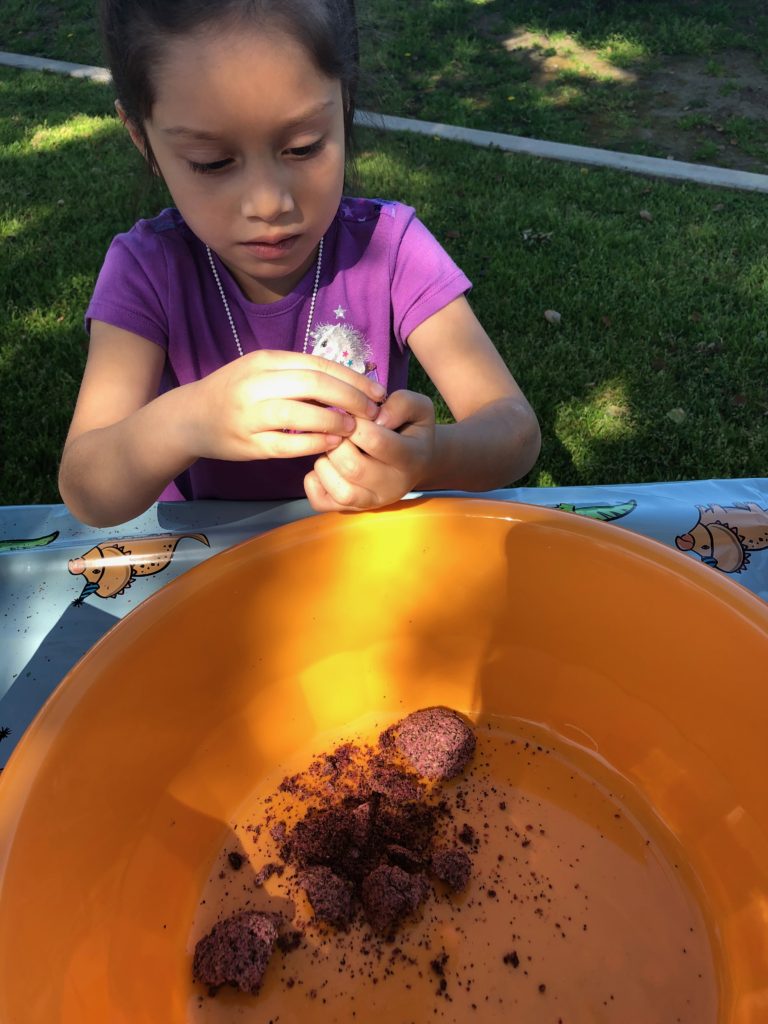
Here is little Sophia taking her first crack at one.
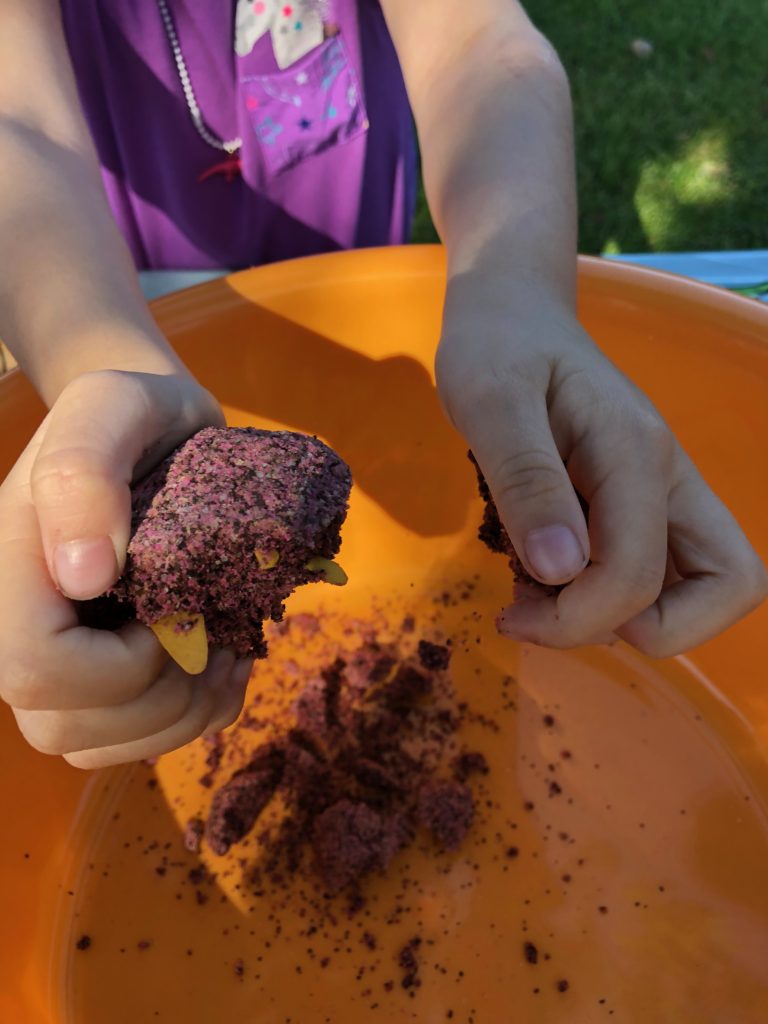
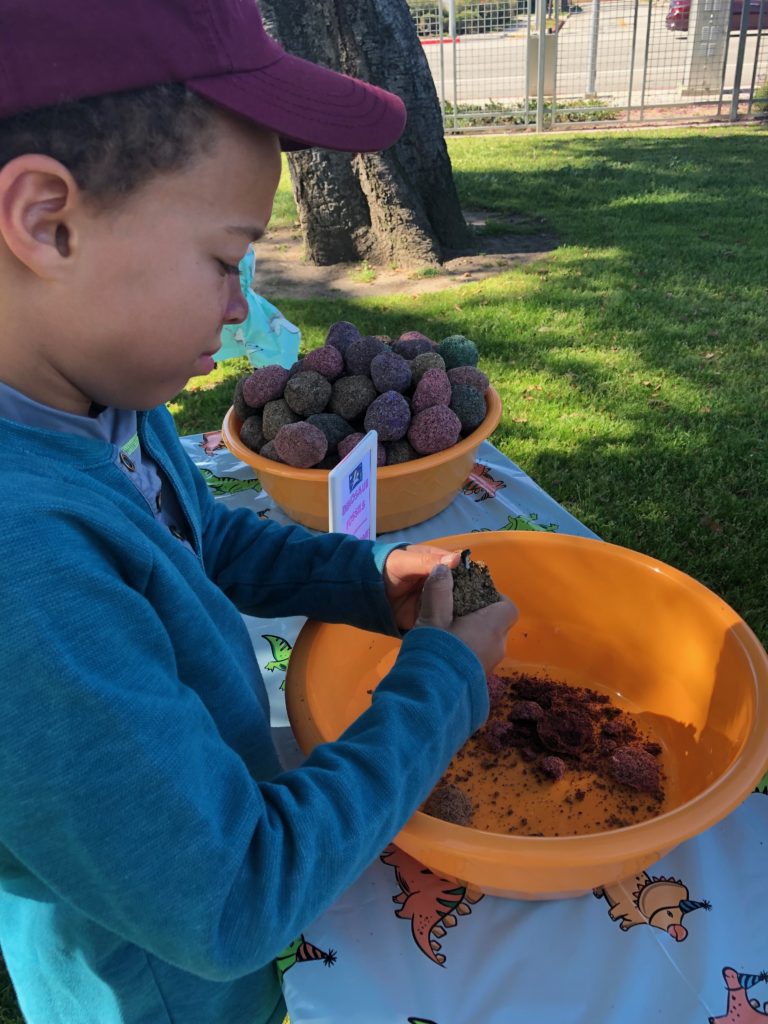
See how easy the fossils can crack open without tools.
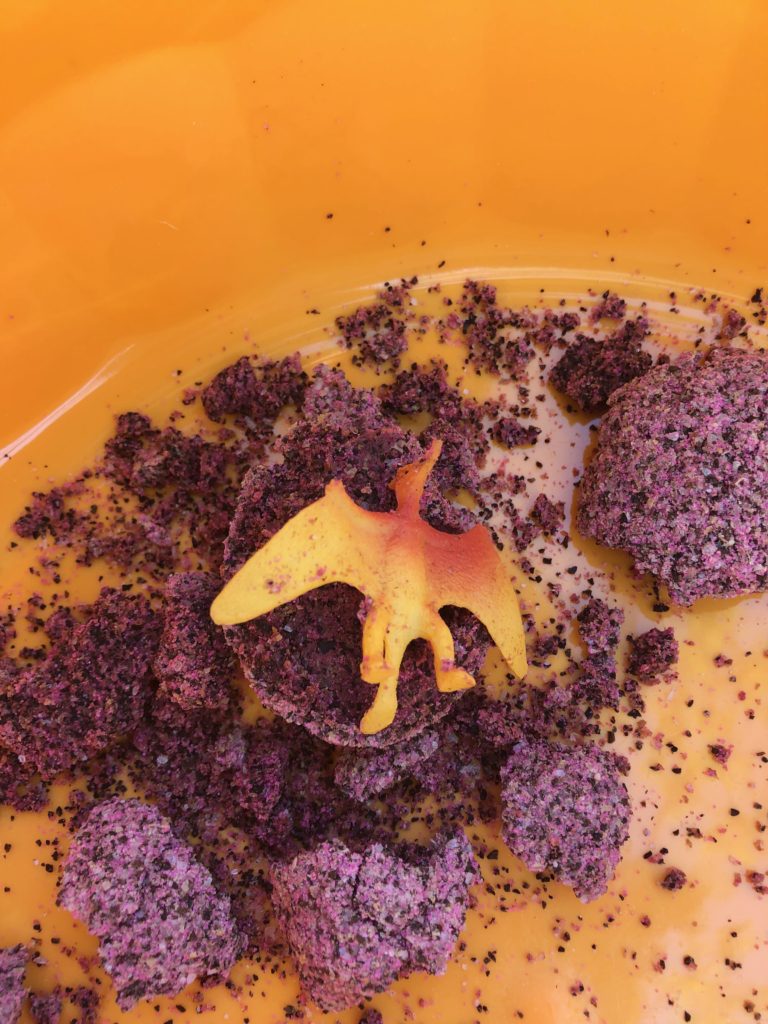
You never know what dino toy you will find.
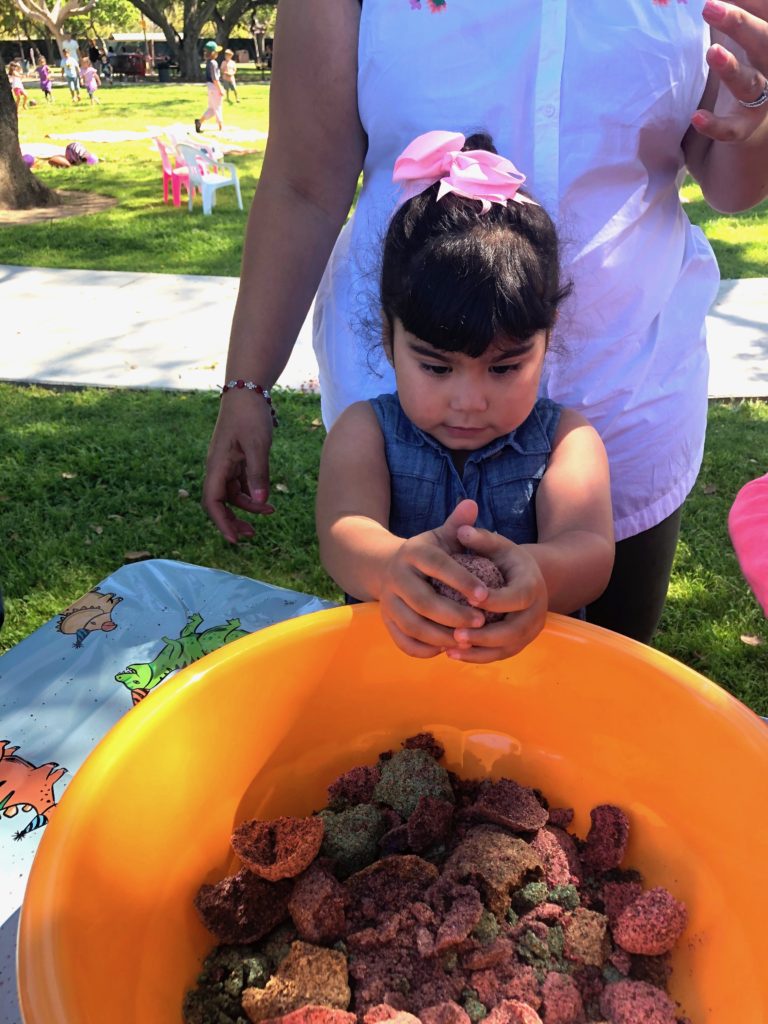
Little kids and big kids both loved cracking them open!
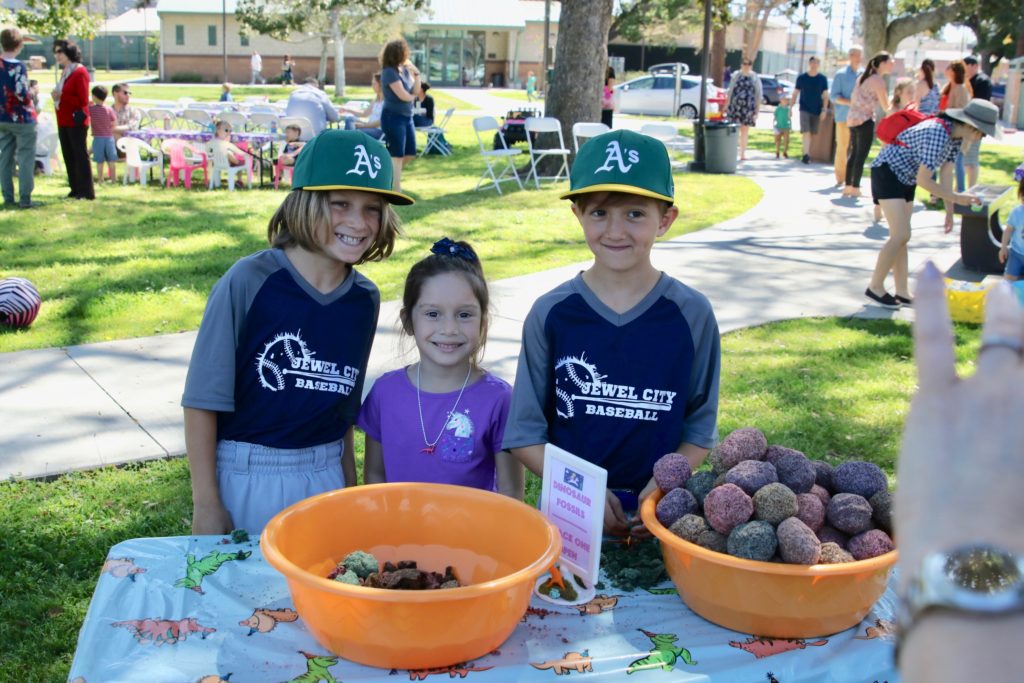
The two bowls worked great for cracking and displaying. Sorry about my hand in the shot! LOL…. I guess this pic is from Eddie’s camera.
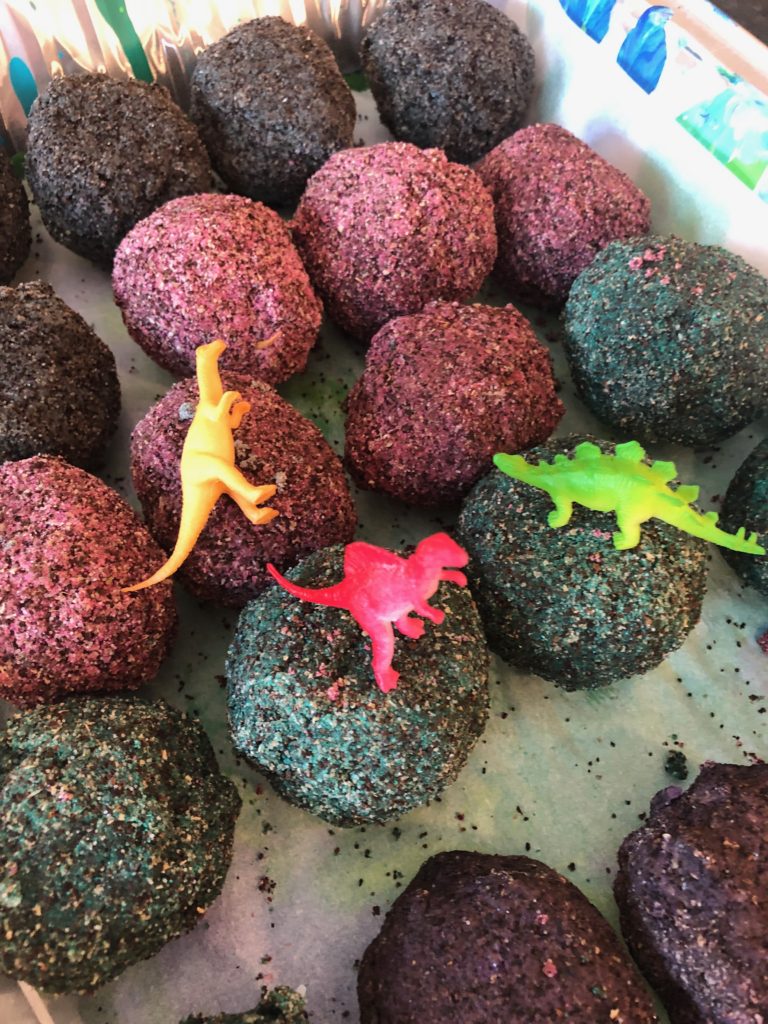
OK….. So what else can you embed in a fossil…. drop a not in the comments to share fun ideas. I’m thinking….. coins, glass marbles, toy bones, small plastic fish, rings….. endless ideas for fossil fun!
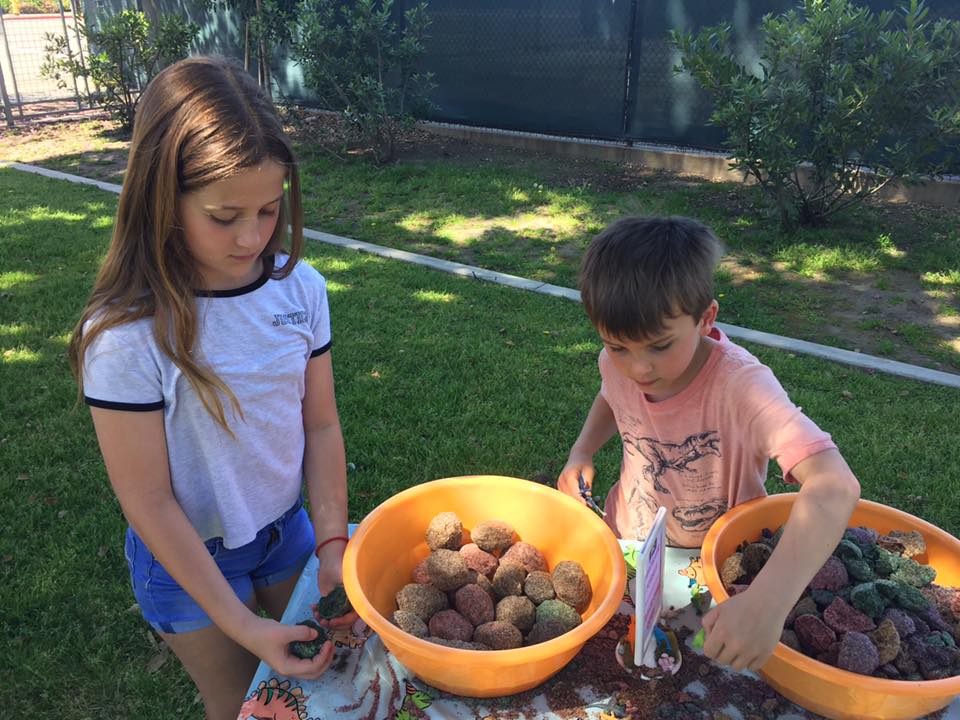
Aunt Cathie….. Make more fossils please!
