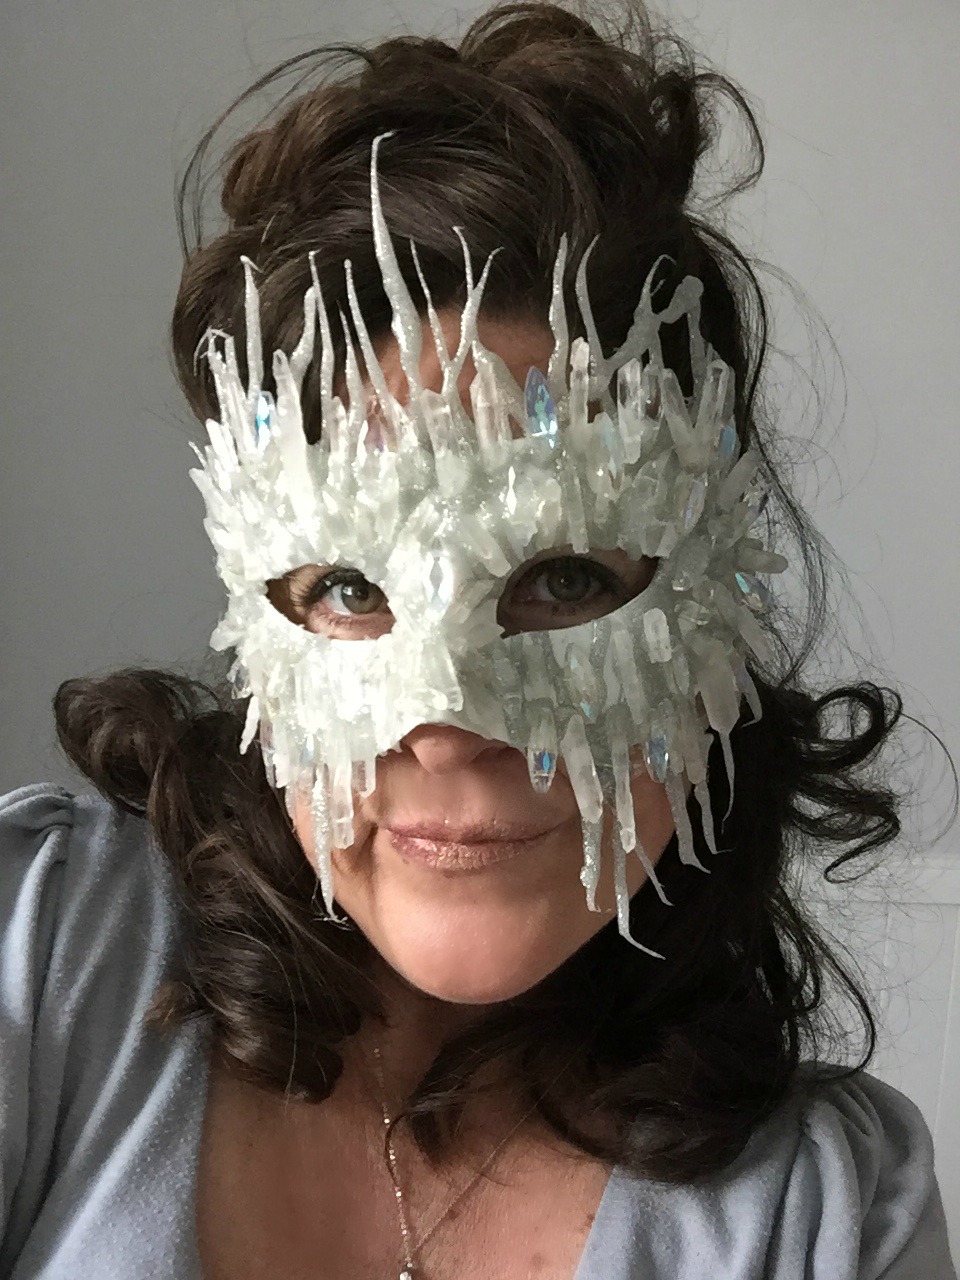
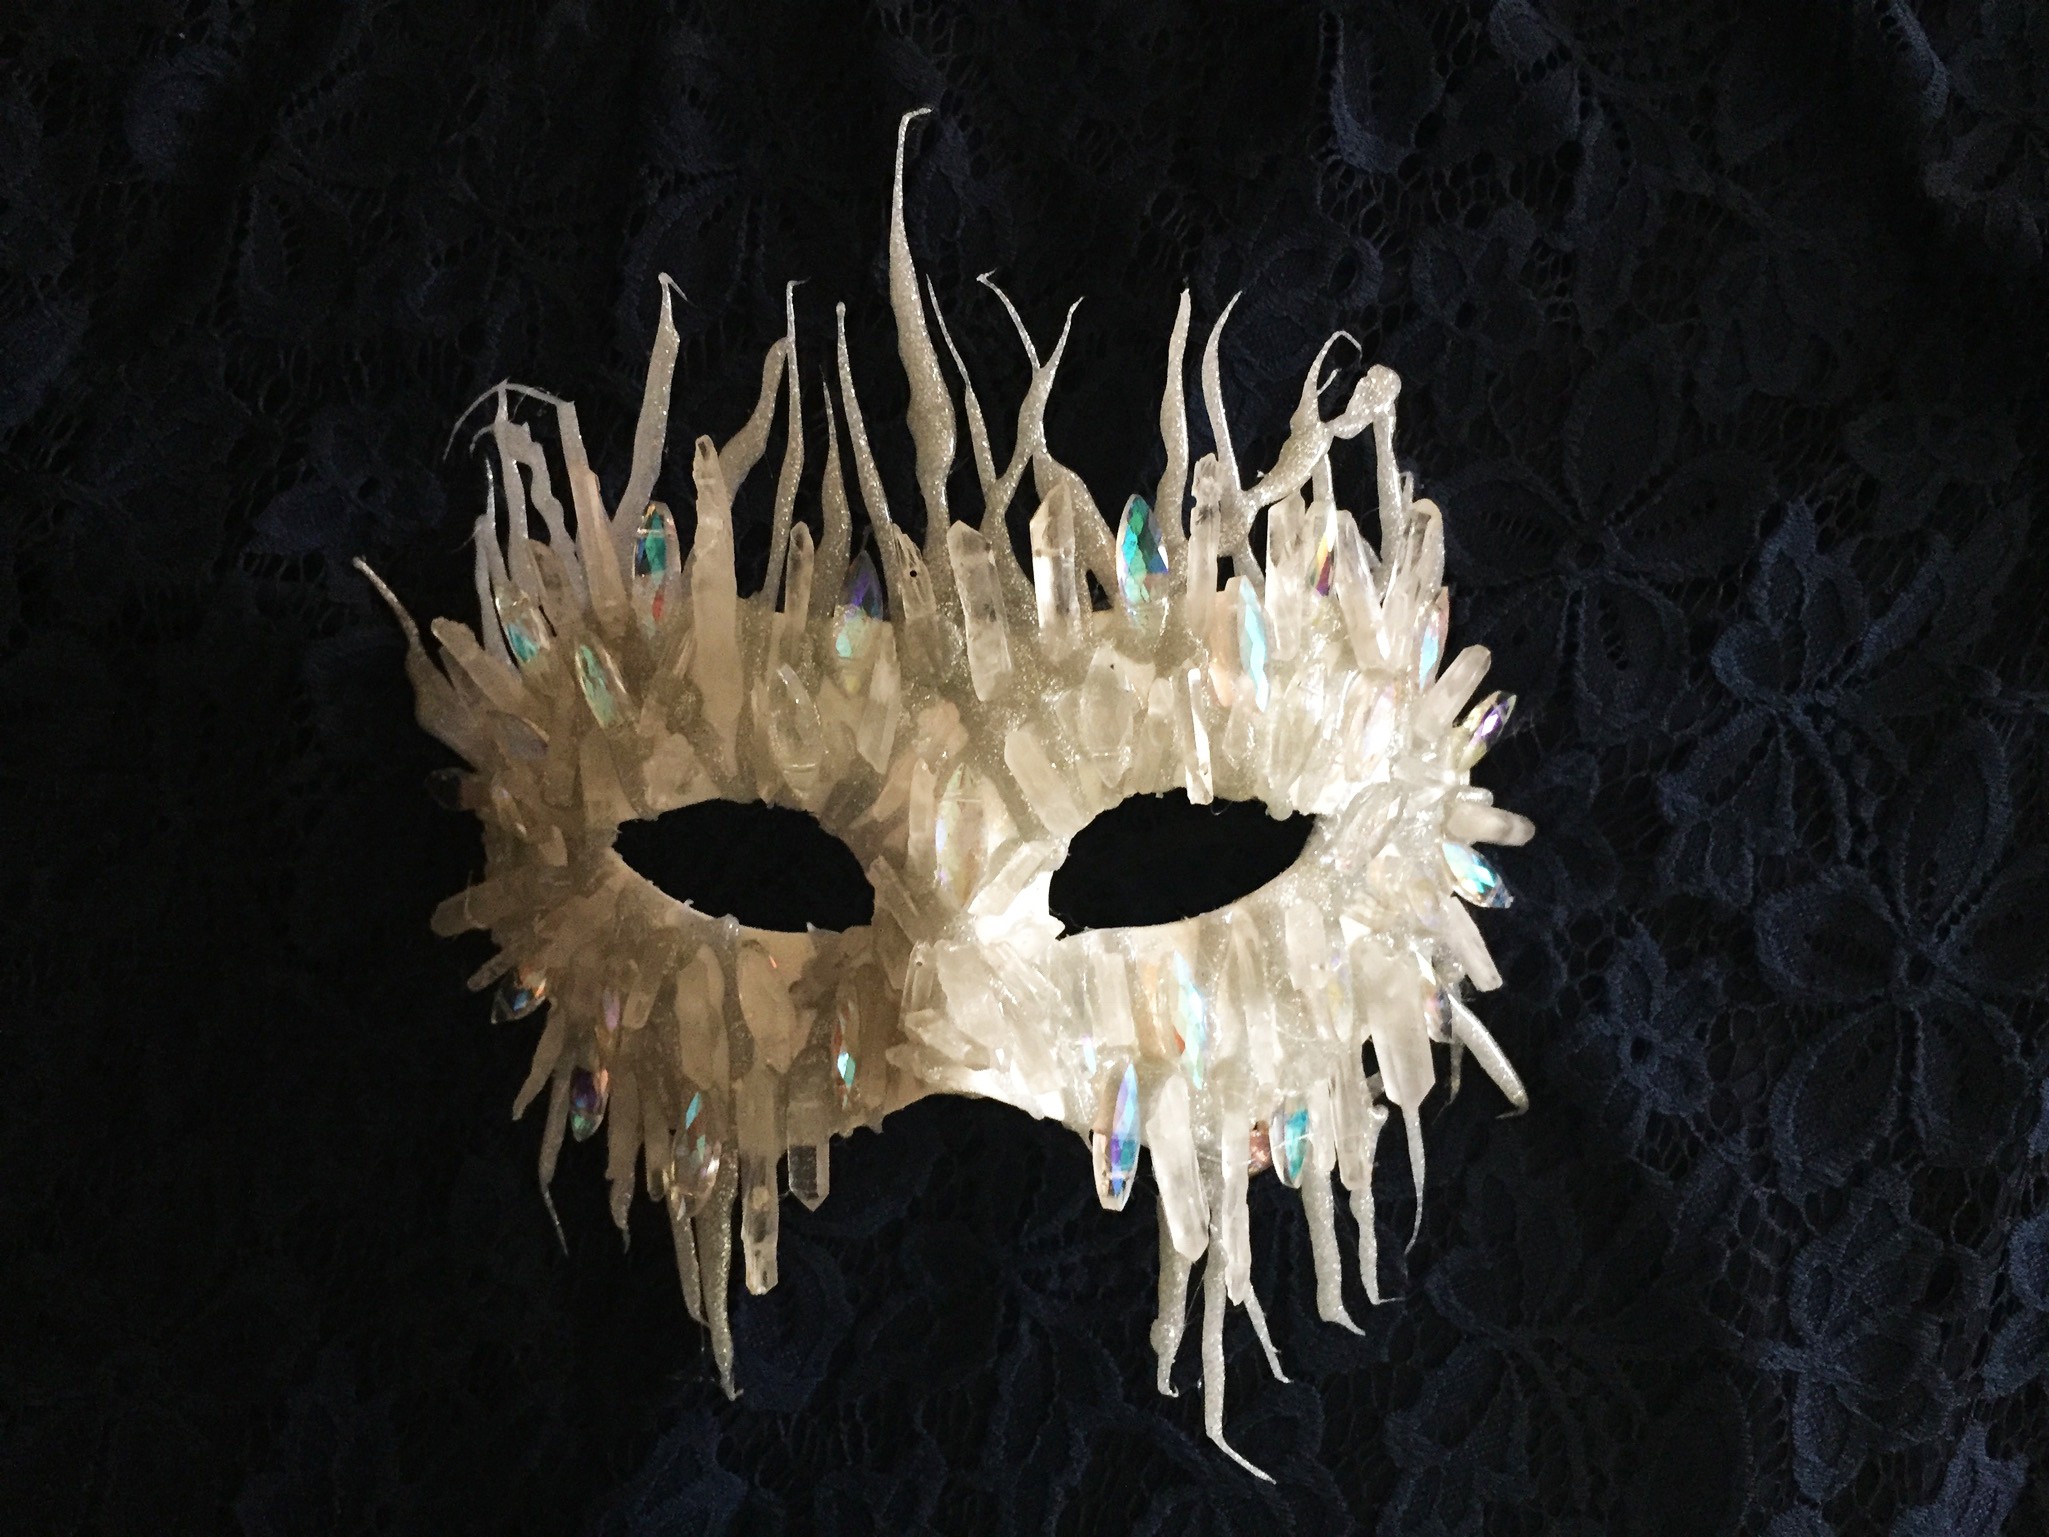
DIY Ice Queen Mask for Halloween or Cosplay
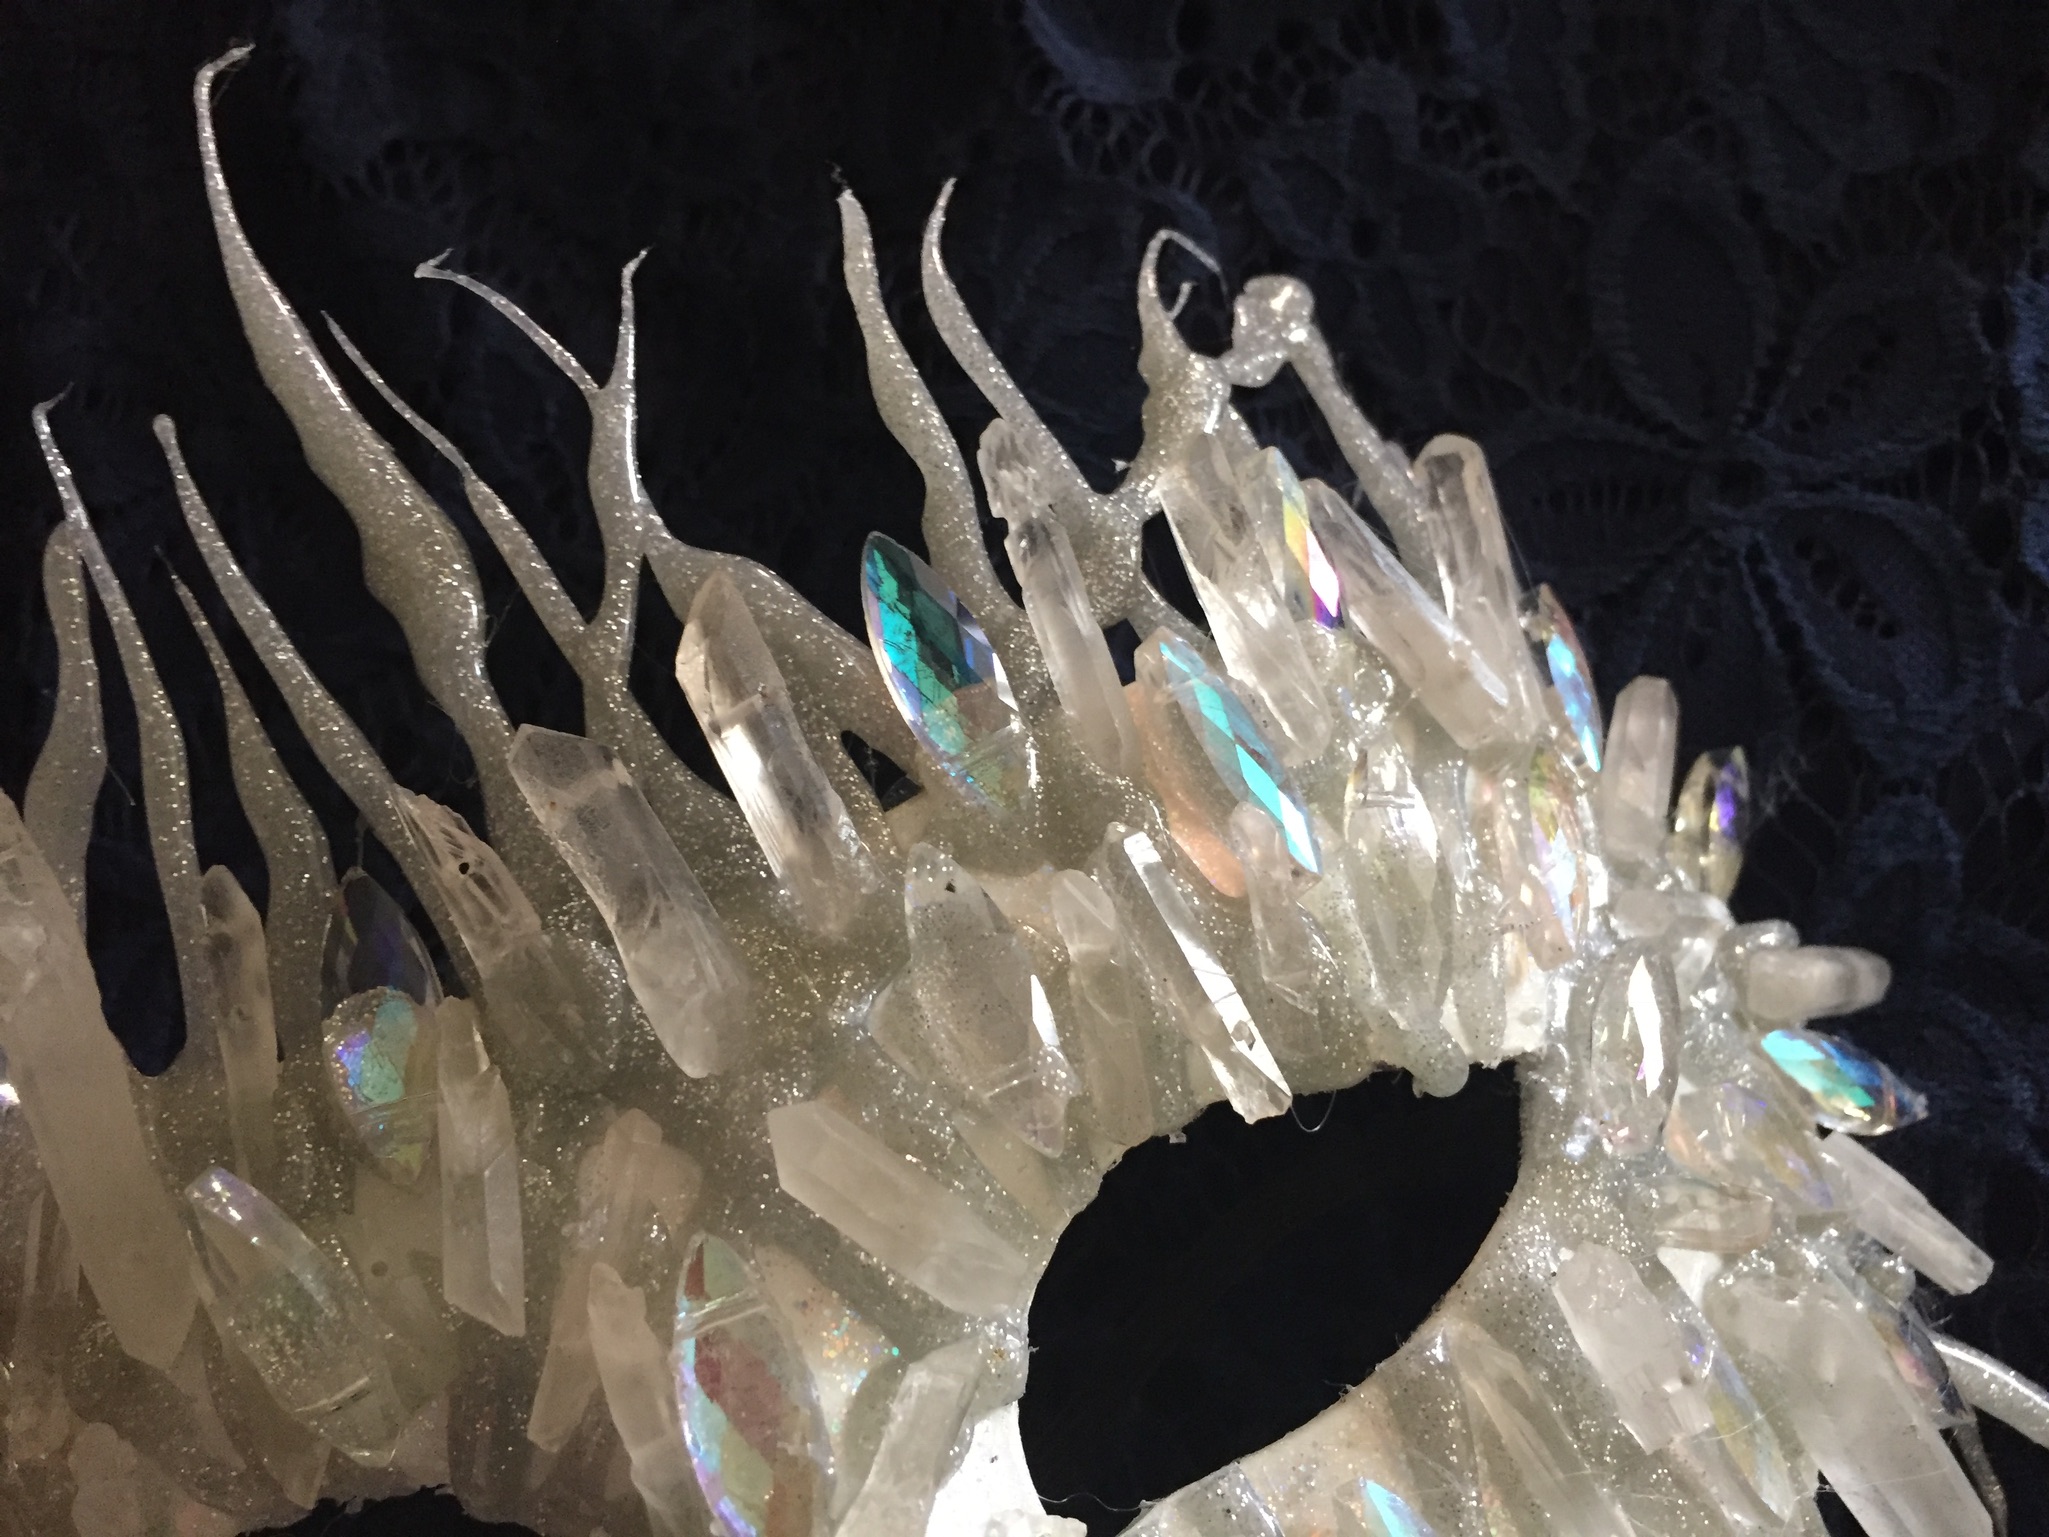
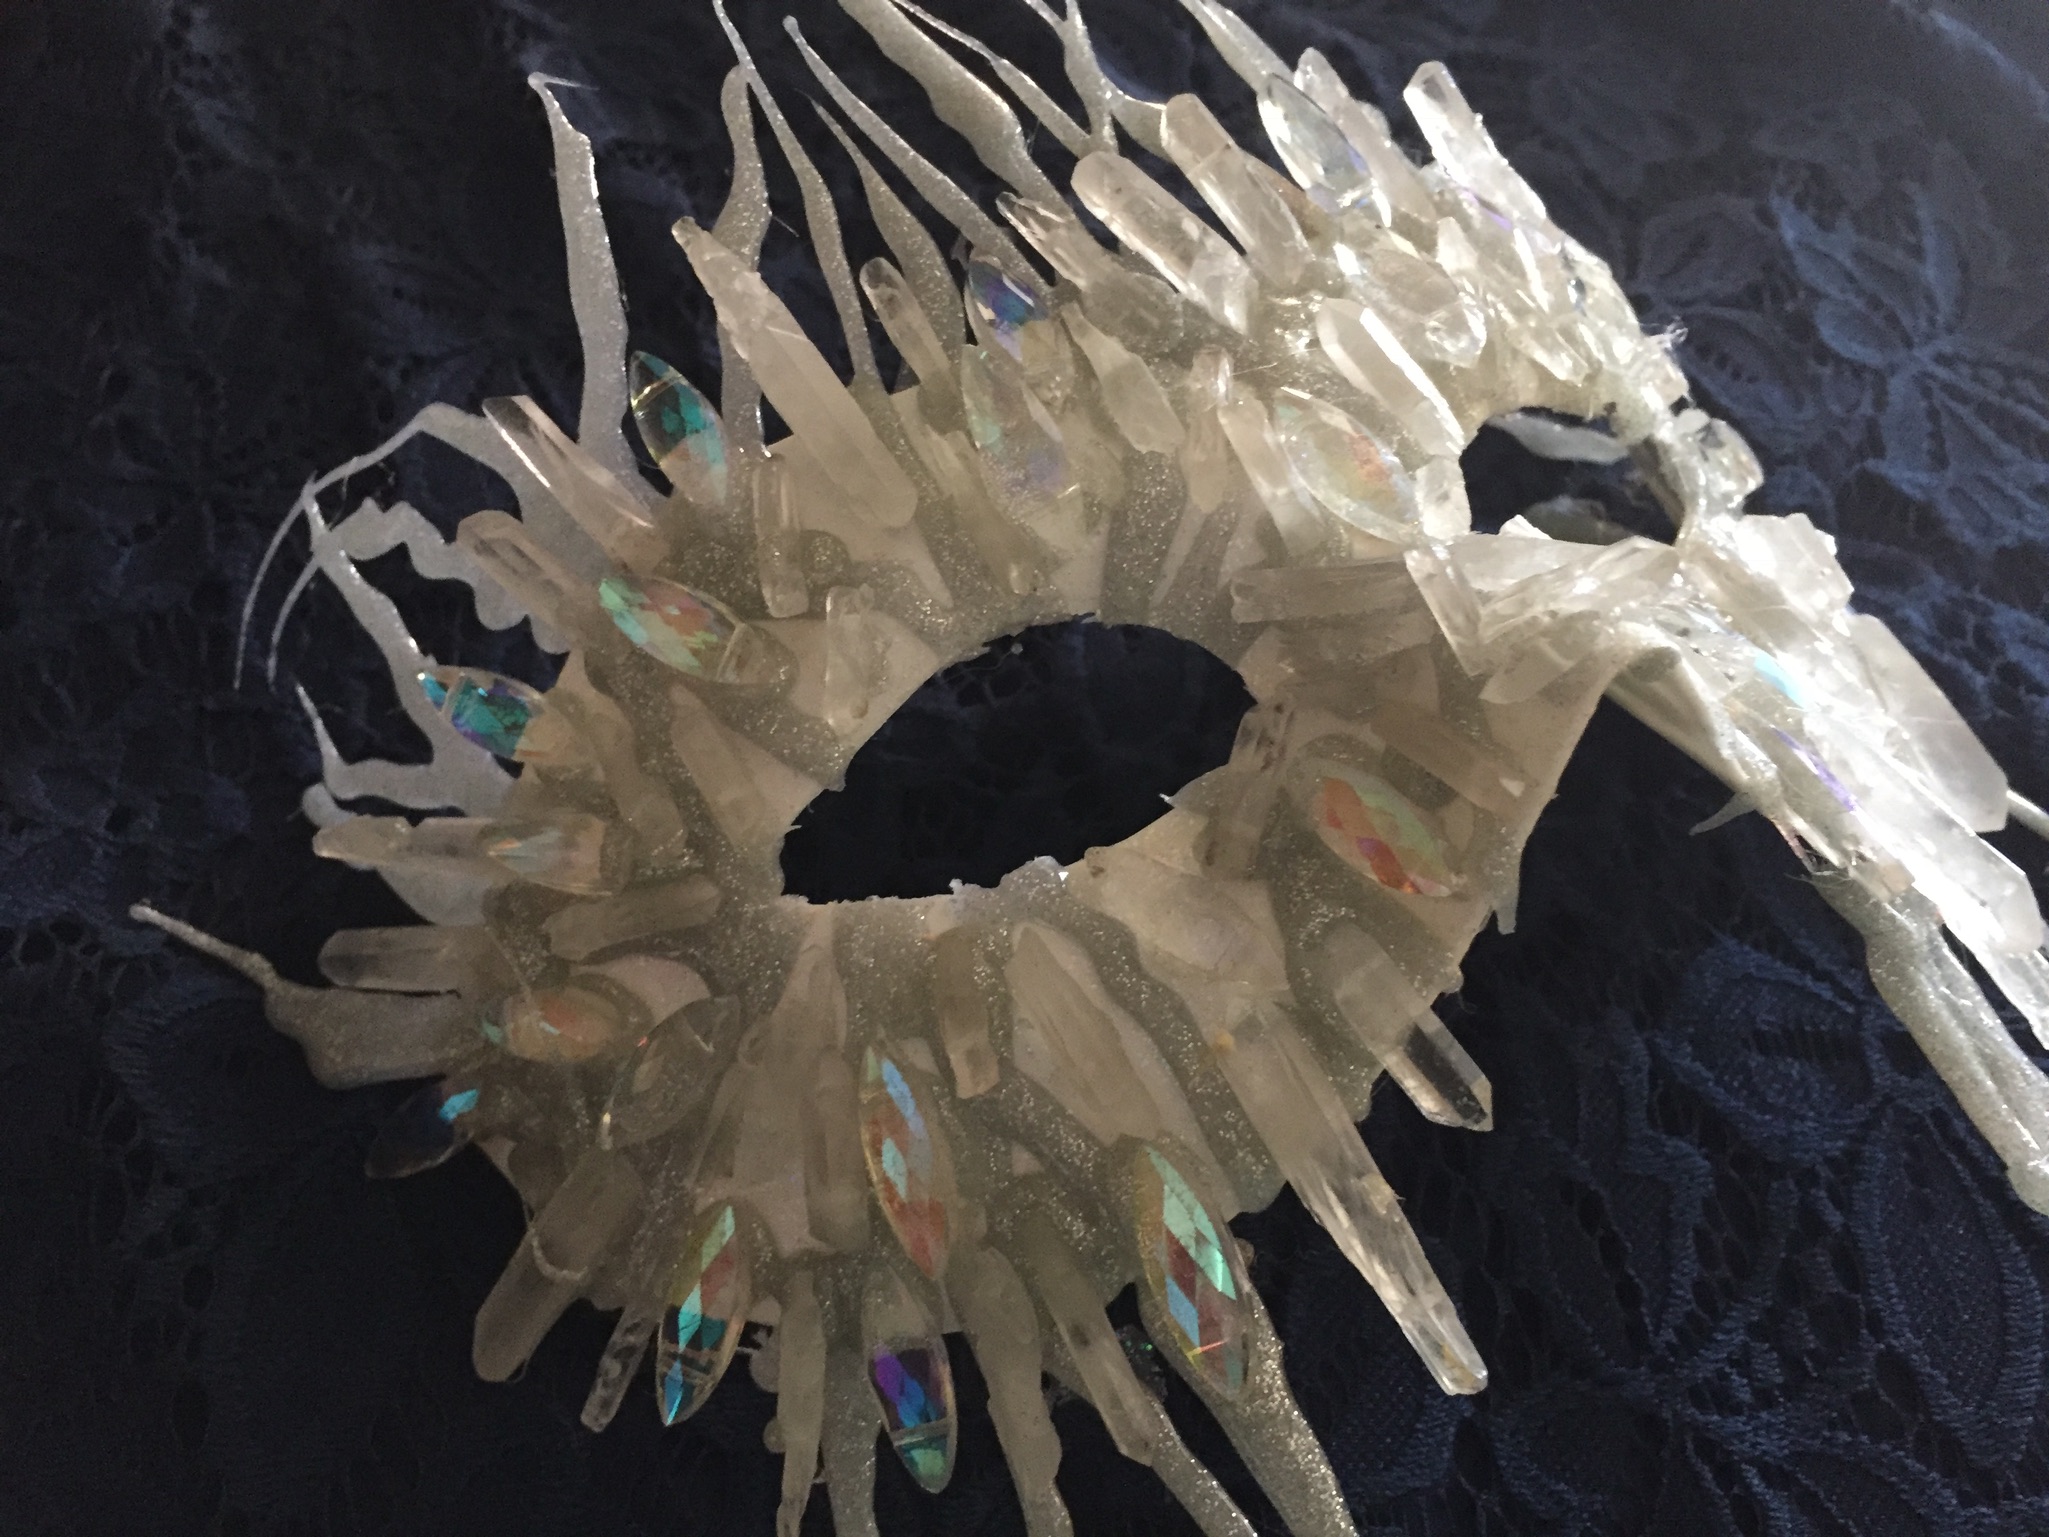
This Ice Queen Mask is so easy to make with silver glitter Mod Melts. We used chunky raw looking crystals to enhance and add texture to the design. The mask base was from a craft shop… one thing to note is that craft stores sell mask blanks all year. Look for them near the feathers and glitter. Most shops have about 6 different ones to choose from.
VIDEO HOW TO::::
What you need::
White Plastic Mask, Mod Podge Extreme Glitter, Mod Podge Craft Mat, Mod Melter, Mod Melts – Glitter, Foam Paintbrush, Small Towel, Chunky Aurora Borealis Beads, Detail Scissors
Steps::
1. Apply two coats of Extreme Glitter Mod Podge to the mask. Allow to dry time in-between.
2. Create a roll form by rolling a towel into log shape. Wrap the Mod Podge Craft mat around the log shape. Place the mask onto the log so that the elastic is around the back and the mask is sitting on the craft mat.
3. Insert a silver glitter Mod Melt into a Mod Melter. Heat the stick.
4. Start on the top of the mask. Begin in the eye area. Start your Mod Melter tip on the craft mat, squeeze the hot melt out, onto the mask and onto the mat about 2” above the top of the mask. Repeat this technique on the lower portion of the mask.
5. Randomly attach gems to the mask with silver glitter Mod Melts.
6. Allow the mask to cool while on the towel log. Once dry, peel the mask from the mat. Use detail scissors or a craft knife to cut around the eye area.
