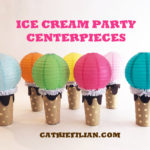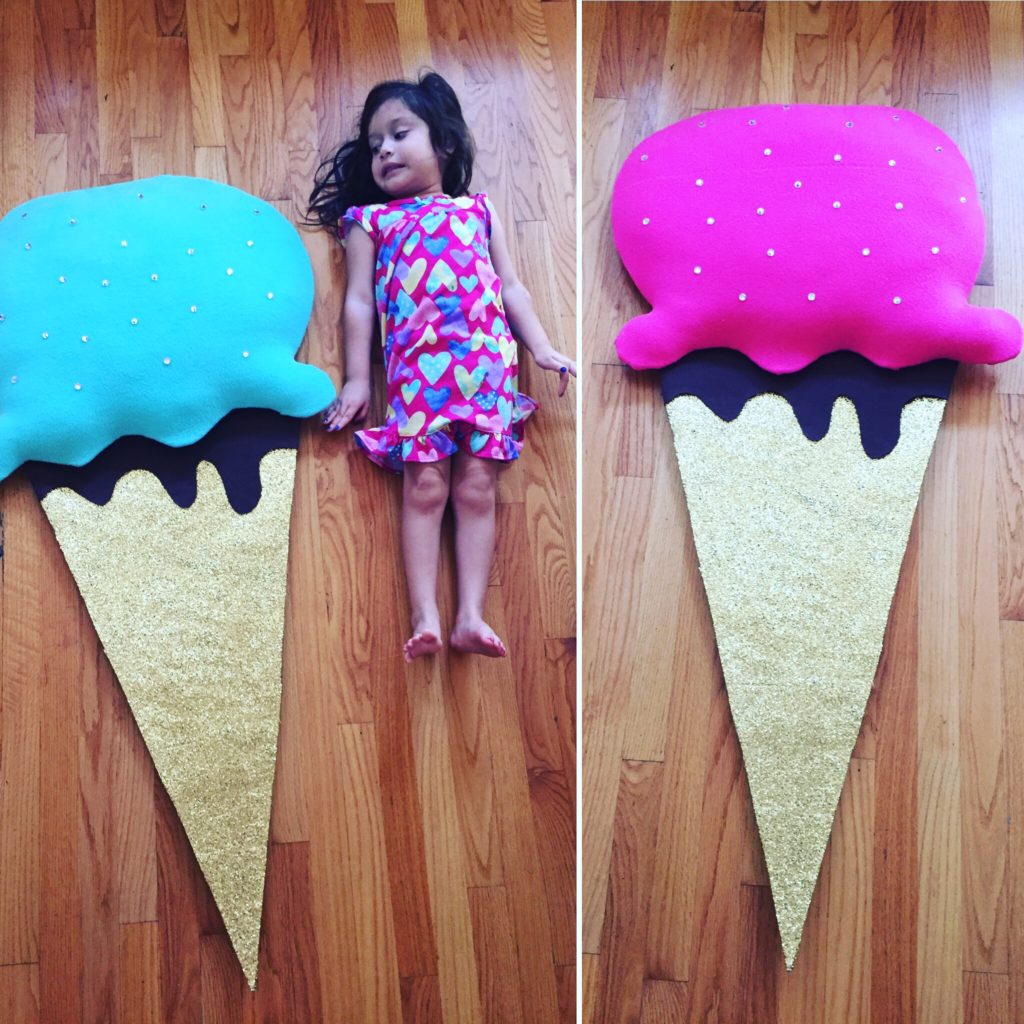
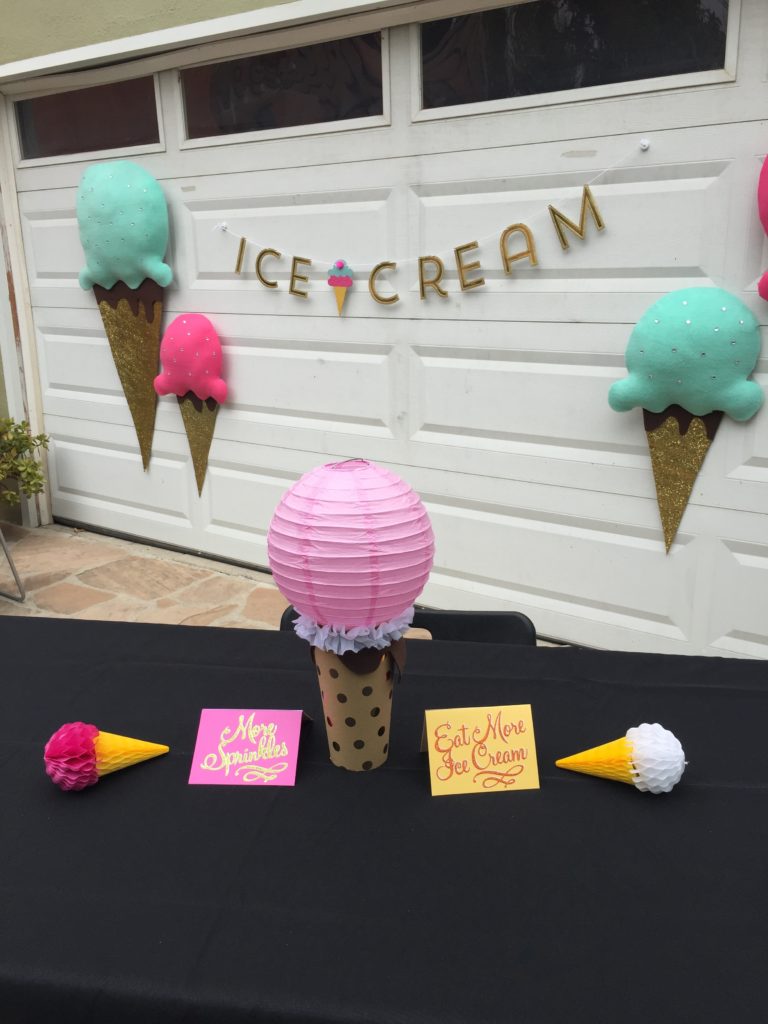
I made these giant Ice Cream Party decorations with recycled cardboard, foam-core from the dollar store, glitter, Mod Podge and fabrics. They came together pretty easy. I used them for our Ice Cream Party. I also made some Ice Cream Party Centerpieces and Ice Cream Party Dresses. See more Ice Cream Party Posts.

I hung them with magnet hooks to my garage door.
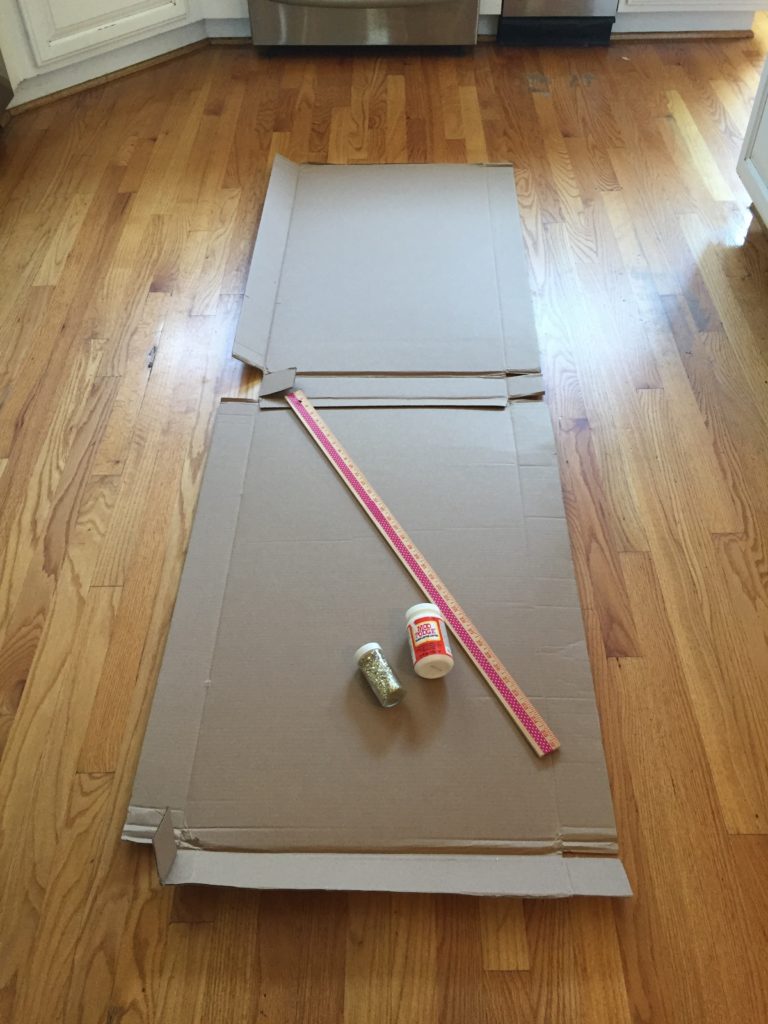
I used recycled cardboard to create the cone of the Ice Cream Cone.
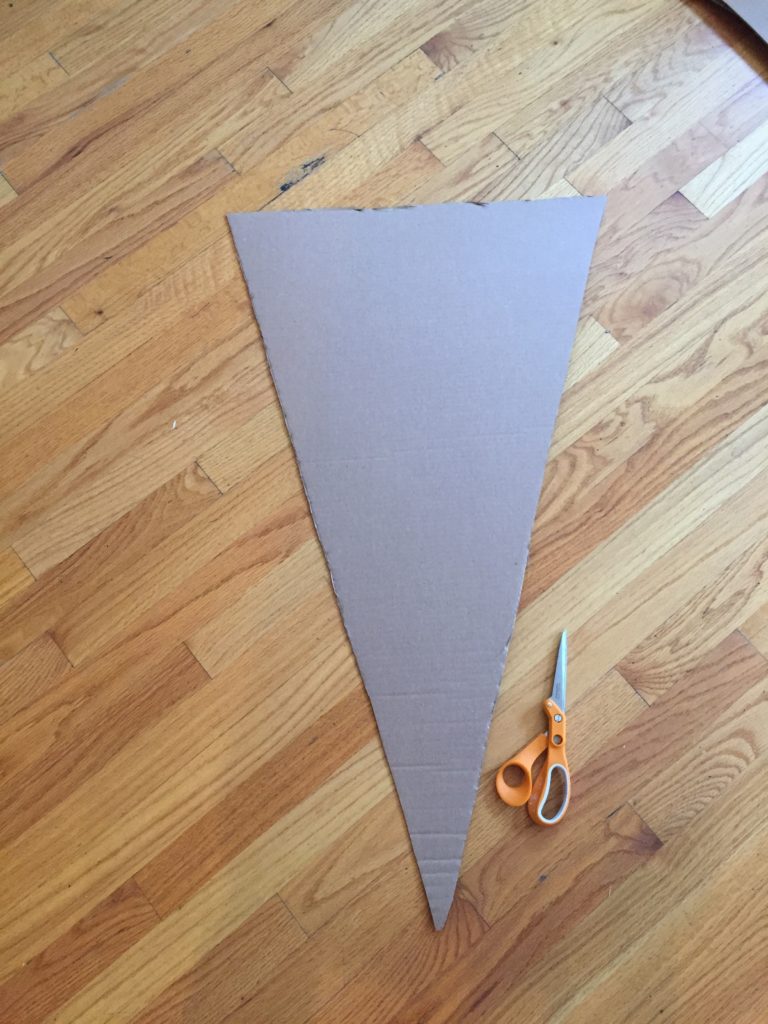
Begin by cutting a cone shape.
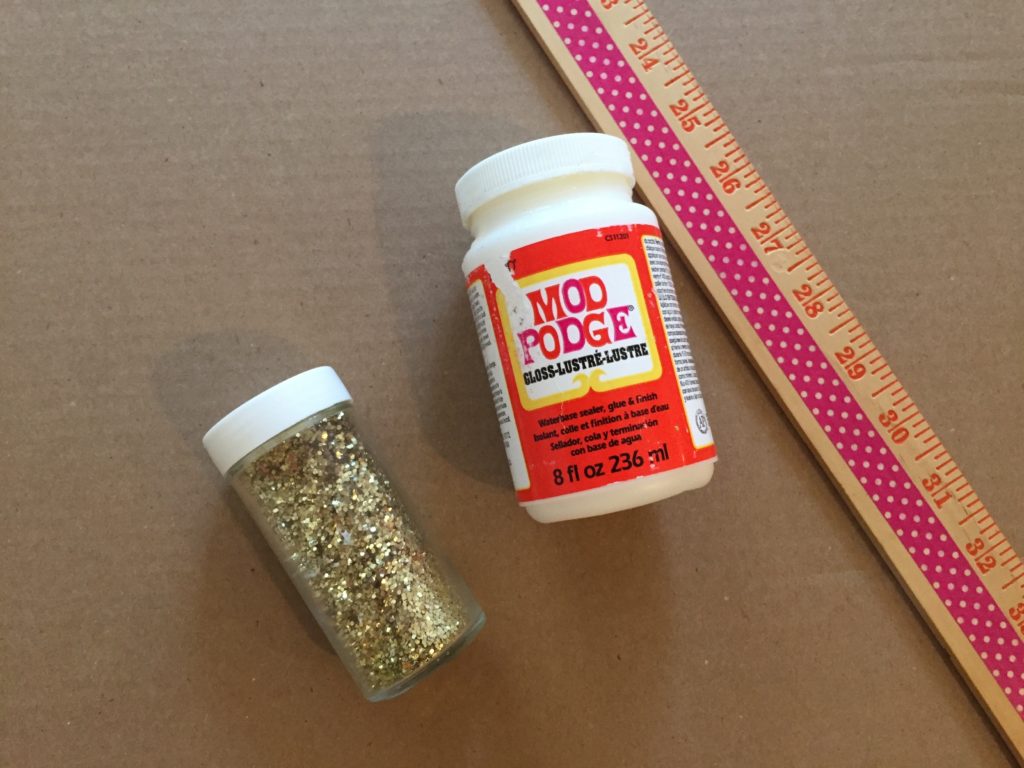
I used Mod Podge gloss and glitter to make gold sparkle Ice Cream Cones.

Just paint the Mod Podge on to the cone shape. (Work in sections)
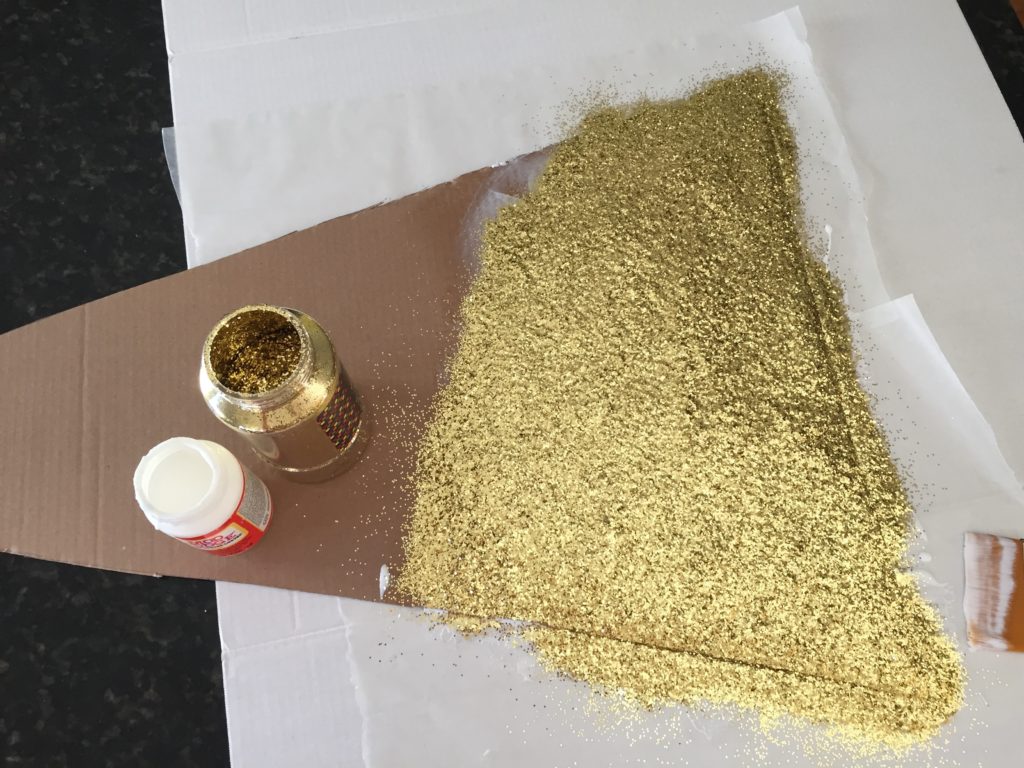
Sprinkle on glitter. Allow to dry for about 10 minutes. Tap off the excess glitter.
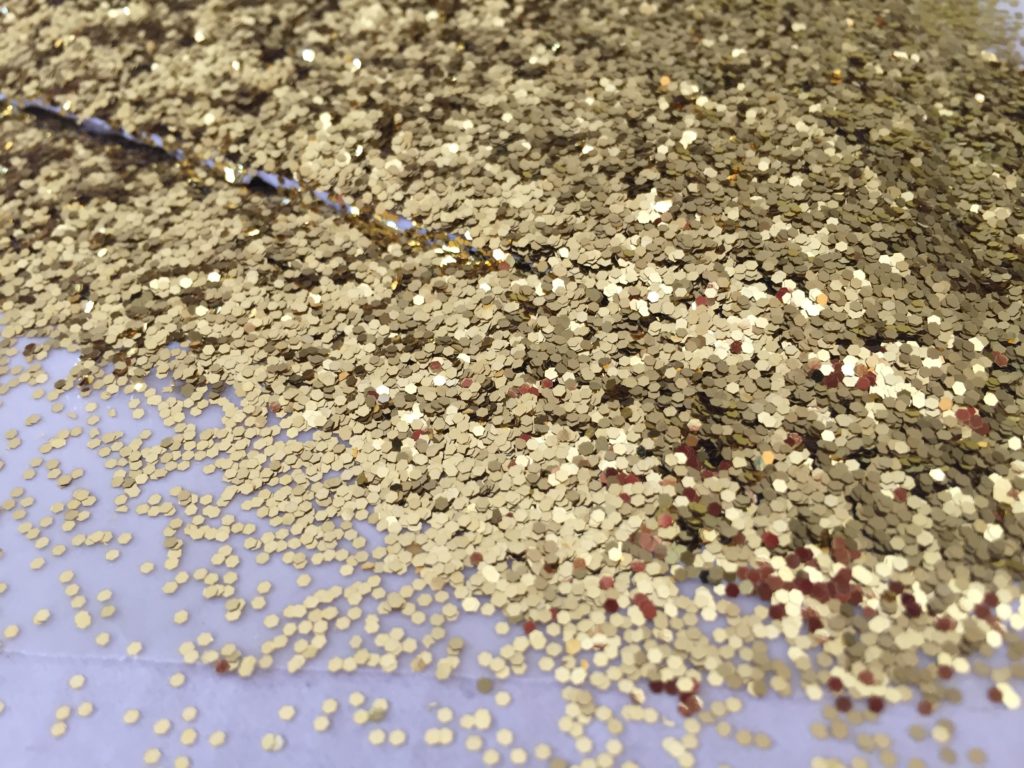
I like using chunky glitter for this because it covers really well.
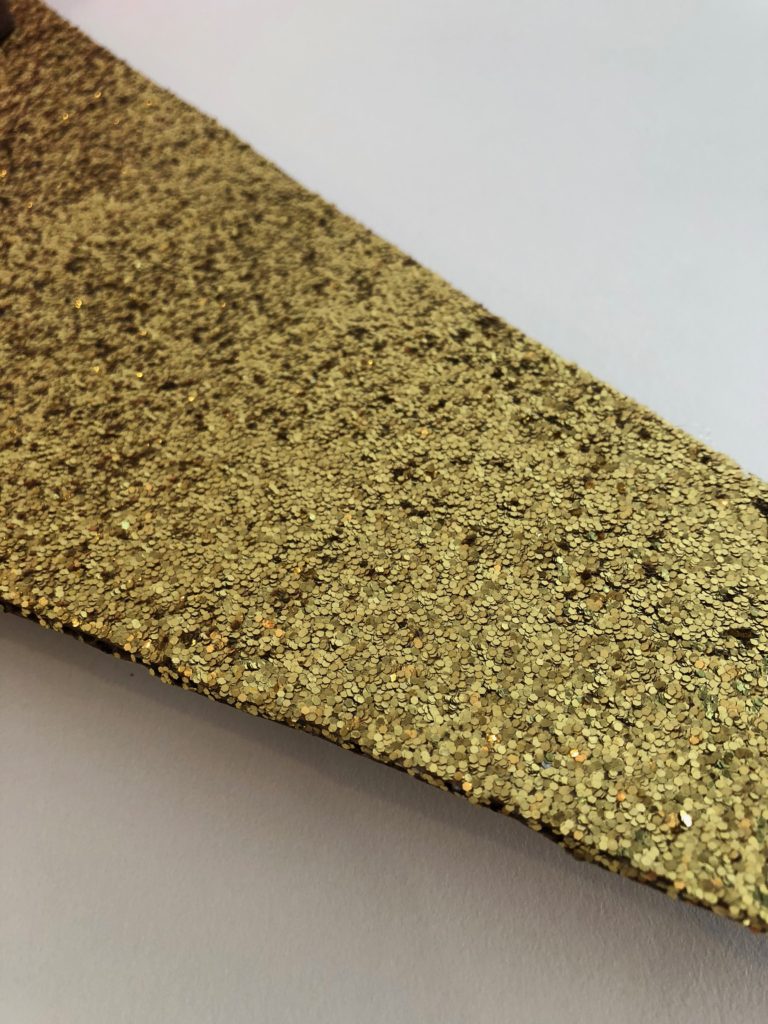
Oh LA LA – I love all the sparkle.
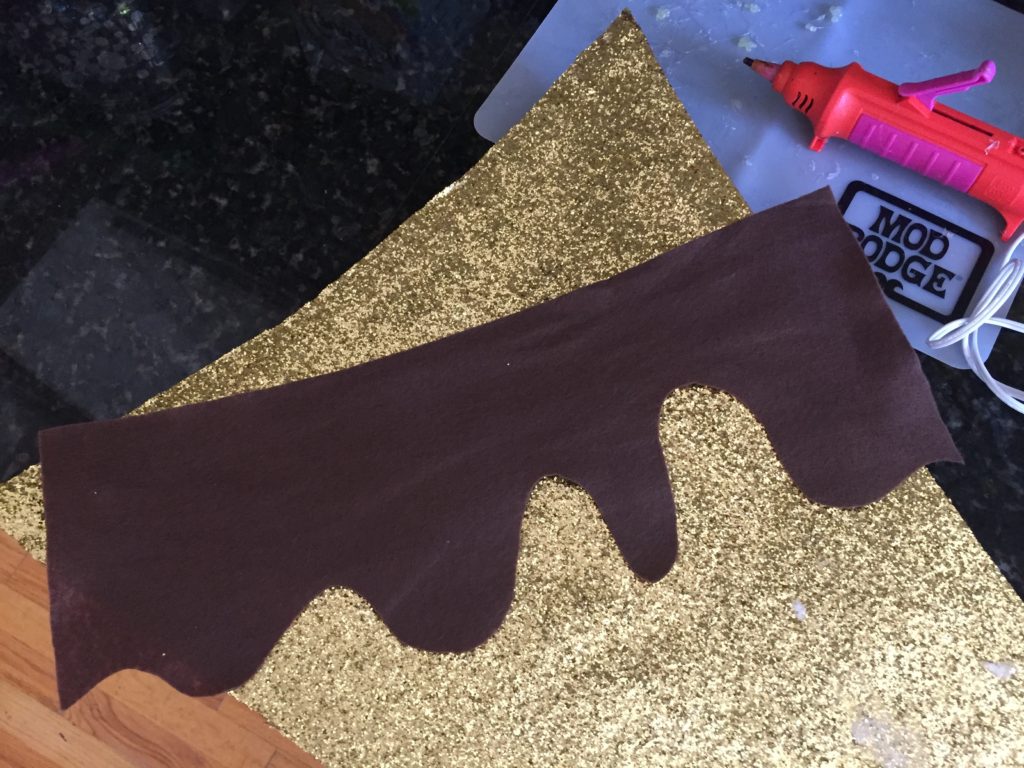
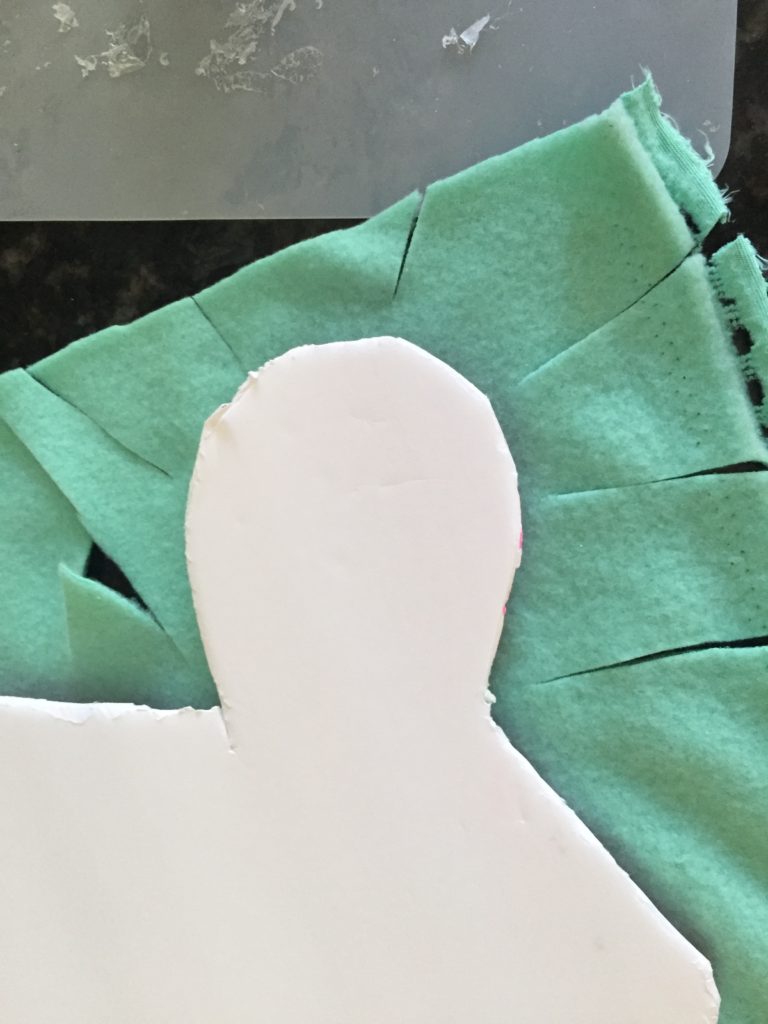
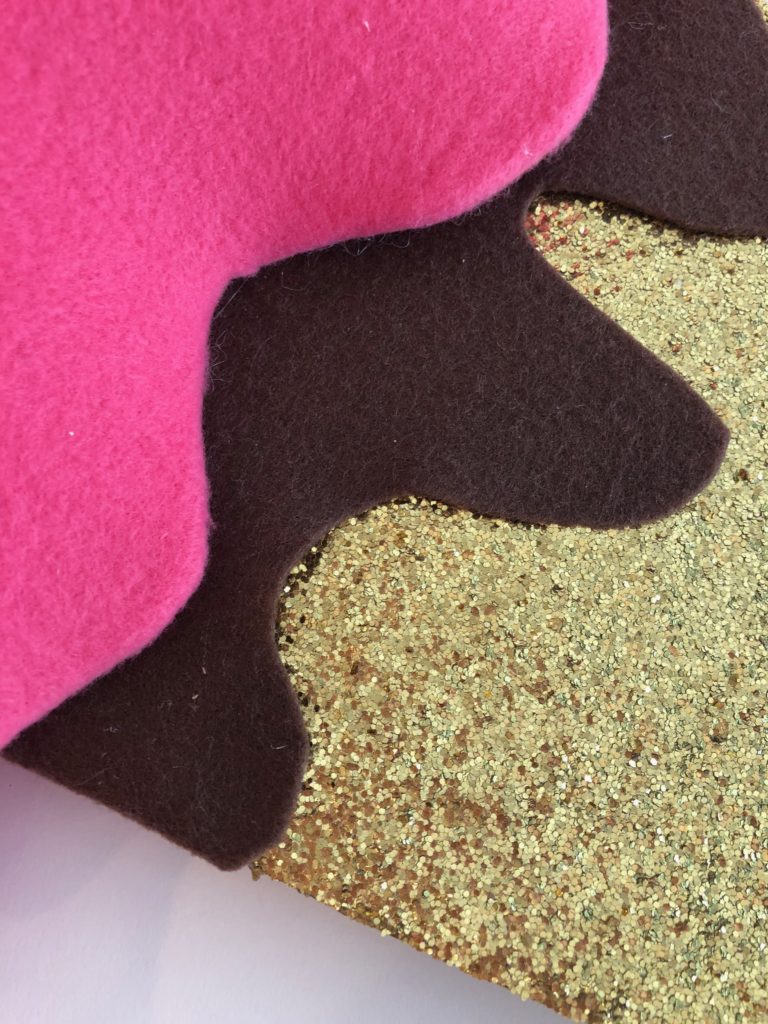
Next, I cut some “dripping chocolate sauce” from felt and I glued it across the top.
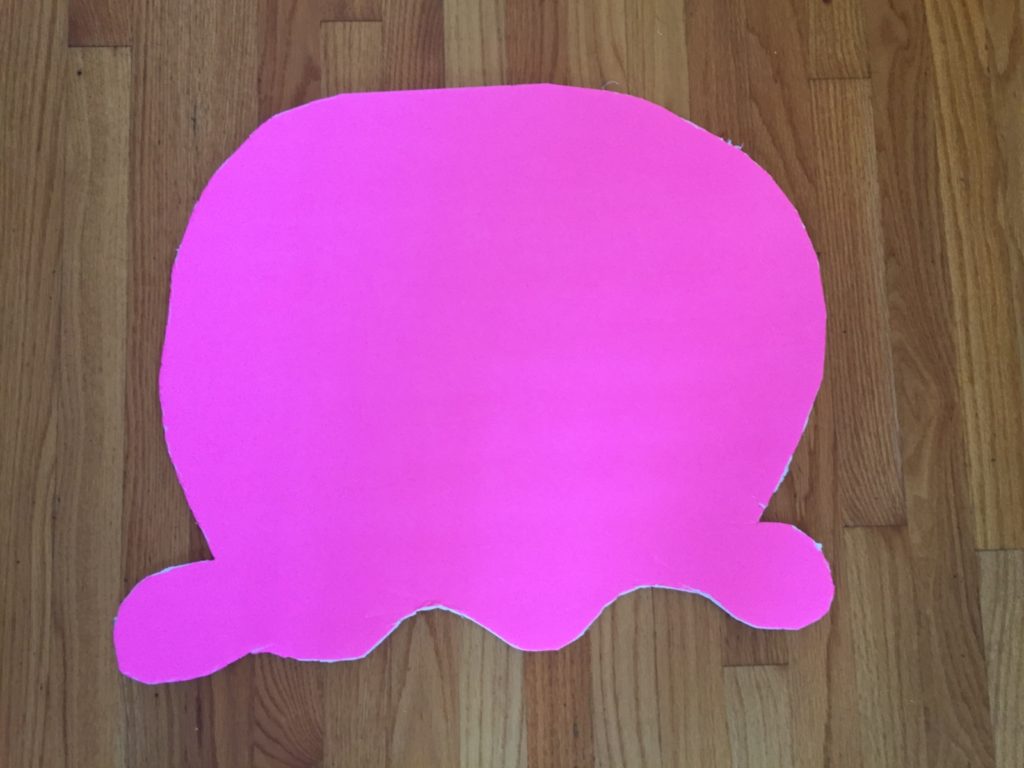
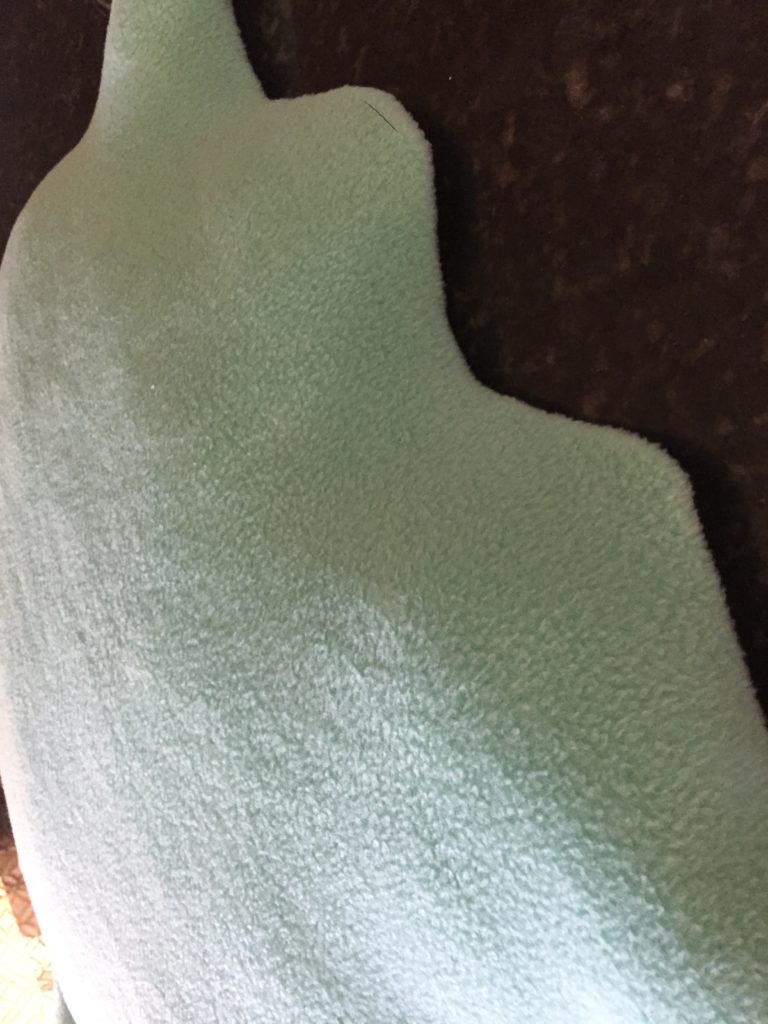
Next, I cut a scoop shape from foam-core. This board was pink on one side and white on the other side.
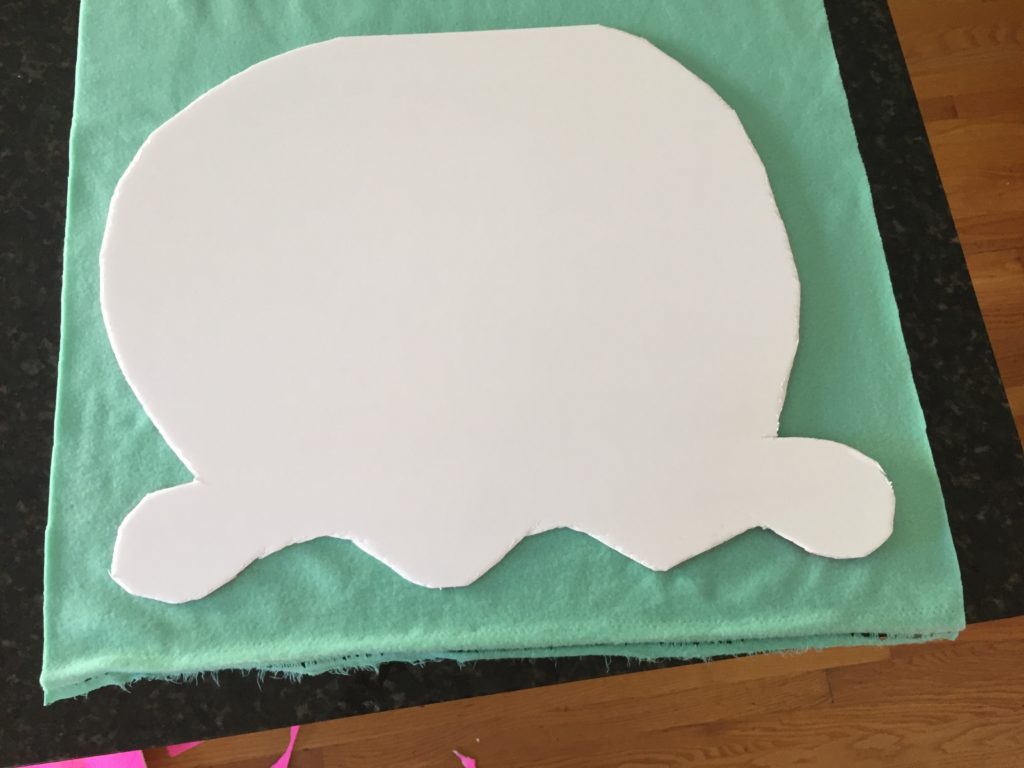
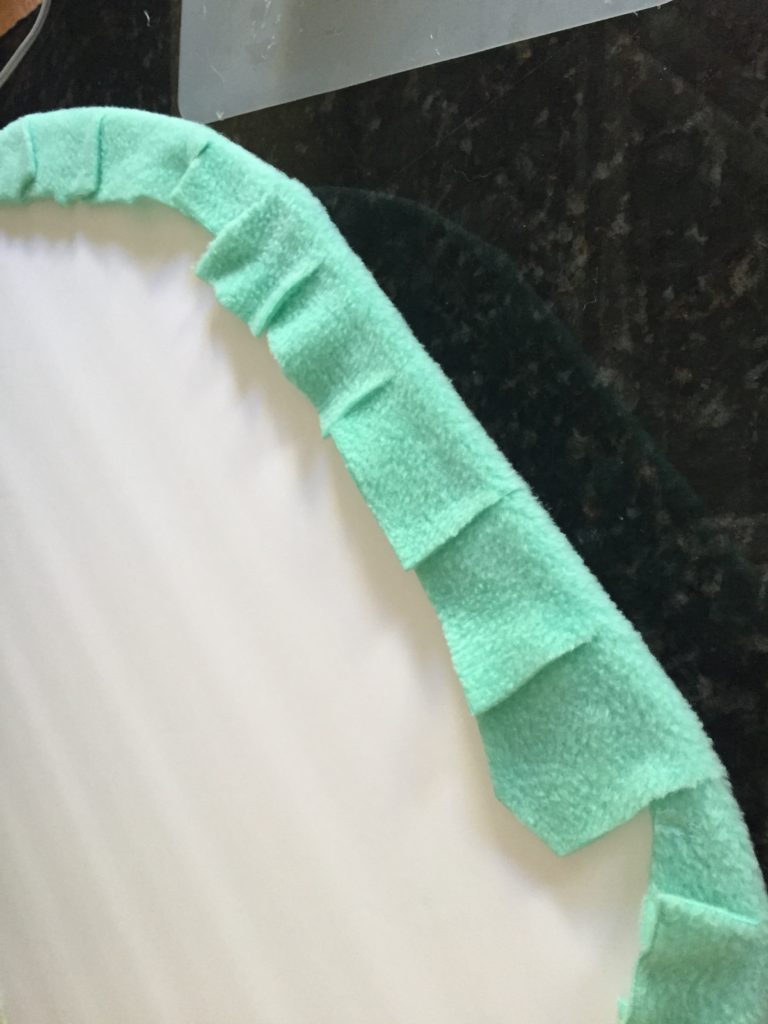
I used fleece for the scoop shapes. I like fleece because it dosen’t fray and it has a little bit of flex/stretch.
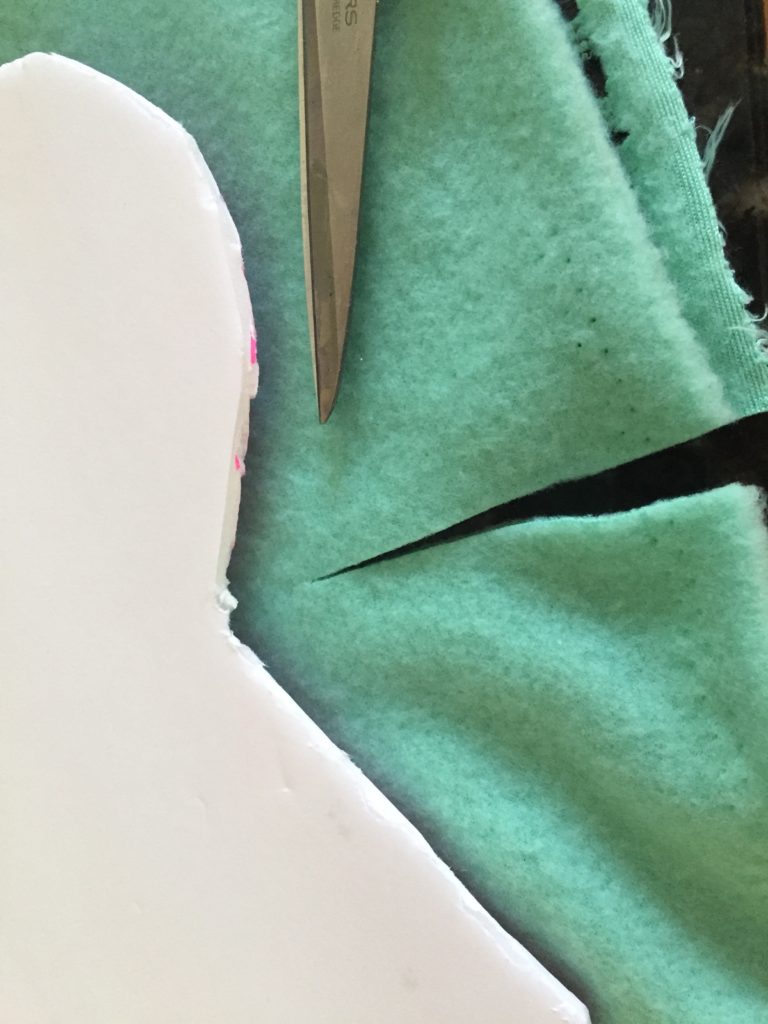
Start with a piece of fleece that is larger than your scoop. Cut dashes around the scoop. End the cut dash about .5″ from the foam-core.
Keep cutting around the whole scoop.
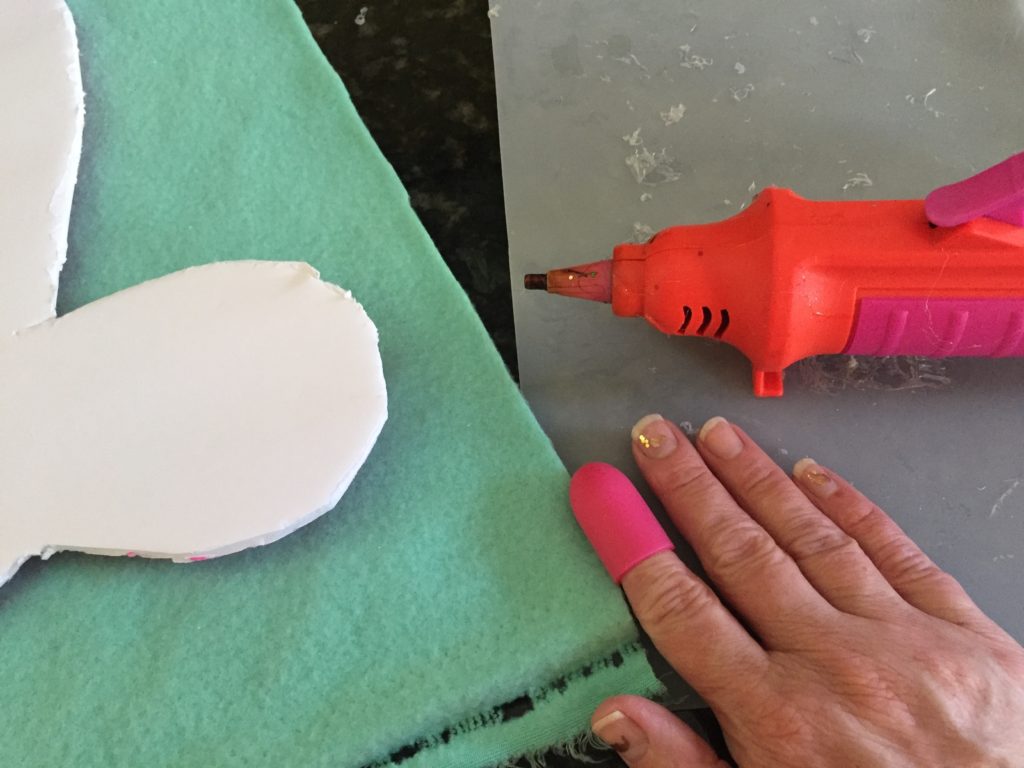
Protect your finger tips with Hot Glue Gun Helpers. Shop Here.
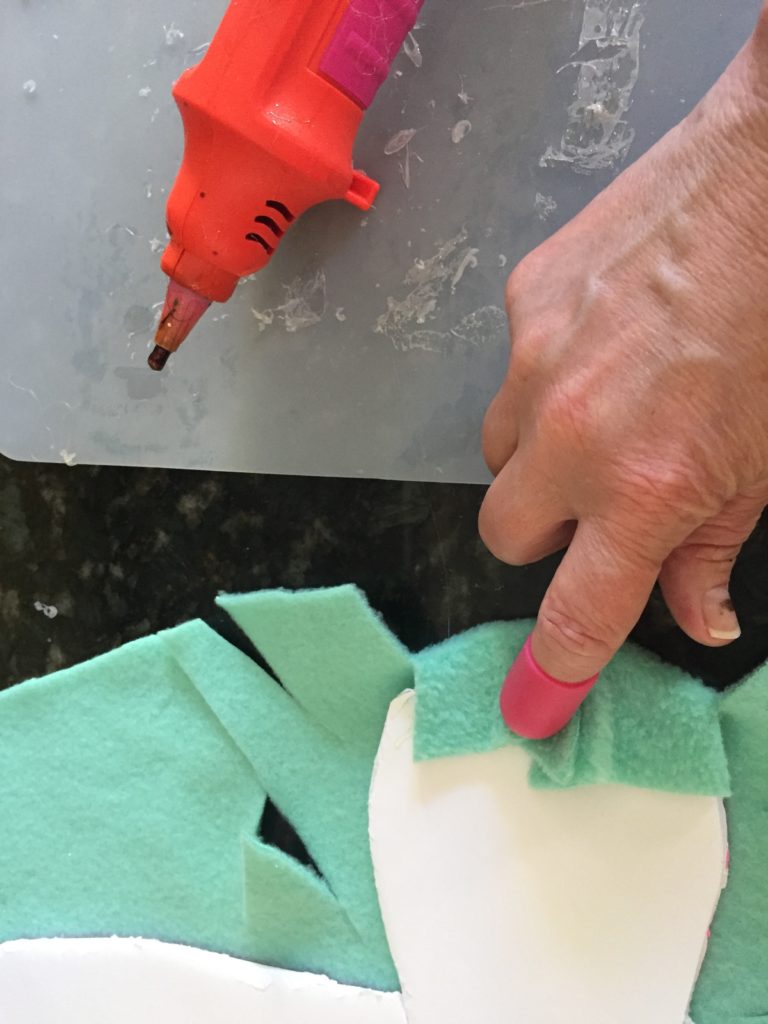
Glue the cut pieces to the back side of the scoop shape.
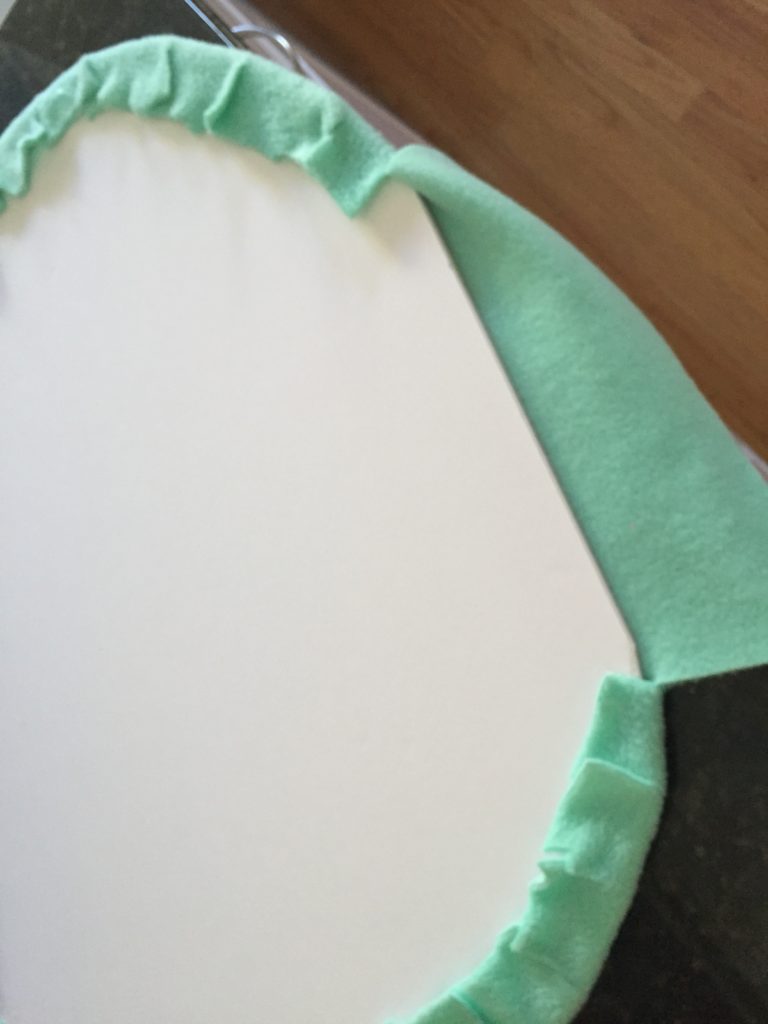
Leave an opening for stuffing.
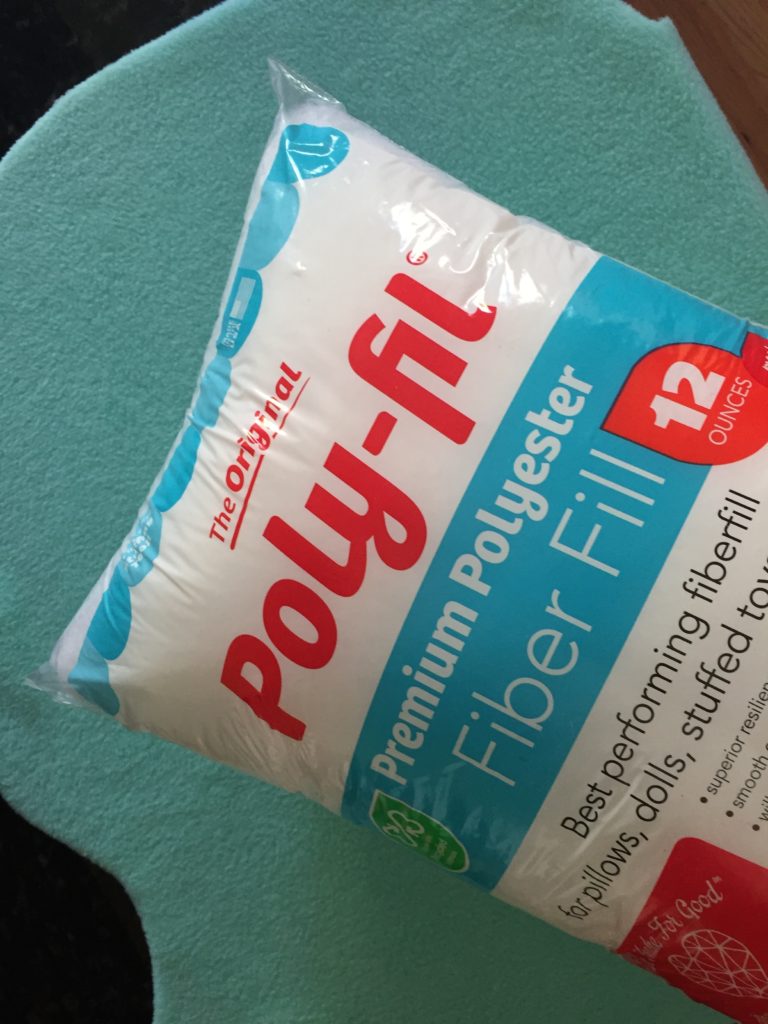
Grab some poly-fil stuffing.
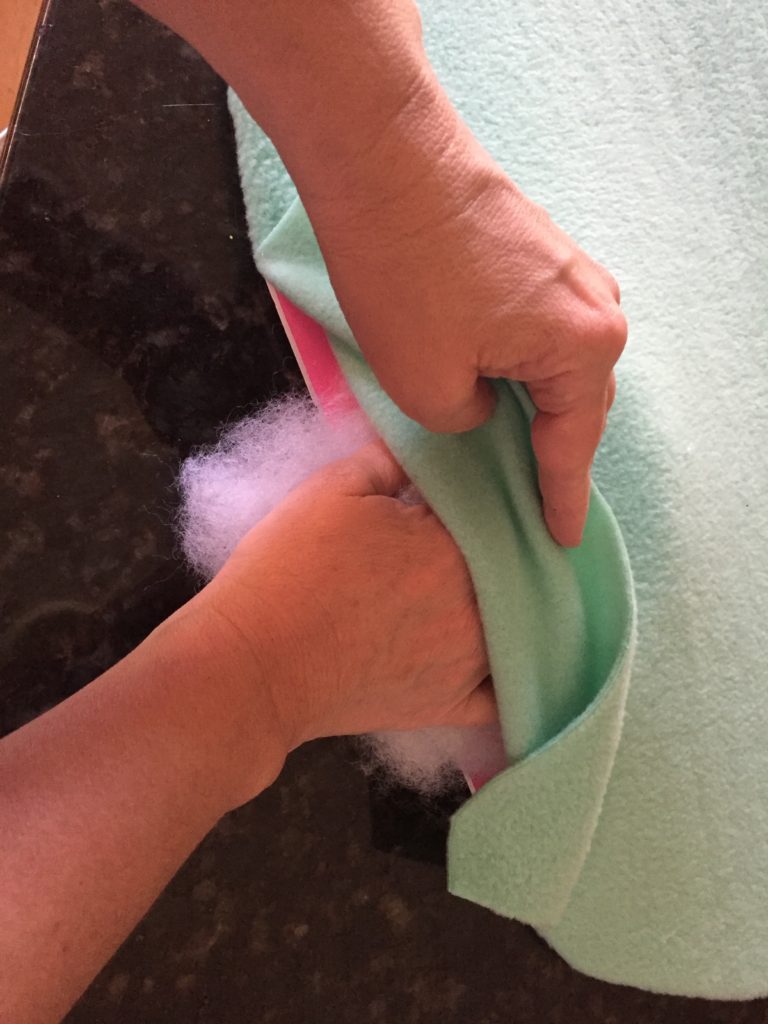
Stuff the scoop with stuffing.
The fleece with stretch a tiny bit as you fill the scoop.
Glue the flap to the back of the scoop.
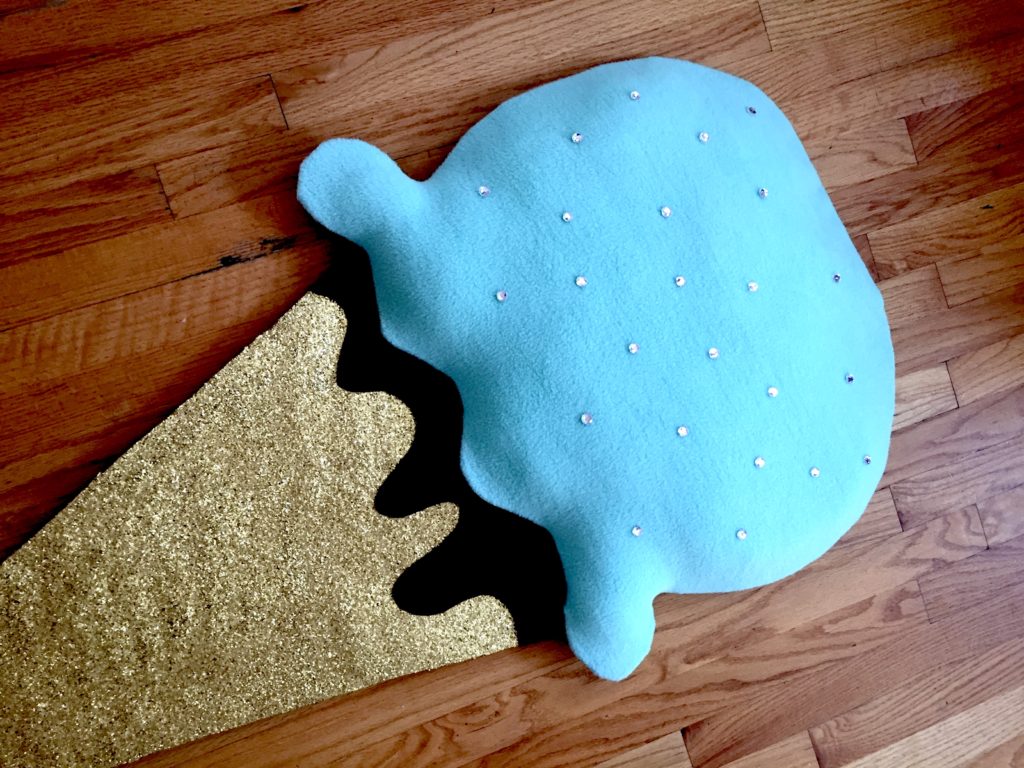
Glue the scoop to the ice cream cone. This is the same scoop but the pics turned out blue and not mint.
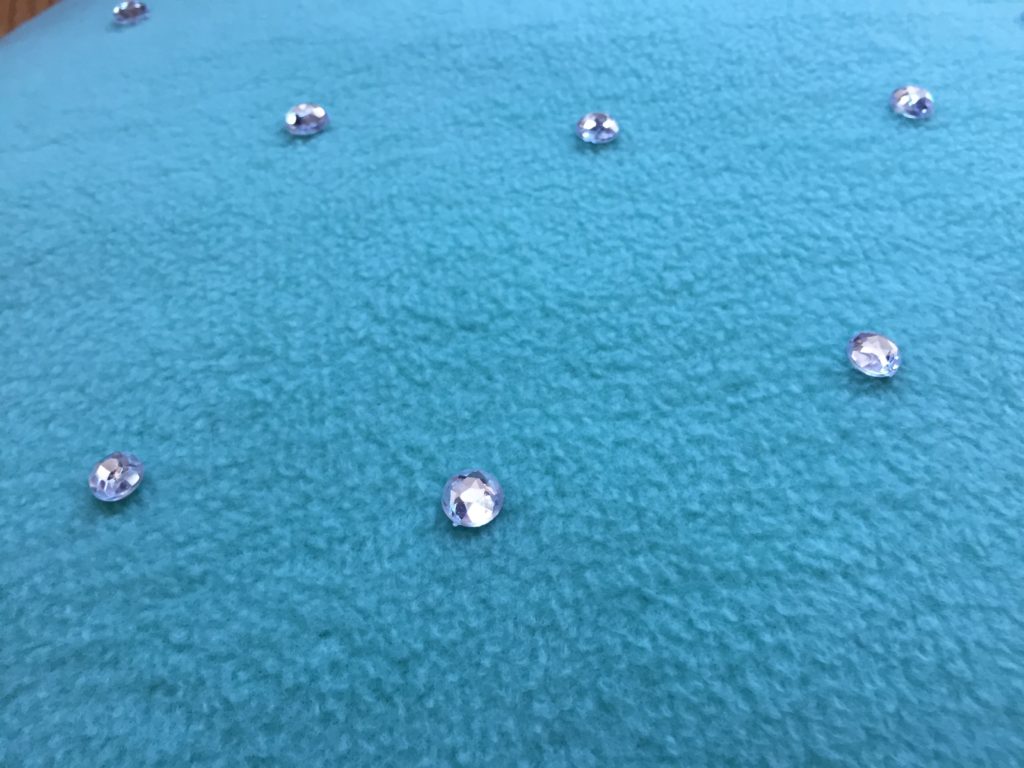
Glue gems to the scoop.
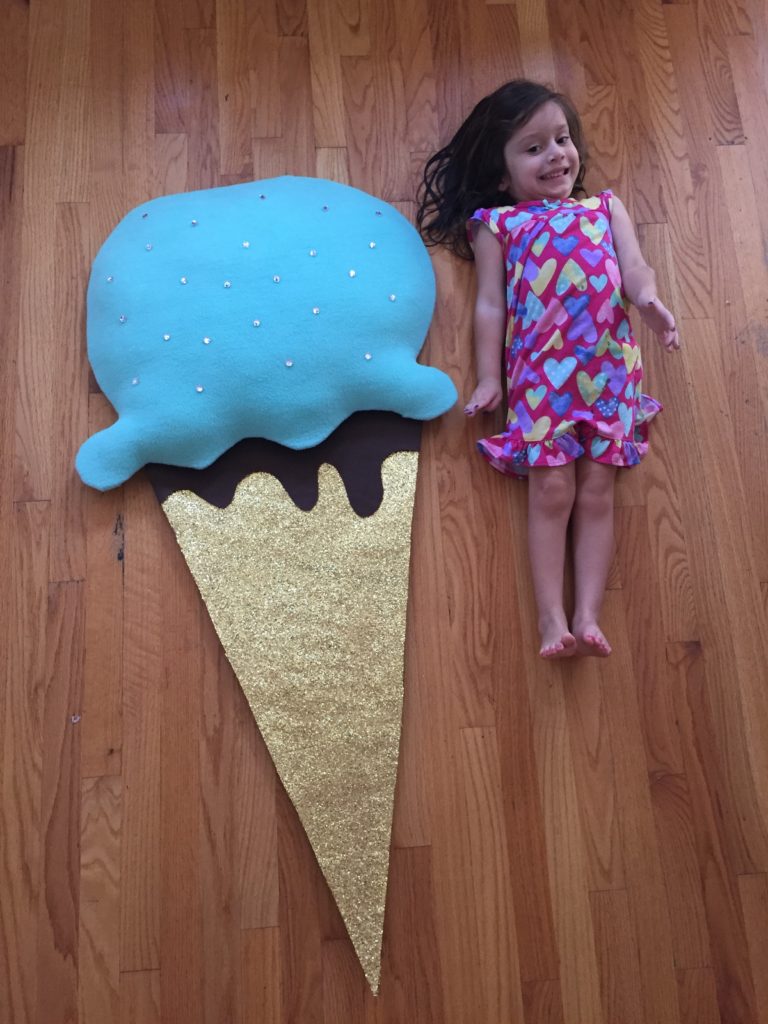
That is one giant ice cream party decoration! Of course you can make them smaller….. but why when you can make giant Ice Creams!

I made pink ones too….big ones and little ones.
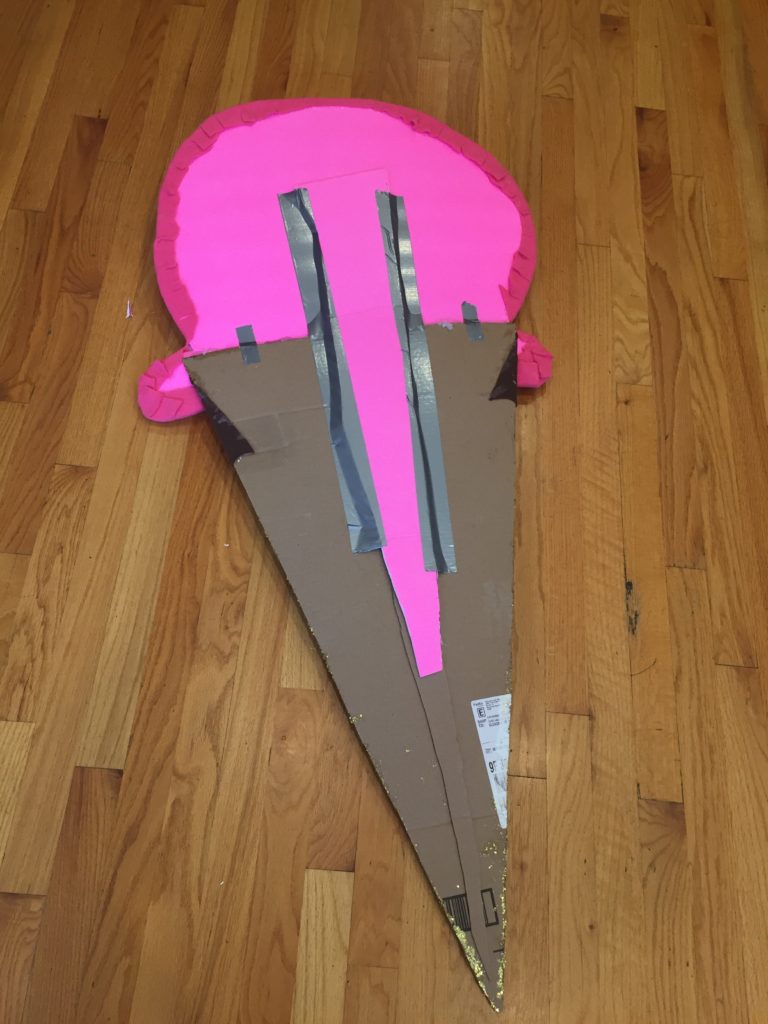
I added a strip of cardboard to the back to support the Ice Cream Decoration. I used a combination of hot glue and tape. Not PICTURED::: I also added a string to hang the decorations.

I used magnetic hooks to hang the ice cream decorations.

The girls LOVED the giant Ice Cream Cones.
Thanks for stopping by! Please LIKE – SHARE – PIN & Leave a comment or any questions. xoxo Cathie