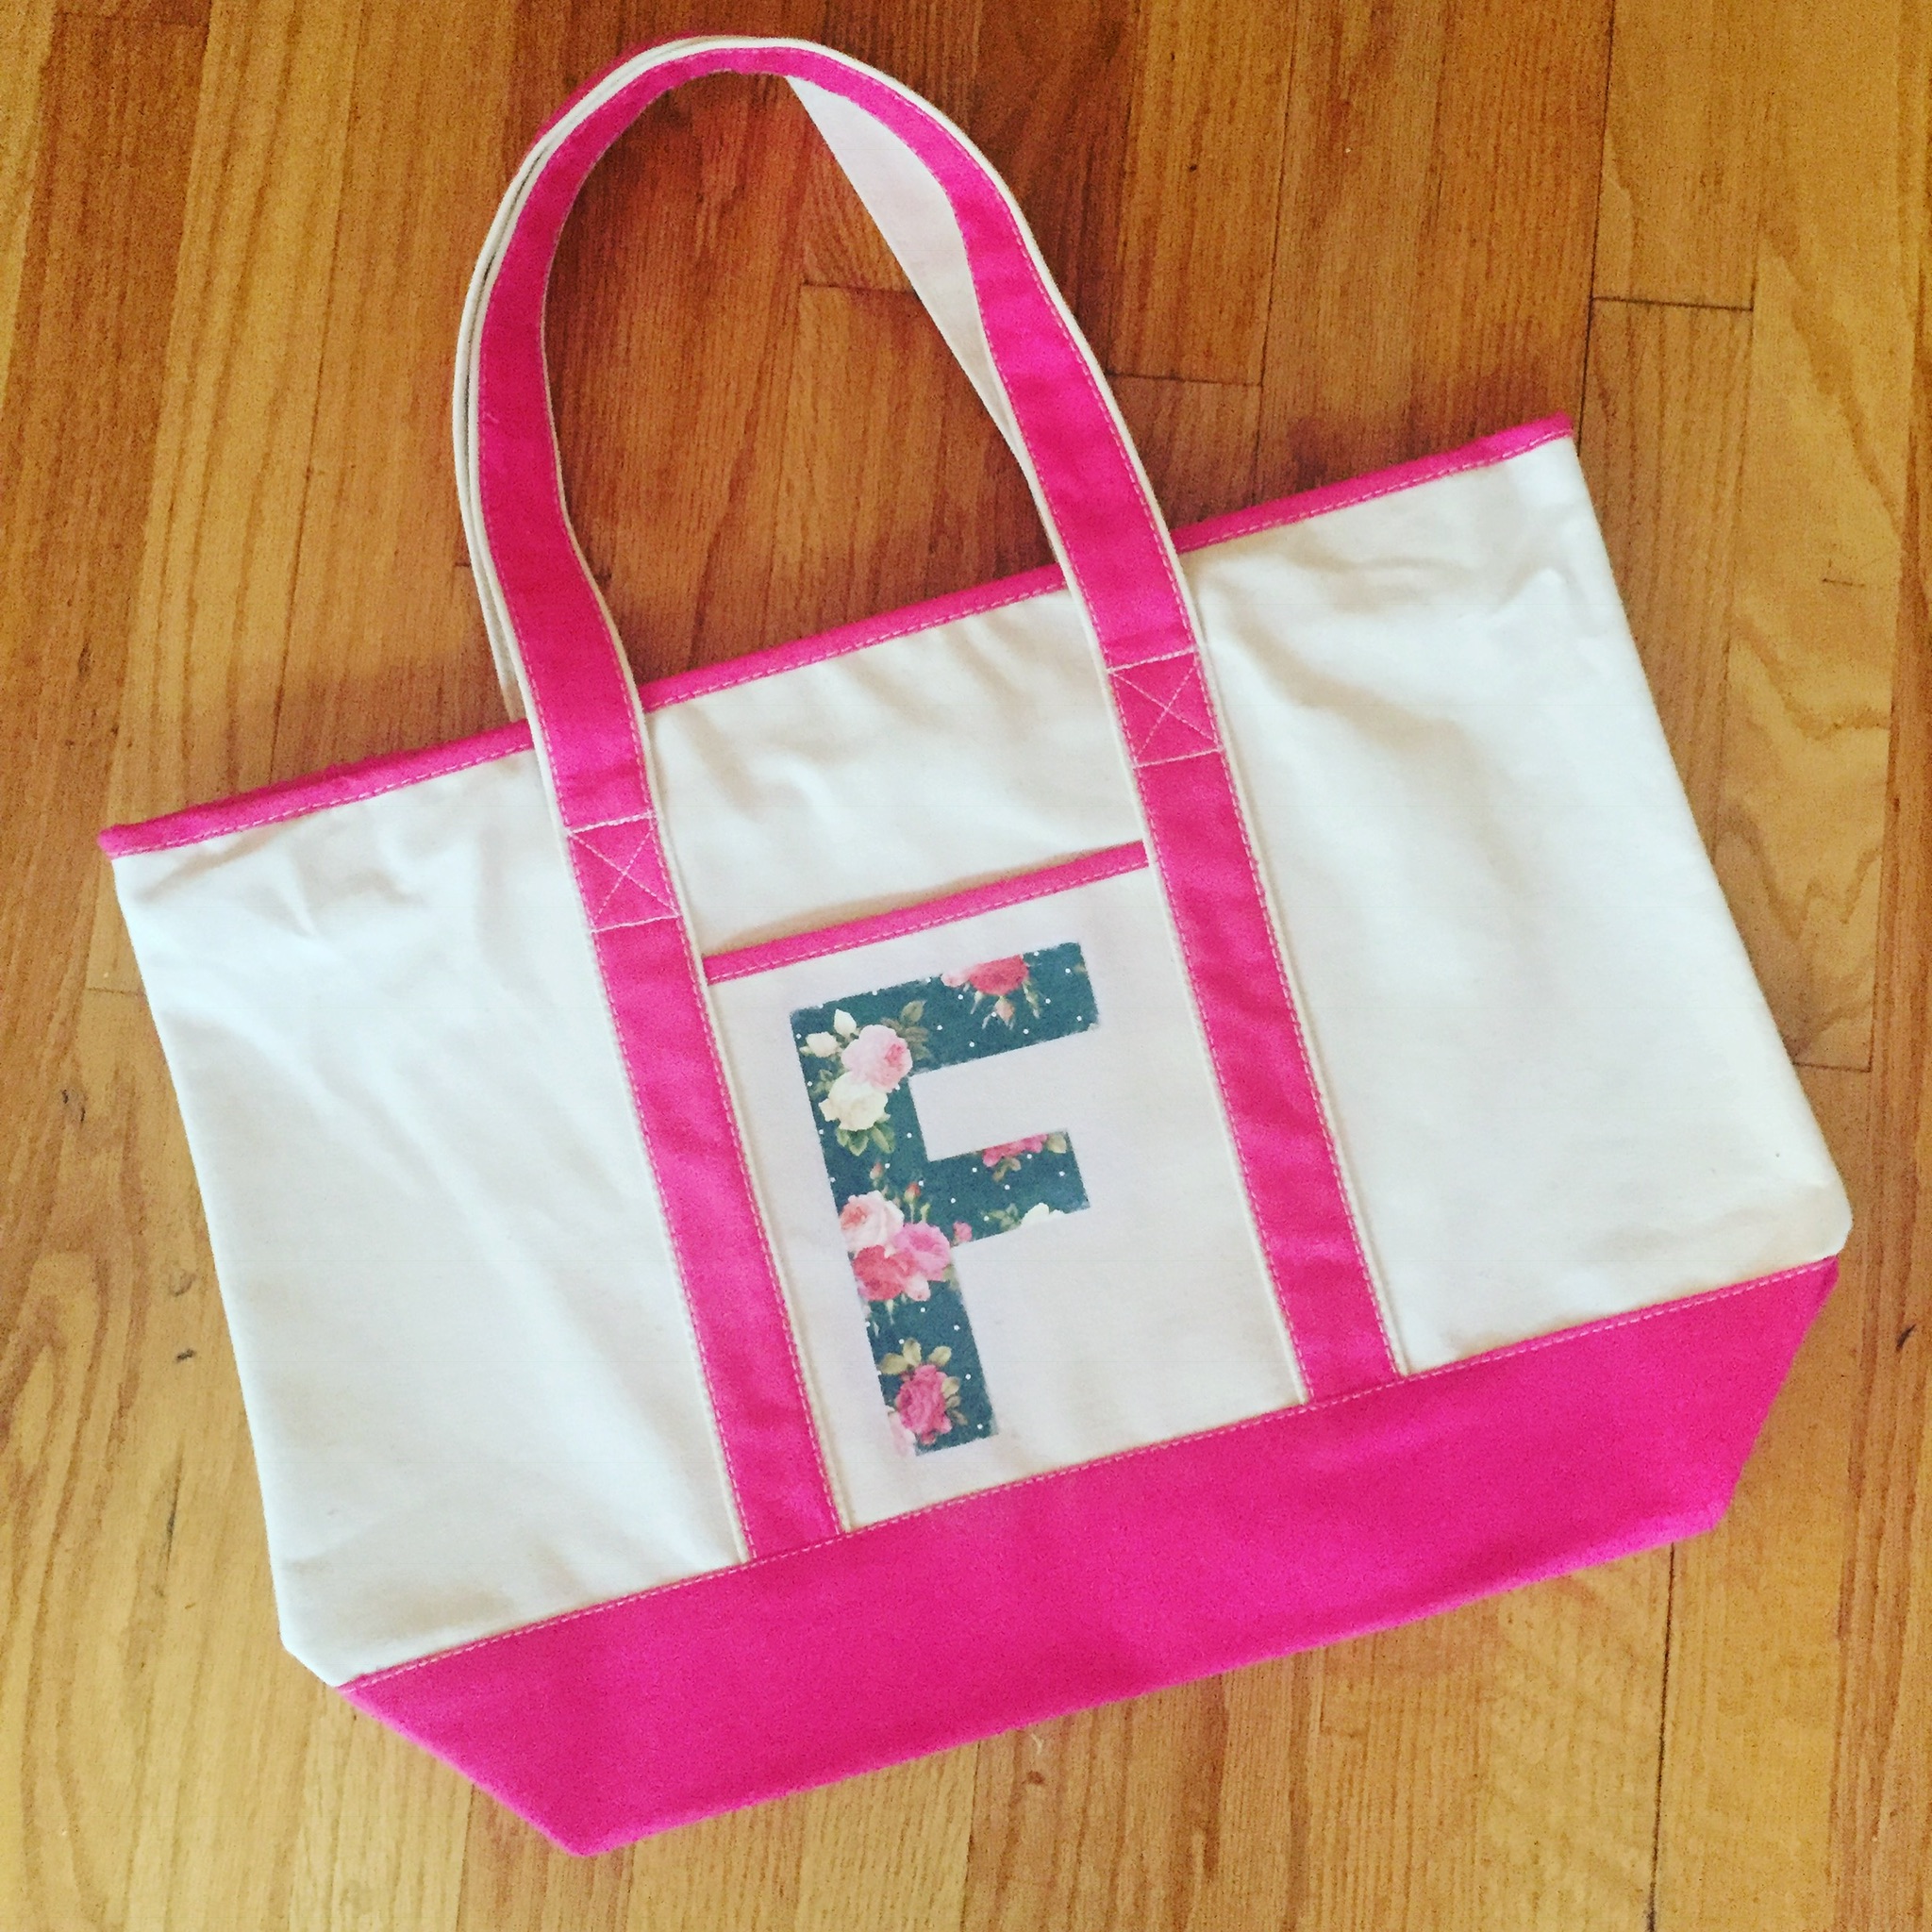
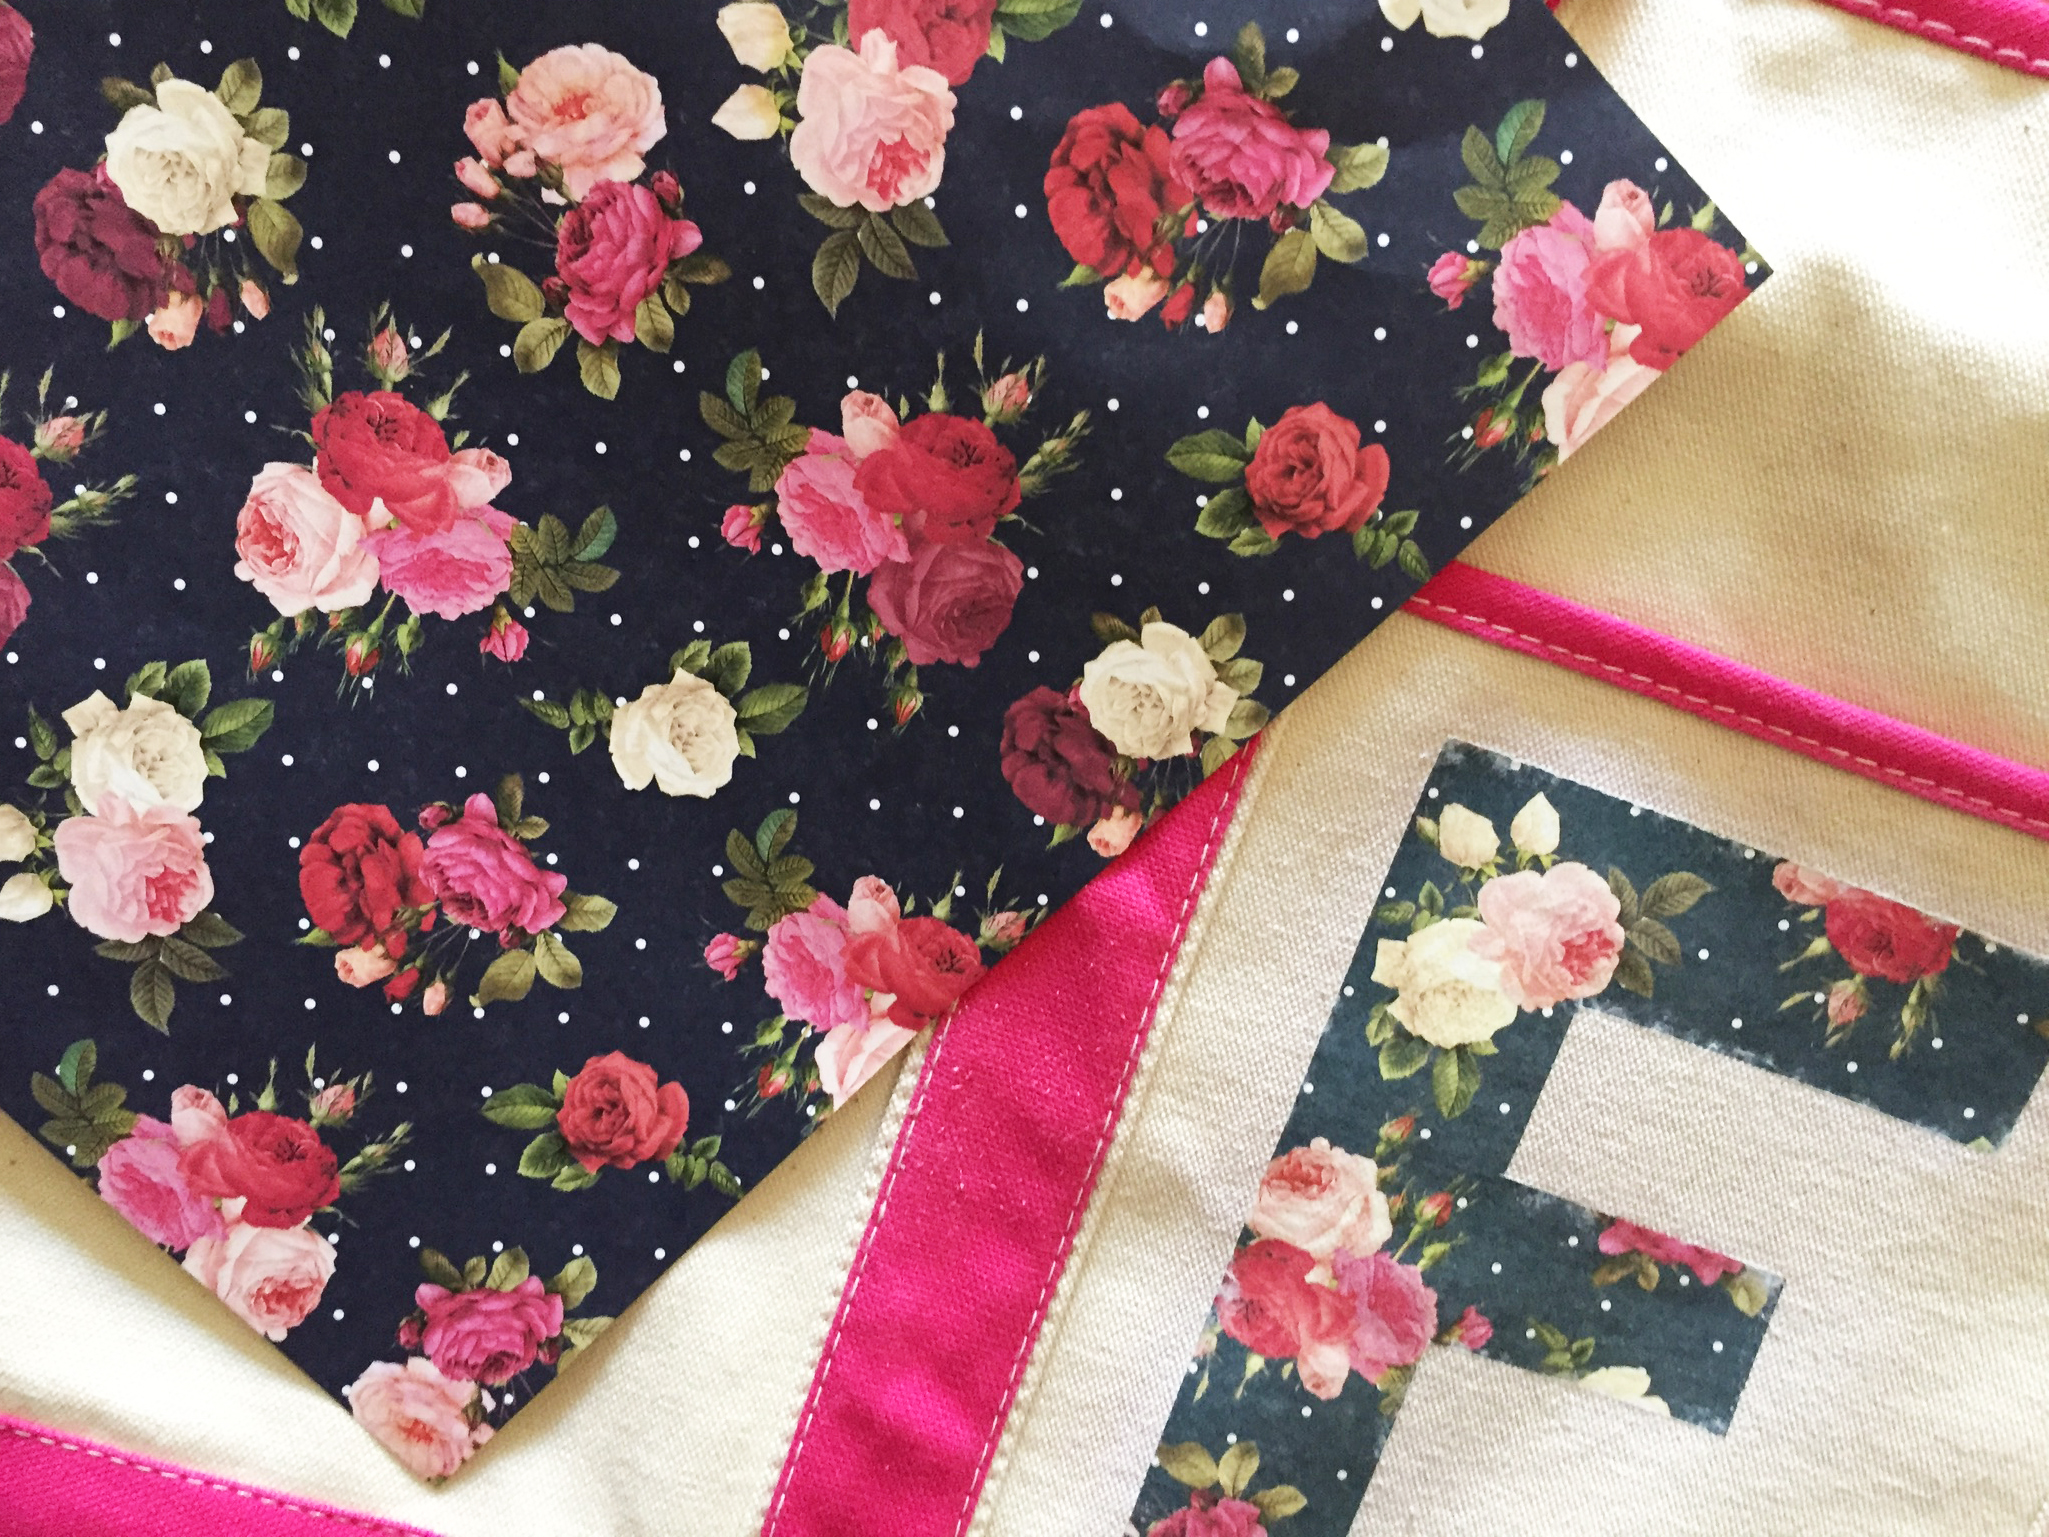
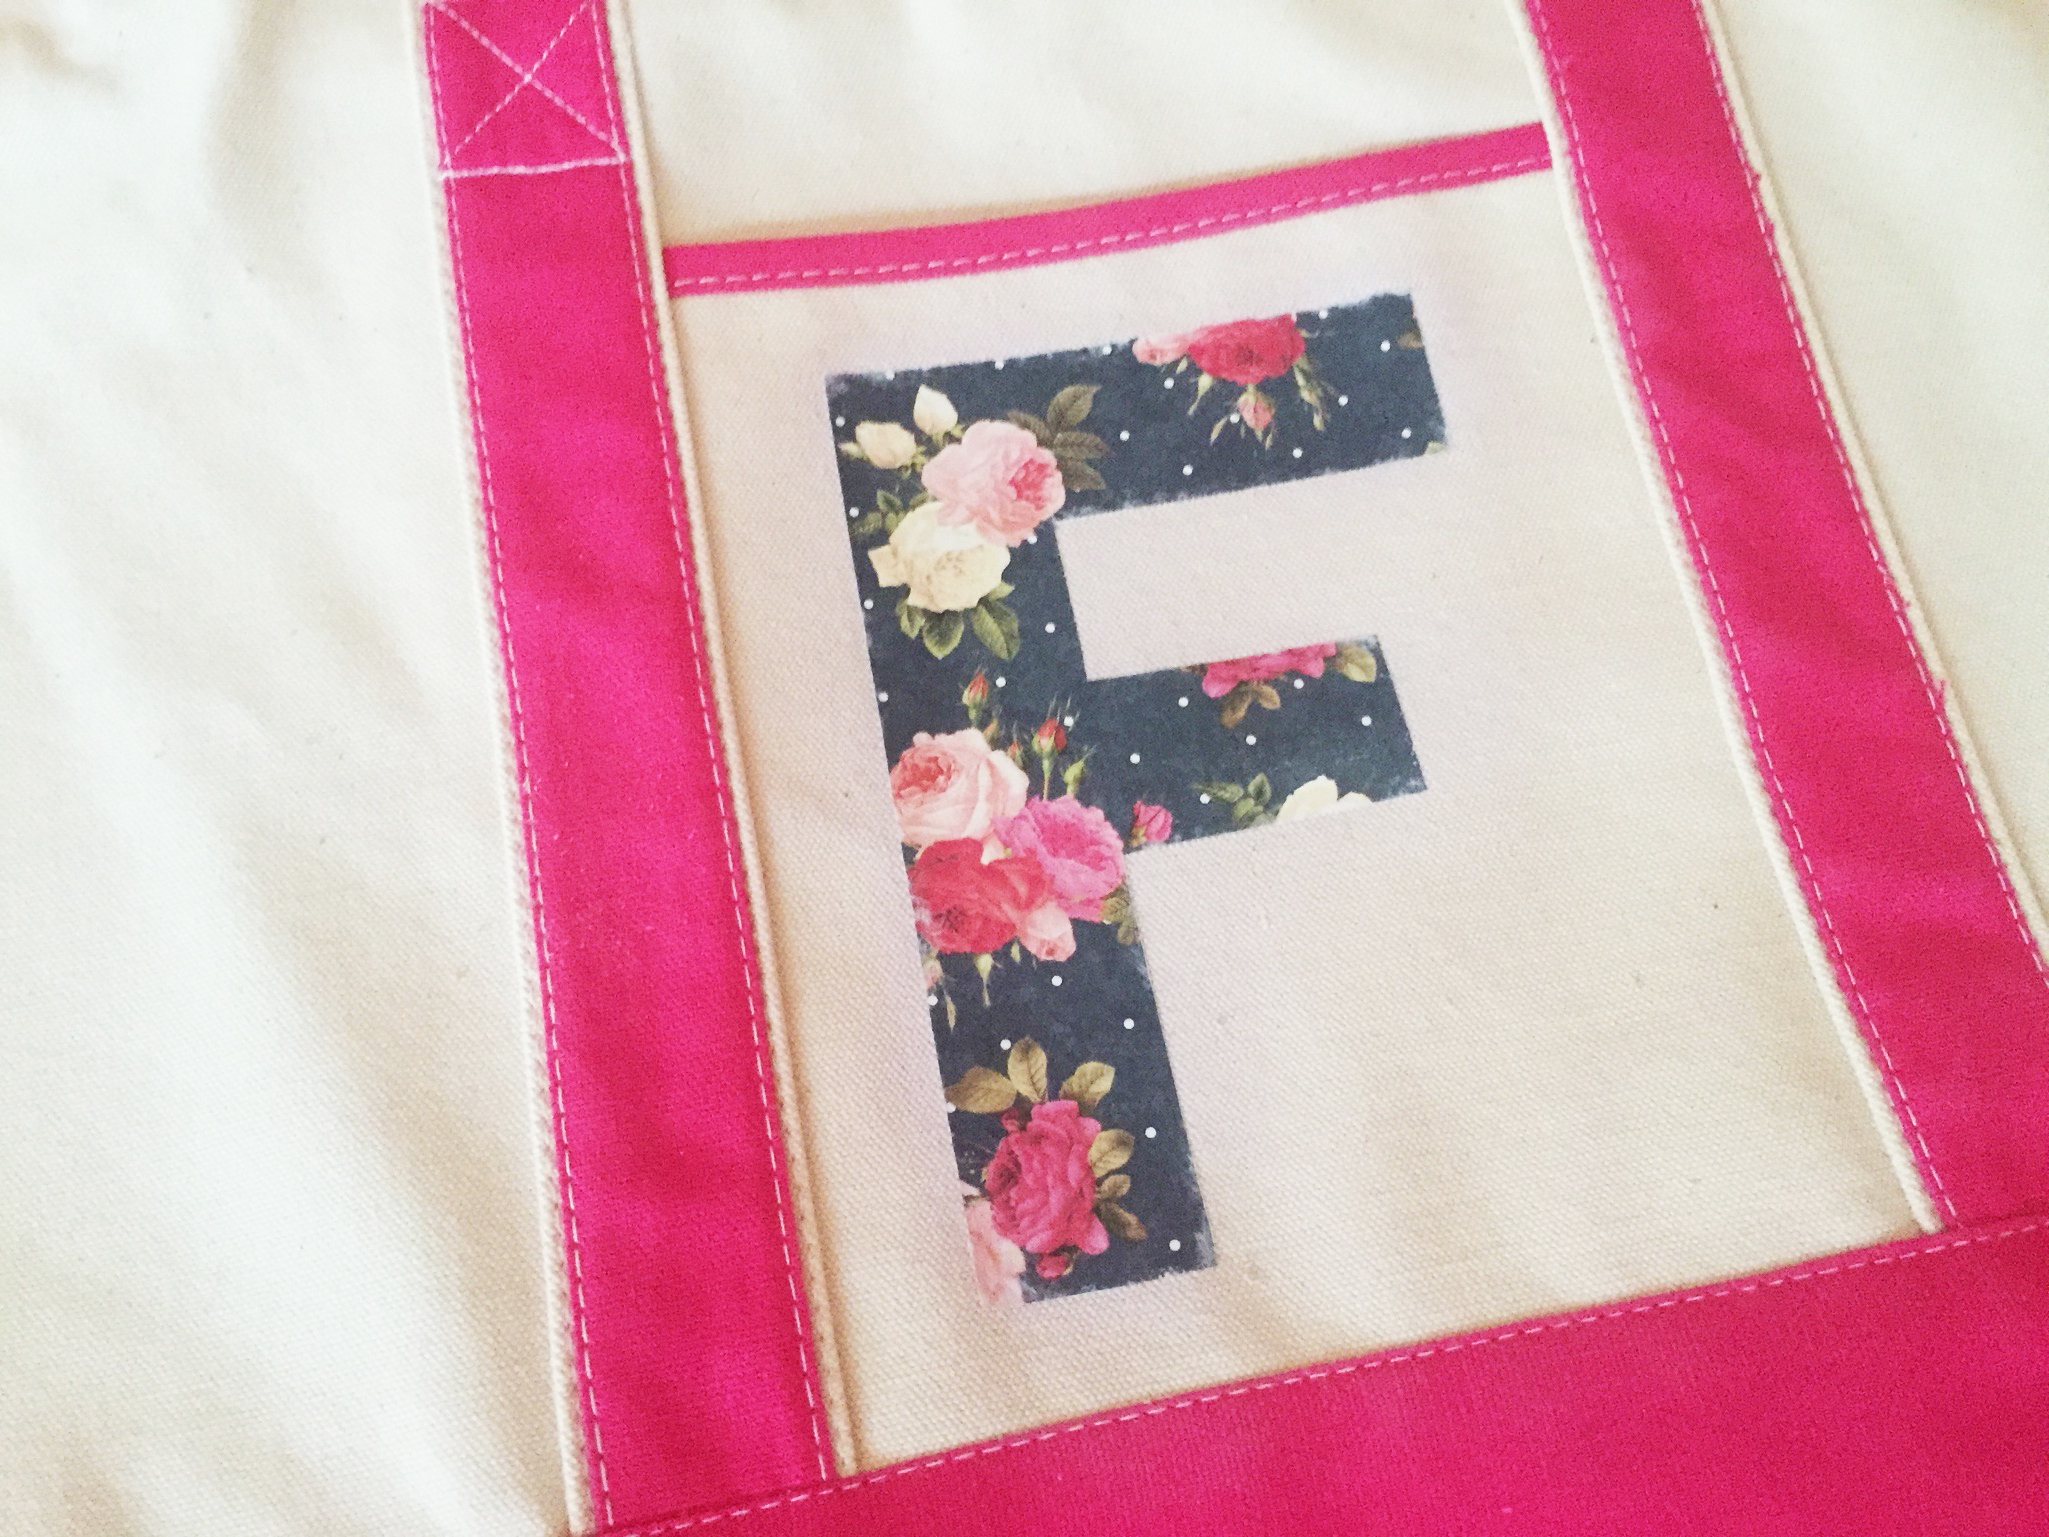
I’m a huge fan of canvas shopping totes, I practically have a whole trunk full of them. They are sturdy as all-get-out and I love the ones with a zipper across the top. I wanted to add a monogram to this new pink bag. I fell for this adorable navy and floral scrapbook paper print and I knew that Photo Transfer by Mod Podge would be the answer.
VIDEO HOW TO!
In the video above you will learn about the the differences between the original Photo Transfer formula and the new transparent formula. NOTE: the original formula is the only one that works on fabric.
Materials:
Canvas Tote Bag
Scrapbook Paper
Scissors
Paintbrush
Damp Sponge
Steps:
1. Start by creating a photocopy of your picture using a dry toner powdered copier and cut the image to size. Make sure you reverse the letter.
2. Next, apply a thick layer of Mod Podge Photo Transfer Medium to image side of copy. Place a piece of cardboard covered with wax paper between fabric layers.
3. Then, place the image face-down on to the fabric, smoothing it out with your fingers or a squeegee.
4. Finally, after allowing it to dry for 24 hours, place a most sponge on top of the paper and slowly rub away the paper. Allow to dry and repeat this step until all the paper is removed. The image should then be transferred to fabric.
5. Air-dry for 72 hours. Wash in cool water or the gentle cycle and hang to dry.
Notes: Never use actual photographs; always use photocopies made with a dry toner copier. If your image has words on it, create a reversed photocopy so that the text will read correctly on your final project. Protect your work surface by laying down craft paper or wax paper. Apply the medium to your project evenly and with medium thickness. When using a sponge to remove the backing paper, use a light touch so as not to disrupt your transferred image. Clean-up is easy while wet with mild soap and warm water.
