
Watch and Learn: Polymer Clay Candy Cane and Peppermints Sculpy

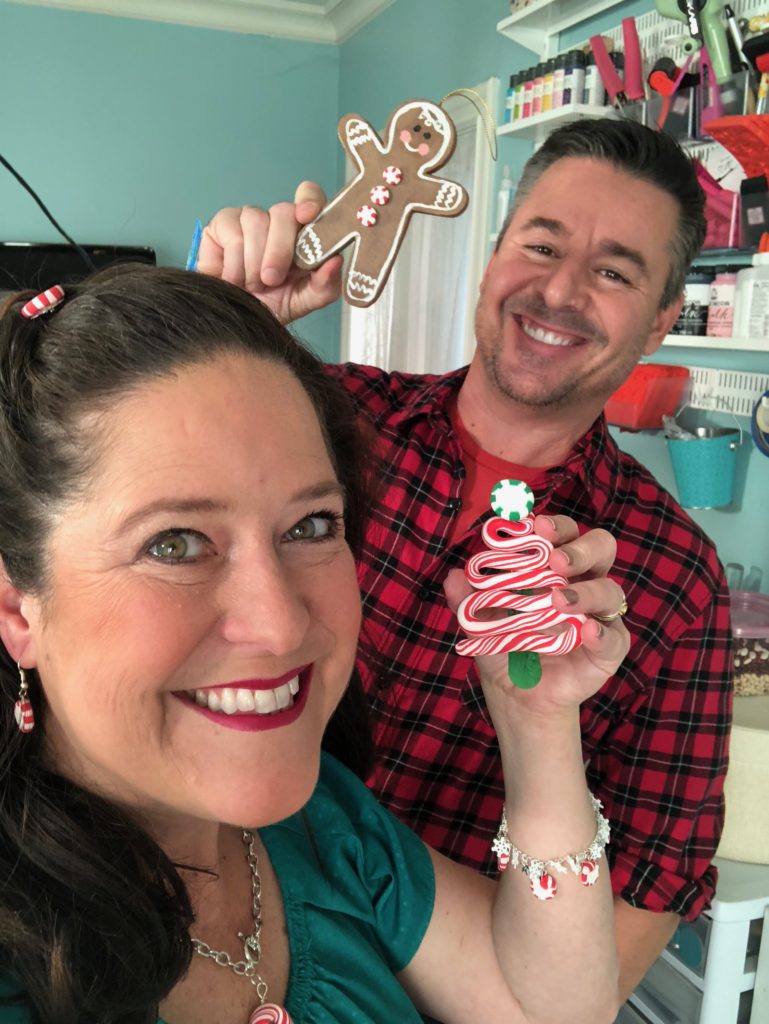
Thanks for stopping by! Happy Crafting! xoxo Cathie and Steve
Watch and Learn: Polymer Clay Candy Cane and Peppermints Sculpy
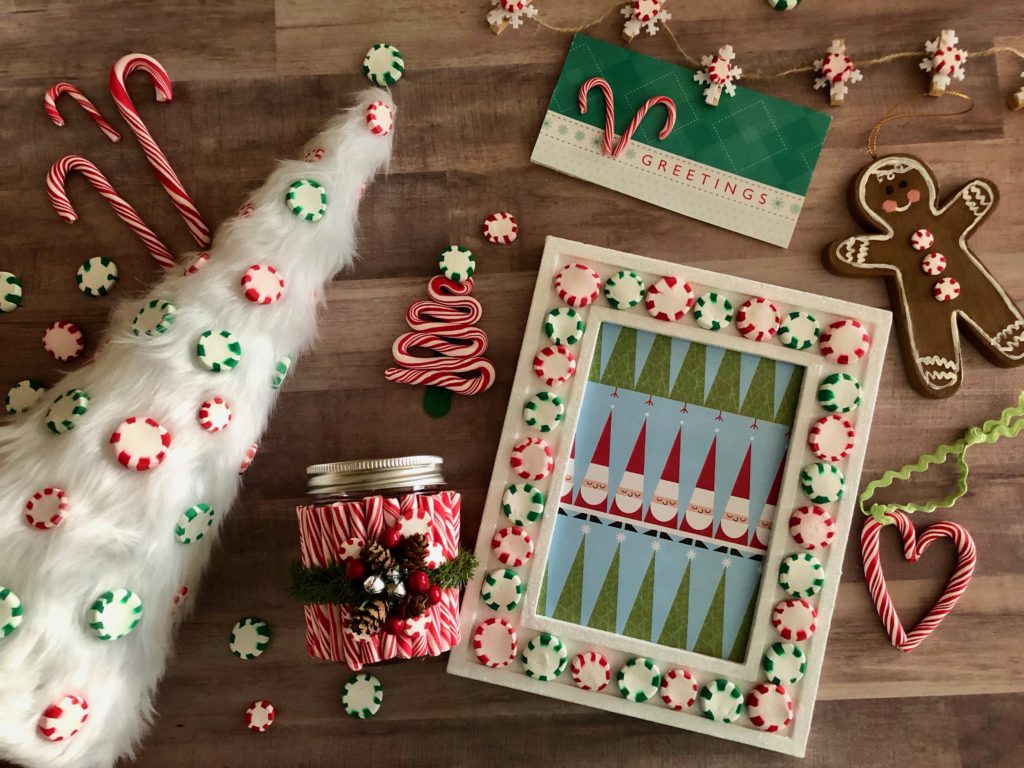
Yummy sweet candy? Not so fast…. these are made from Sculpey Polymer Clay! Learn how to make Sculpey III holiday peppermints and candy canes. These projects are great for teachers, parents and care givers. We are also showcasing 12-plus ideas that kids can create with their designs. Kids will love creating ornaments, holiday décor, jewelry and holiday gifts. NOTE: Adults will need to help with the slicing and baking.
Watch and Learn: Polymer Clay Candy Cane and Peppermints Sculpy
What you will need:
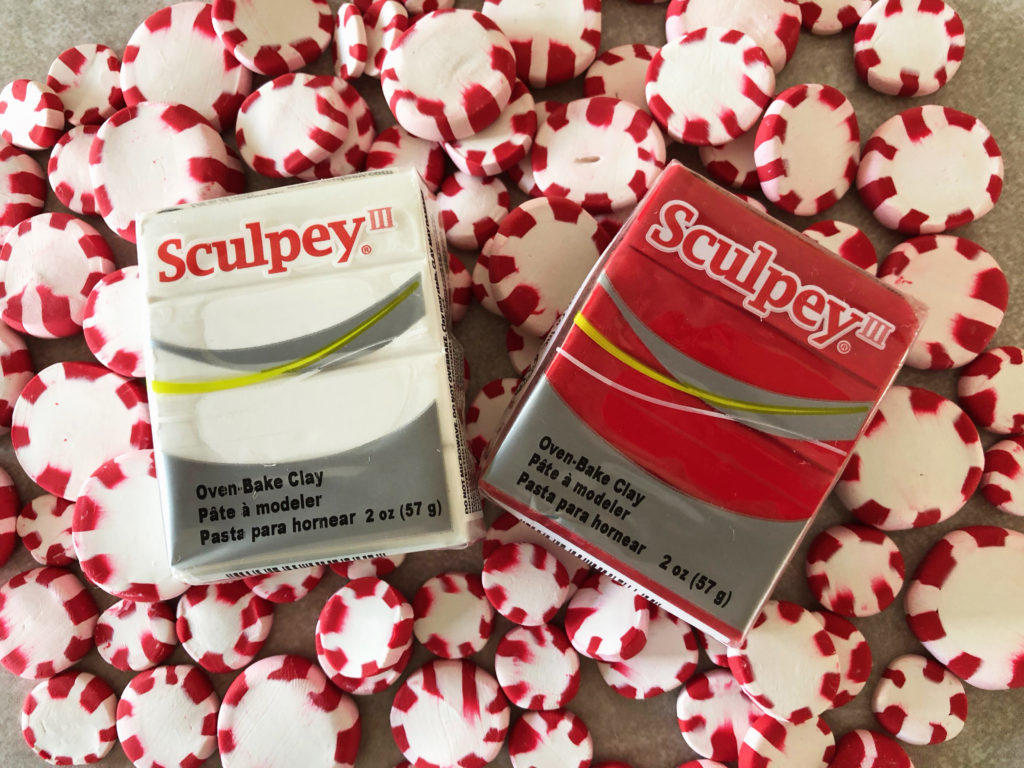
Translucent – Sculpey® III
Red Hot Red – Sculpey® III
Sculpey® Work n’ Bake Clay Mat
White – Sculpey® III
Sculpey® Clay Tool Starter Set
Sculpey® Clay Conditioning Machine
Sculpey® Super Slicer Set, w/comfort handles
Baking Sheet
Ribbon
Glue
Green Popsicle Stick
Step 1: Please make sure your work area is covered and you are not working on an unprotected surface. We recommend working on the Sculpey® Work ‘n Bake Clay Mat, wax paper, metal baking sheet, or disposable foil. Uncured clay may damage unprotected furniture or finished surfaces. Be sure to cover your crafting area appropriately.
Start with clean hands, unwrap and knead clay until soft and smooth, or condition by running clay though a Pasta Machine. We recommend using a designated machine for clay purposes only. When working with multiple colors, clean hands with soap and water or baby wipes (we have found that baby wipes work best) before switching colors. Shape clay, pressing pieces firmly together. Wash hands after use.
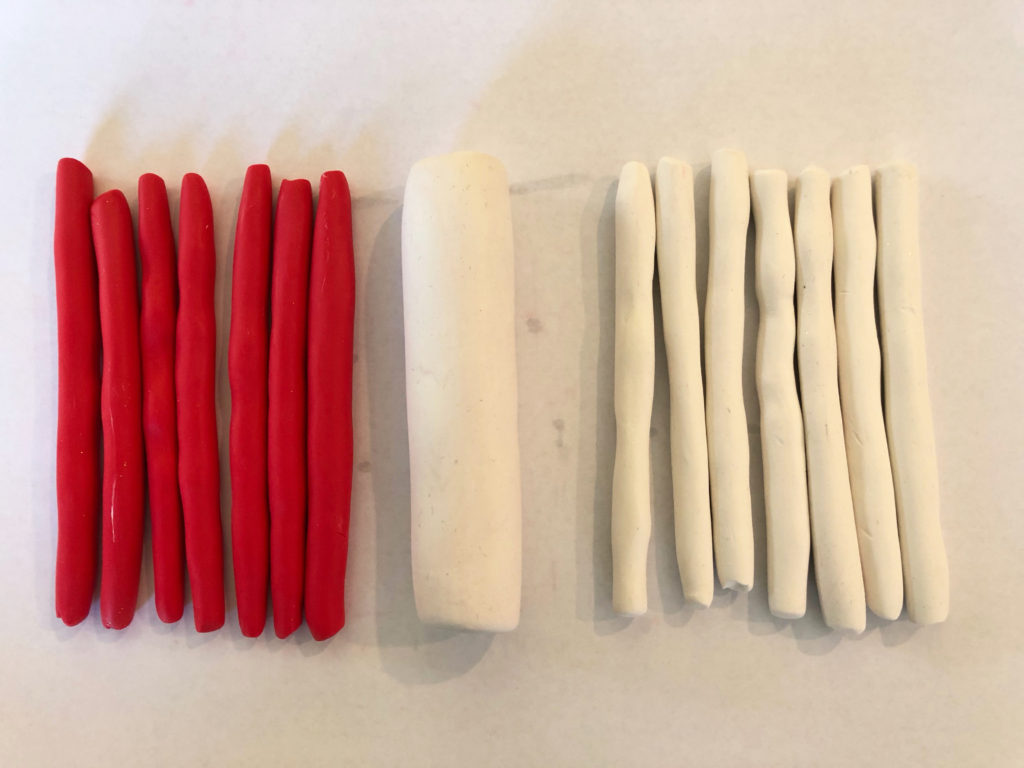
Step 2: Peppermints and Candy Canes: Combine equal parts of Translucent and Red Hot Red Sculpey III. (This will cut down on the red bleeding on the white.) Create a 1 1/2” diameter log with white Sculpey III. Create 6 to 7 snakes that are as long as the log and about 1/3” diameter.
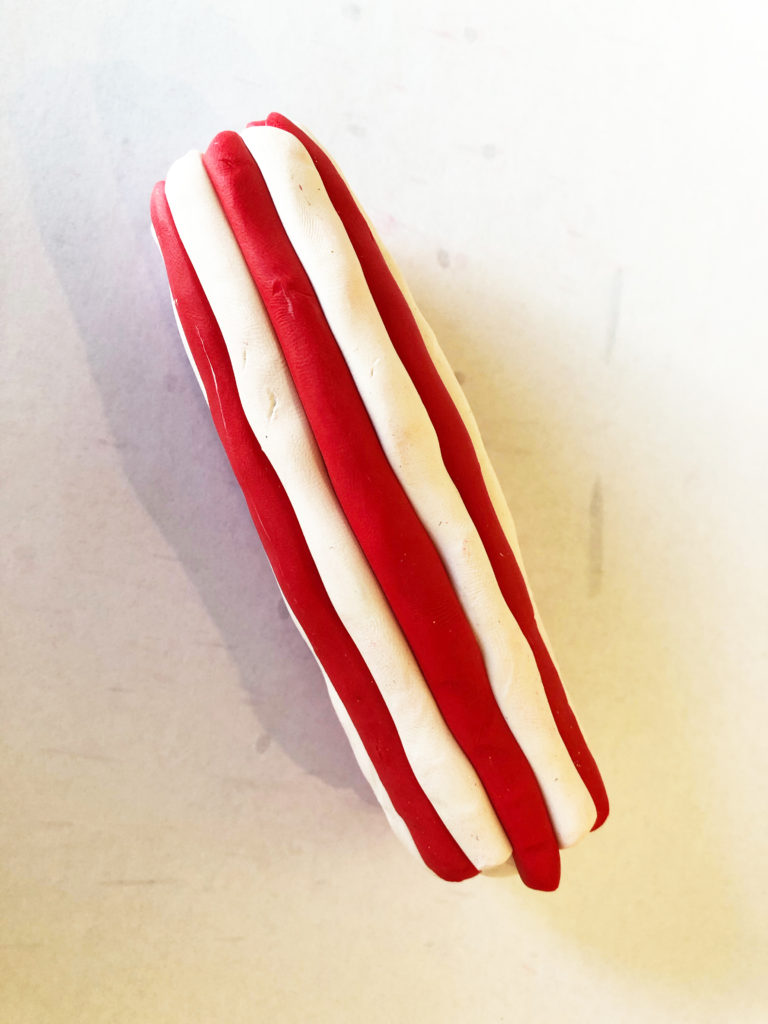
Step 3: Peppermints and Candy Canes: Create the cane by adding the red and white snakes around the log. Make sure you add them in a red, white, red pattern. Roll our any snakes that are too thick.
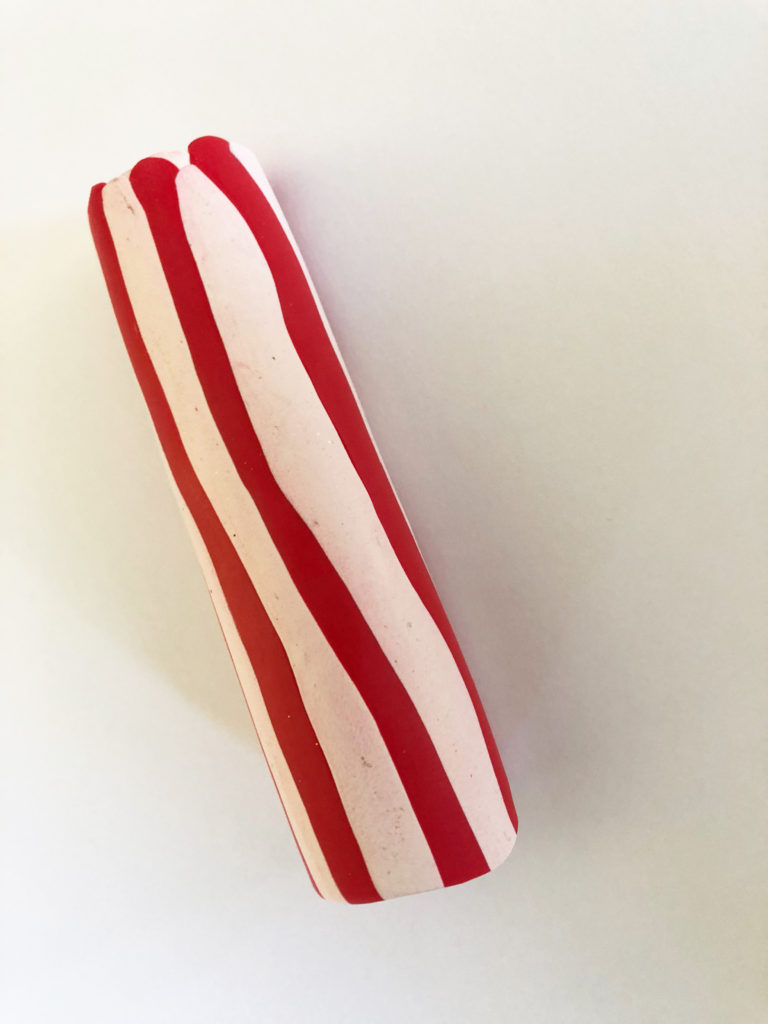
Step 4: Peppermints and Candy Canes: Squeeze and roll the cane until the snakes are blended together and you have no air pockets. The cane should now be double in length.
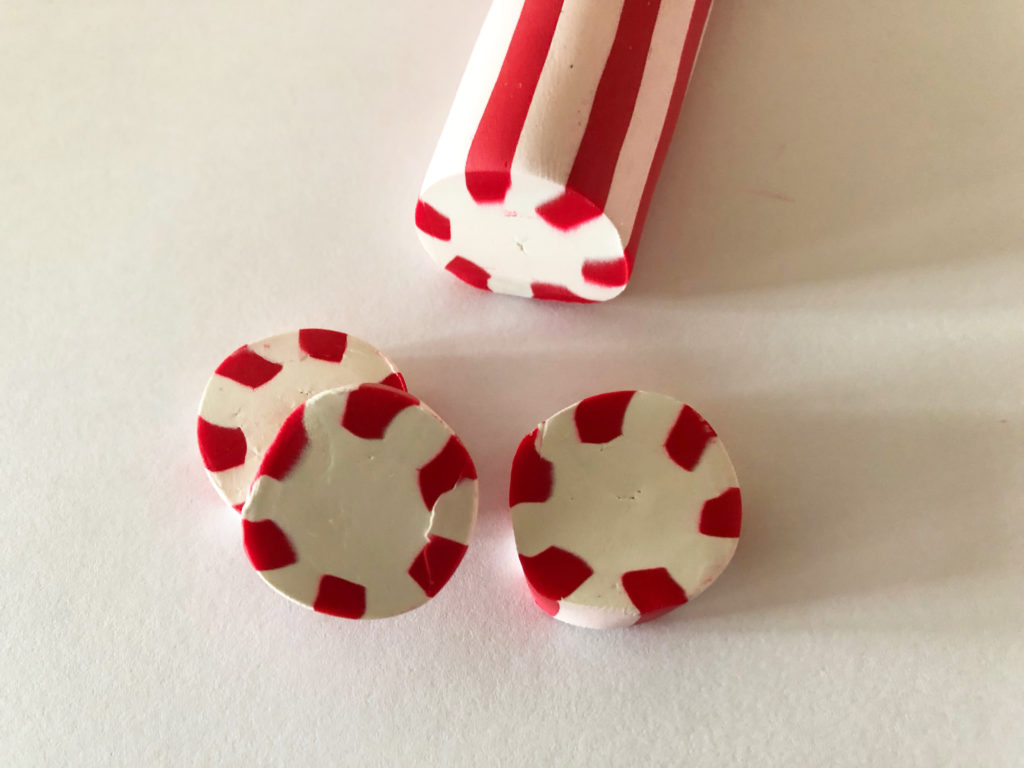
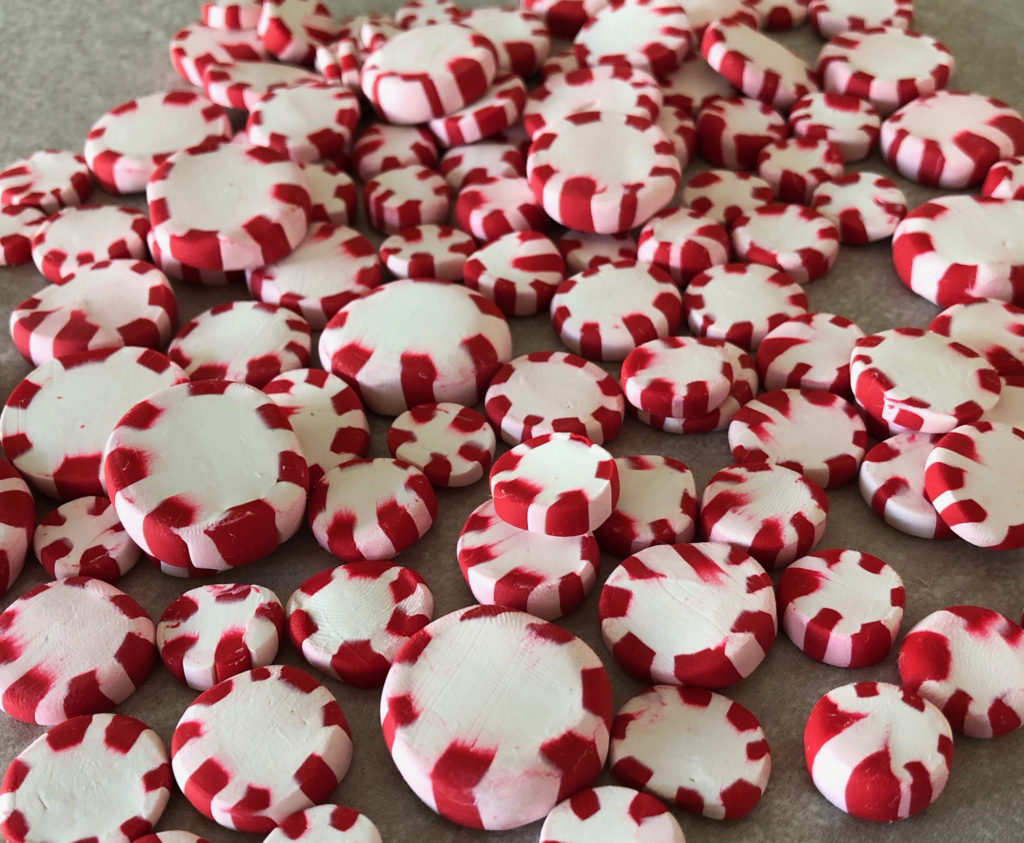
Step 5: Peppermints: Slice the cane in half. Reserve 1/2 for candy cane making. On the remaining cane, slice the cane into peppermint shapes. Roll the cane thinner to create smaller peppermints.
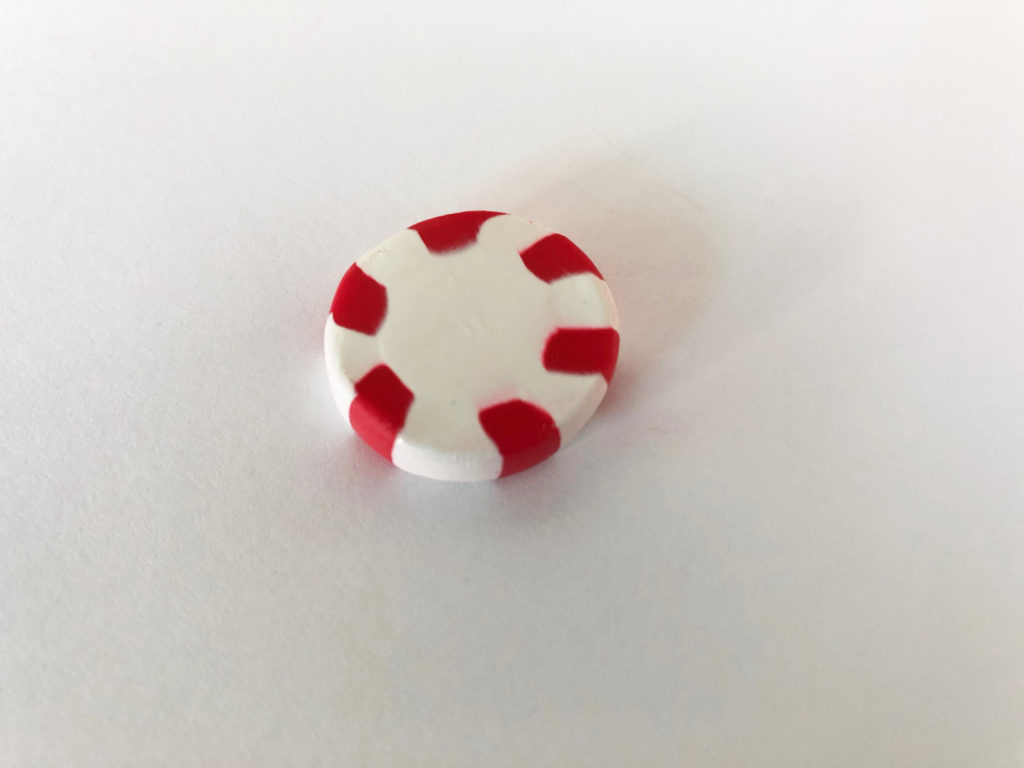
Step 6: Peppermints: Use your fingers to shape the peppermint into a natural candy shape.
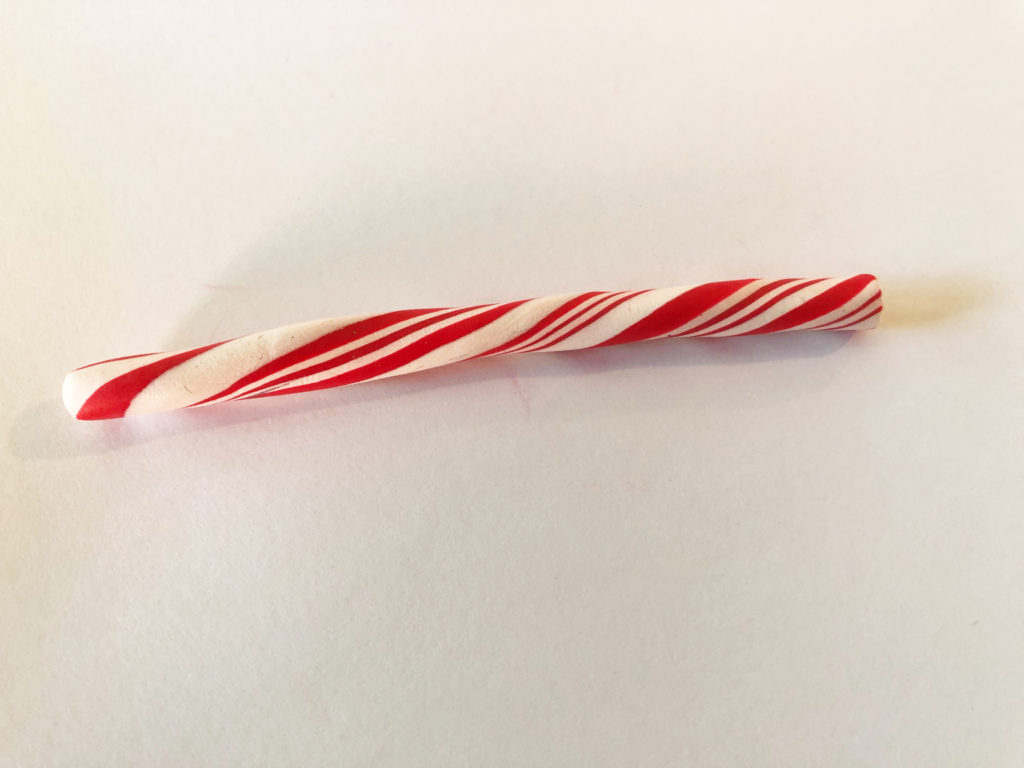
Step 7: Candy Canes: Roll the remaining cane into a 1/3” diameter snake. Slice as needed and keep rolling. Cut into your desired length for the candy cane. Twist the snake so the stripes resemble a candy cane.
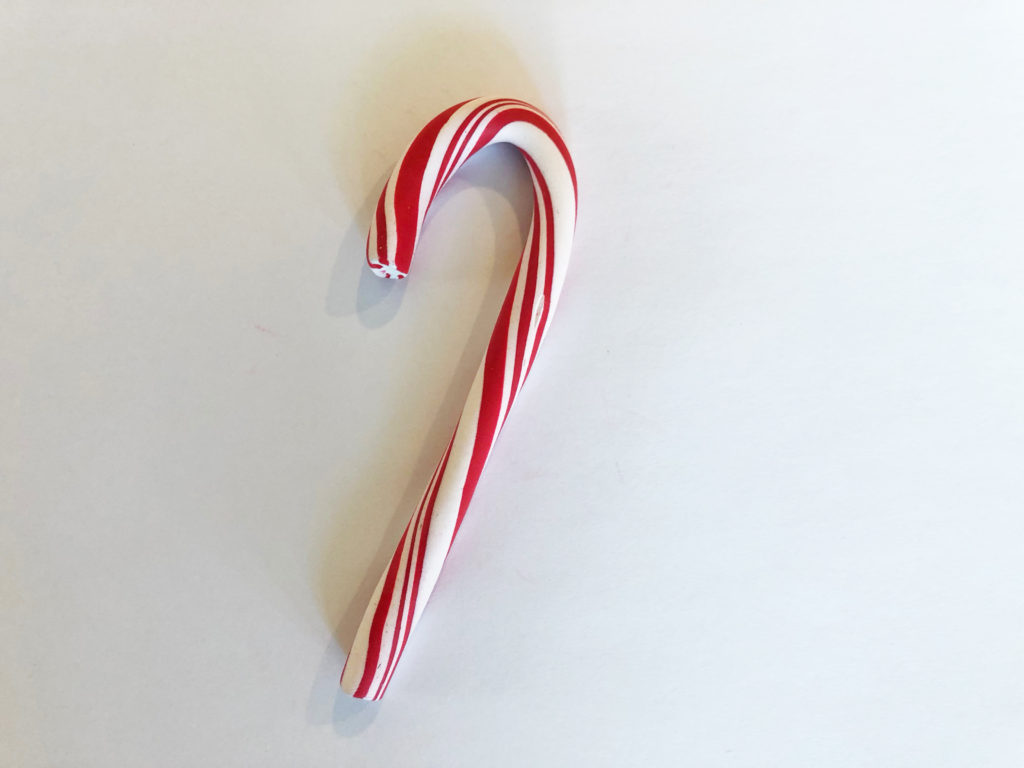
Step 8: Candy Canes: Create a hook in the top of the snake.

Step 9: Candy Canes: Create a heart by joining two candy canes.
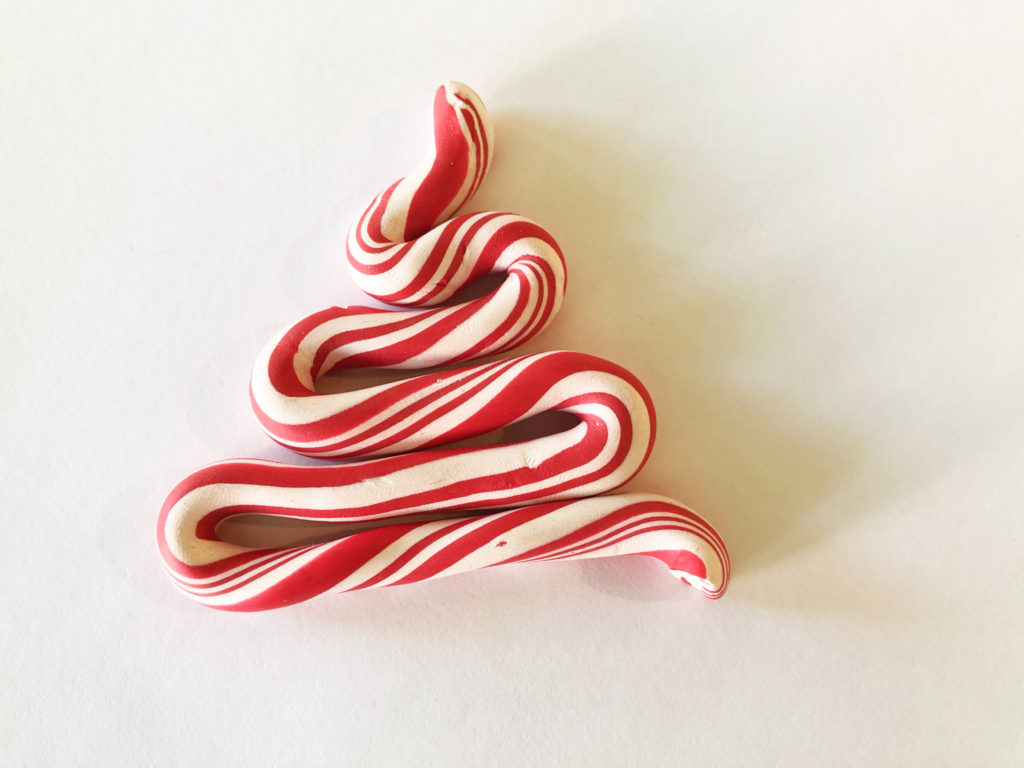
Step 10: Candy Canes: Create a tree shape, by bending a long candy cane into a ribbon tree.
Step 11: Baking: Begin by preheating oven to 275 °F (130 °C). After you are done creating; for best results bake clay on an oven-proof surface such metal, aluminum foil, an index card or the Sculpey® Clay Mat at 275°F (130 °C) for 30 minutes per ¼” (6 mm) thickness according to package directions. Oven safe glass or ceramic surfaces are also acceptable for baking; however please note that the baking times may take longer as the glass or ceramic surfaces take longer to heat up. For best baking results, use an oven thermometer. DO NOT USE MICROWAVE OVEN. DO NOT EXCEED THE ABOVE TEMPERATURE OR RECOMMENDED BAKING TIME.

Watch and Learn: Polymer Clay Candy Cane and Peppermints Sculpy


Thanks for stopping by! Happy Crafting! xoxo Cathie and Steve
Watch and Learn: Polymer Clay Candy Cane and Peppermints Sculpy


